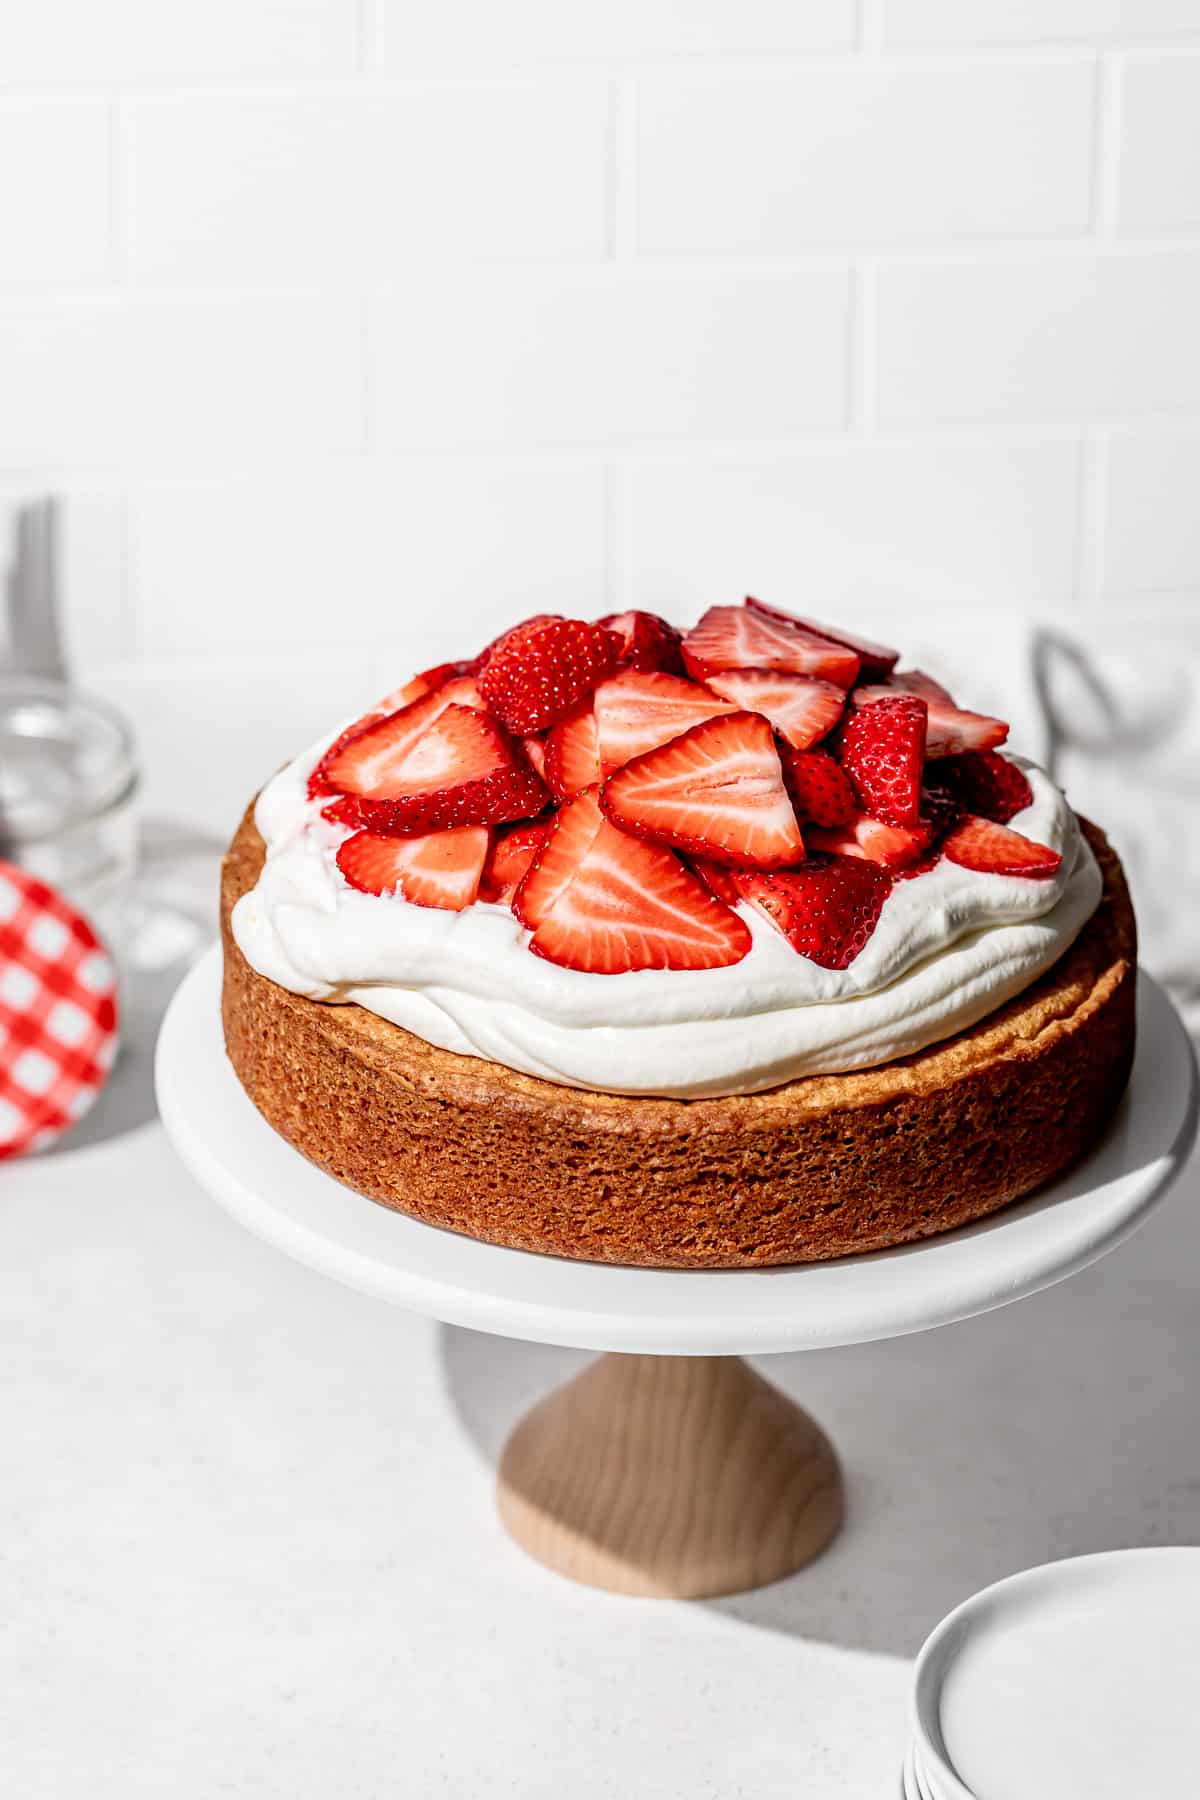
This gluten free strawberry shortcake cake is a buttery pound cake-inspired dessert topped with lightly sweetened whipped cream and juicy macerated strawberries. Made with a combination of gluten free 1:1 flour and oat flour, this cake has a texture that's so soft and tender, you'll never know it's gluten free!
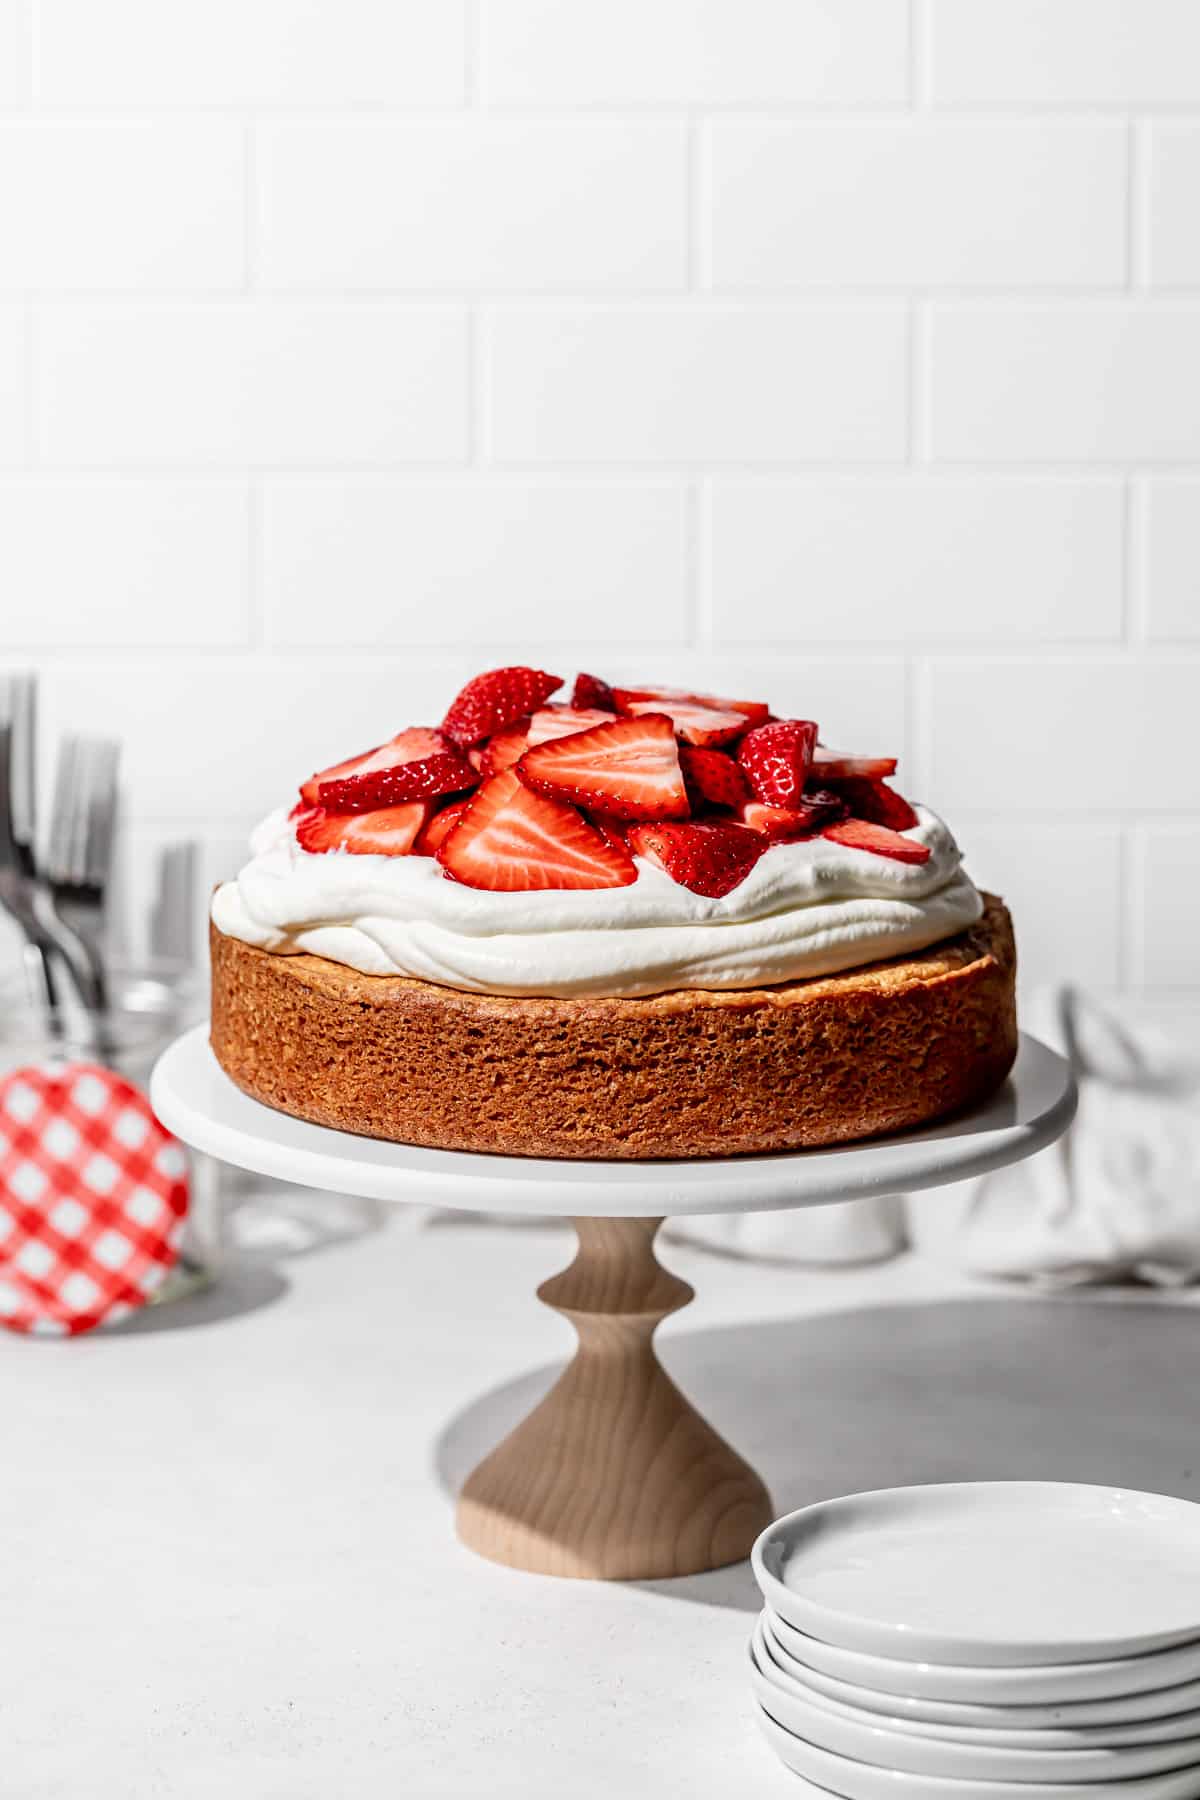
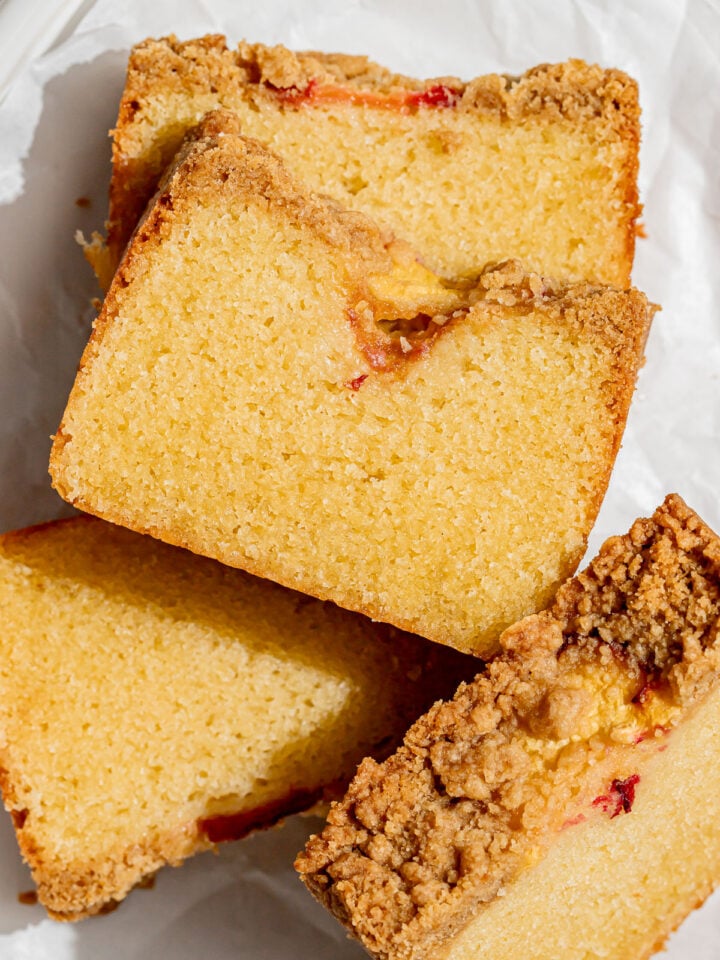
Classic strawberry shortcake consists of a buttery biscuit, whipped cream, and fresh strawberries, so in the form of a one-layer cake it's similarly buttery with a soft and slightly dense texture, and of course paired with the same toppings. To achieve this rich, dense texture, this recipe was based off my Peach Cobbler Pound Cake and adapted to be gluten free! It's rustic strawberries & cream decoration makes it a naturally stunning, no-fuss summertime cake!
For more strawberry related recipes, try Strawberries & Cream Stuffed French Toast, Roasted Strawberry Cinnamon Rolls, White Cake with Strawberries, and No Churn Strawberry Cheesecake Ice Cream.
Jump to:
Why you'll love this strawberry shortcake cake
- Soft & Buttery Cake: Just like traditional strawberry shortcake, the cream & berries should be accompanied by a rich, buttery base. So this cake is inspired by a pound cake, but made gluten free! The richness from the butter and eggs combined with a touch of oil, as well as the alternated dry & wet method, creates a beautifully soft cake that is just as delicious as any gluten-full vanilla cake😉.
- Classic Strawberries & Cream: The unassuming combination of fresh strawberries and homemade whipped cream is one that will never cease to amaze me. The sweet juices paired with the light, velvety topping is so simple, yet so satisfying. These fresh flavors balance out the richness of the cake perfectly.
- Make Ahead Dessert: This cake stays moist for several days, so it's a great make ahead dessert! Make the cake layer the day before, then wrap it in plastic wrap and store at room temperature. The next day, make the toppings and assemble it just before serving! You can also freeze the cake layer for up to three months. Be sure to let the cake thaw overnight at room temperature.
Ingredient Notes
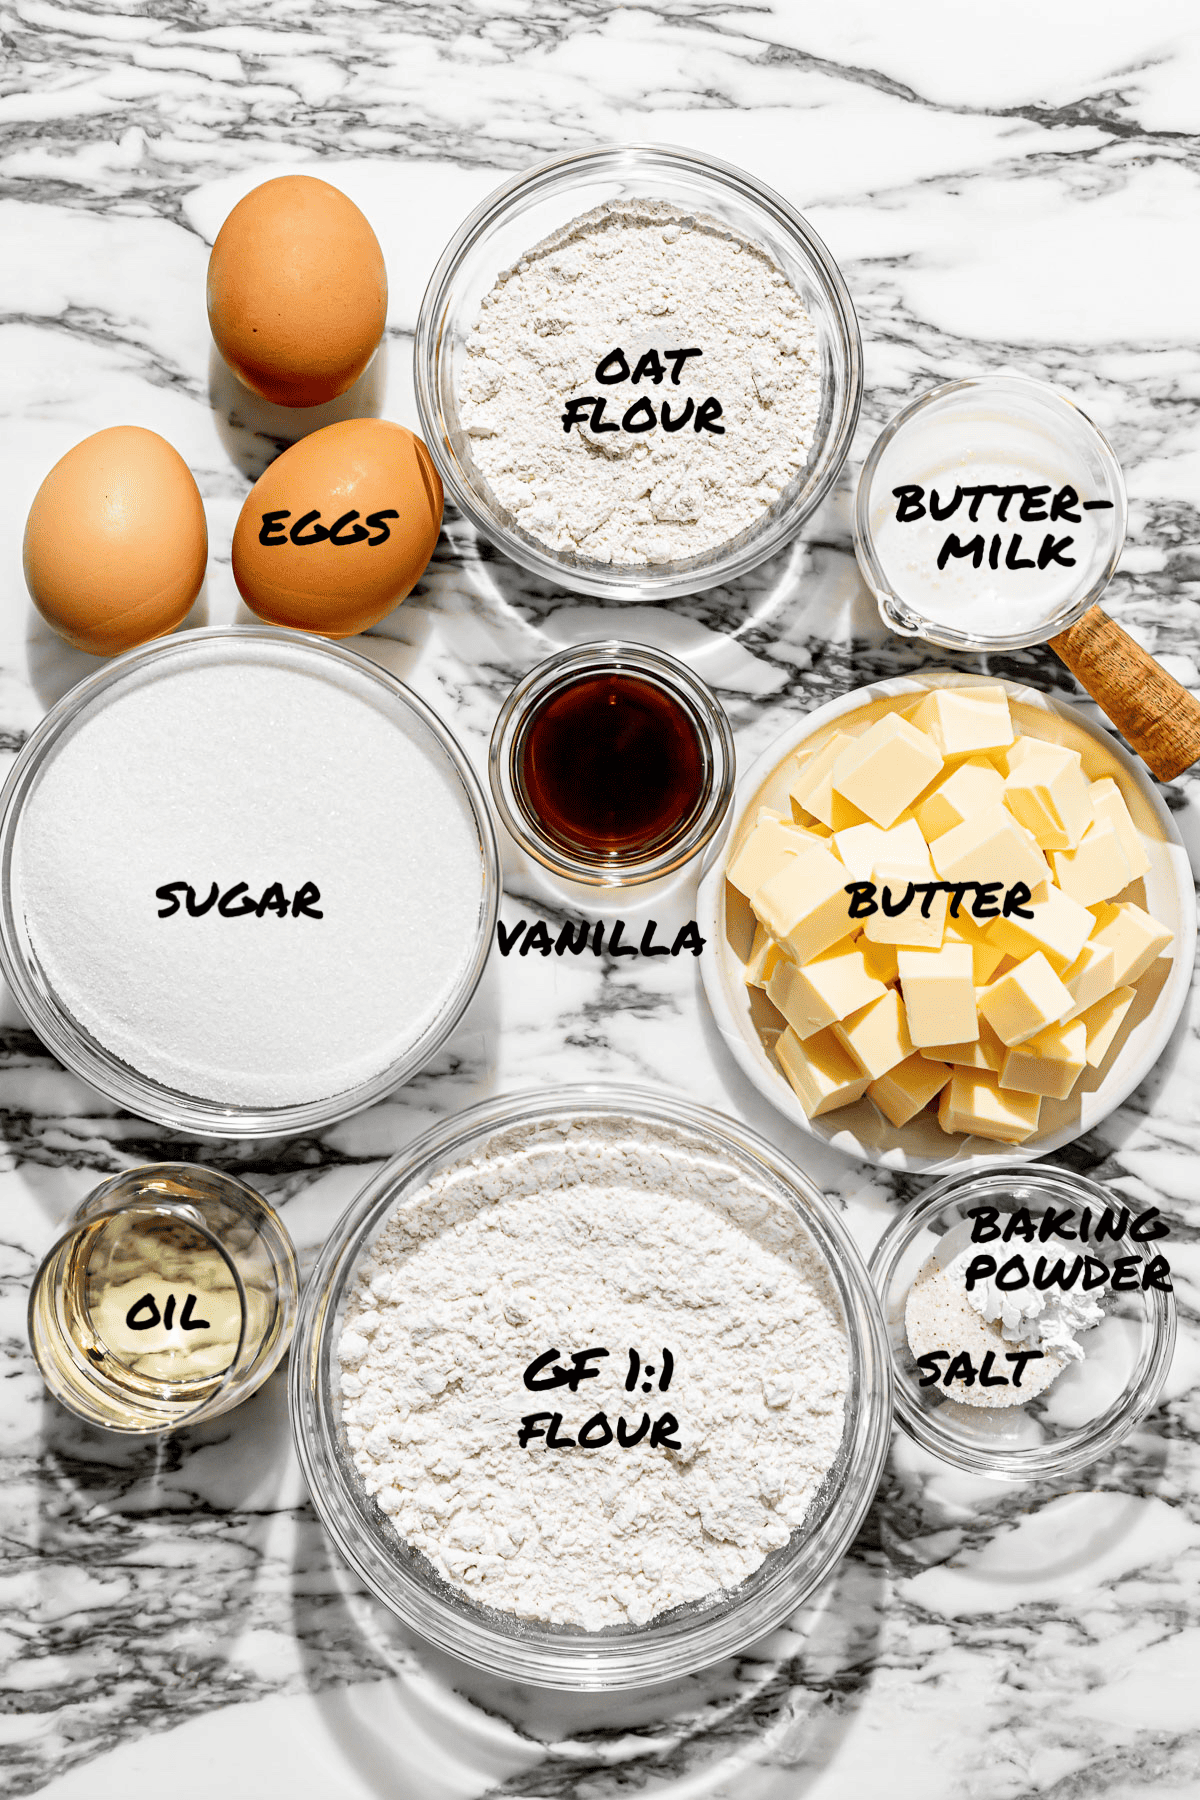
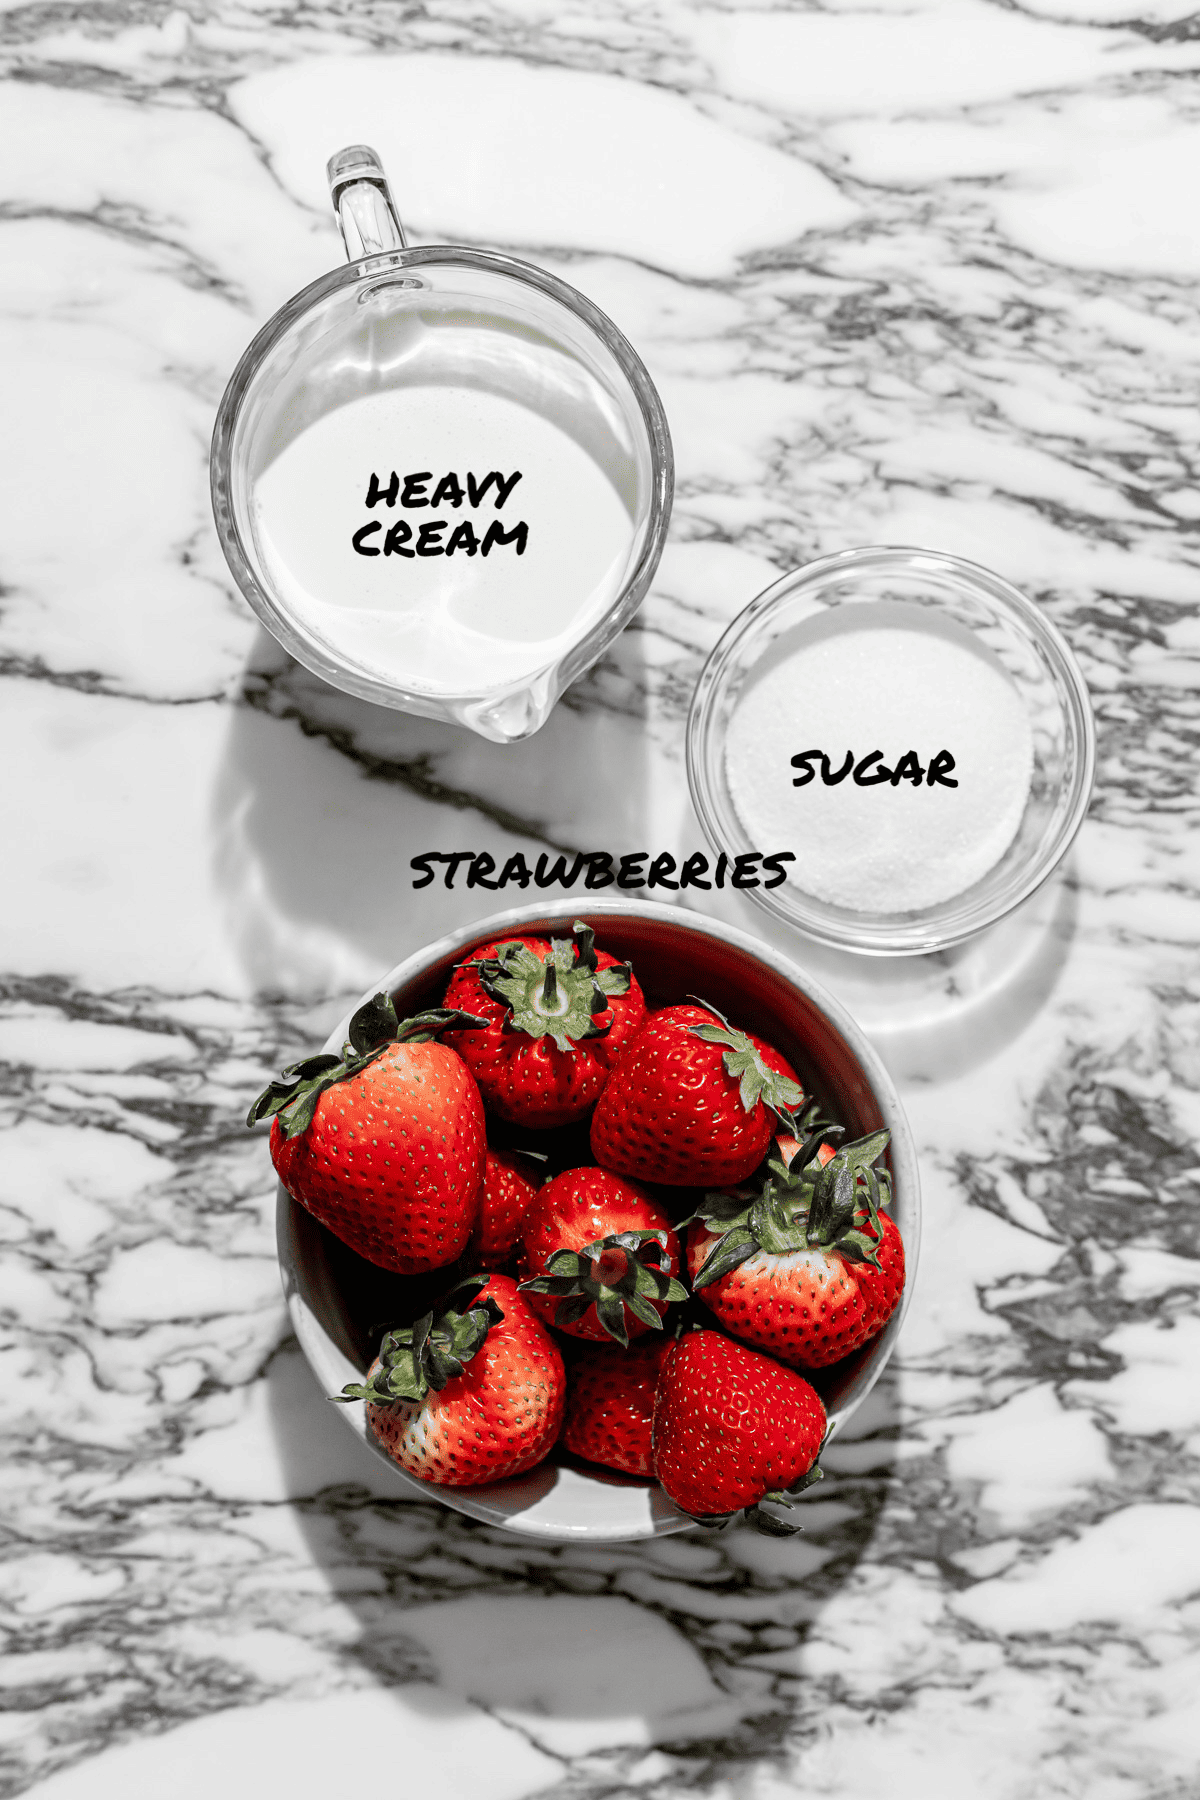
- Flours: To make this cake gluten free I opted for a majority of GF 1:1 flour. I used King Arthur Baking Co, but Bob's Red Mill should also work just fine. Using only this flour resulted in a greasy cake, so I added oat flour to soak up the high butter content. Oat flour has a similar absorption level to all-purpose flour, but if it's the only flour used the cake won't have a great structure. So a combination of the two flours results in a non-greasy cake with a solid structure that's so soft and tender, you'll never know it's gluten free!
- Butter & Oil: Similar to a pound cake, this is a very butter heavy cake so it's important to use a high-quality butter. I recommend baking with European-style butter, as it has a higher fat content, and fat equals flavor! I love butter, oil combo cakes as a touch of oil adds moisture and softness, while the butter ensures you're not sacrificing butter flavor.
- Eggs: Three eggs may seem like a lot for a one-layer cake, but like in a pound cake, the eggs add richness, flavor, and a slightly dense texture.
- Heavy Cream: Use cold heavy cream to make whipped cream, and be sure not to over-whip it!
- Strawberries: Pick out the brightest strawberries with minimal whiteness around the stems for the sweetest flavor!
See recipe card for full information on ingredients and individual quantities.
Step by Step Instructions
Here are step by step photos and instructions on how to make this gluten free strawberry shortcake cake recipe! For the full ingredient list and method, see the recipe card at the end of this post.
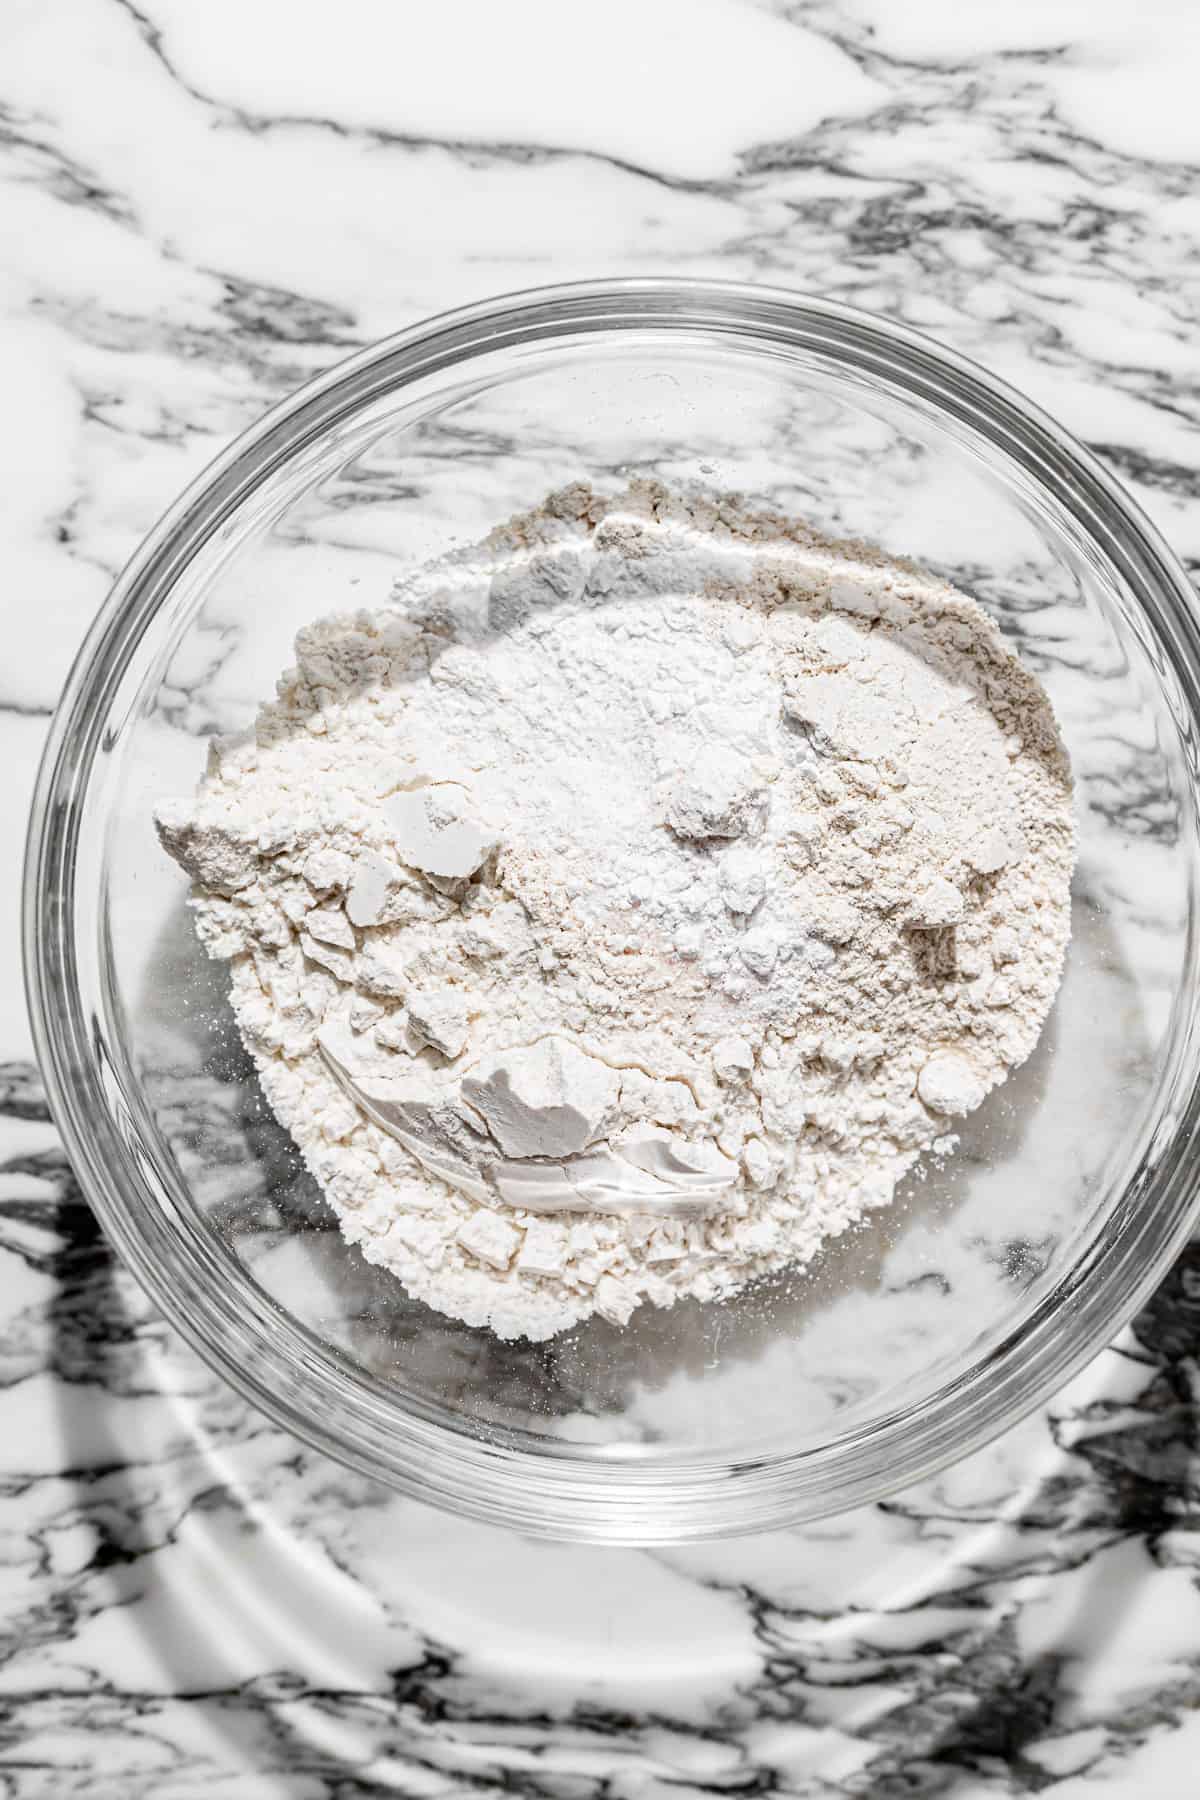
STEP 1: Combine the dry ingredients. In a small bowl, whisk together the gluten free 1:1 flour, oat flour, baking powder, and salt.
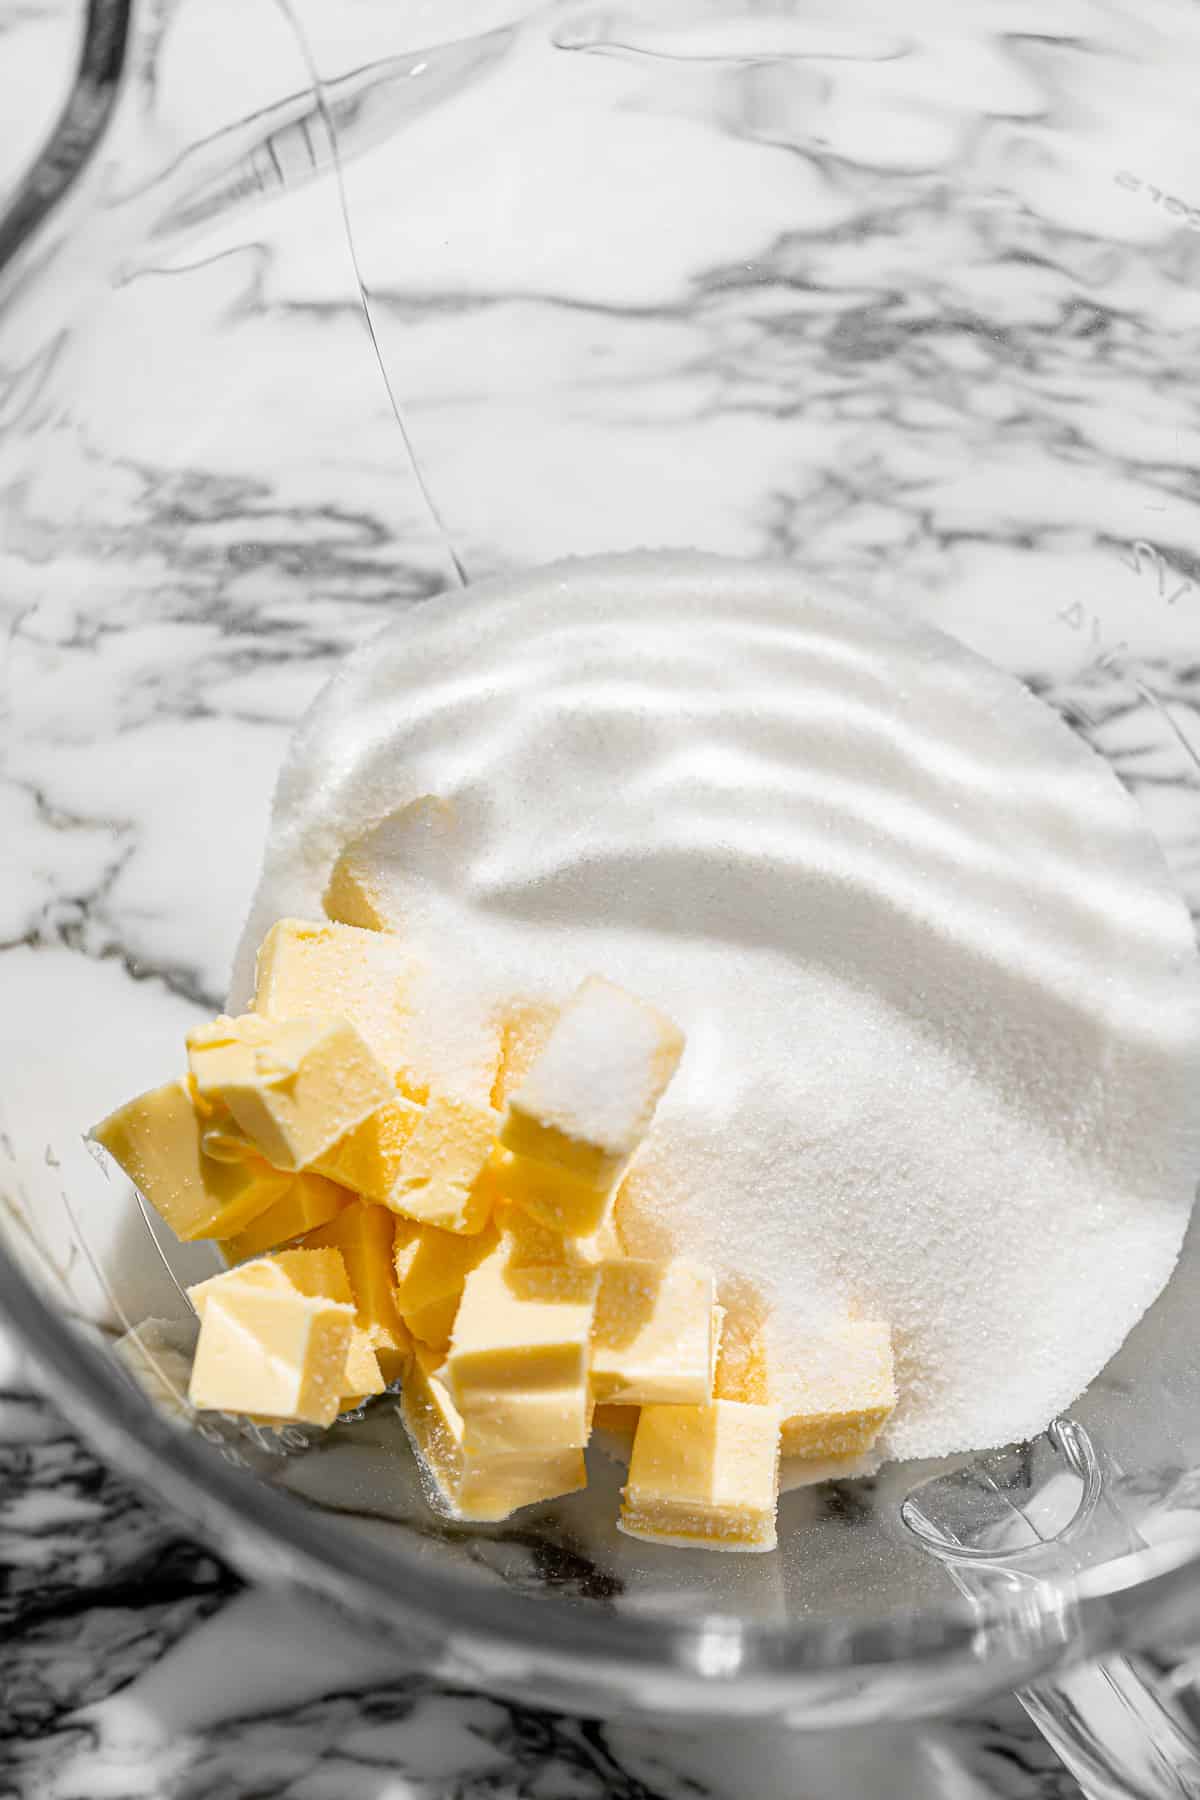
STEP 2: Cream butter & sugar, then add oil. In the bowl of a stand mixer fitted with a paddle attachment, cream the butter and sugar together for 3-4 minutes until light & fluffy. Then, mix in the oil.
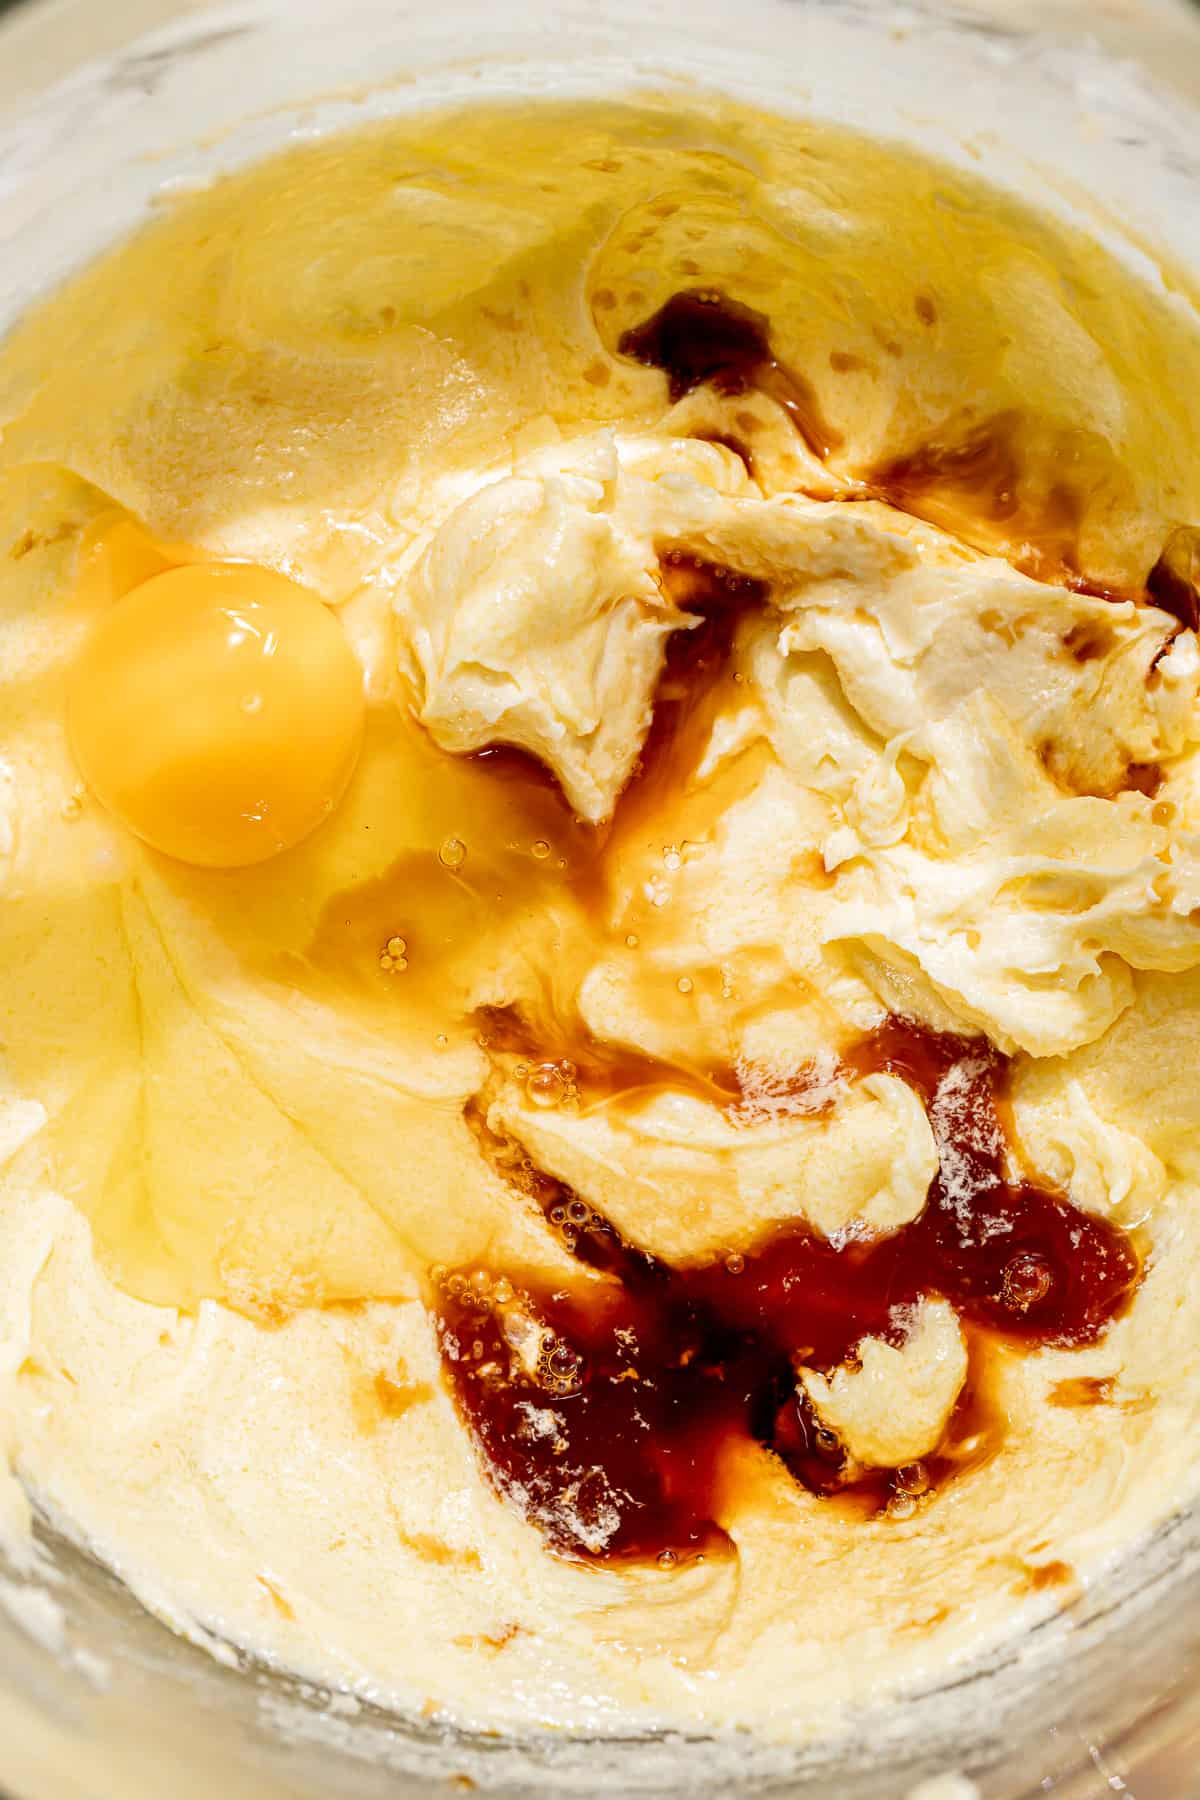
STEP 3: Mix in eggs one at a time. Scrape down the bowl and turn the mixer down to low speed. Add the large eggs one at a time, scraping the bowl down in between each addition. Add the vanilla with the last egg.
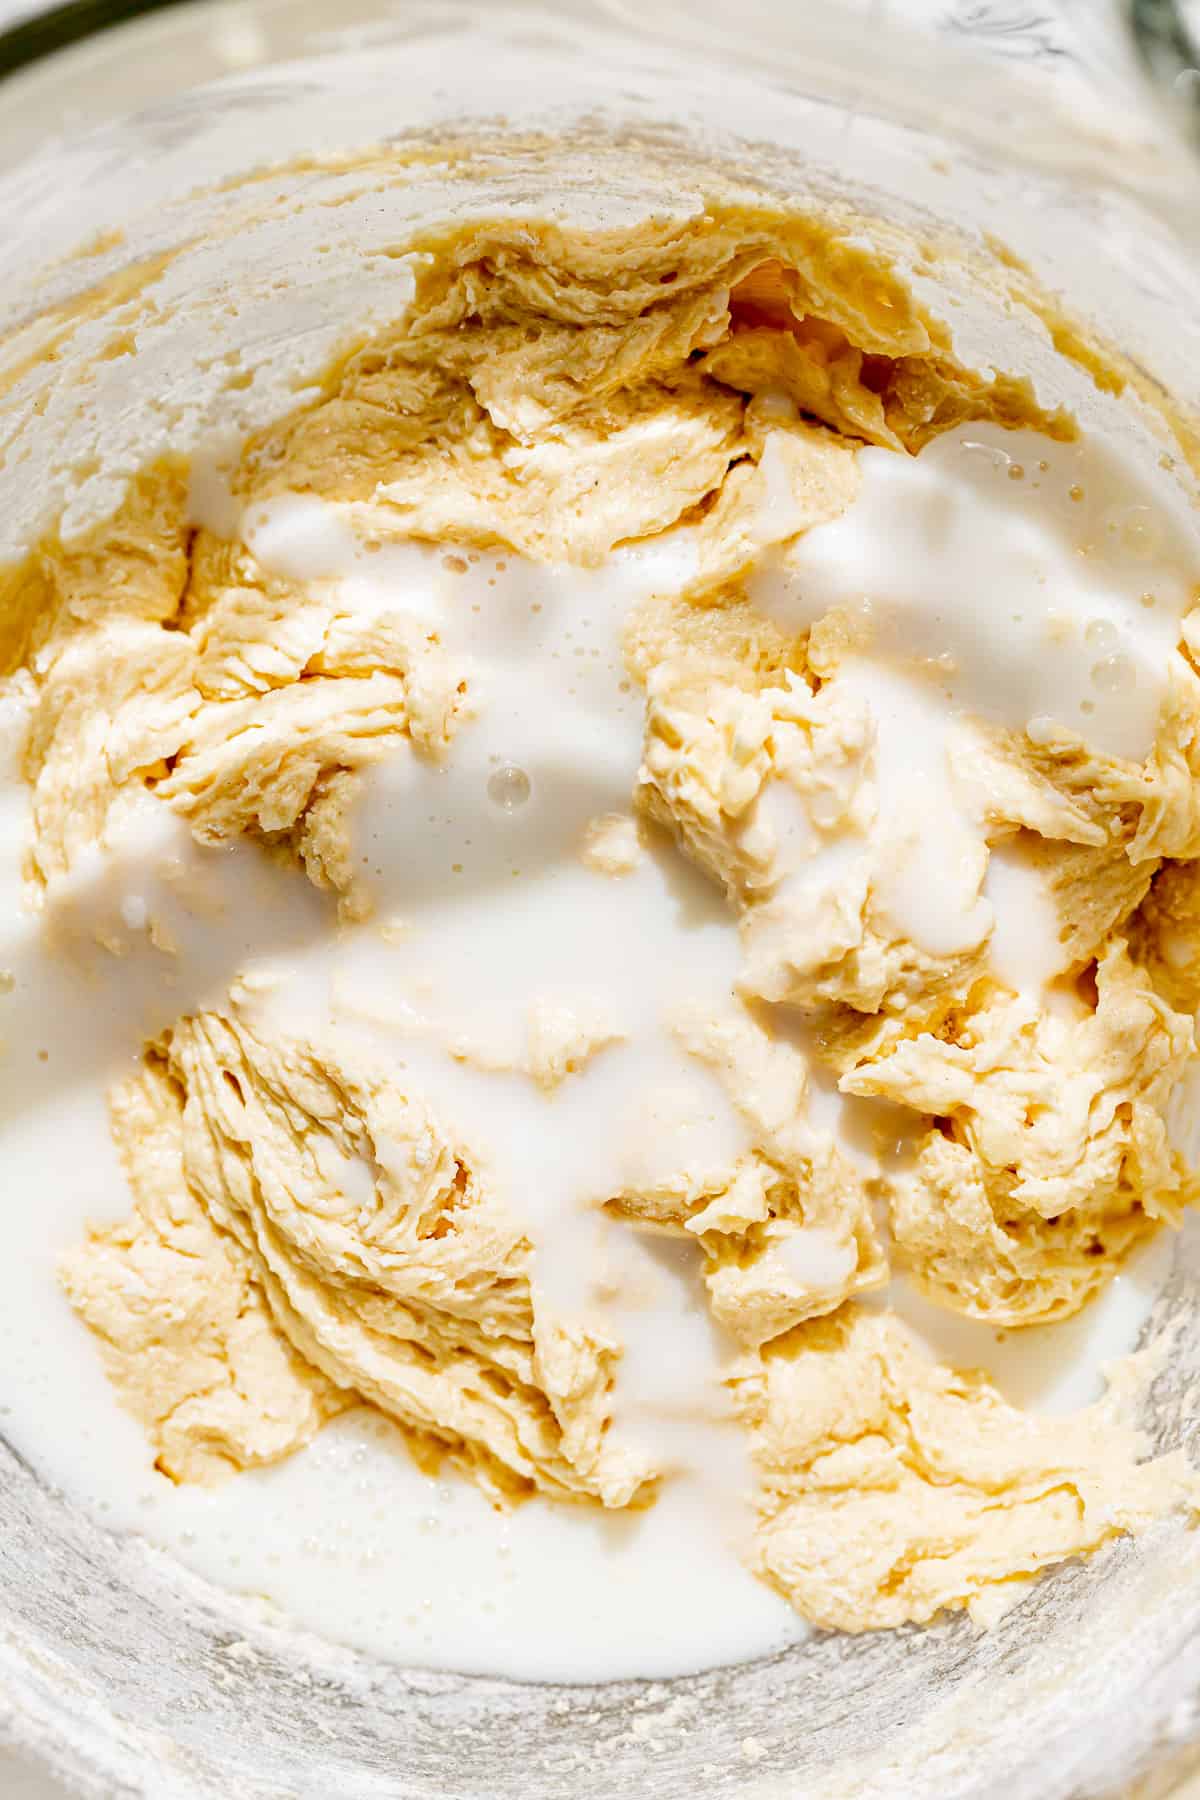
STEP 4: Alternate the dry & wet ingredients. Add half of the dry ingredients and mix until just combined. Mix in the buttermilk. Then, add the rest of the dry ingredients and mix until just combined.
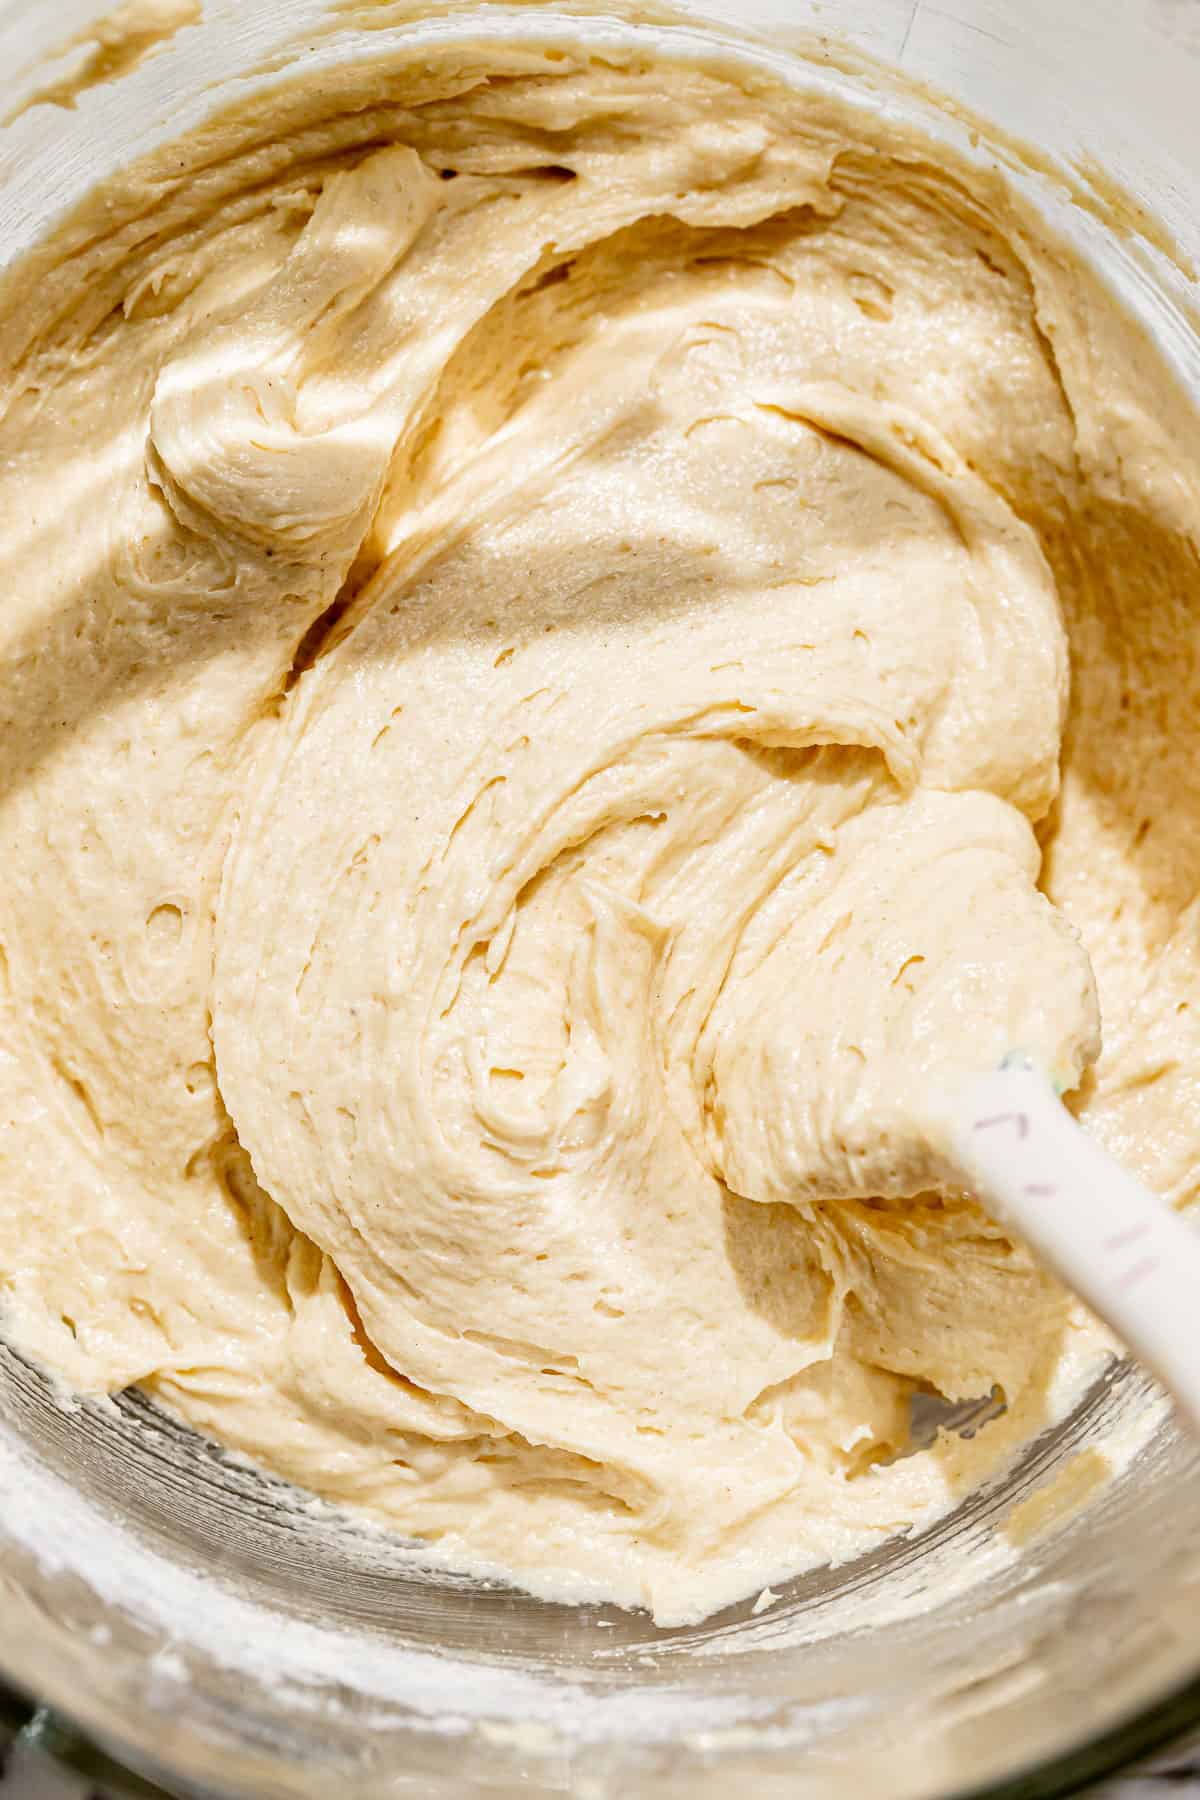
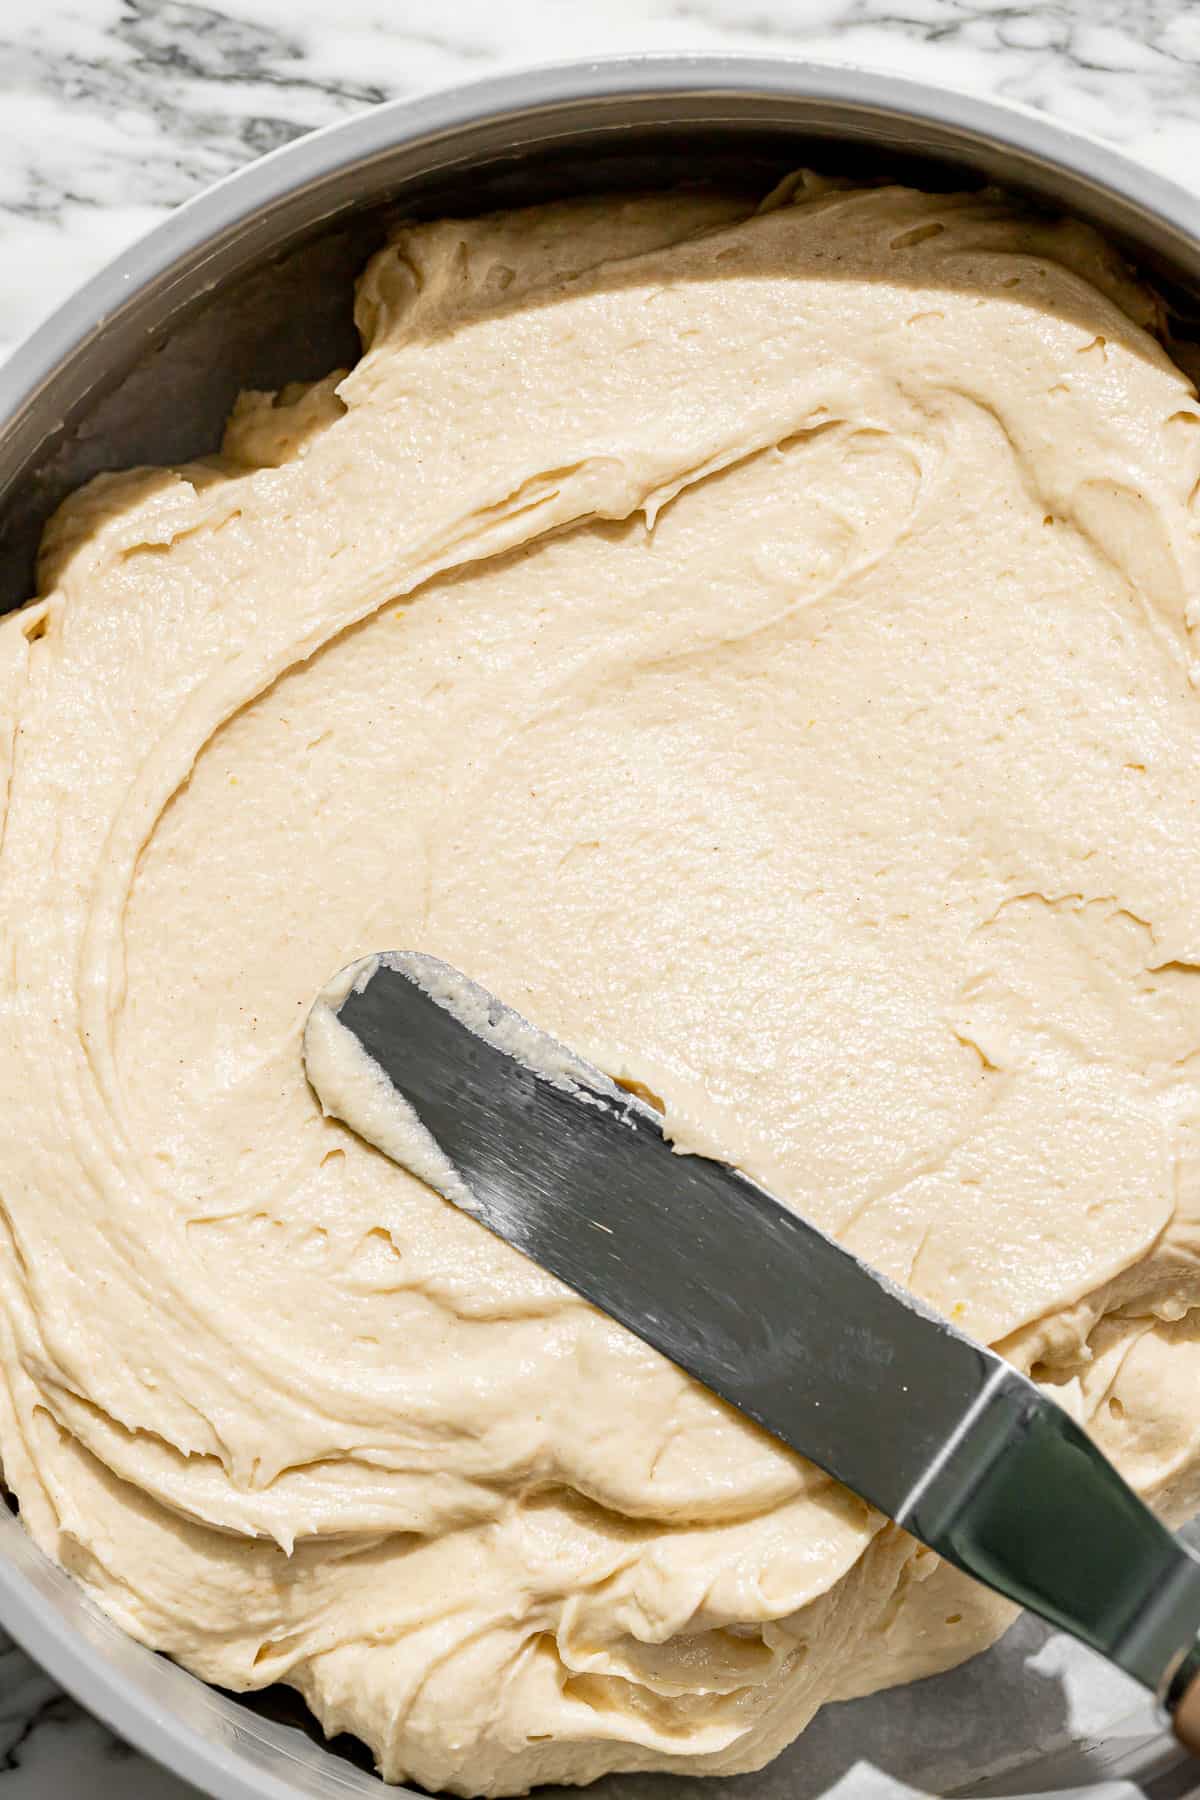
STEP 5: Add the remaining dry ingredients. Then, add the rest of the dry ingredients and mix until just combined. Scrape down the bowl with a rubber spatula to ensure everything is evenly incorporated.
STEP 6: Pour batter into pan. Pour the batter into the prepared pan, and smooth out the top. Generously sprinkle with turbinado sugar.
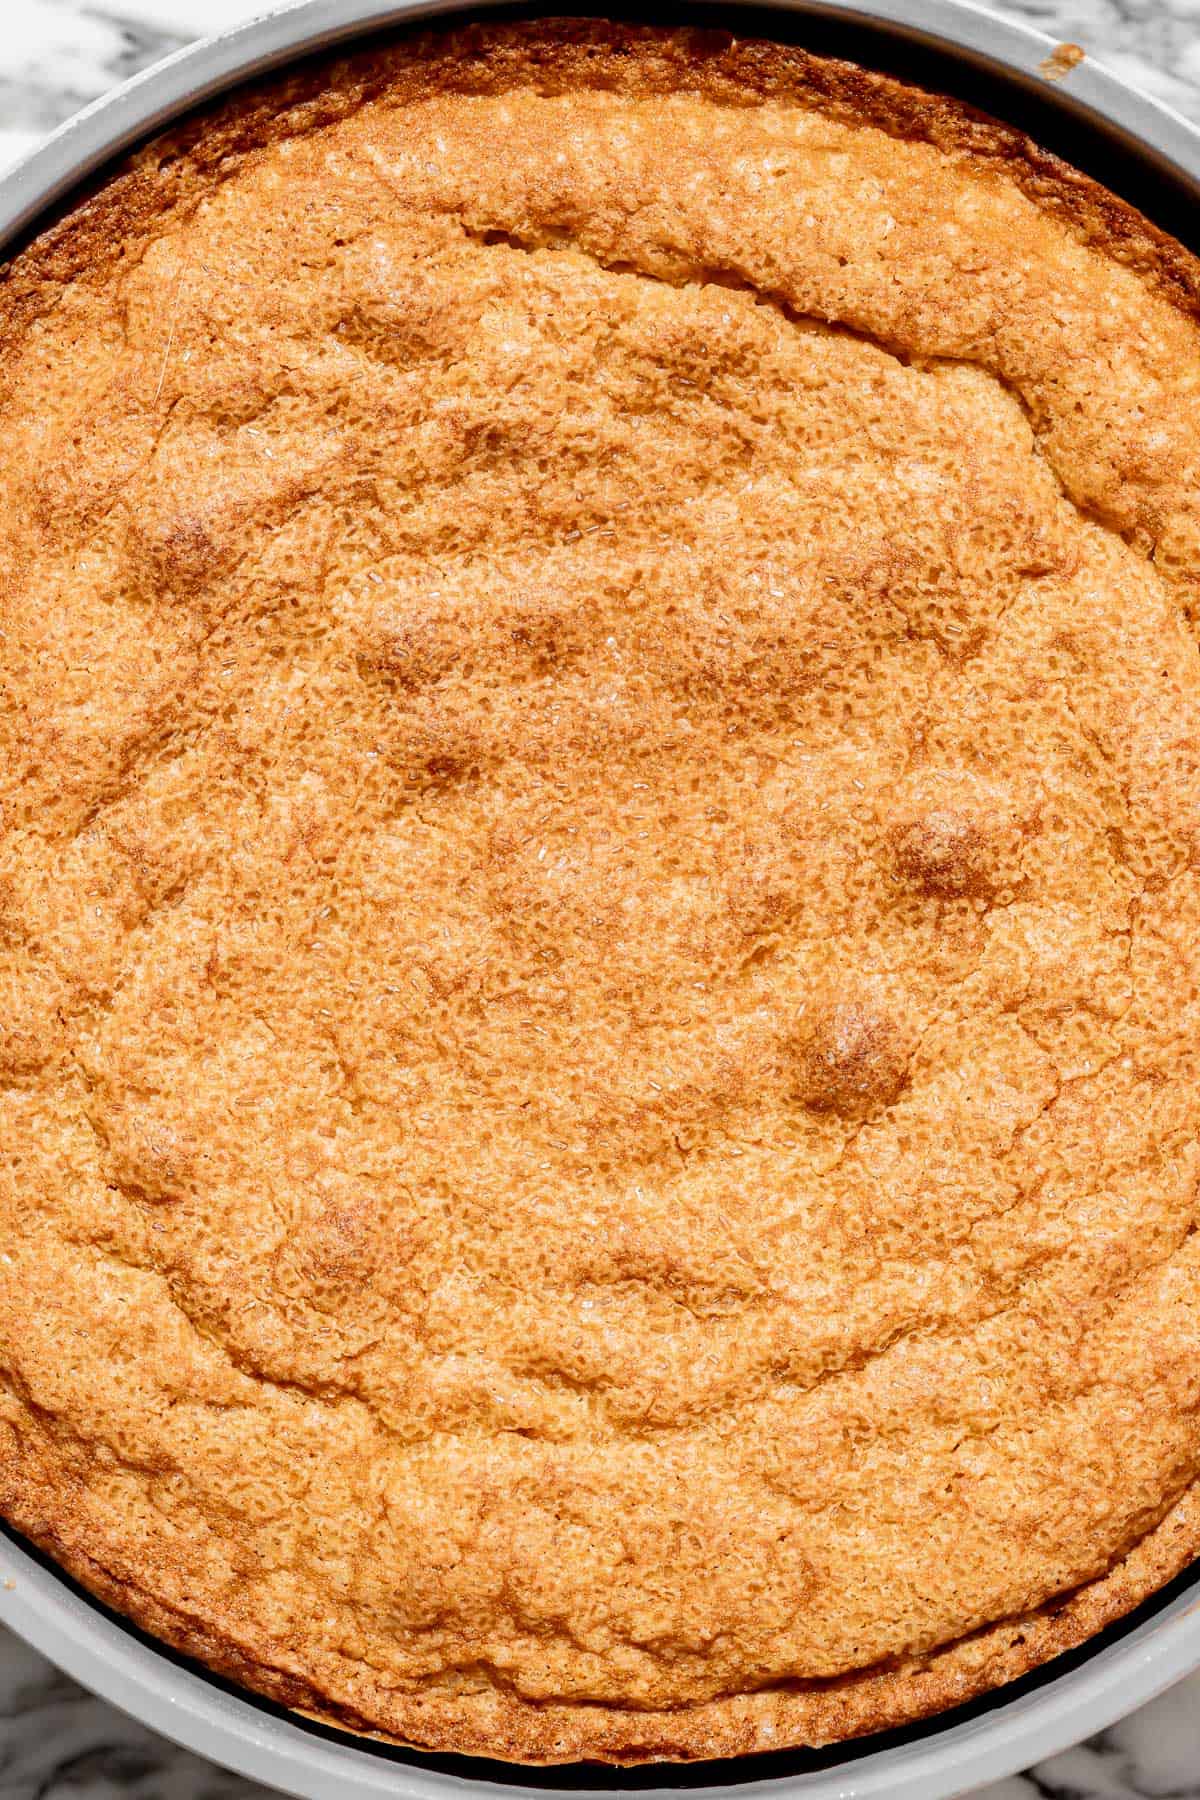
STEP 7: Bake. Bake the cake for about 45 minutes or until golden and a toothpick inserted comes out clean. Allow the cake to cool for a few minutes in the pan, then loosen the sides with a knife and turn out onto a wire rack to cool completely.
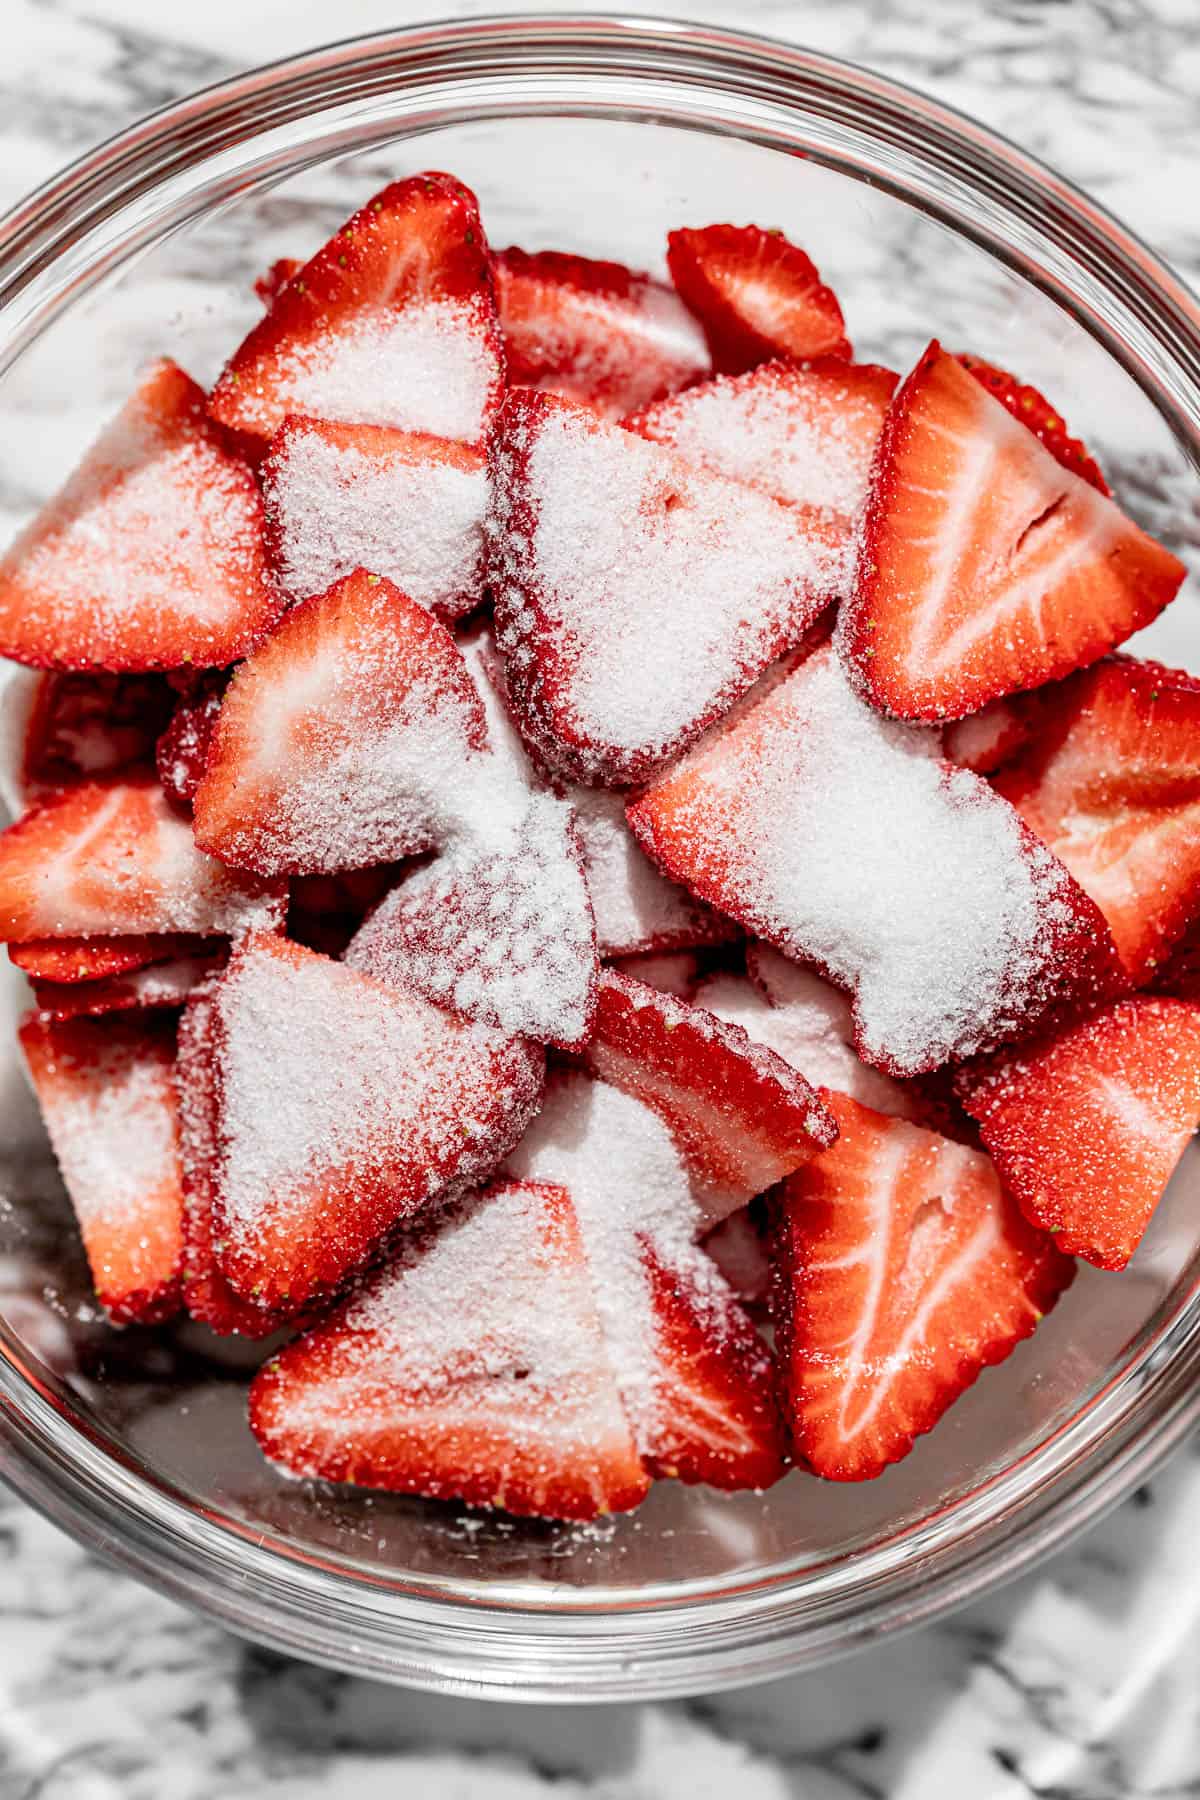
STEP 8: Macerate the strawberries. In a small bowl, toss together the sliced strawberries and granulated sugar. Set aside to macerate.
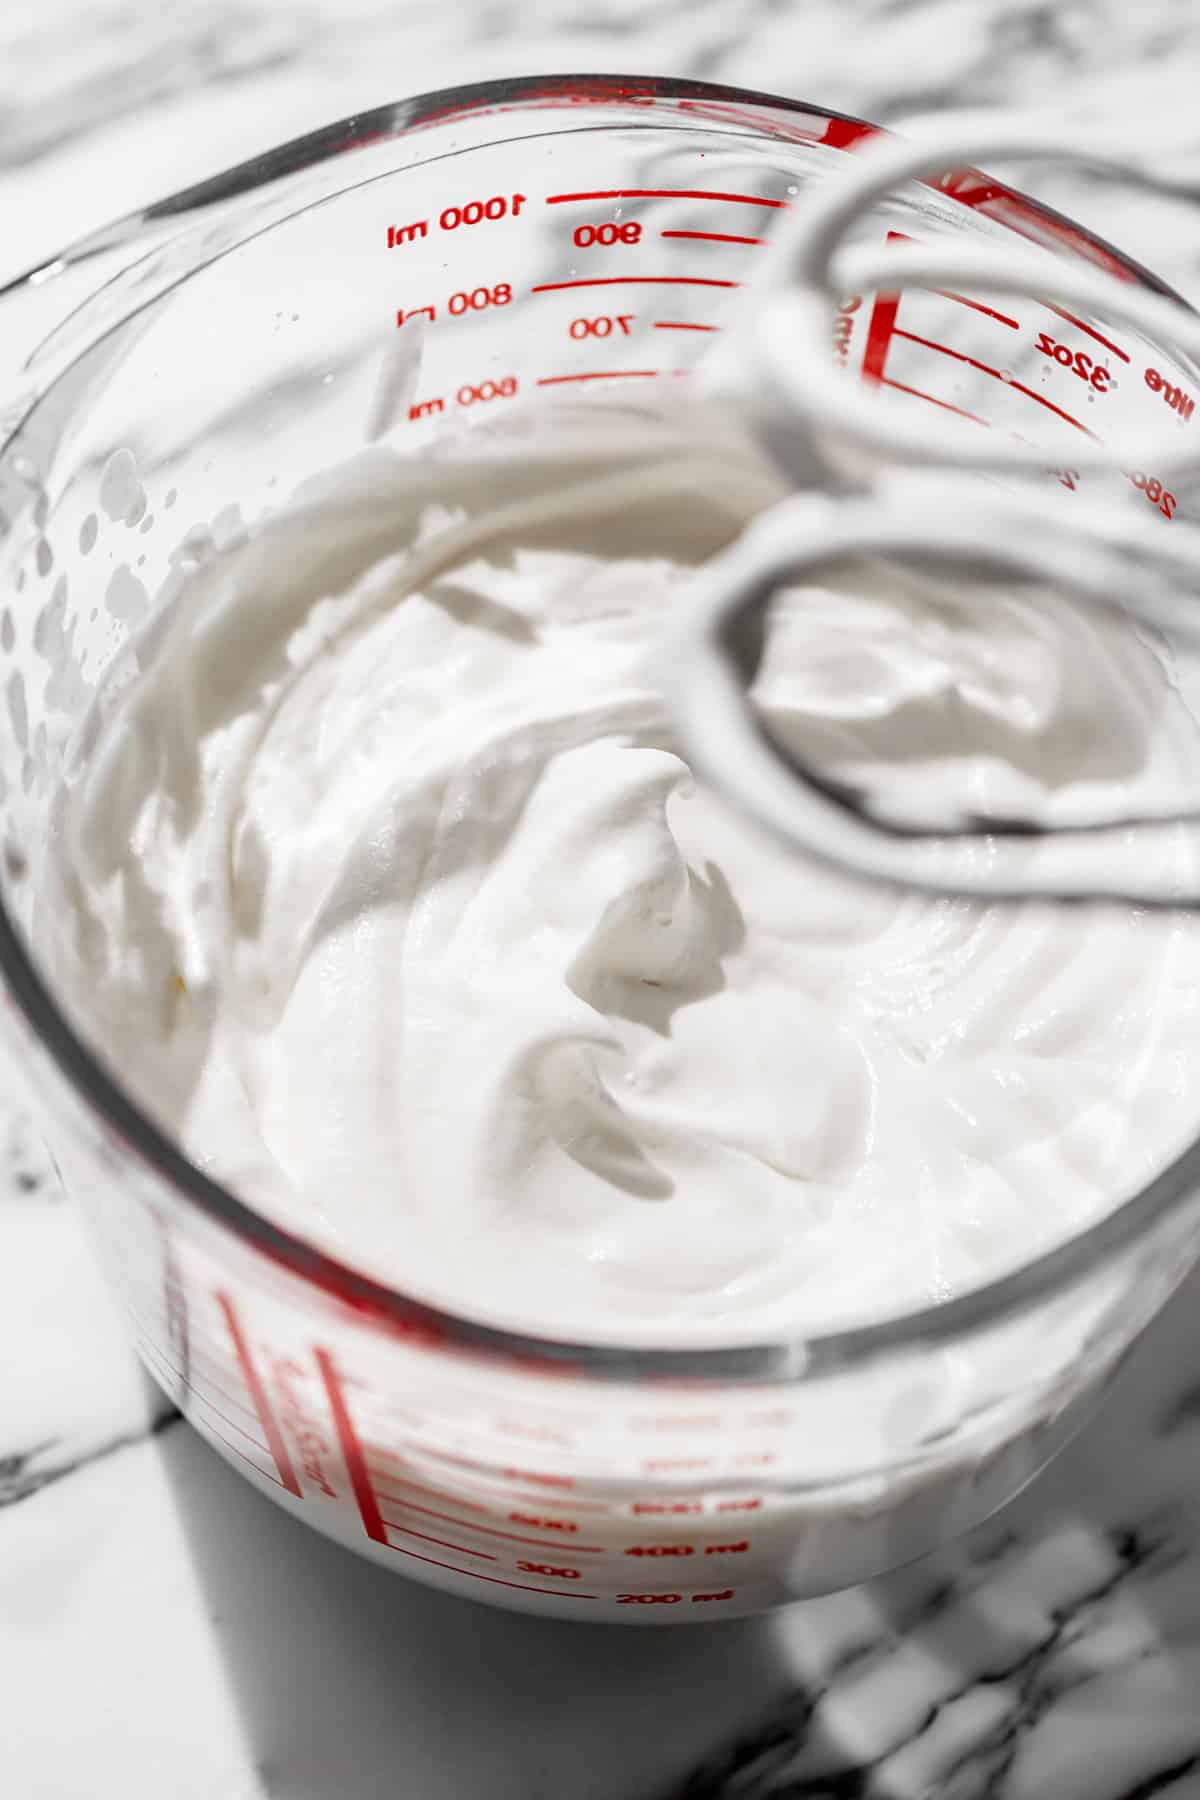
STEP 9: Make the whipped cream. In a large measuring cup or large mixing bowl, add the cold whipping heavy cream and sugar. Use an electric hand mixer to whip the cream until stiff peaks form. Careful not to over-whip the cream, as it can quickly split and become grainy!
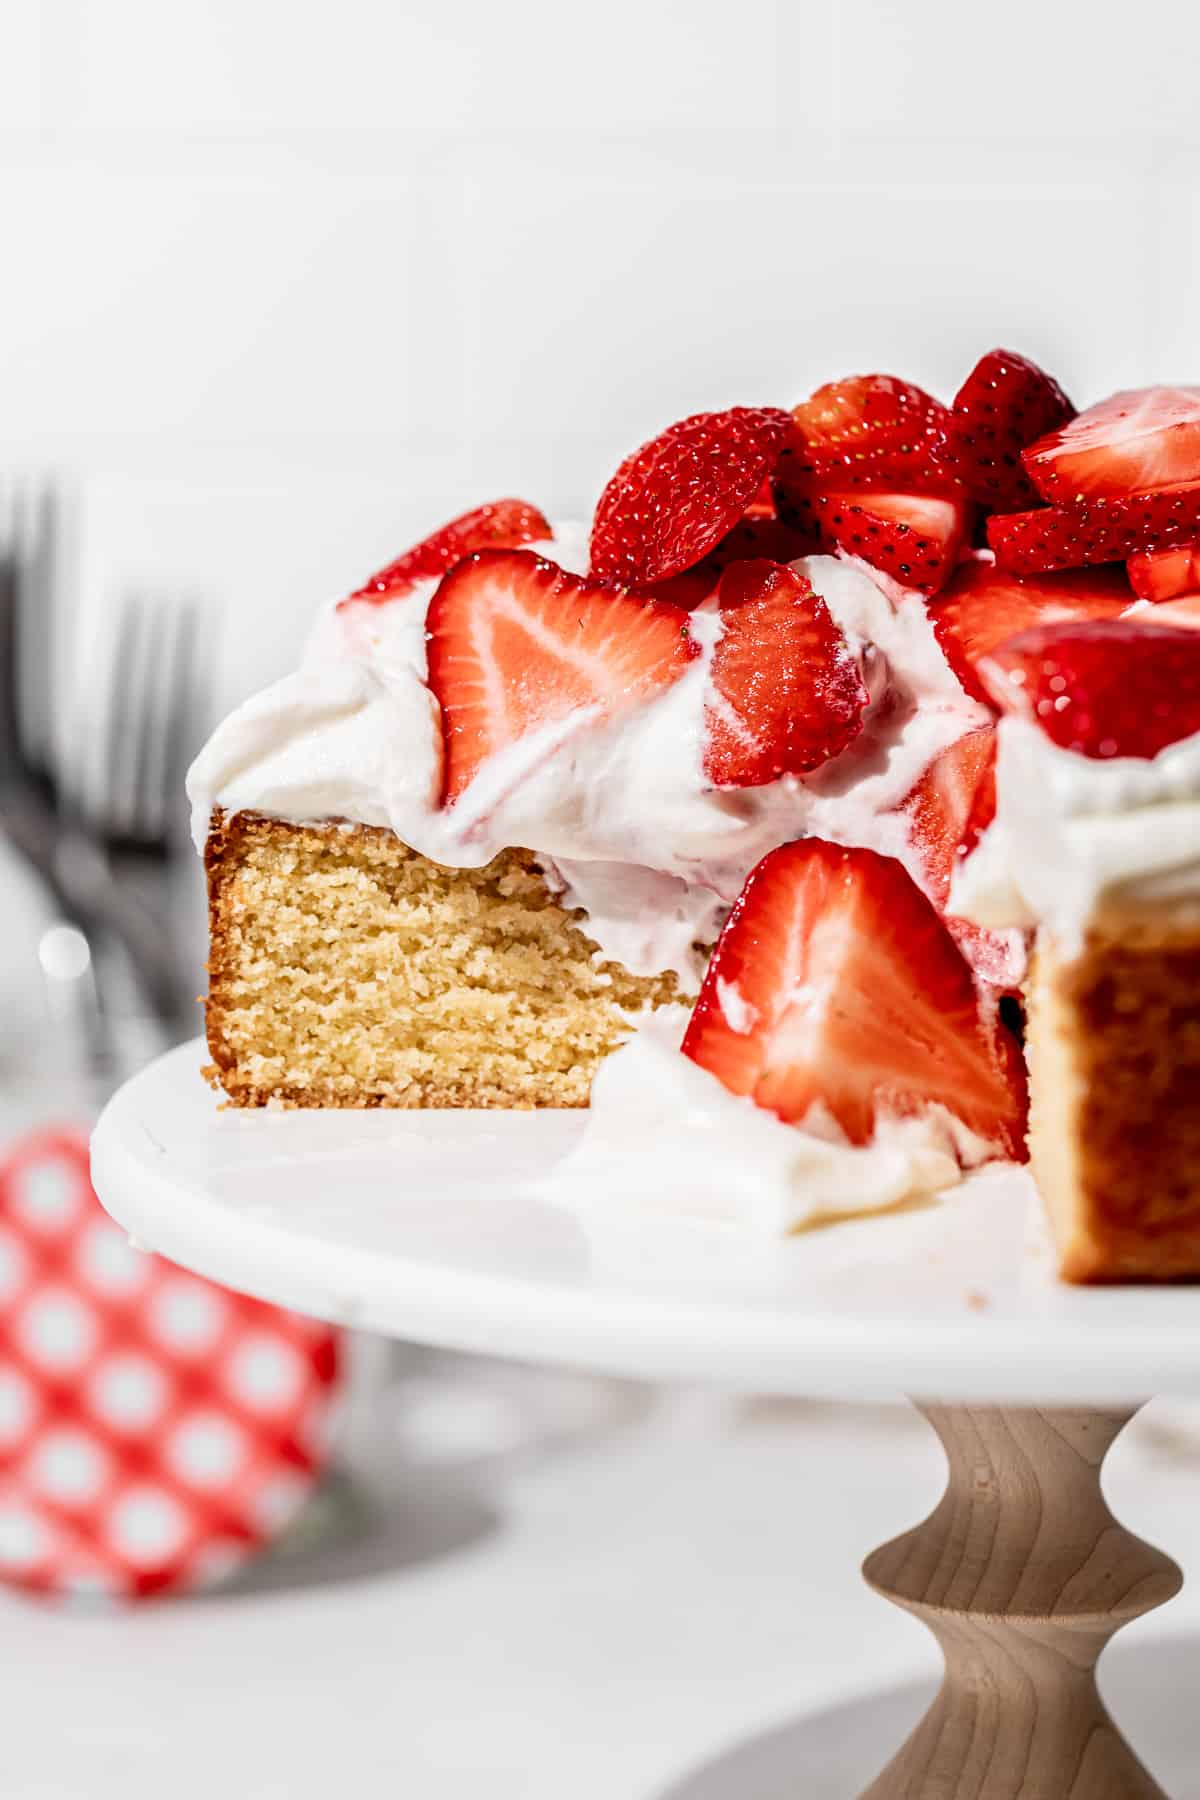
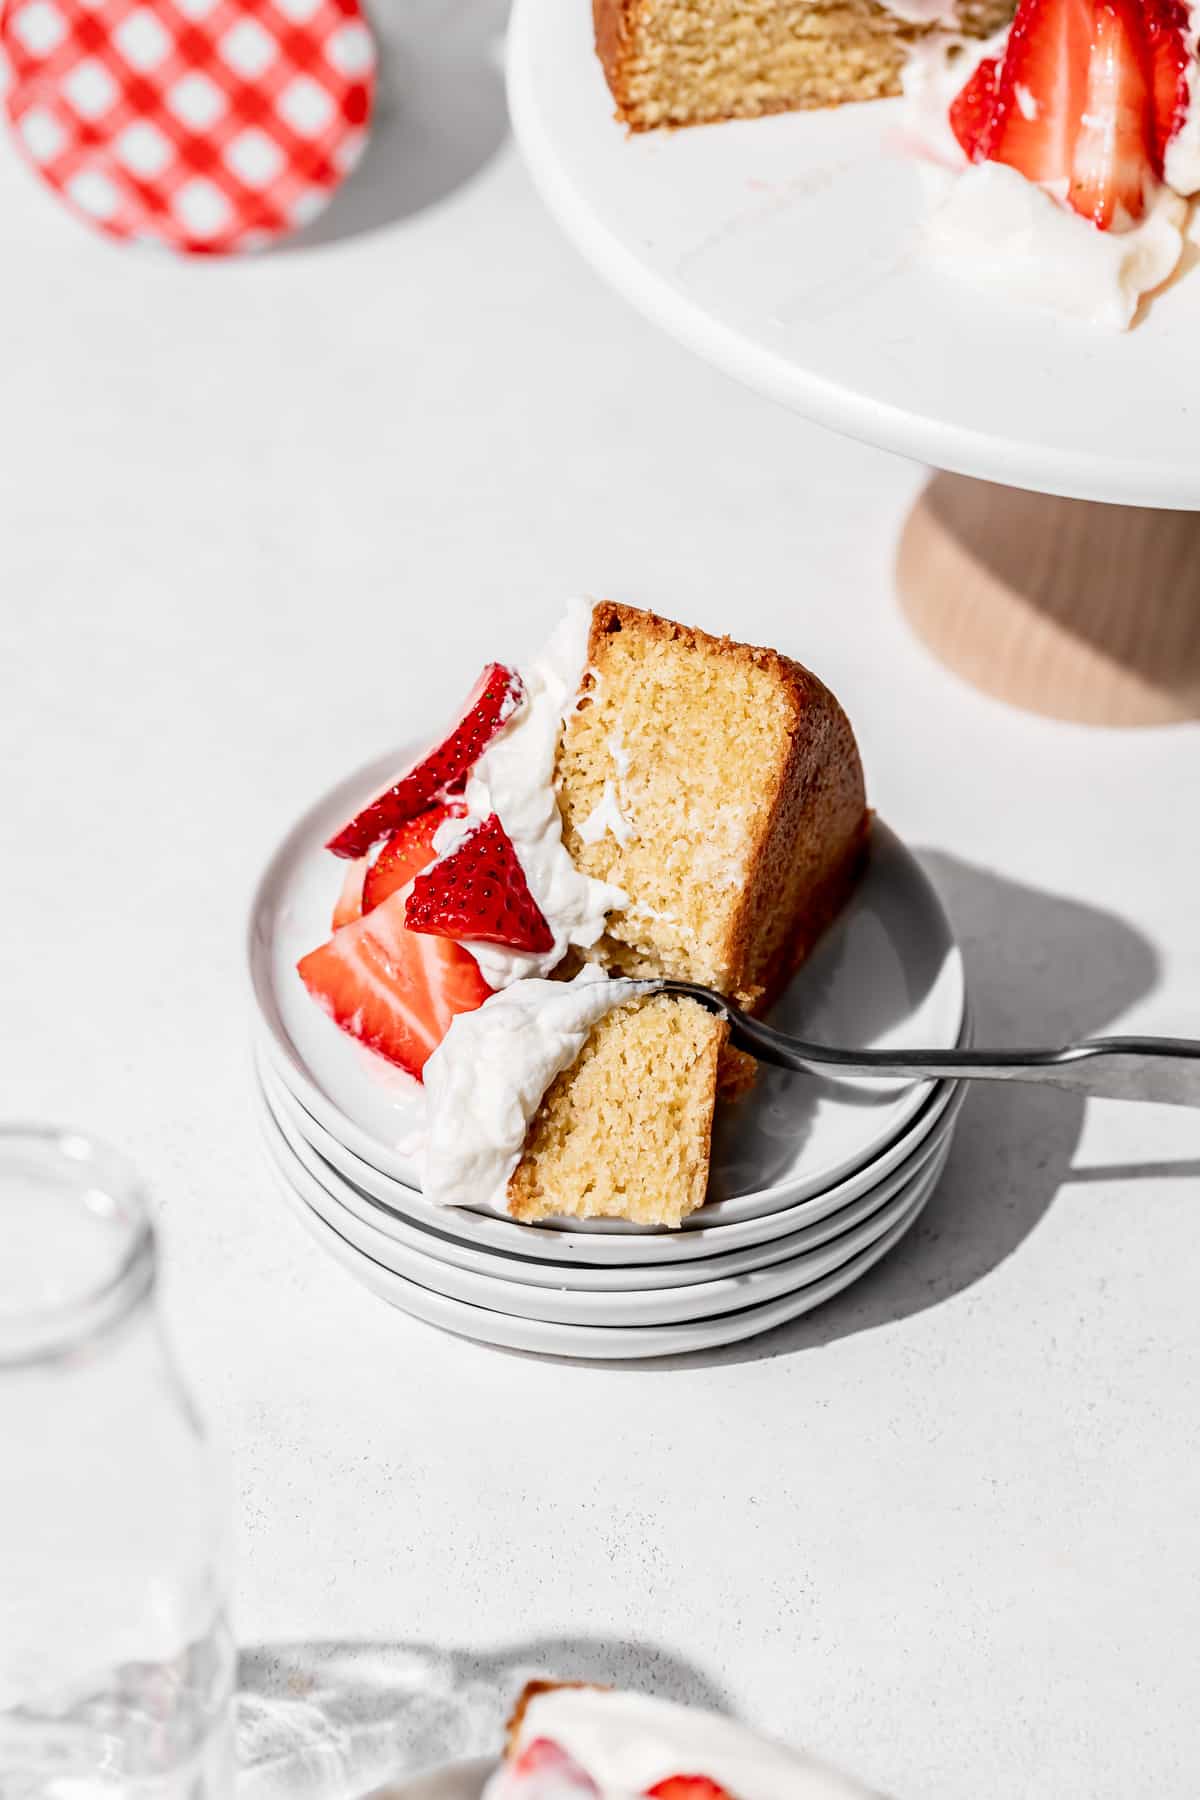
STEP 10: Assemble the cake. Transfer the cake to a platter or cake stand. Top the cake with the whipped cream, then carefully arrange the macerated strawberries on top. Enjoy!
Expert Baking Tips
- Cream the butter & sugar for a full 3-4 minutes. I know it can be tempting, but do not cut the creaming of the butter & sugar time down! This will help the cake rise without adding too much chemical leavener.
- Use any neutral oil. My go-to is light-tasting olive oil, but you can use any neutral oil, such as vegetable or canola oil.
- Don't over-whip the cream! Whip the cream to until it just reaches stiff peaks. Cream can split very quickly and become grainy.
- Assemble the cake just before serving. Whipped cream can liquify again, so I recommend waiting to whip the cream and assembling the cake until just before serving.
Recipe FAQs
This cake stays moist for several days, so it's a great make ahead dessert! Make the cake layer the day before, then wrap it in plastic wrap and store at room temperature. The next day, make the toppings and assemble it just before serving! You can also freeze the cake layer for up to three months. Be sure to let the cake thaw overnight at room temperature.
Without toppings, the cake layer can be stored in an airtight container at room temperature for about 3 days. With toppings, store this cake covered in the fridge for 2-3 days.
Baking in Grams
All of the recipes on this blog are carefully developed with gram measurements so you can easily recreate them in your own kitchen with success. Volume measurements are extremely inaccurate and leave room for significant errors. Not all measuring cups are made equally, so your one cup of flour will be different from my one cup of flour. By providing precise measurements in grams (aside from minor ingredients, which are given in tsp/tbsp), you can make these recipes accurately and with less cleanup! All you need is this kitchen scale.
If this still isn't enough to convince you, I have provided volume measurements in the recipe card. If you are interested in understanding the conversions, this is the best conversion chart.
But trust me, once you try baking in grams you'll never turn back!
Happy baking! x
Other summer dessert recipes to try
If you tried this recipe, I'd love to know how it turned out for you! Leave a star rating & review below and post a picture (or video!) on Instagram and tag me so I can see your bakes! Not ready to make this recipe yet? Click the heart button on the right of your screen to save it for later 🙂
📖 Recipe
Gluten Free Strawberry Shortcake Cake
Ingredients
For the gluten free cake:
- 180 g (1 ½ cups) gluten free 1:1 flour
- 46 g (½ cup) oat flour
- 2 teaspoon baking powder
- 1 teaspoon salt
- 170 g (12 tablespoon) unsalted butter, room temp
- 250 g (1 ¼ cup) granulated sugar
- 50 g (¼ cup) neutral oil
- 3 eggs, room temp
- 2 teaspoon vanilla extract
- 56 g (¼ cup) buttermilk, room temp
- Turbinado sugar, for sprinkling
For the macerated strawberries:
- 16 ounces strawberries, thinly sliced
- 24 g (2 tablespoon) granulated sugar
For the whipped cream:
- 340 g (1 ½ cups) heavy cream, cold
- 36 g (3 tablespoon) granulated sugar
Instructions
For the gluten free cake:
- Preheat the oven to 325 degrees F. Grease and line a 9-inch cake pan with parchment paper.
- In a small bowl, whisk together the gluten free 1:1 flour, oat flour, baking powder, and salt.
- In the bowl of a stand mixer fitted with a paddle attachment, cream the butter and sugar together for 3-4 minutes until light & fluffy. Then, mix in the oil.
- Scrape down the bowl and turn the mixer down to low speed. Add the eggs one at a time, scraping the bowl down in between each addition. Add the vanilla with the last egg.
- Add half of the dry ingredients and mix until just combined. Mix in the buttermilk, then add the rest of the dry ingredients and mix until just combined.
- Pour the batter into the prepared pan, and smooth out the top. Generously sprinkle with turbinado sugar.
- Bake the cake for about 45 minutes or until golden and a toothpick inserted comes out clean. Allow the cake to cool for a few minutes in the pan, then loosen the sides with a knife and turn out onto a wire rack to cool completely.
For the macerated strawberries:
- Once the cake is cool, make the toppings.
- In a small bowl, toss together the sliced strawberries and granulated sugar. Set aside to macerate.
For the whipped cream:
- In a large measuring cup or bowl, add the cold heavy cream and sugar. Use an electric mixer to whip the cream until stiff peaks form. Careful not to over-whip the cream, as it can quickly split and become grainy!
- Assemble the cake immediately.
For assembly:
- Top the cake with the whipped cream, then carefully arrange the macerated strawberries on top. Enjoy!
Notes
- Cream the butter & sugar for a full 3-4 minutes. I know it can be tempting, but do not cut the creaming of the butter & sugar time down! This will help the cake rise without adding too much chemical leavener.
- Use any neutral oil. My go-to is light-tasting olive oil, but you can use any neutral oil, such as vegetable or canola oil.
- Don't over-whip the cream! Whip the cream to until it just reaches stiff peaks. Cream can split very quickly and become grainy.
- Assemble the cake just before serving. Whipped cream can liquify again, so I recommend waiting to whip the cream and assembling the cake until just before serving.

Vanessa says
I’ve never made a GF dessert before, this was a huge hit!! Tasted amazing, everyone asked for recipe. The texture was not dry and cake flavor was perfect.
I’d like to make it again, but with two layers. If I don’t want to do gluten free can I just sub the oat and 1:1 flour with an equivalent amount of regular all purpose flour? Thank you!
Sloane says
Hi! So glad you loved this recipe!! If you'd like a non-gf recipe, I would make my vanilla pound cake recipe (https://atsloanestable.com/peach-cobbler-pound-cake/), which is actually what this recipe is based off of. Let me know if you try it!