
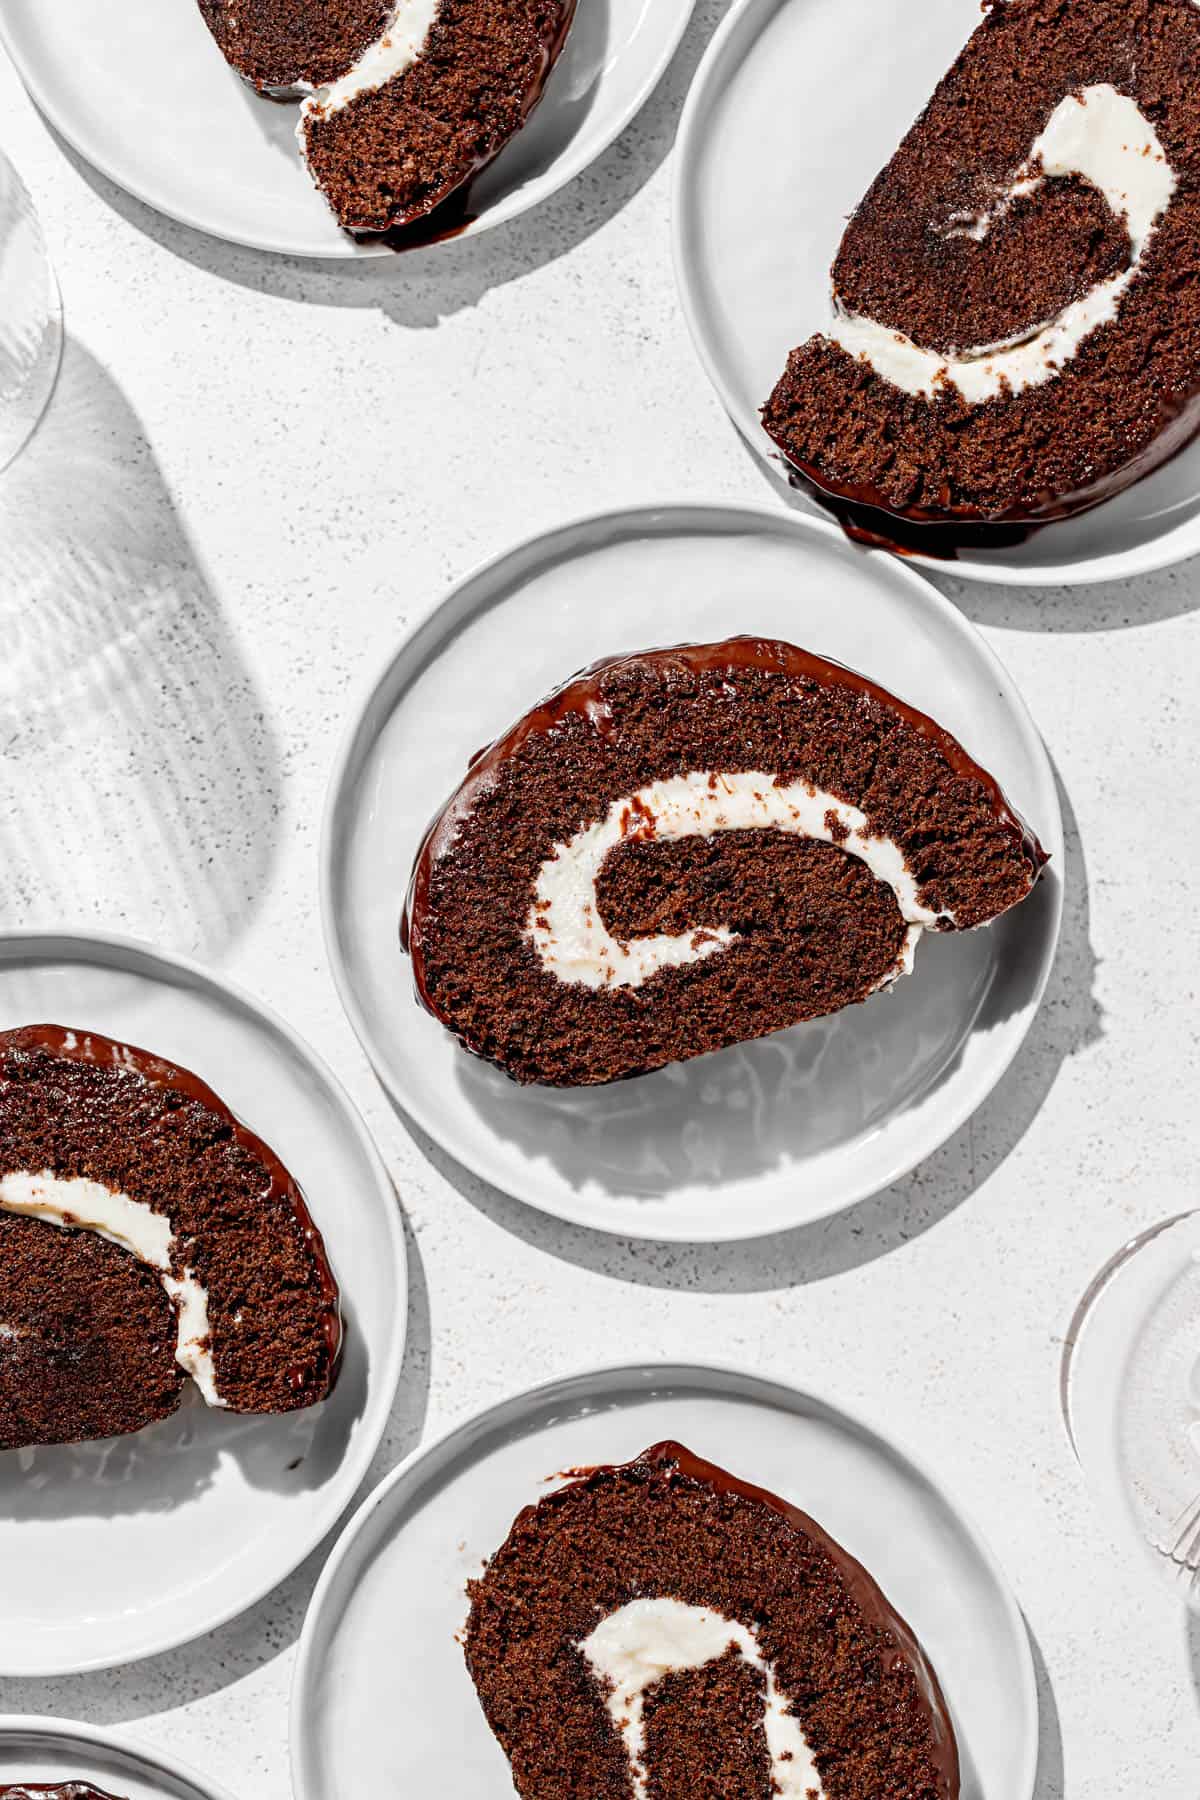
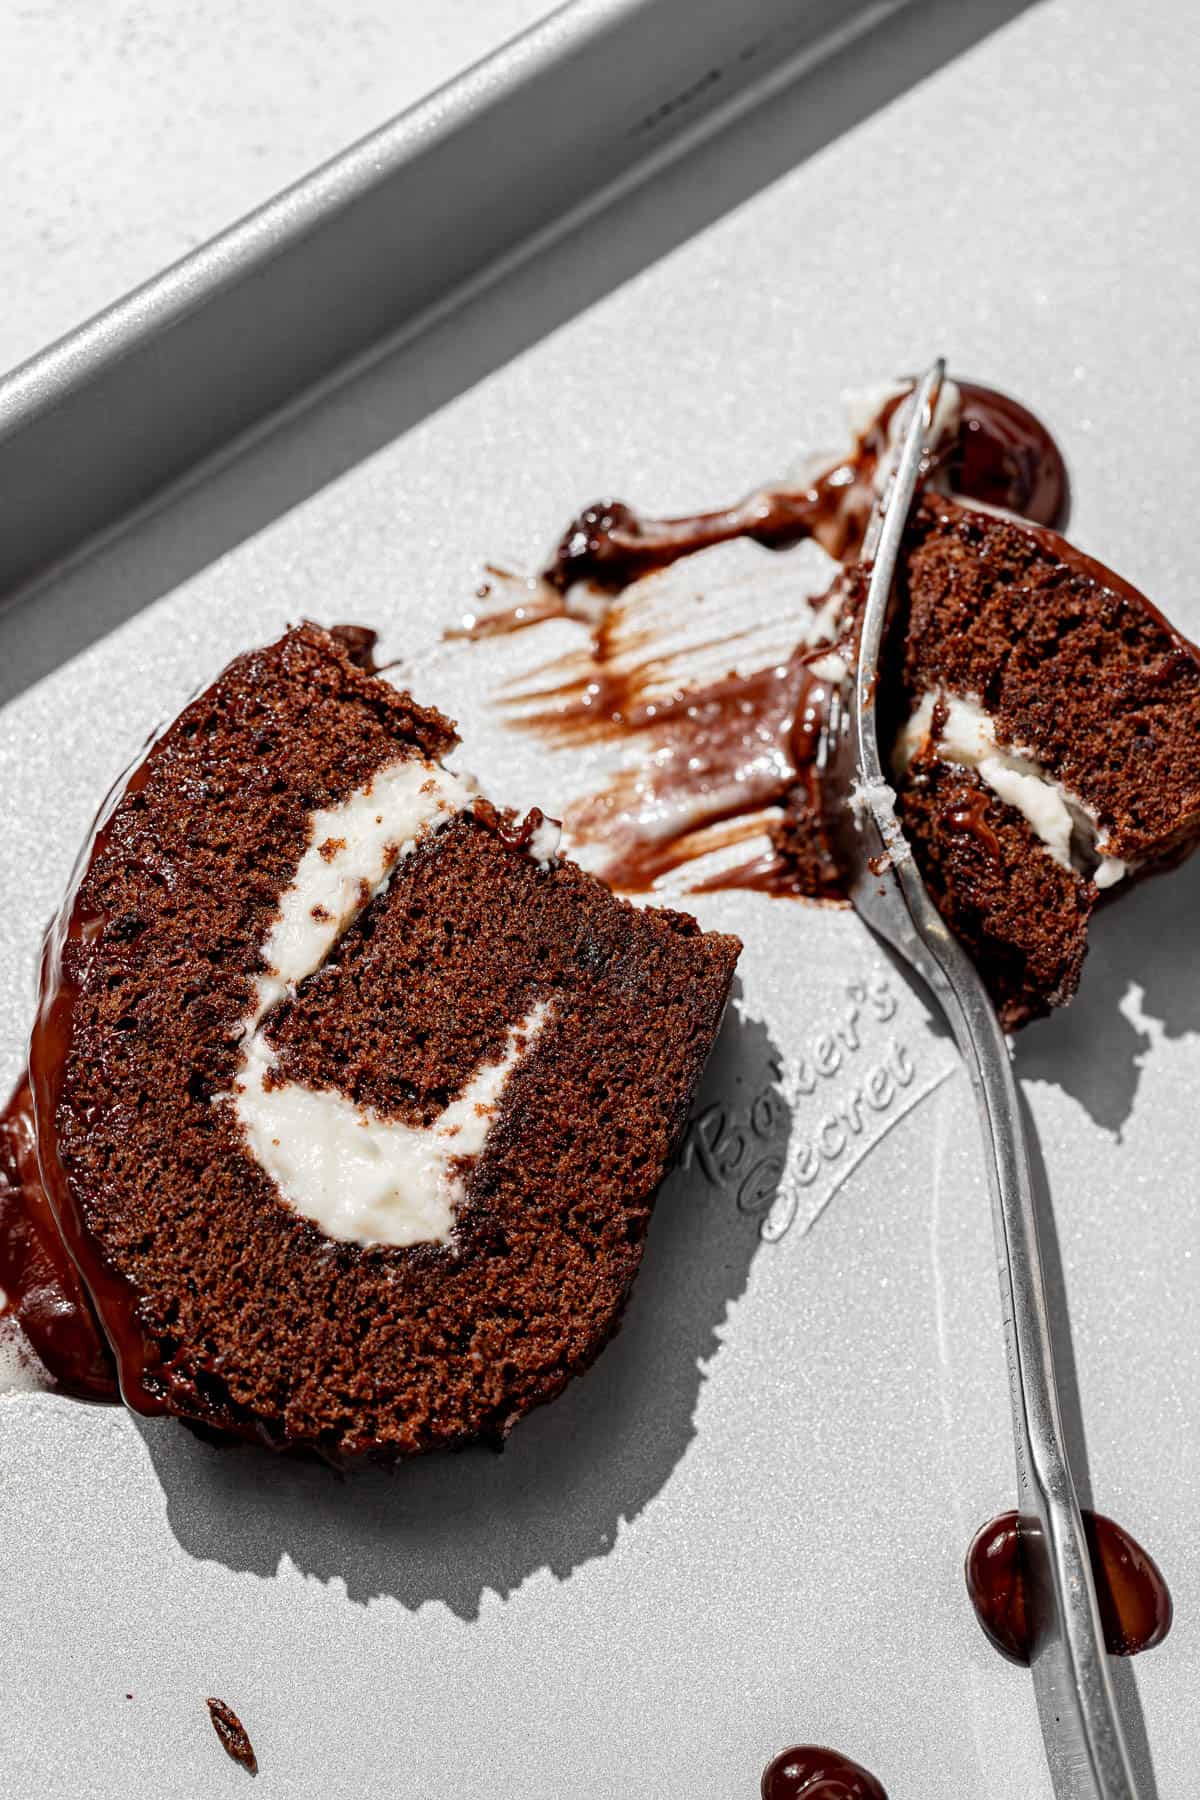
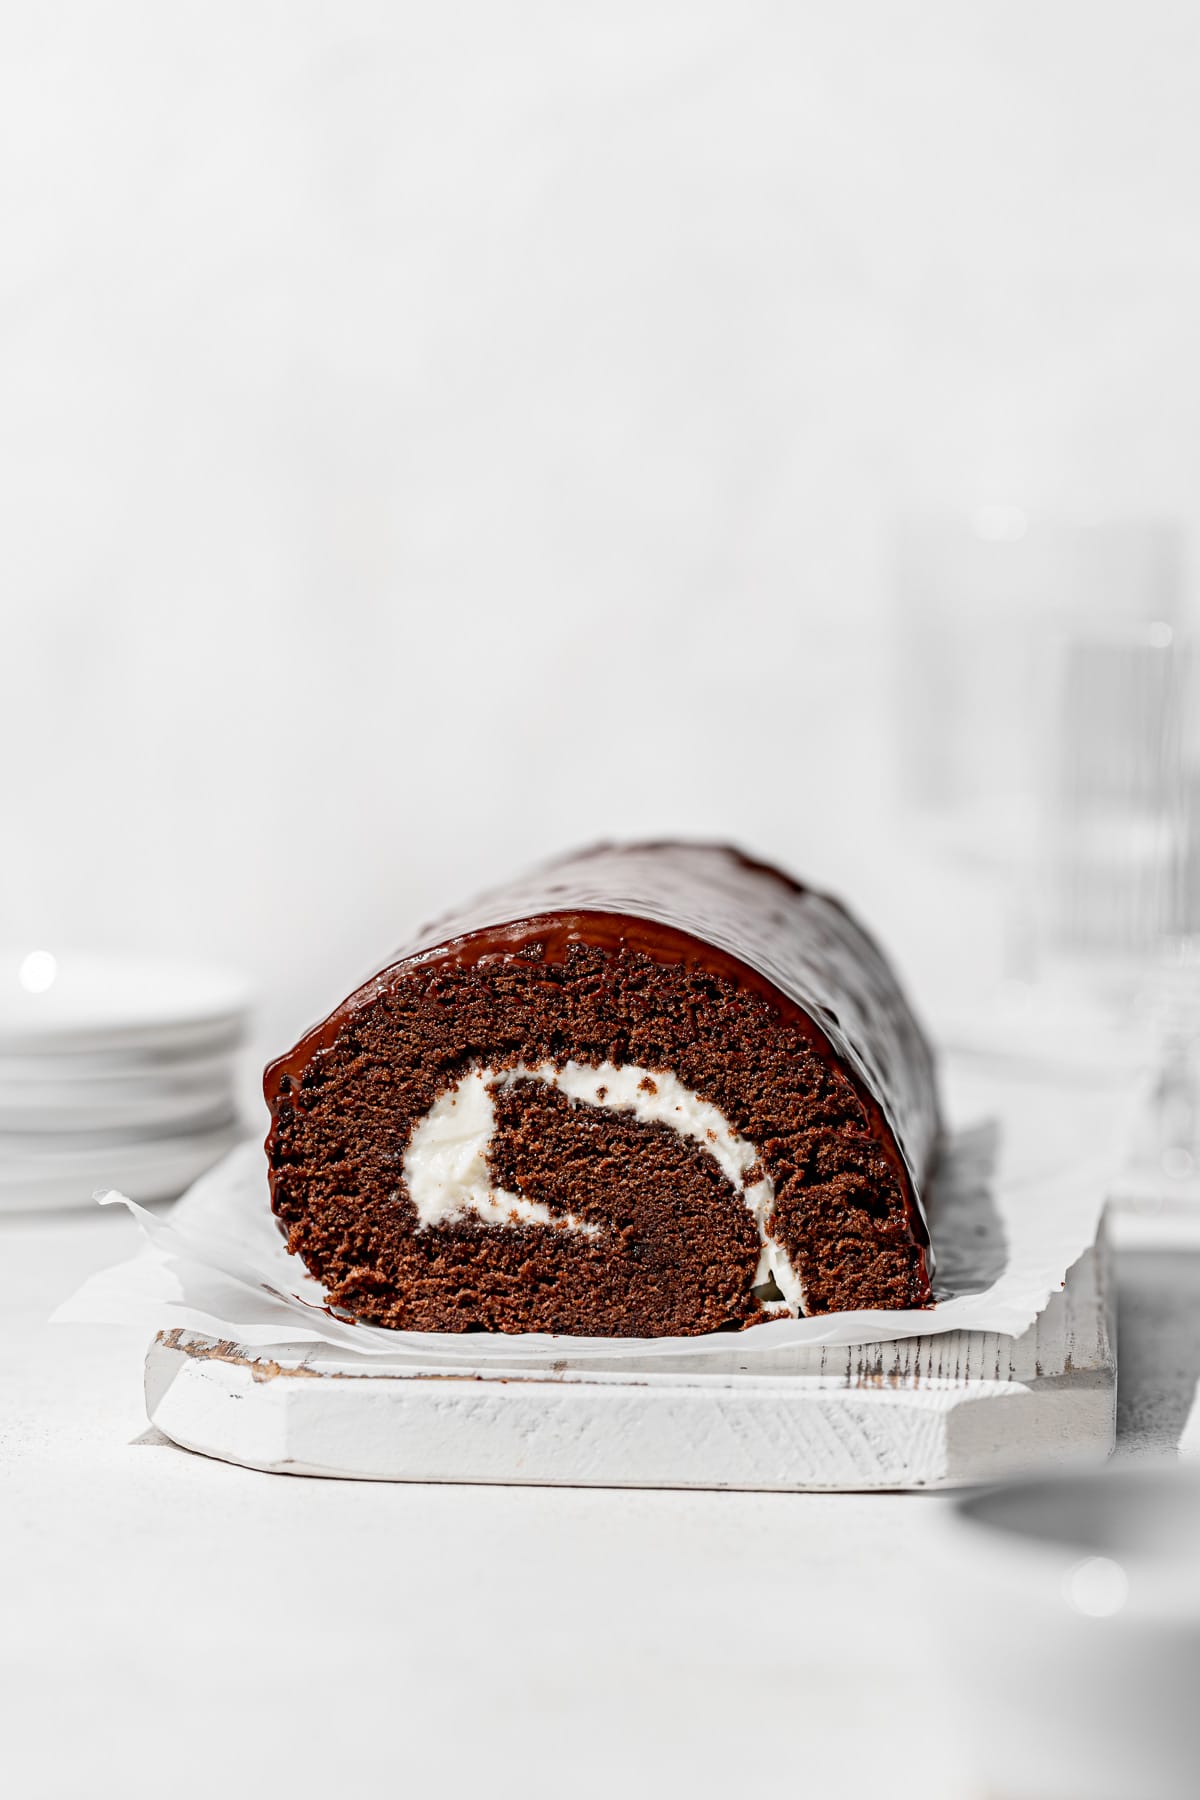
This show-stopping chocolate swiss roll is just as decadent as it is beautiful. The fluffy & delicate chocolate sponge is rolled up with a light mascarpone cream filling, then it's all topped off with a rich chocolate ganache. This cake is sure to impress at your next dinner party!
This post is sponsored by Baker's Secret. All opinions are my own. Thank you for supporting the brands that make Sloane's Table possible!
I'll admit this cake challenged me. It went through about 10 rounds of testing! But I finally landed on a recipe that is flexible enough to roll without cracking, yet decadent enough that it actually tastes like chocolate!
Please don't be intimidated by the shape of this cake. I'll walk you through every step of the way with process photos and detailed tips & ticks! If you stick with me, you'll be rewarded with a rich & fluffy chocolate cake that's shaped into a perfect swirl.
For more specialty desserts, try Chocolate Tiramisu Cake, Mini Red Velvet Whoopie Pies, and Truffle Crème Brûlée.
Jump to Recipe
Why you'll love this chocolate swiss roll cake recipe
- Fluffy, Yet Decadent Sponge: Many chocolate swill roll recipes don't call for chocolate, but instead rely on just a few tablespoons of cocoa powder to deliver the chocolate flavor. While this does result in a flexible sponge that can be easily rolled without breaking, it also leaves you wanting more chocolateyness. Soooo, I developed this recipe to have both chocolate and dutch process cocoa powder for maximum chocolate flavor! Combined with the volume that the whipped yolks and whites provide, it results in a cake that's both fluffy AND decadent.
- Light Cream Filling: Rather than using unstable whipped cream filling, I opted for a light mascarpone filling. Mascarpone is so mild in flavor, so the filling tastes very similar to whipped cream, but is thick enough to be spread into the inside of this cake.
- Rich Chocolate Ganache: Just when you thought this cake couldn't get any better, it's topped with warm chocolate ganache!
Ingredient Notes
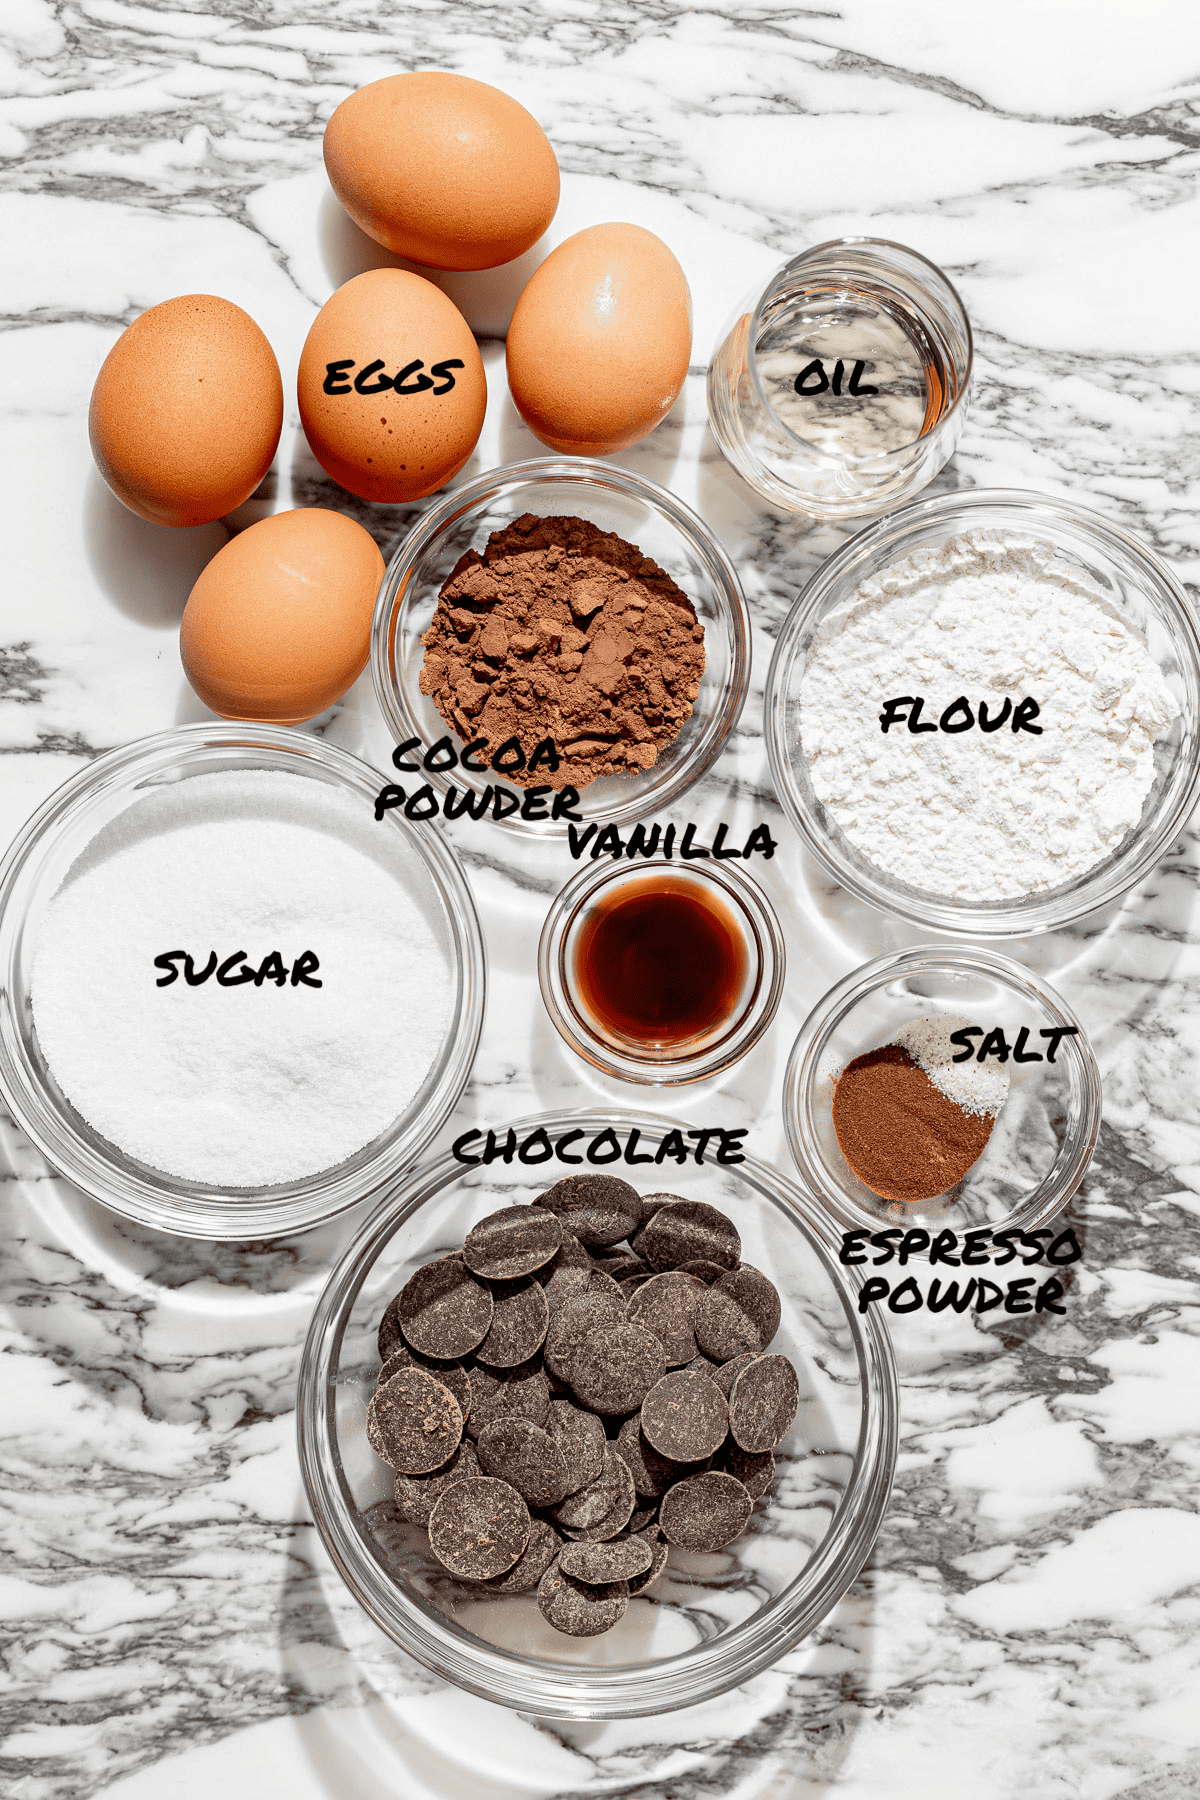
- Chocolate: Use a high-quality bittersweet chocolate for both the chocolate sponge and ganache.
- Espresso Powder: This is optional, but it really amplifies the chocolate flavor!
- Eggs: You'll need 5 large eggs, separated into yolks and whites.
- Cocoa Powder: Use dutch process cocoa powder for richer chocolate flavor.
- Oil: Use any neutral oil such as canola or vegetable oil. My go-to is extra light olive oil.
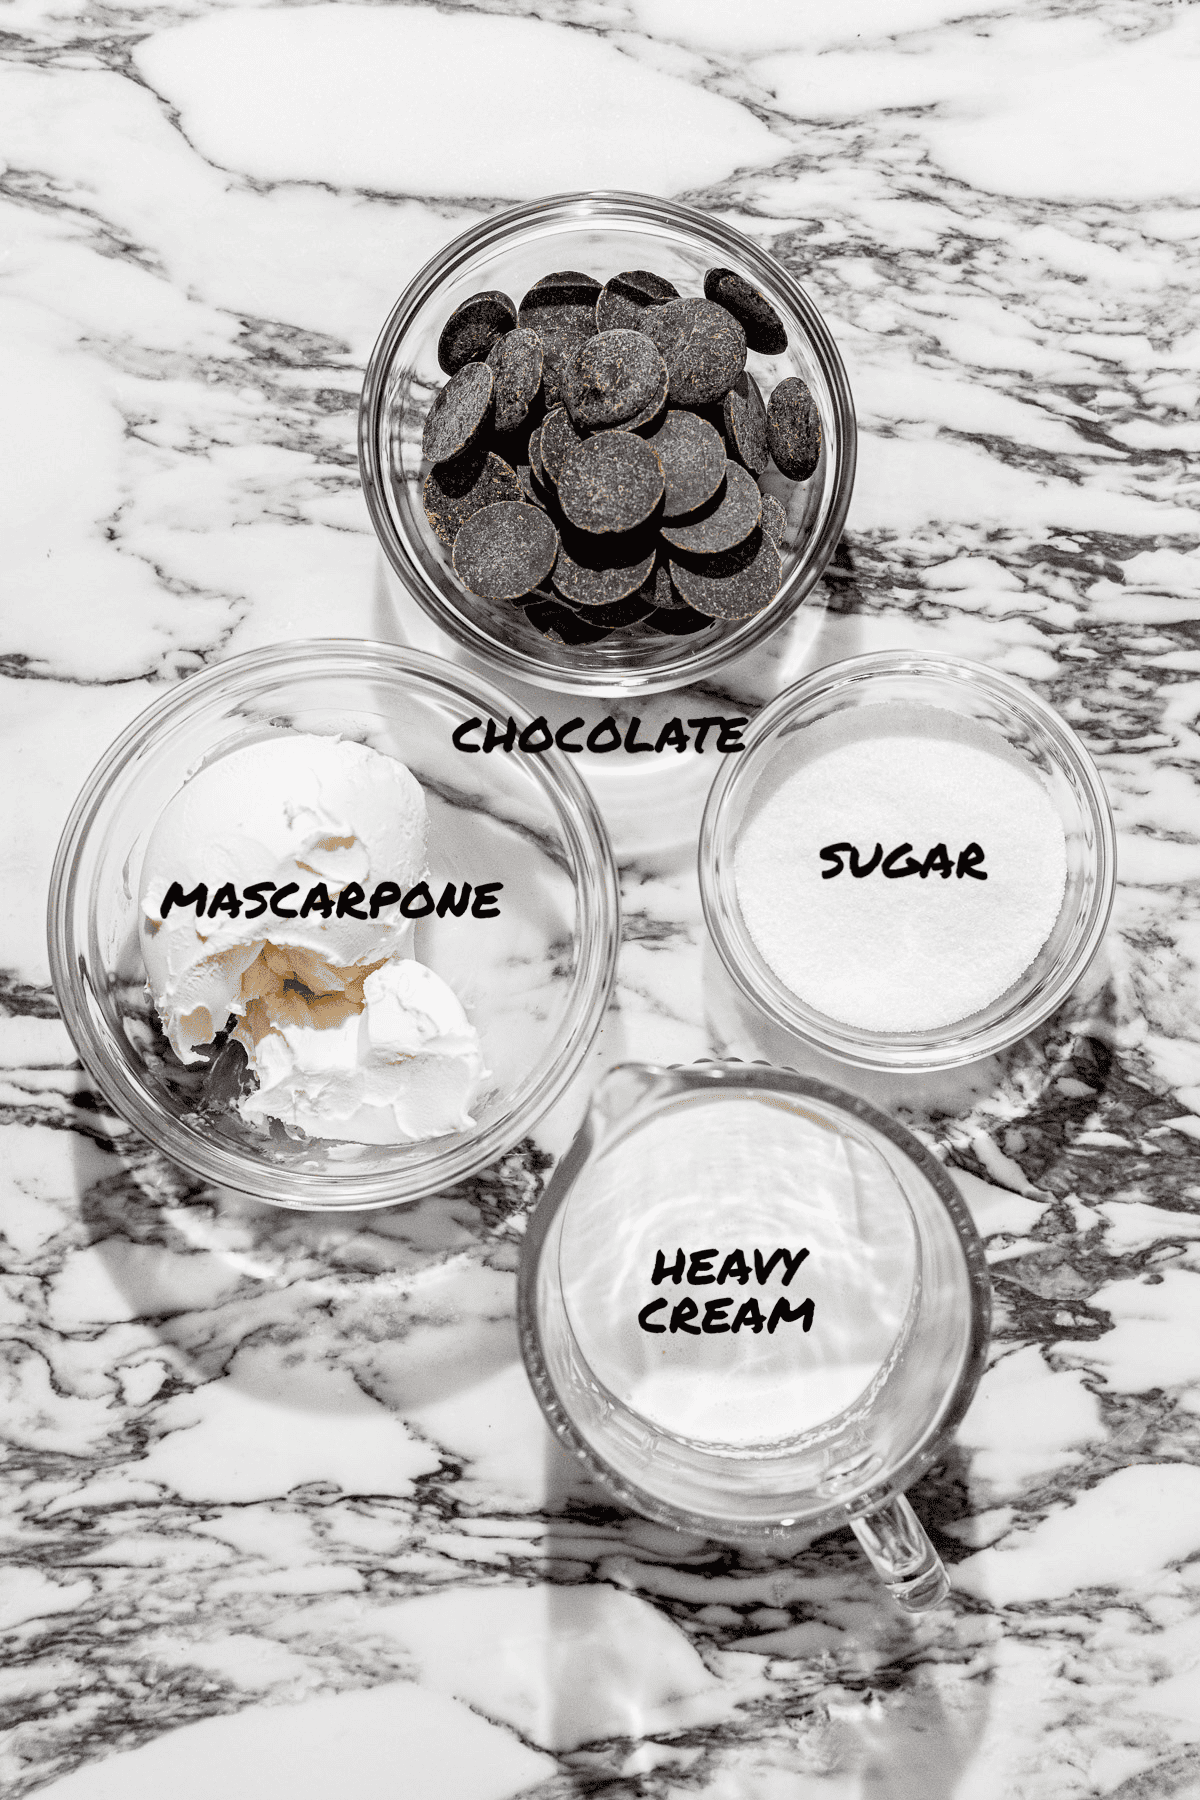
- Heavy Cream: You'll need heavy cream for both the cream filling and ganache.
- Mascarpone: Mascarpone cheese is similar to cream cheese in consistency but milder in flavor. Be sure to keep it cold before making the filling! Alternatively, you can use an equal amount of cream cheese.
See recipe card for full information on ingredients and individual quantities.
Step by Step Instructions
Here are step by step photos and instructions on how to make this chocolate Swiss roll recipe! For the full ingredient list and method, see the recipe card at the end of this post.
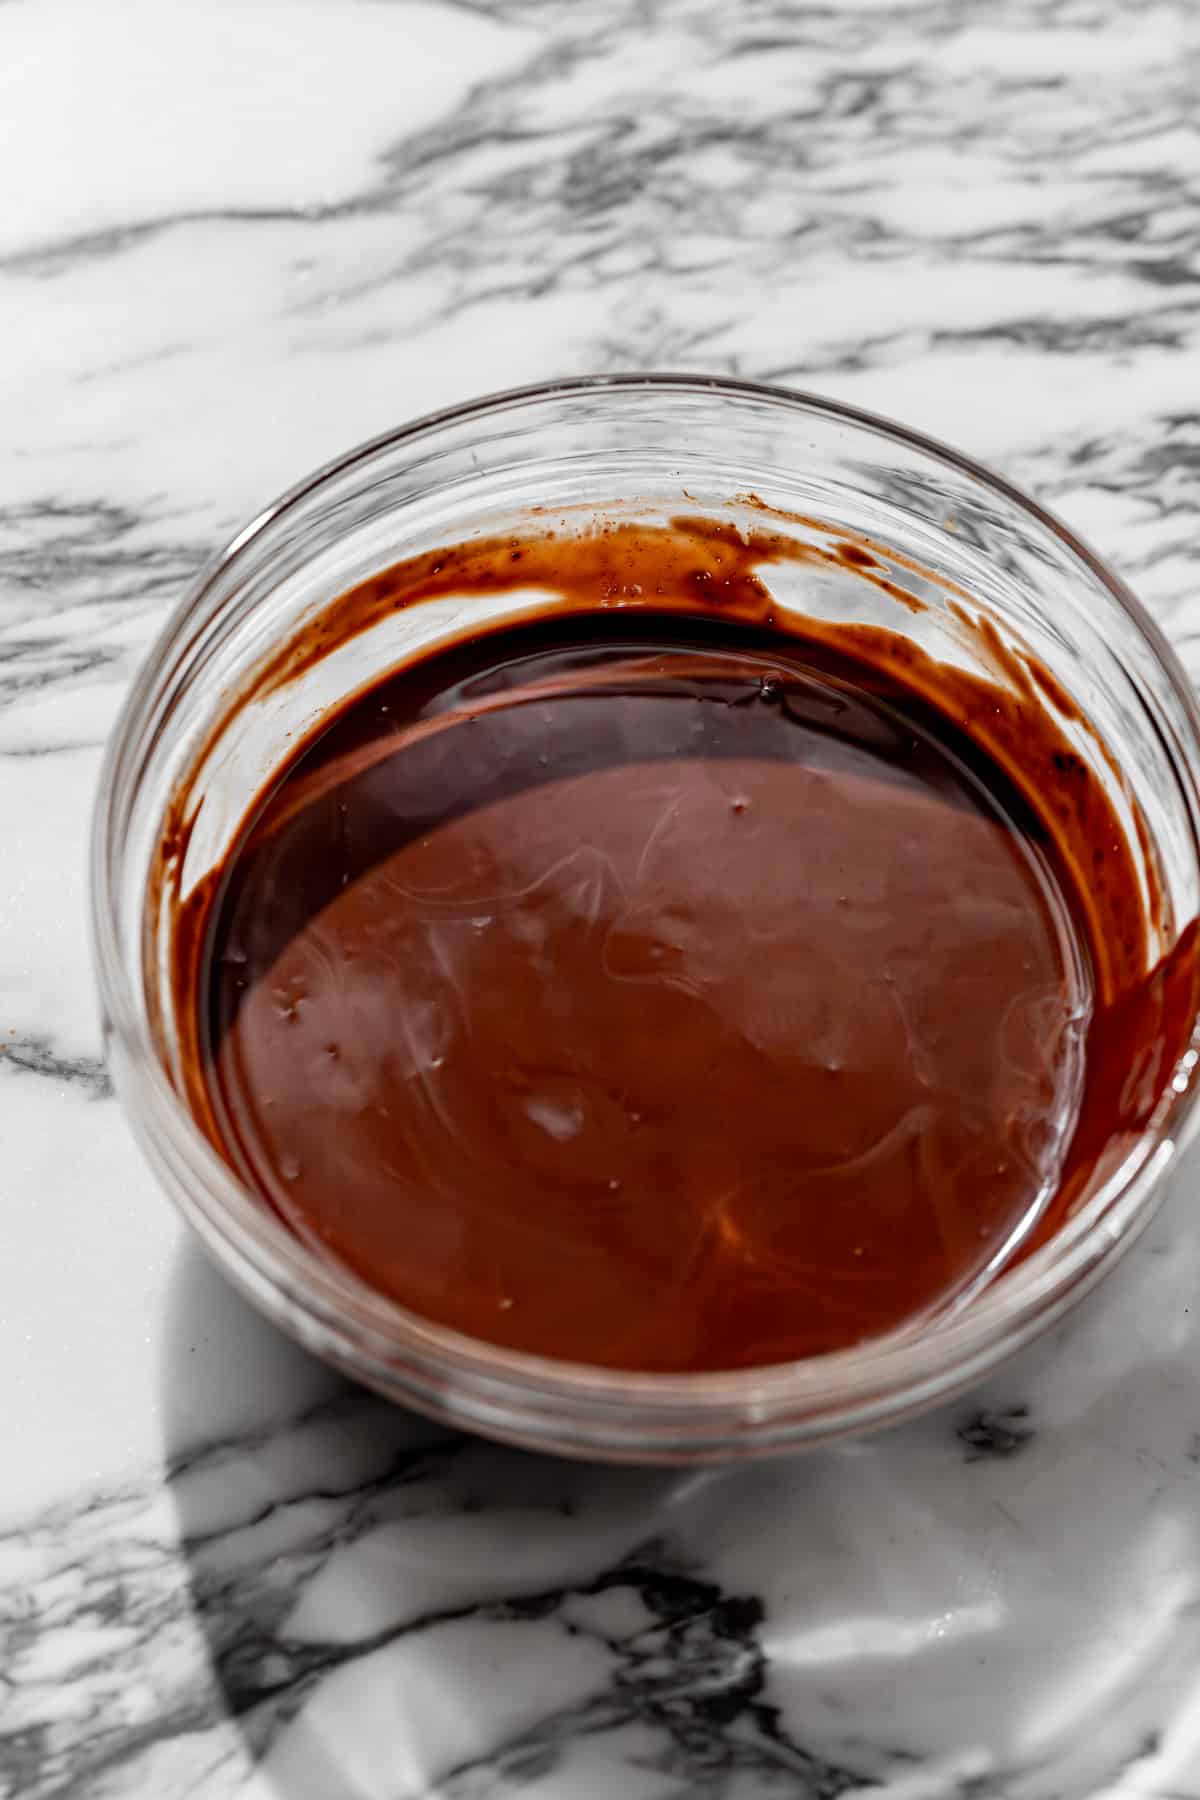
STEP 1: Melt the chocolate. In a small heat-proof bowl, combine the chocolate, oil, vanilla, espresso powder, and salt. Place the bowl over a small pot of simmering water, and stir frequently until the chocolate has full melted. Set aside to cool.
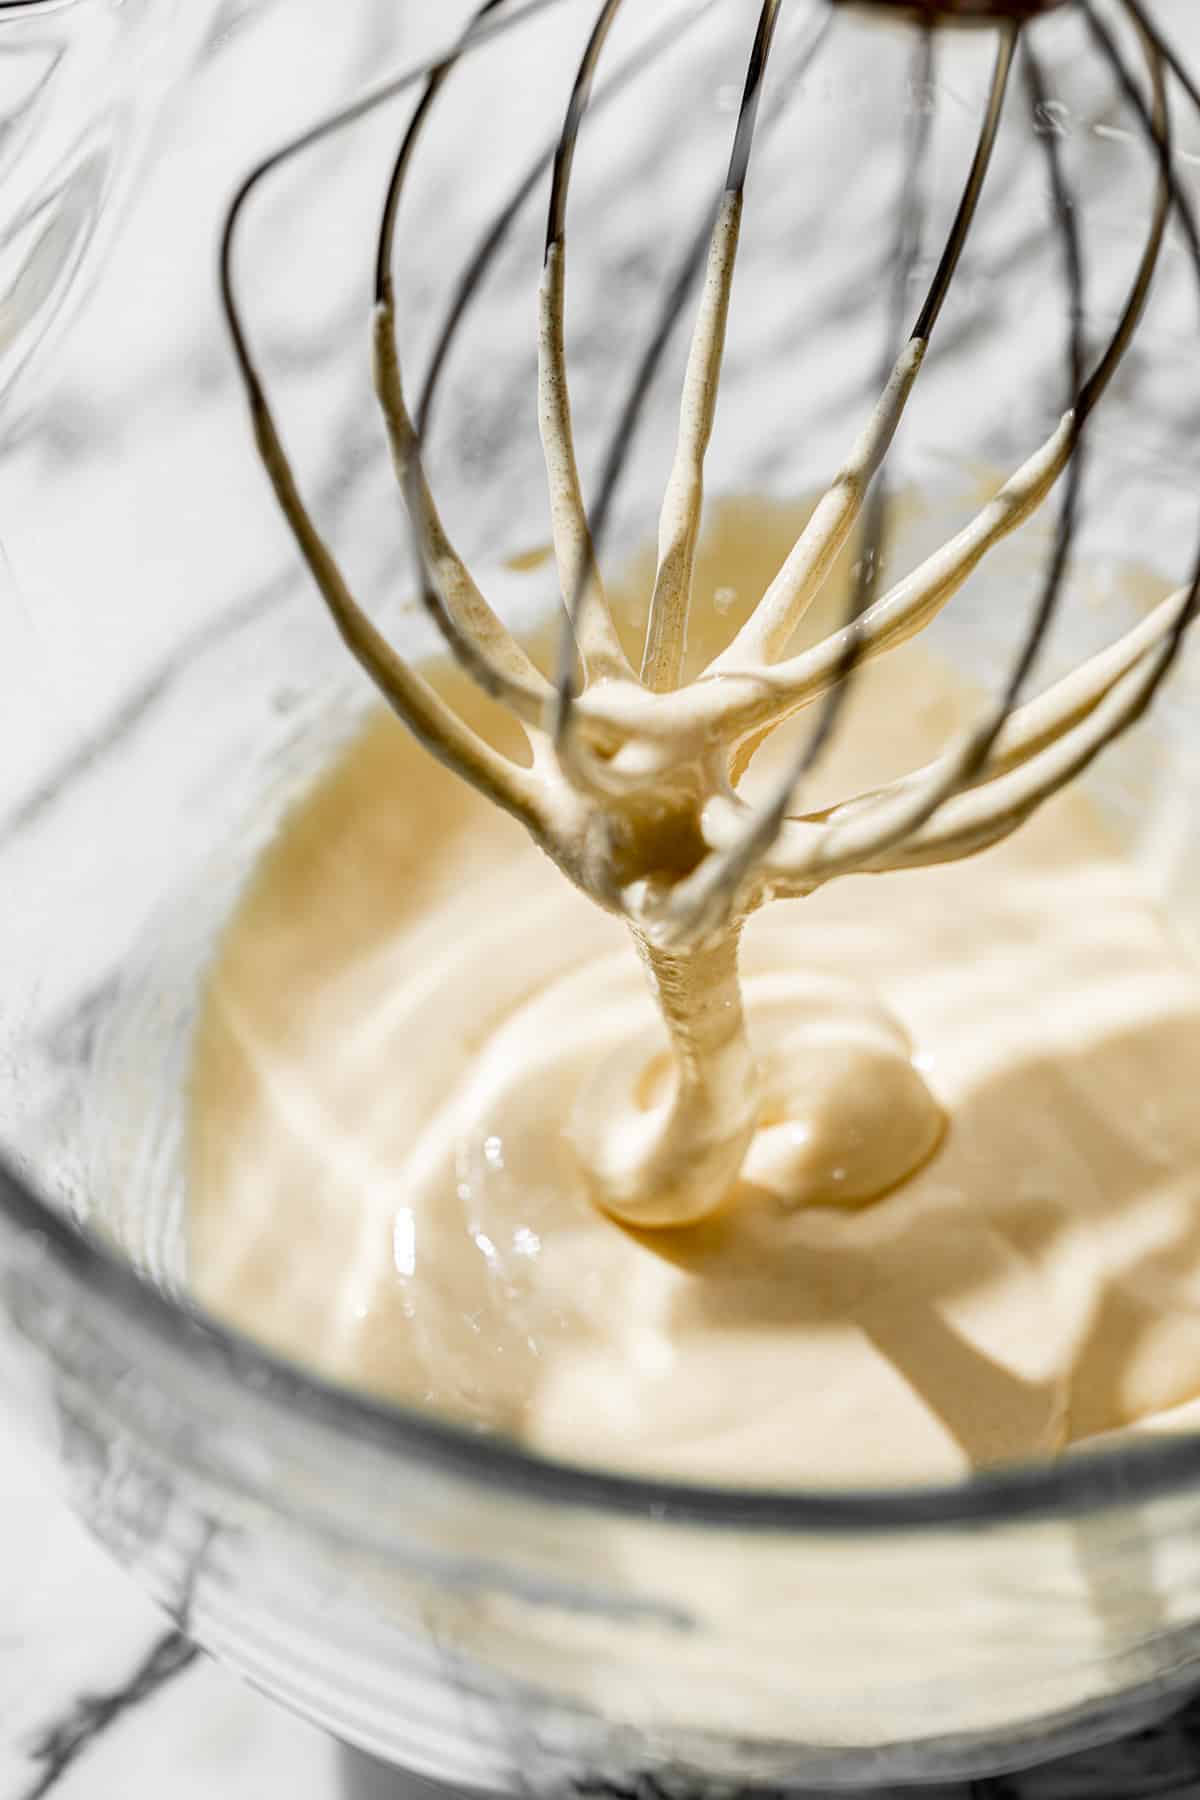
STEP 2: Beat the egg yolks & sugar. In the bowl of a stand mixer fitted with the whisk attachment, beat the egg yolks and sugar on high speed until doubled in size and the mixture drizzles off the whisk like a ribbon.
STEP 3: Mix in the chocolate mixture. Pour the cooled chocolate mixture into the egg yolk mixture and mix to combine.
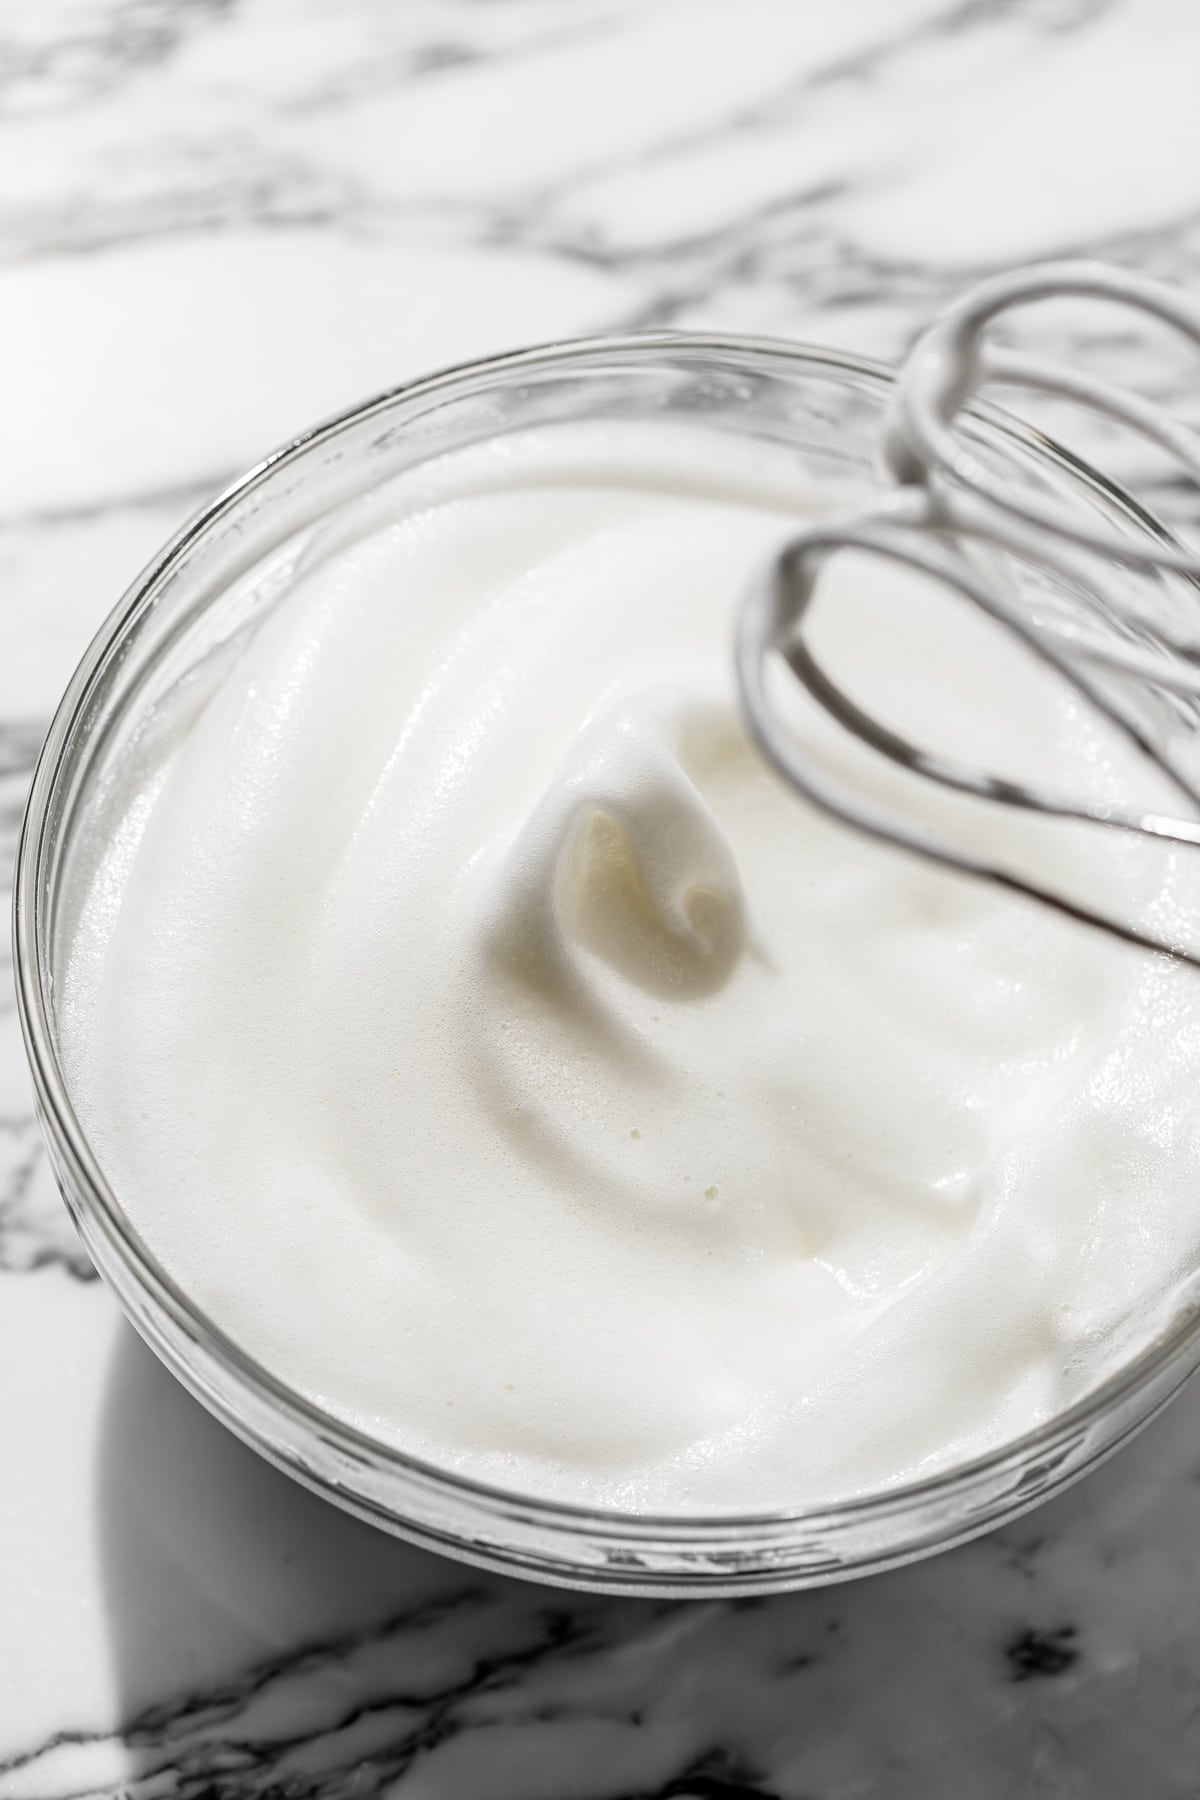
STEP 4: Beat the egg whites. In a separate bowl, add the egg whites and use an electric hand mixer to beat until stiff peaks form.
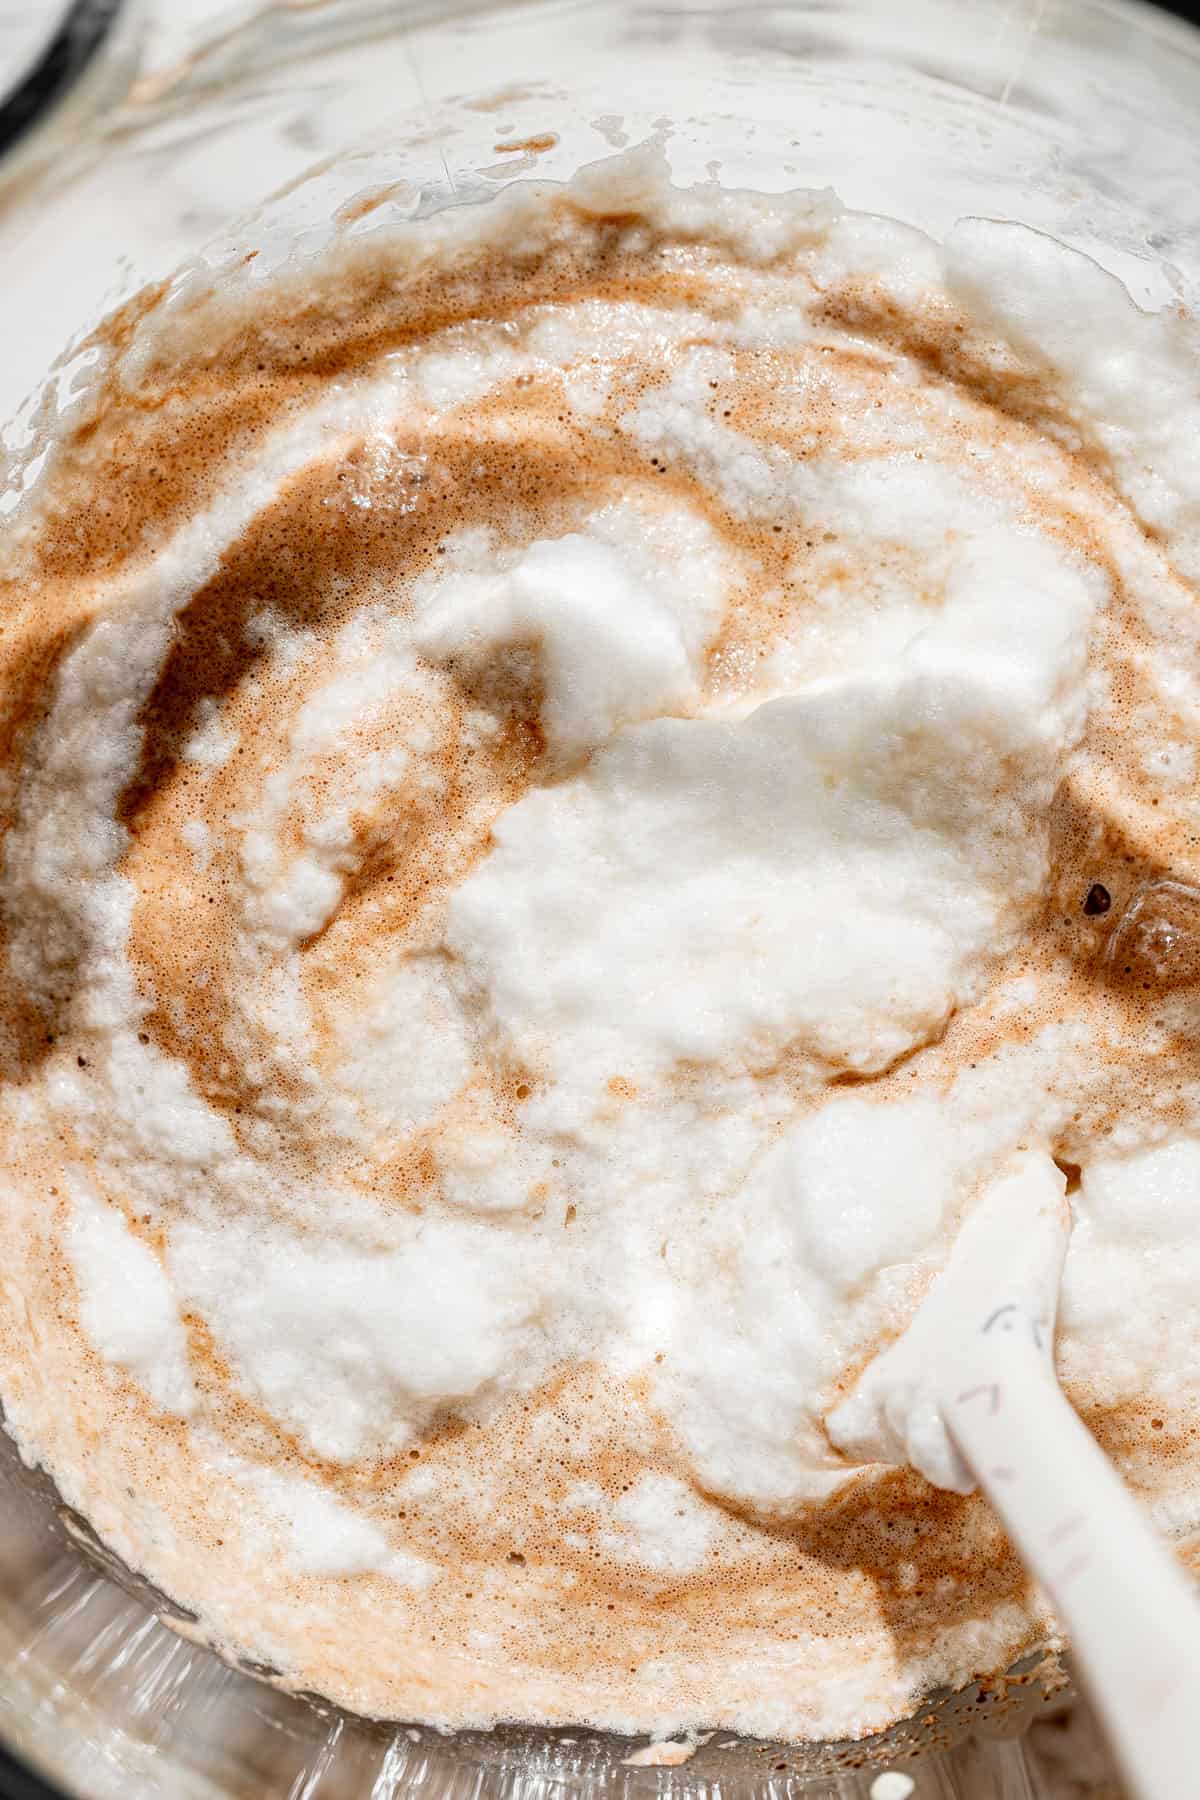
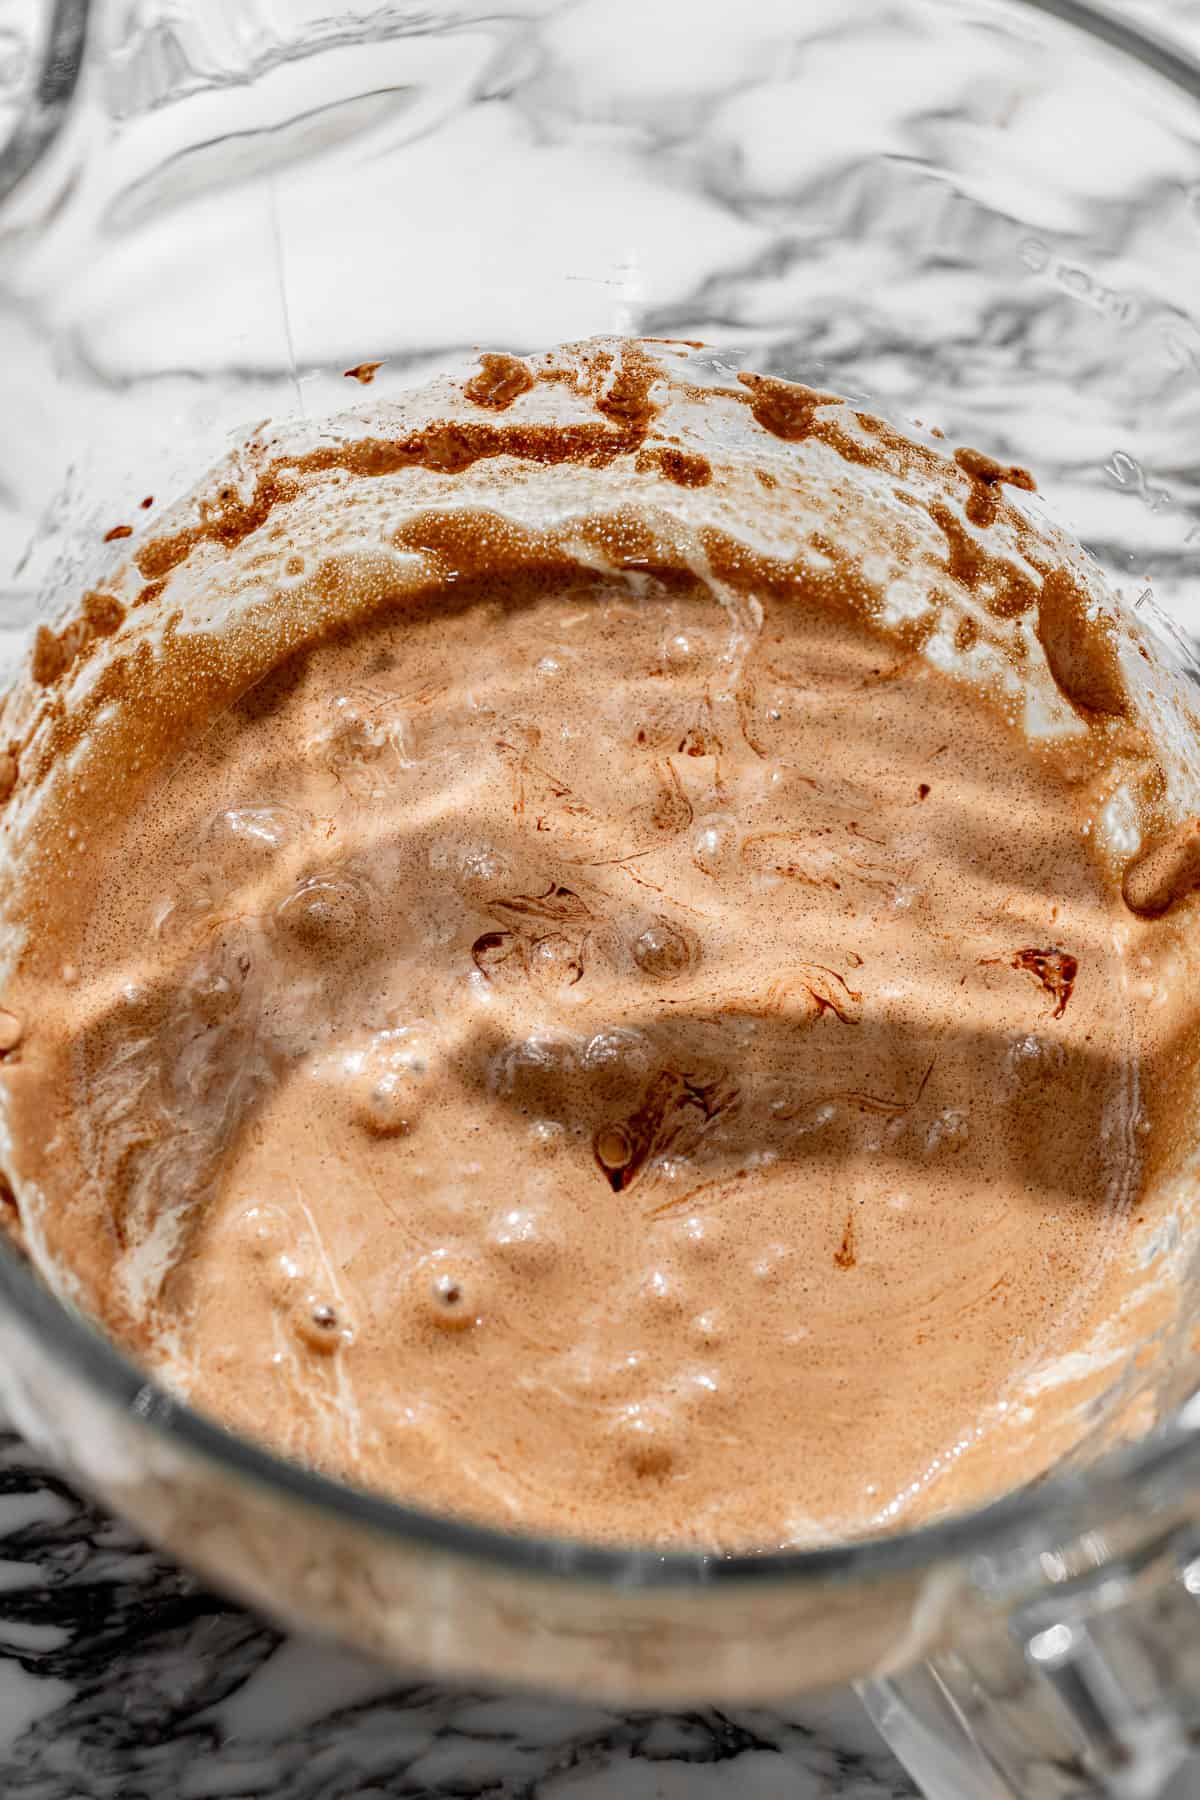
STEP 5: Fold the egg whites into the batter. Use a rubber spatula to fold ⅓ of the egg whites into the yolk, chocolate mixture to loosen it up, then fold in the rest until fully combined.
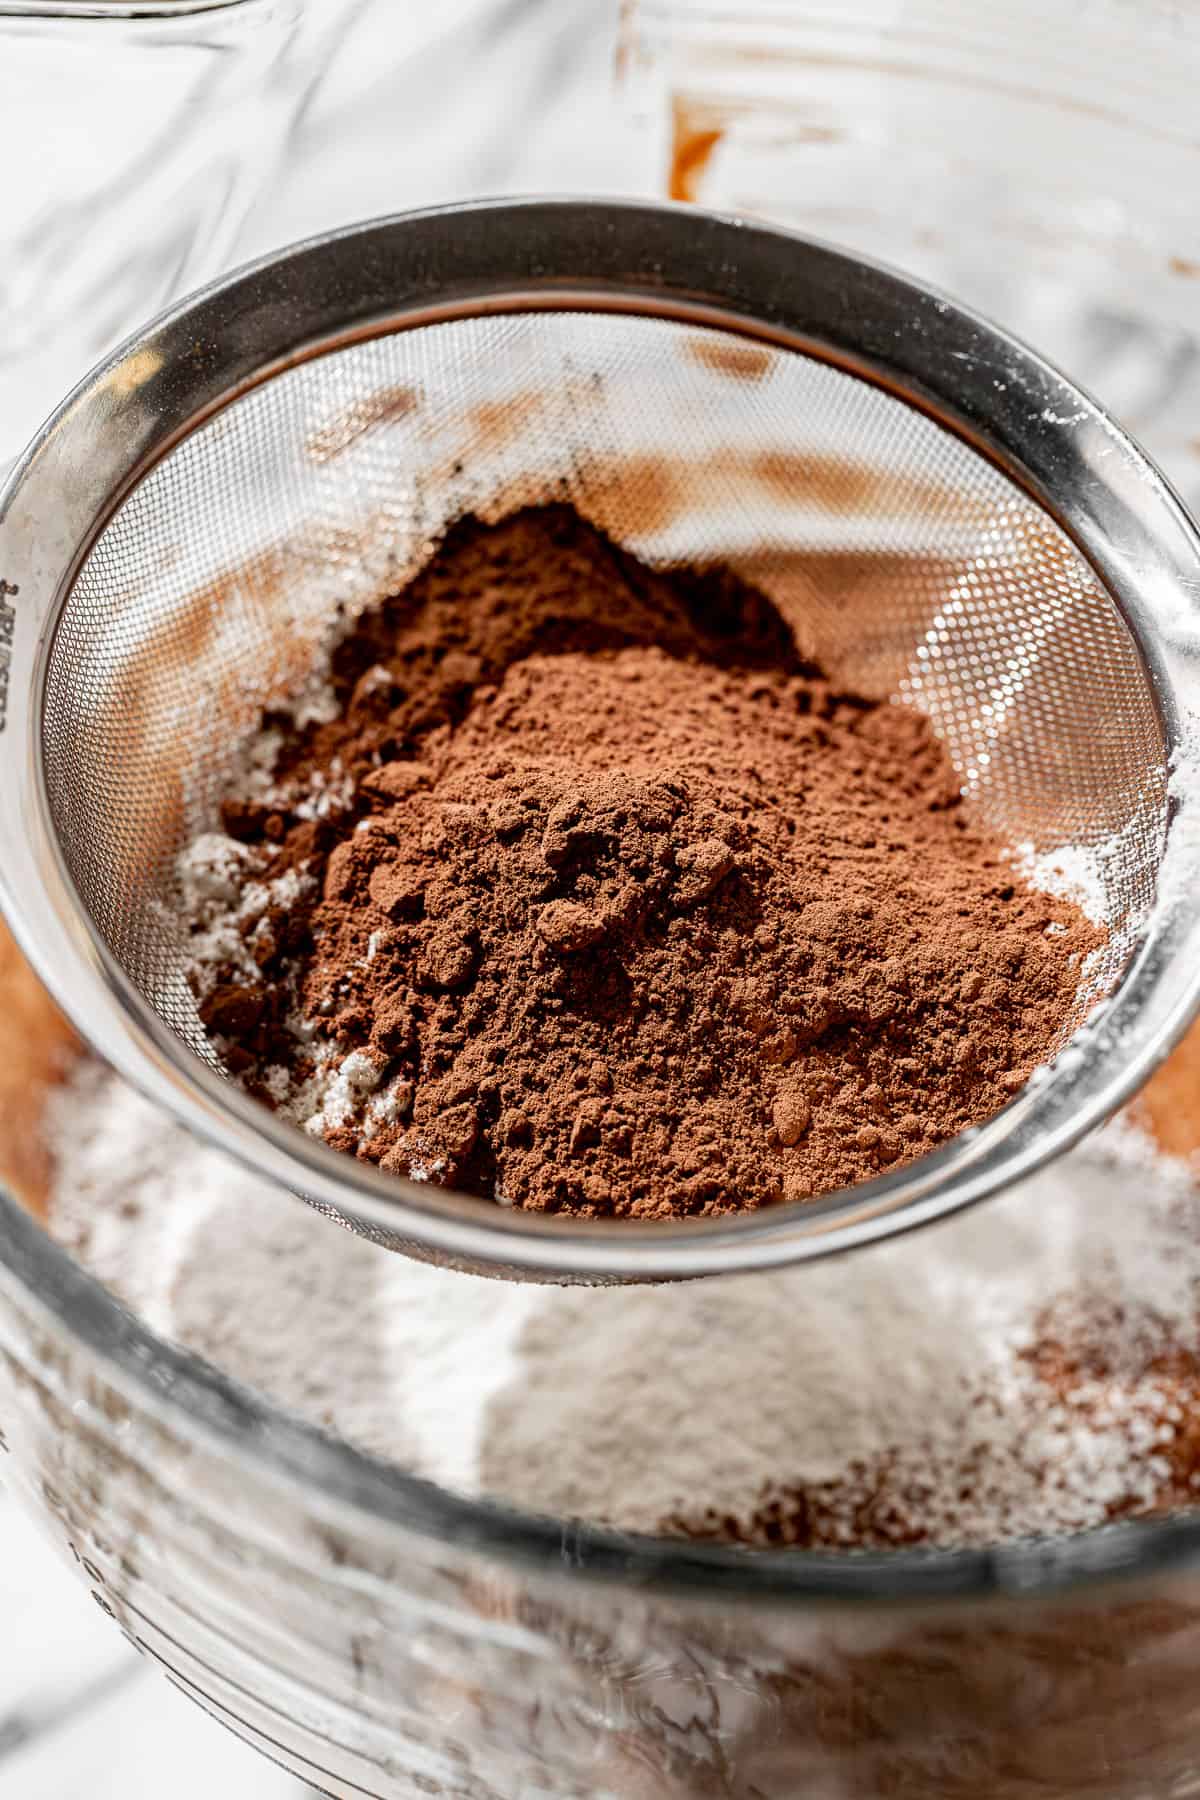
STEP 6: Fold in the sifted dry ingredients. Sift the flour and cocoa powder on top of the batter, then gently fold it in until fully combined. Be careful not to deflate those egg whites!

STEP 7: Bake. Pour the cake batter into the prepared jelly roll pan. Bake the chocolate sponge for about 13-15 minutes or until a toothpick inserted comes out clean. Do not over-bake!
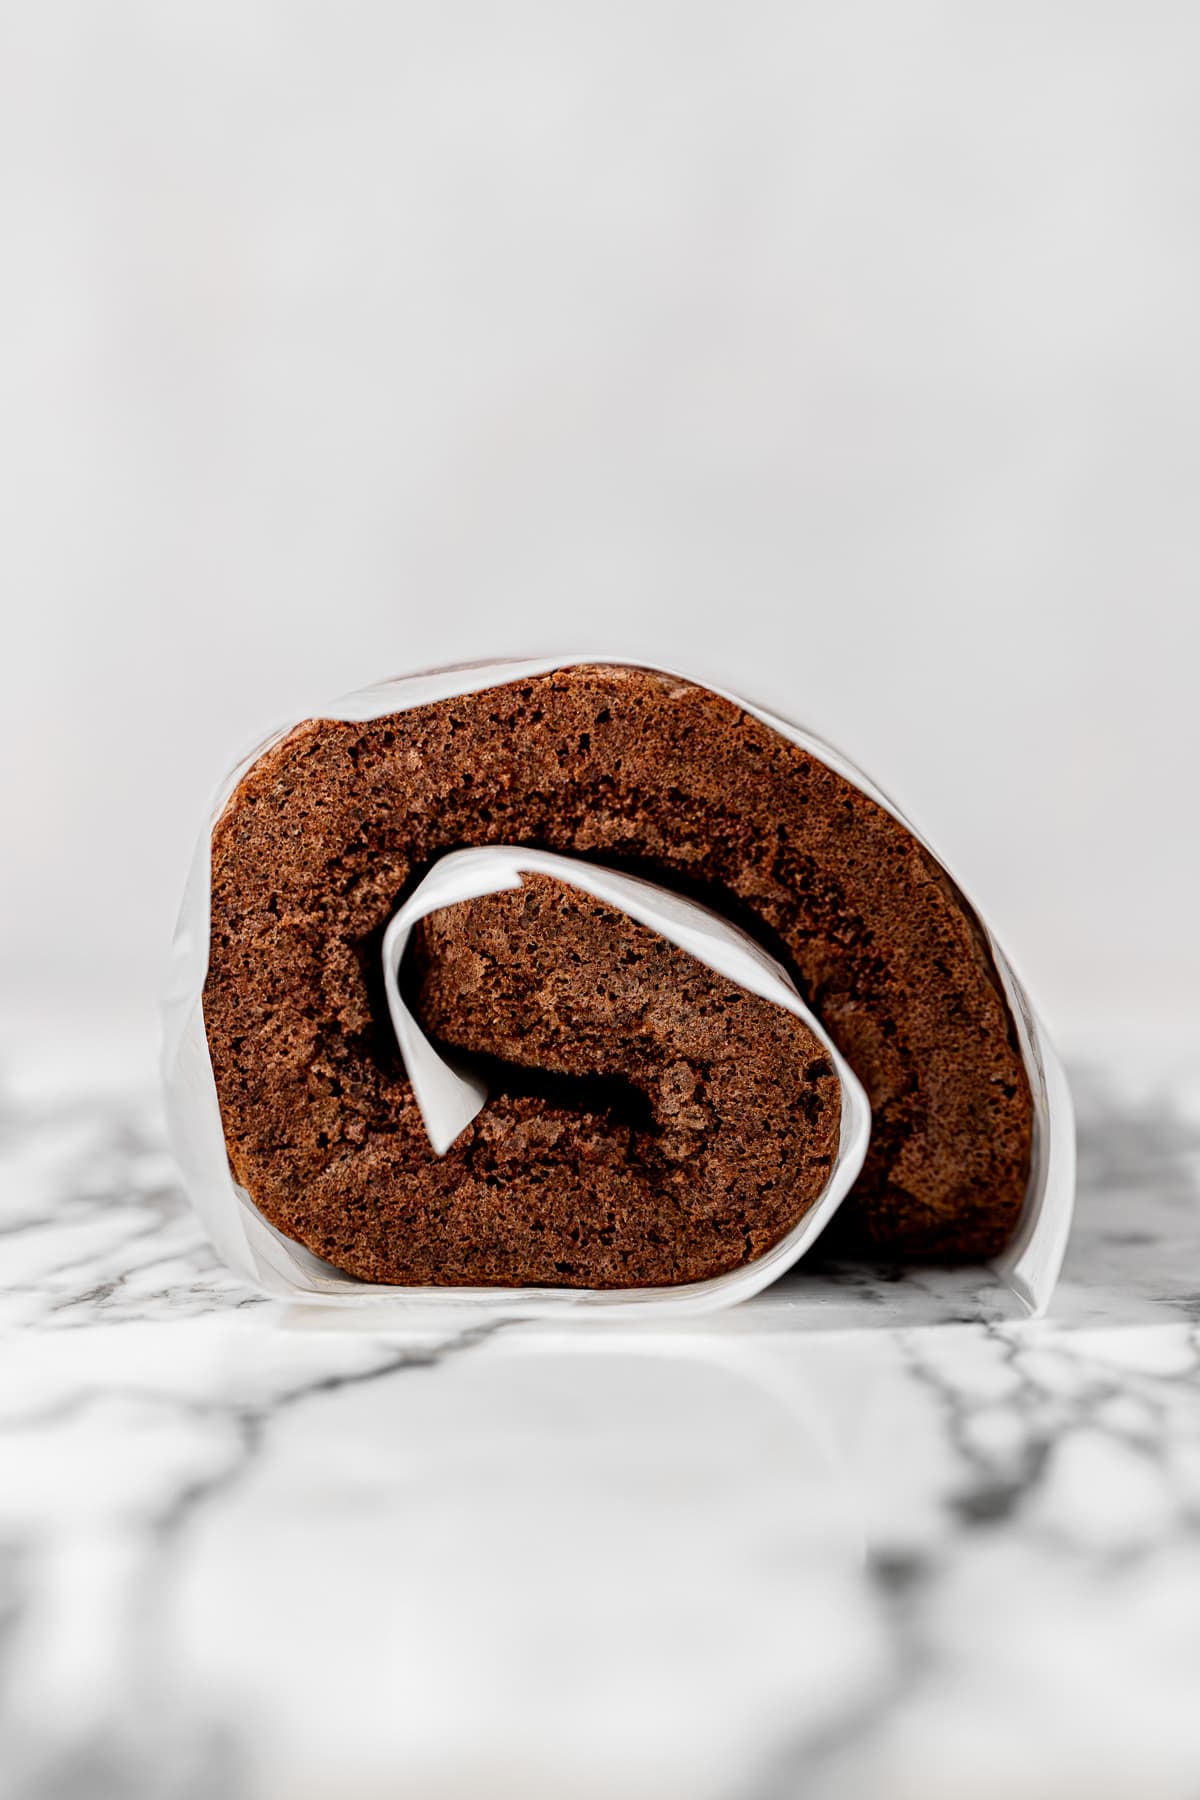
STEP 8: Roll & cool. Immediately turn the cake out onto the parchment paper greased with butter. Carefully roll the cake up into a loose swirl. Place in the fridge to chill for 20-30 minutes.
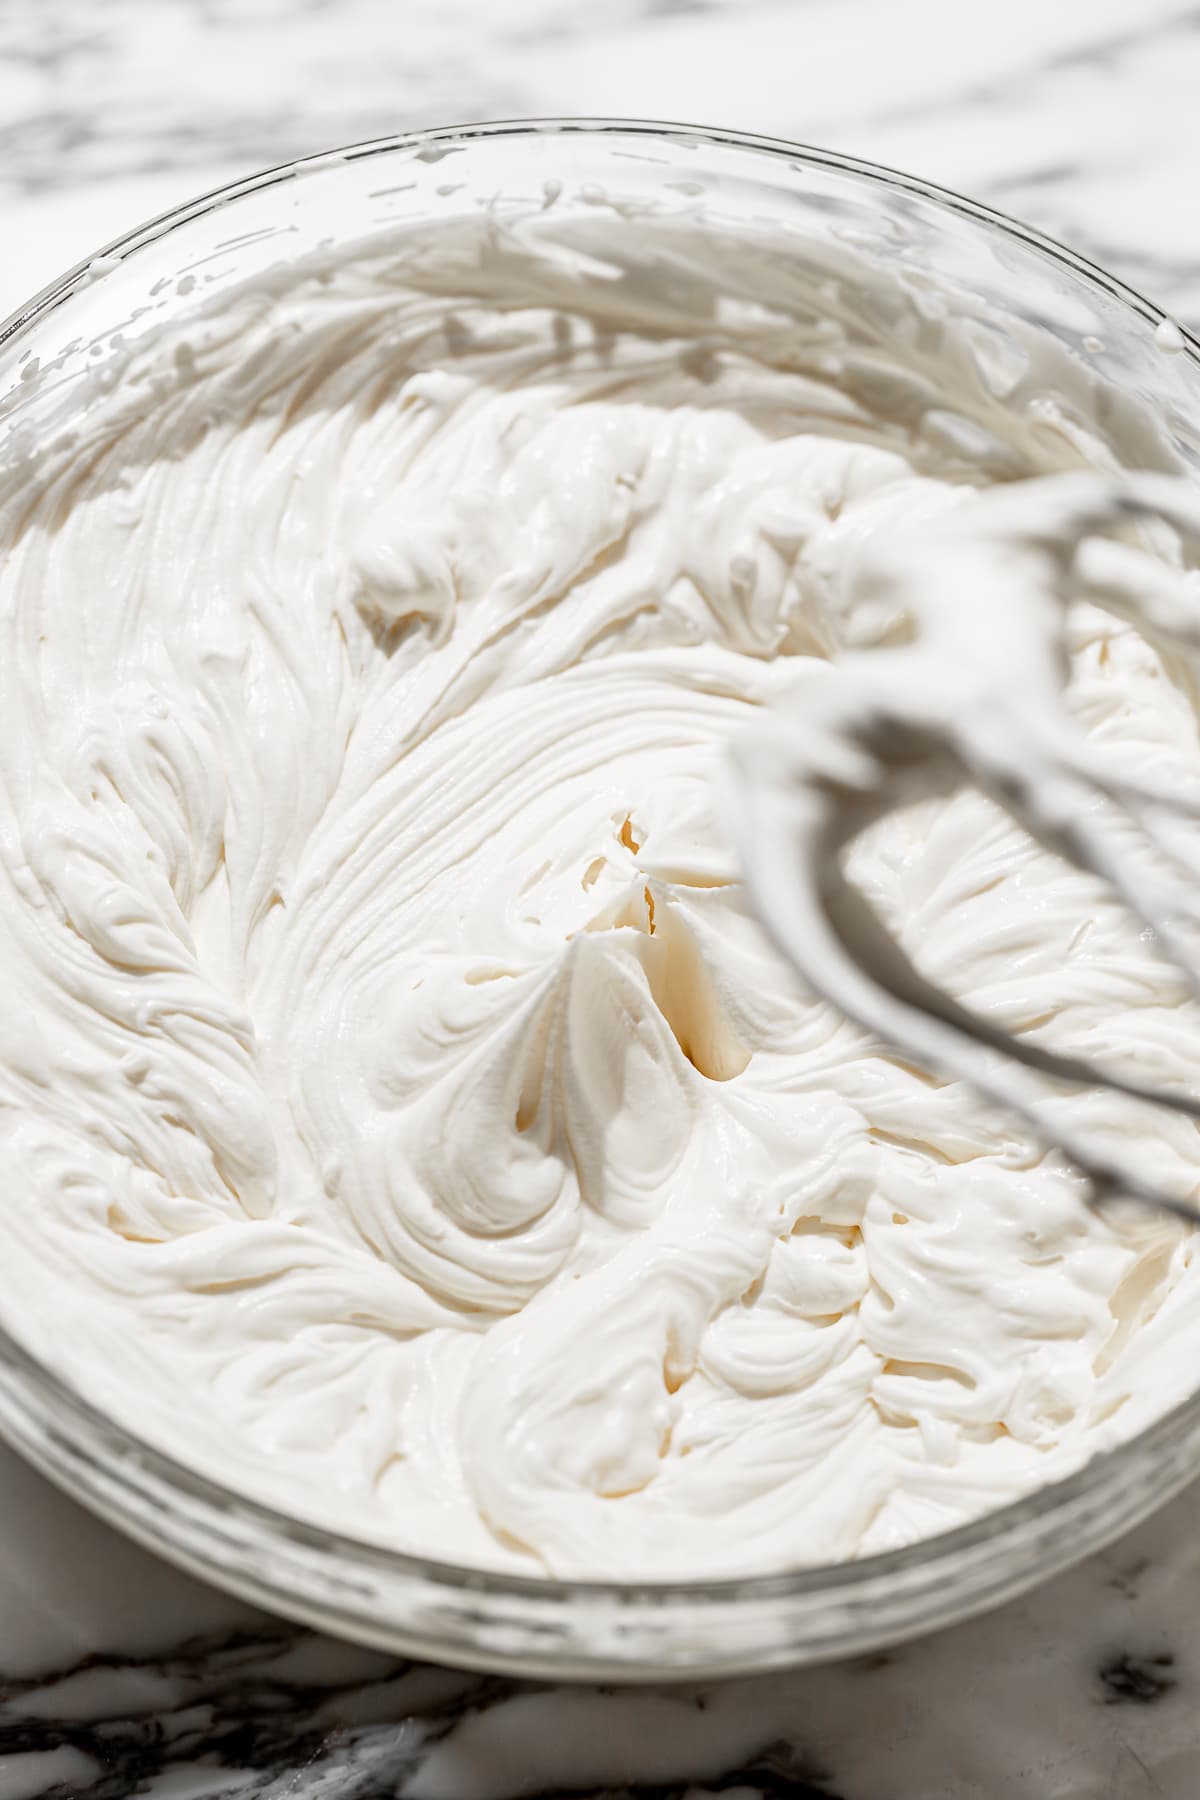
STEP 9: Make the mascarpone cream filling. In a medium bowl, add the mascarpone and sugar. Use an electric mixer to beat on low-medium speed until smooth. Then, add the heavy cream and continue beating until stiff peaks form.
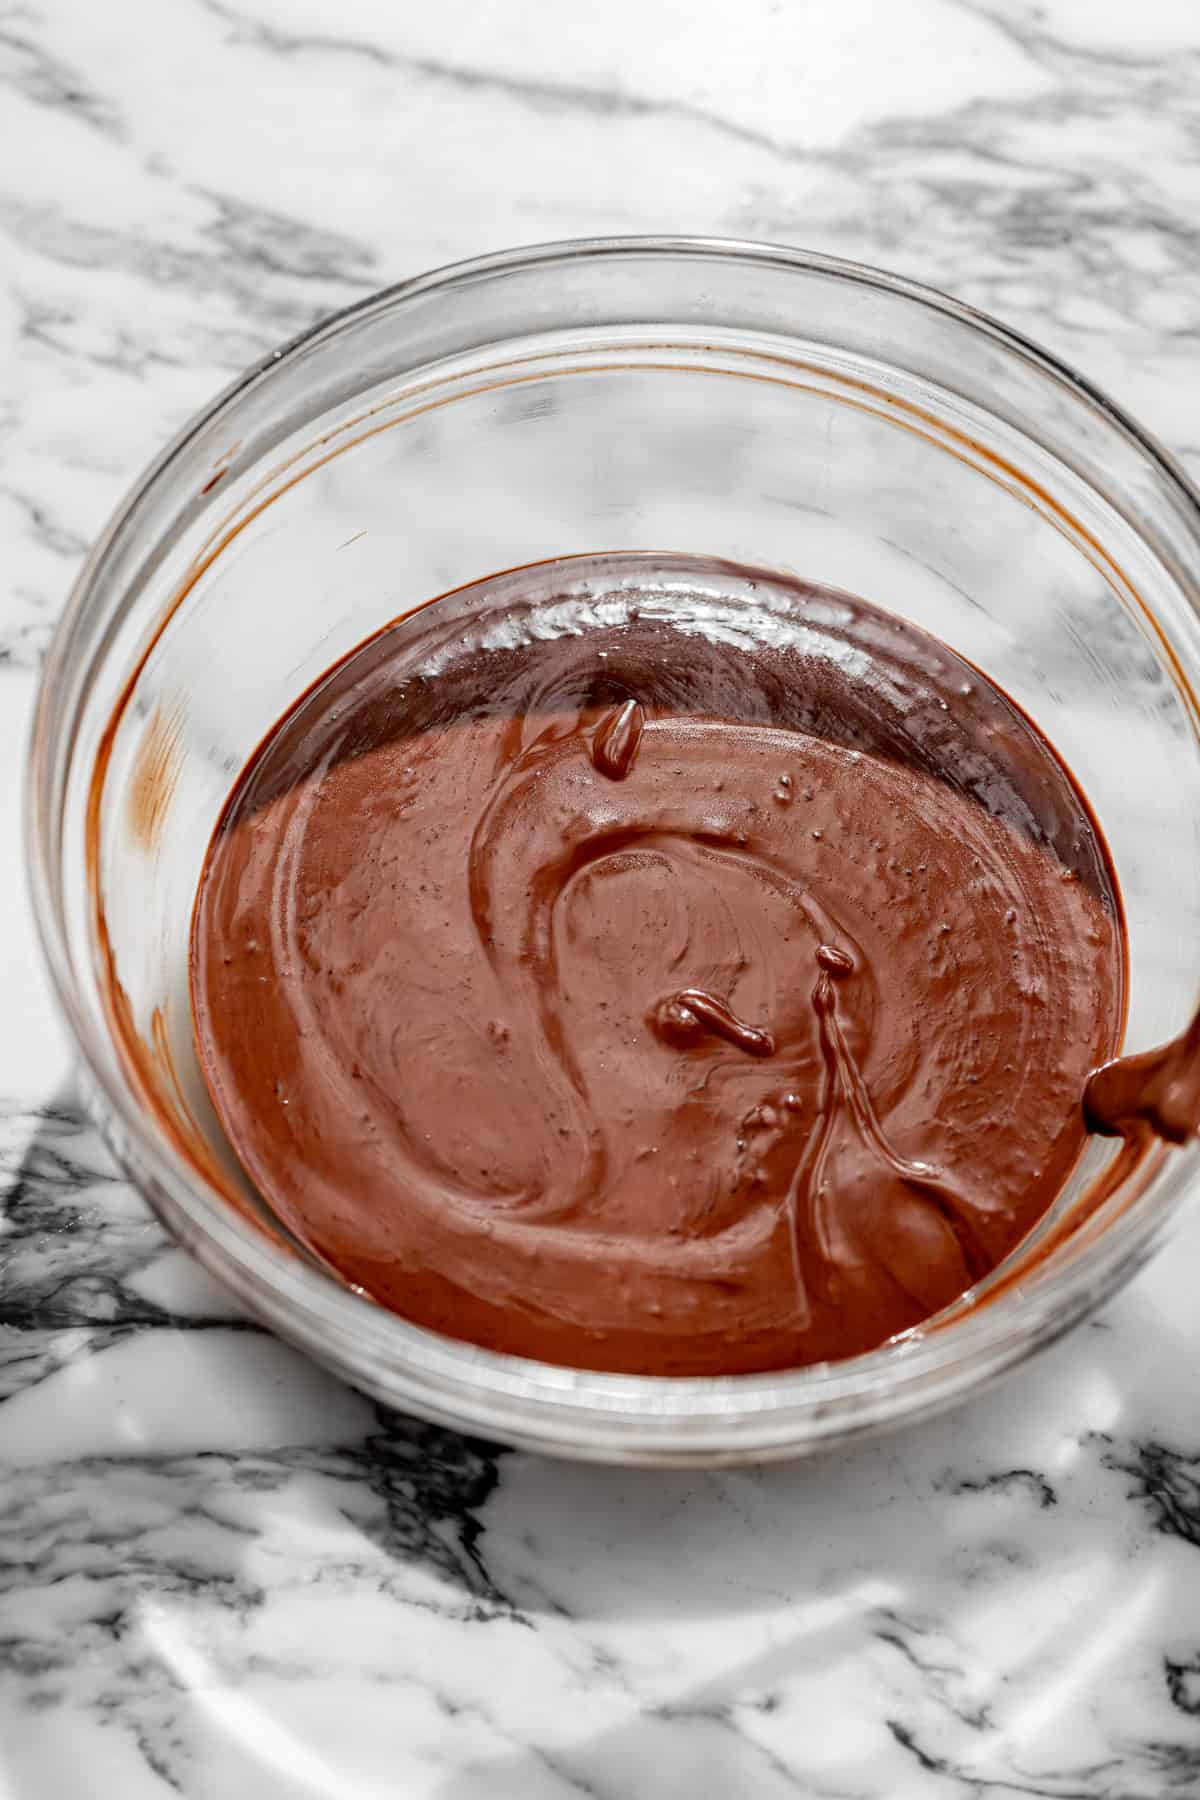
STEP 10: Make the ganache: Chop the chocolate and add to a medium bowl. Set aside. In a small saucepan, heat the heavy cream over low heat and bring to a simmer or about 190 degrees F. Pour the hot heavy cream over the chocolate, place a plate on top of the bowl, and allow to sit for a couple minutes. Remove the plate and gently stir with a rubber spatula until the ganache is smooth. Alternatively, you can use an immersion blender.
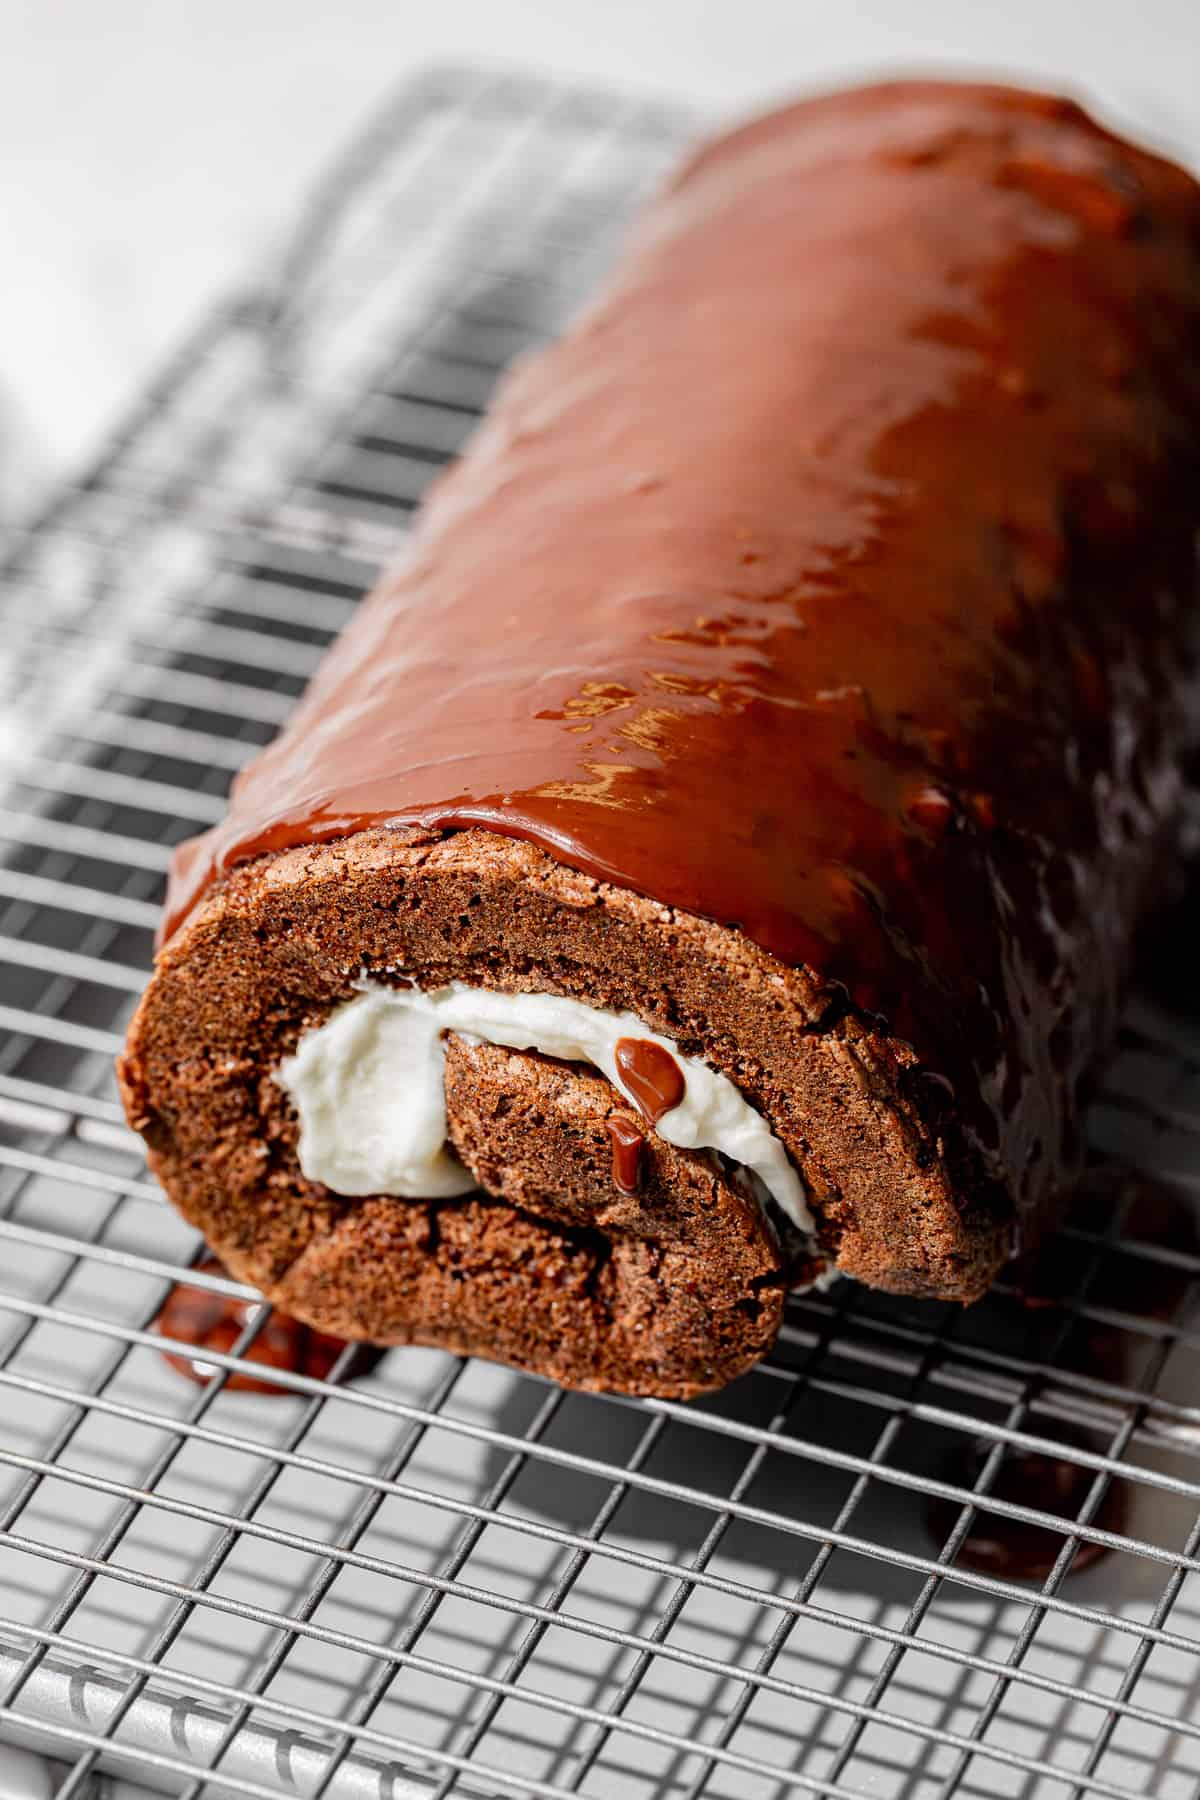

STEP 11: Assemble the swiss roll. Over a wire rack, very slowly unroll the cake half way. Spread the mascarpone cream on the inside of the cake, coaxing it up to the center part of the swirl. Roll the cake back up and remove the parchment paper. Pour the ganache over the cake, then transfer to a serving plate.
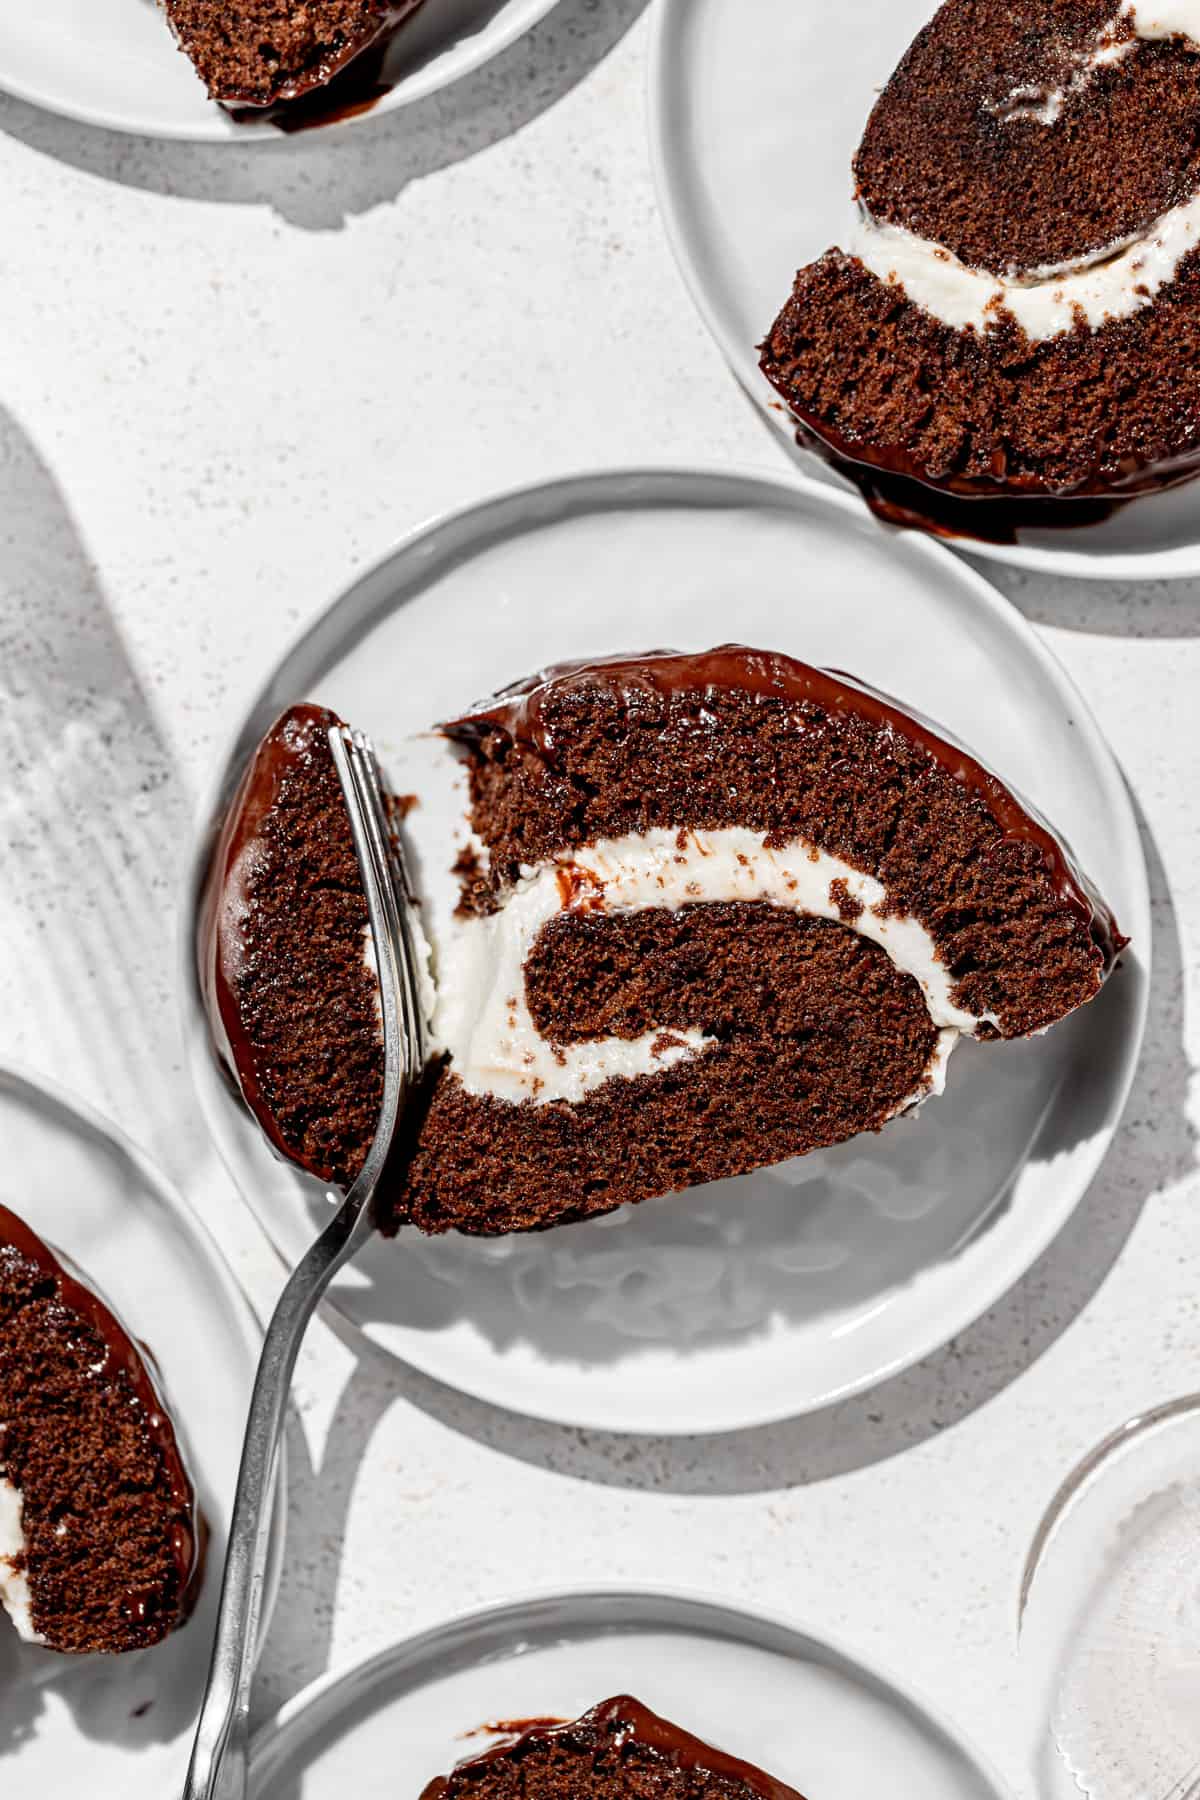
STEP 12: Serve. Slice the cake and enjoy!
Expert Baking Tips
- Mix the batter very gently. Once you start folding in the egg whites and dry ingredients, be sure to use a rubber spatula and mix in a very gentle method through the middle and around the sides. This will ensure that all that air you just beat into the egg whites doesn't deflate! And this air is essential to the cake rising in the oven and baking up into a light & fluffy sponge.
- Do not over-bake the cake! Over-baking the cake may cause your cake to crack when it's rolled up. Watch your cake closely starting at the 12 minute mark! Oh and if don't already have one, get yourself an internal oven thermometer so you know exactly what temperature it is :).
- Roll the cake up immediately after it comes out of the oven. A cold cake will be too stiff and crack when you try to roll it up. So once it comes out of the oven, immediately turn it out onto greased parchment paper and roll it up into a loose swirl.
- Chill the rolled-up cake for no more than 30 minutes. We don't want the cake to get too cold and stiff or it may crack when it's unrolled. I find that 20-30 minutes in the fridge brings it to the perfect temperature to be unrolled (mostly) without melting the cream filling.
- Don't unroll the cake completely. We've spent all of this time making this cake and don't want it to crack now! So it's best to play it safe and unroll it only half way. Hold up the rolled half with one hand while you spread the cream filling onto the inside of the cake. Then, carefully roll the cake back up!
Recipe FAQs
Dutch process cocoa powder is THE best cocoa powder for baking. Because it's neutralized with an alkalizing agent, it has a smoother flavor and creates the most fudgy and chocolatey baked goods!
No! The eggs provide essential structure, texture, and flavor to this cake. By whipping the yolks and whites separately, they allow the cake to rise without the use of chemical leavening agents!
Store leftover slices of this chocolate swiss roll in the fridge for up to 3 days.
Baking In Grams
All of the recipes on this blog are carefully developed with gram measurements so you can easily recreate them in your own kitchen with success. Volume measurements are extremely inaccurate and leave room for significant errors. Not all measuring cups are made equally, so your one cup of flour will be different from my one cup of flour. By providing precise measurements in grams (aside from minor ingredients, which are given in tsp/tbsp), you can make these recipes accurately and with less cleanup! All you need is this kitchen scale.
If this still isn't enough to convince you, I have provided volume measurements in the recipe card. If you are interested in understanding the conversions, this is the best conversion chart.
But trust me, once you try baking in grams you'll never turn back!
Happy baking! x
Other cake & cupcake recipes to try
If you tried this recipe, I'd love to know how it turned out for you! Leave a star rating & review below and post a picture (or video!) on Instagram and tag me so I can see your bakes! Not ready to make this recipe yet? Click the heart button on the right of your screen to save it for later 🙂
📖 Recipe

Chocolate Swiss Roll
Ingredients
For the chocolate sponge:
- 28 g (1 oz) bittersweet chocolate
- 66 g (⅓ cup) neutral oil
- 1 teaspoon vanilla extract
- 1 teaspoon espresso powder
- ¼ teaspoon salt
- 5 eggs, separated
- 200 g (1 cup) granulated sugar
- 60 g (½ cup) all-purpose flour
- 21 g (¼ cup) dutch process cocoa powder
For the mascarpone cream filling:
- 113 g (½ cup) mascarpone, cold
- 50 g (¼ cup) granulated sugar
- 113 g (¼ cup) heavy cream, cold
For the chocolate ganache:
- 84 g (3 oz) bittersweet chocolate
- 127 g (½ cup + 1 tbsp) heavy cream
Instructions
For the chocolate sponge:
- Preheat the oven to 350 degrees F.
- Grease a 9"x13" pan with softened butter and line with parchment paper. Grease a separate large piece of parchment paper with softened butter and set aside. You'll need this to roll up the cake.
- In a small heat-proof bowl, combine the chocolate, oil, vanilla, espresso powder, and salt. Place the bowl over a small pot of simmering water, and stir frequently until the chocolate has full melted. Set aside to cool.
- In the bowl of a stand mixer fitted with the whisk attachment, beat the egg yolks and sugar on high speed until doubled in size and the mixture drizzles off the whisk like a ribbon.
- Pour the cooled chocolate mixture into the egg yolk mixture and mix to combine.
- In a separate bowl, add the egg whites and use an electric hand mixer to beat until stiff peaks form.
- Use a rubber spatula to fold ⅓ of the egg whites into the yolk, chocolate mixture to loosen it up, then fold in the rest until fully combined.
- Sift the flour and cocoa powder on top of the batter, then gently fold it in until fully combined. Be careful not to deflate those egg whites!
- Pour the batter into the prepared pan. Bake the chocolate sponge for about 13-15 minutes or until a toothpick inserted comes out clean. Do not over-bake!
- Immediately turn the cake out onto the parchment paper greased with butter. Carefully roll the cake up into a loose swirl. Place in the fridge to chill for 20-30 minutes.
- Meanwhile, make the cream filling and ganache.
For the mascarpone cream filling:
- In a medium bowl, add the mascarpone and sugar. Use an electric mixer to beat on low-medium speed until smooth. Then, add the heavy cream and continue beating until stiff peaks form.
For the chocolate ganache:
- Chop the chocolate and add to a medium bowl. Set aside.
- In a small saucepan, heat the heavy cream over low heat and bring to a simmer or about 190 degrees F.
- Pour the hot heavy cream over the chocolate, place a plate on top of the bowl, and allow to sit for a couple minutes.
- Remove the plate and gently stir with a rubber spatula until the ganache is smooth. Alternatively, you can use an immersion blender.
- Assemble the cake immediately.
For assembly:
- Over a wire rack, very slowly unroll the cake half way. Spread the mascarpone cream on the inside of the cake, coaxing it up to the center part of the swirl. Roll the cake back up and remove the parchment paper.
- Pour the ganache over the cake, then transfer to a serving plate.
- Slice the cake and enjoy!
Notes
- Mix the batter very gently. Once you start folding in the egg whites and dry ingredients, be sure to use a rubber spatula and mix in a very gentle method through the middle and around the sides. This will ensure that all that air you just beat into the egg whites doesn't deflate! And this air is essential to the cake rising in the oven and baking up into a light & fluffy sponge.
- Do not over-bake the cake! Over-baking the cake may cause your cake to crack when it's rolled up. Watch your cake closely starting at the 12 minute mark! Oh and if don't already have one, get yourself an internal oven thermometer so you know exactly what temperature it is :).
- Roll the cake up immediately after it comes out of the oven. A cold cake will be too stiff and crack when you try to roll it up. So once it comes out of the oven, immediately turn it out onto greased parchment paper and roll it up into a loose swirl.
- Chill the rolled-up cake for no more than 30 minutes. We don't want the cake to get too cold and stiff or it may crack when it's unrolled. I find that 20-30 minutes in the fridge brings it to the perfect temperature to be unrolled (mostly) without melting the cream filling.
- Don't unroll the cake completely. We've spent all of this time making this cake and don't want it to crack now! So it's best to play it safe and unroll it only half way. Hold up the rolled half with one hand while you spread the cream filling onto the inside of the cake. Then, carefully roll the cake back up!

Comments
No Comments