
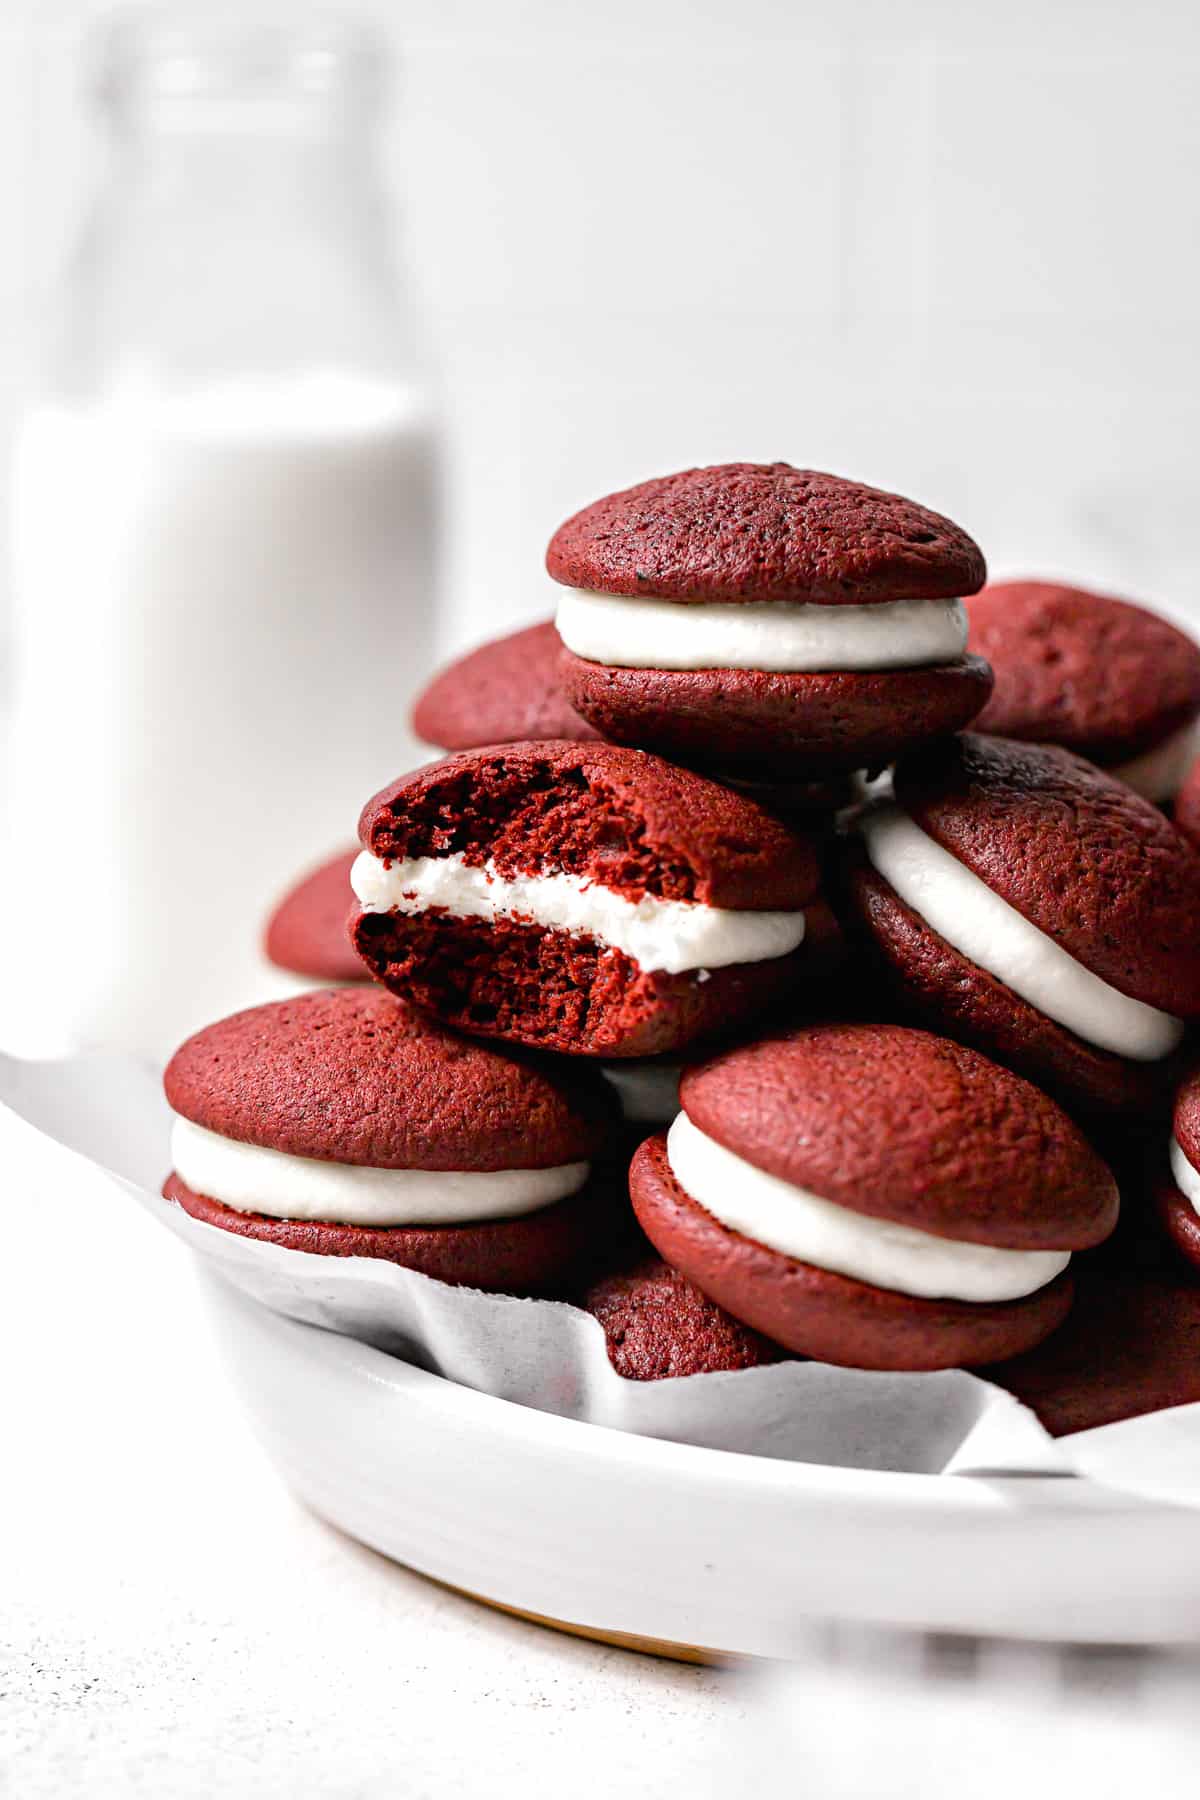
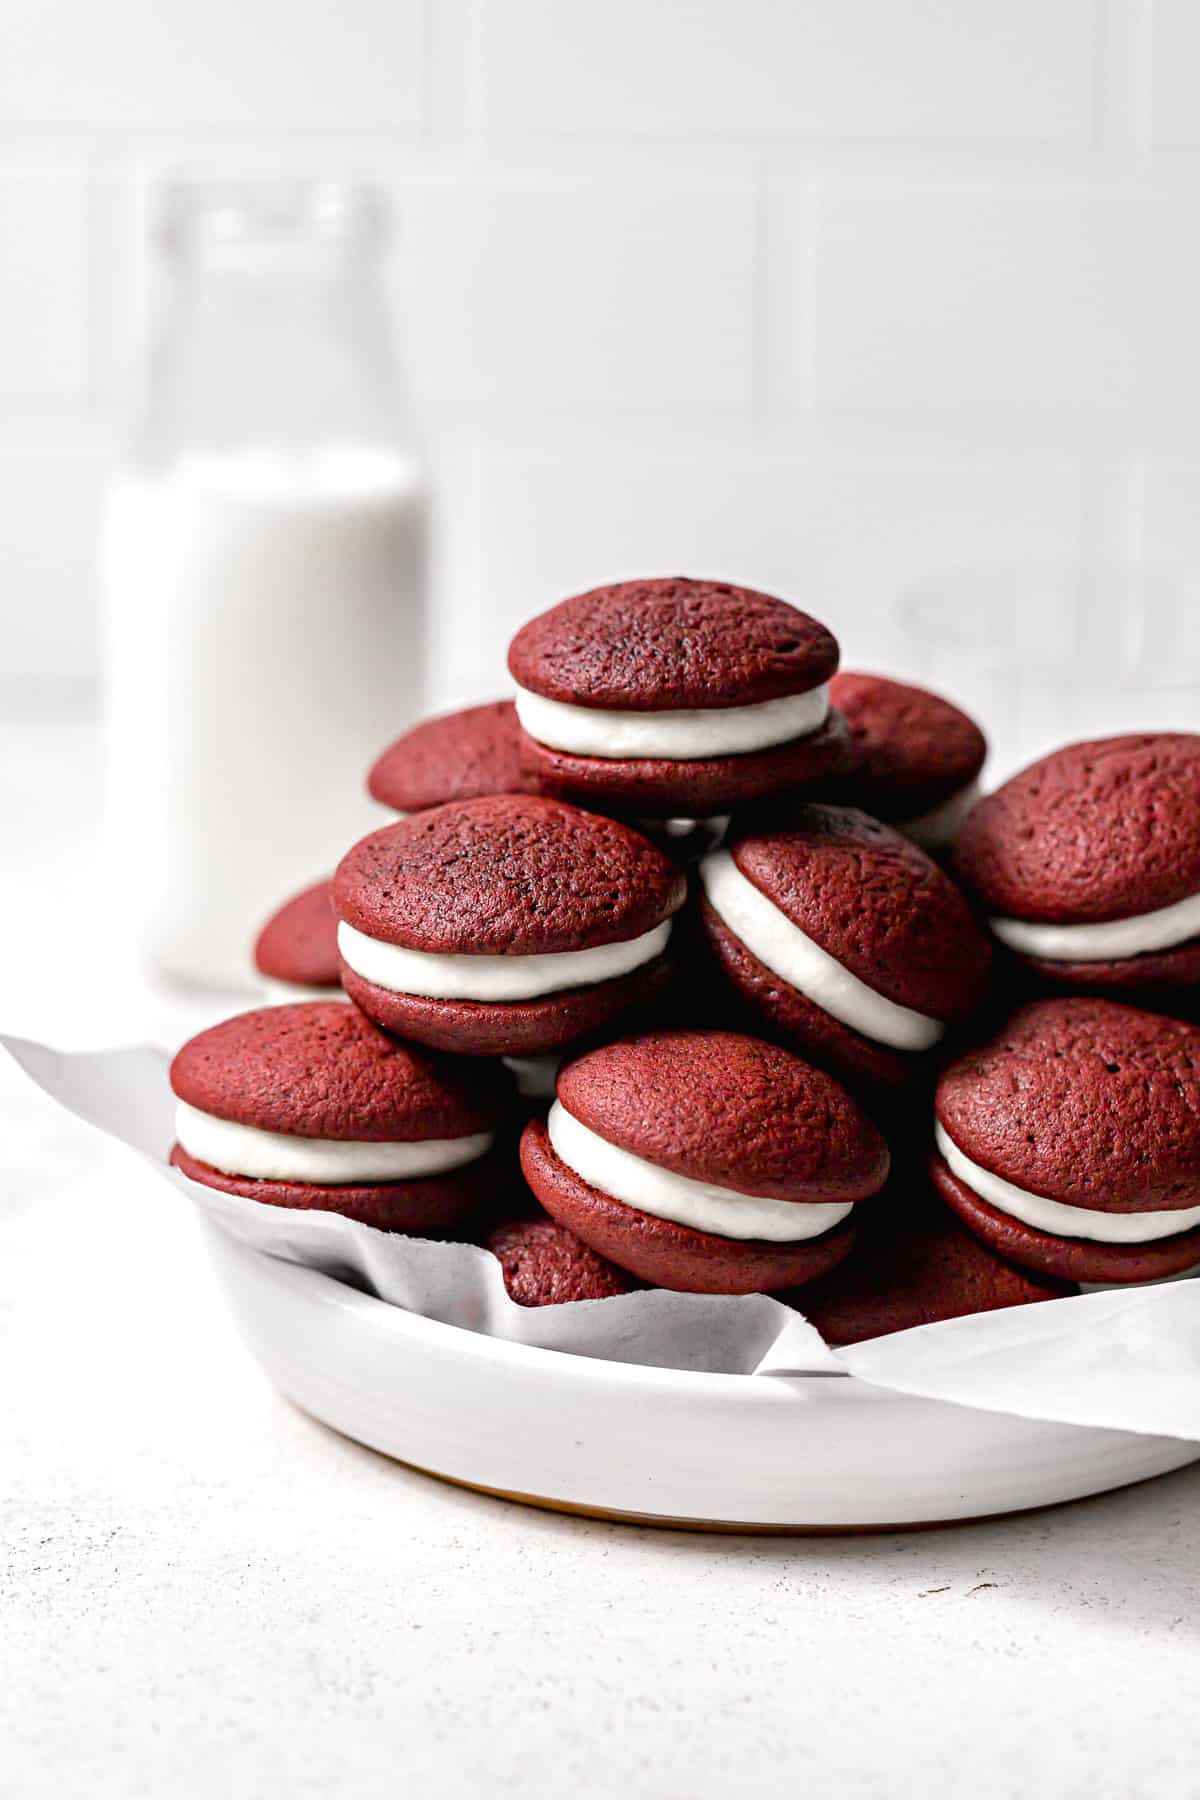
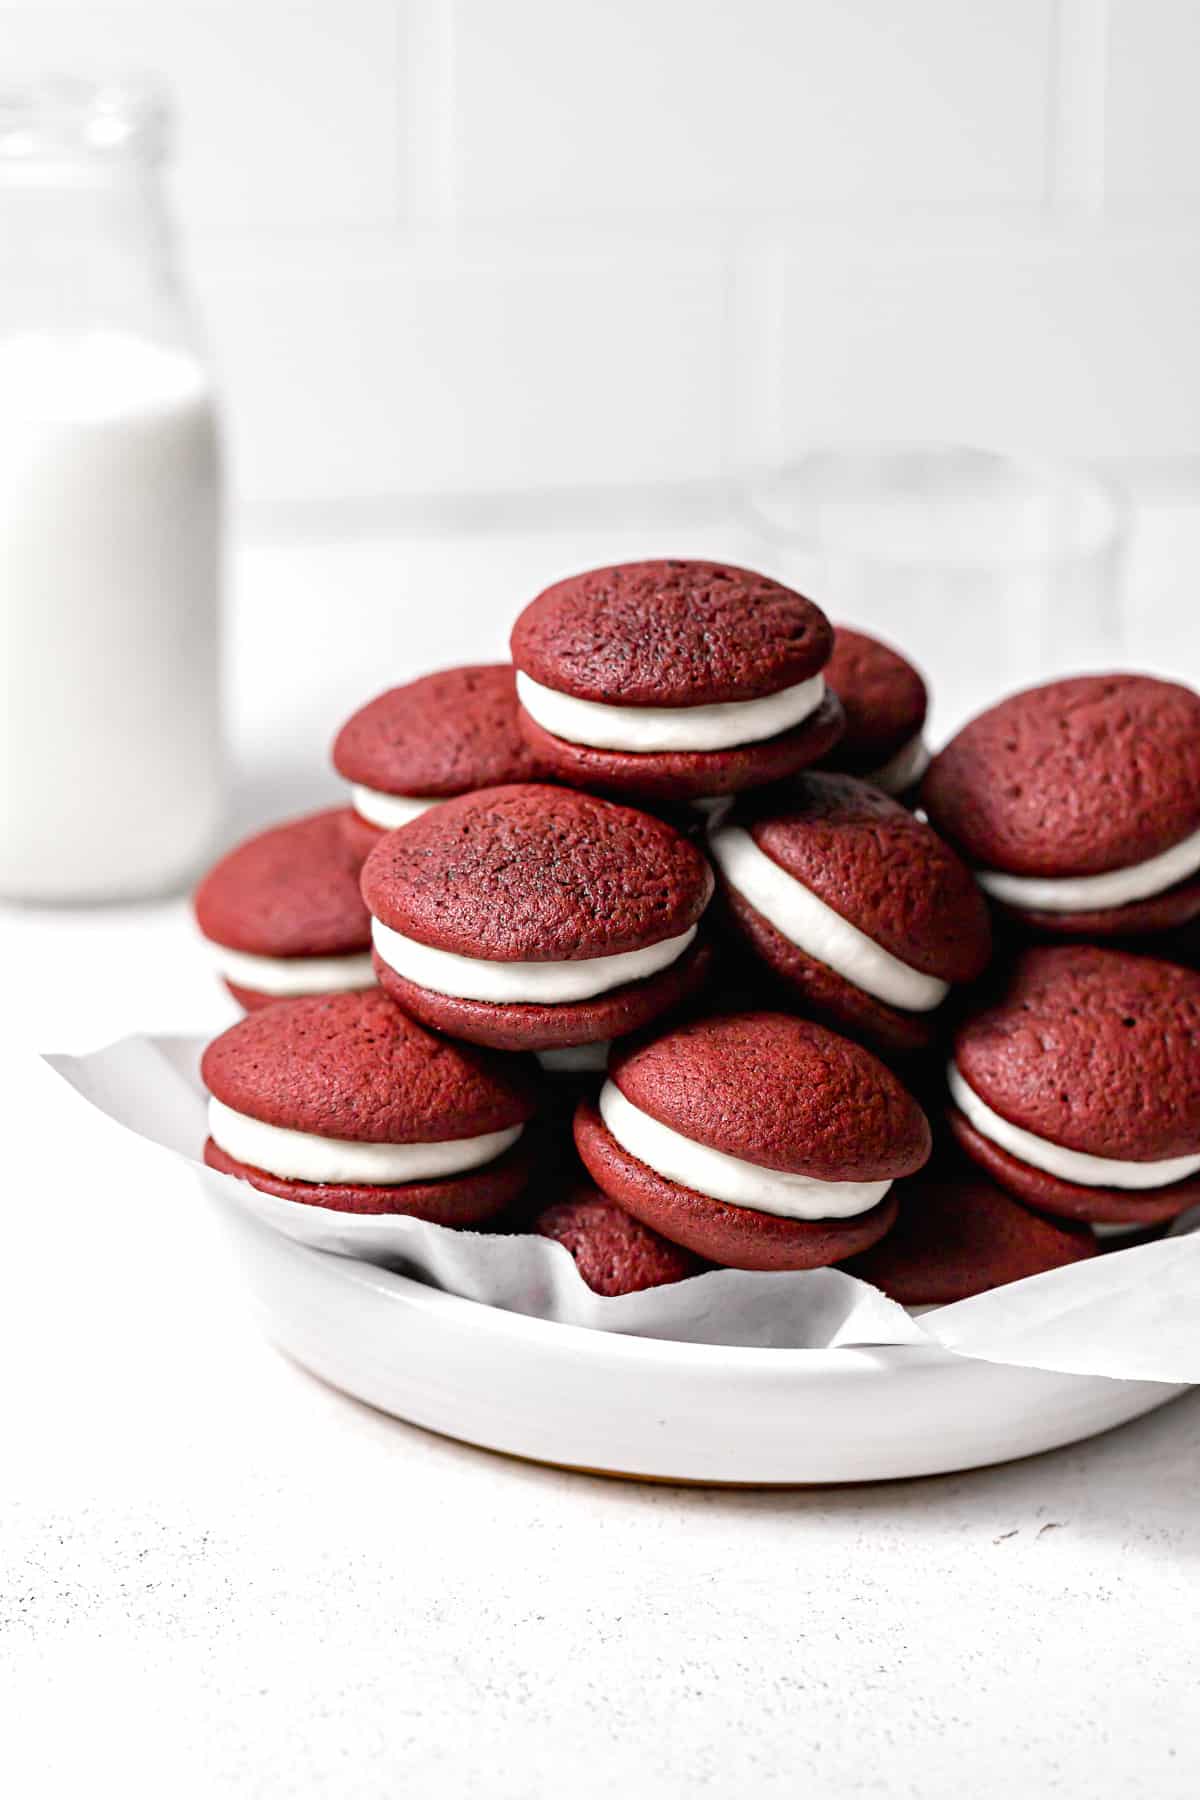
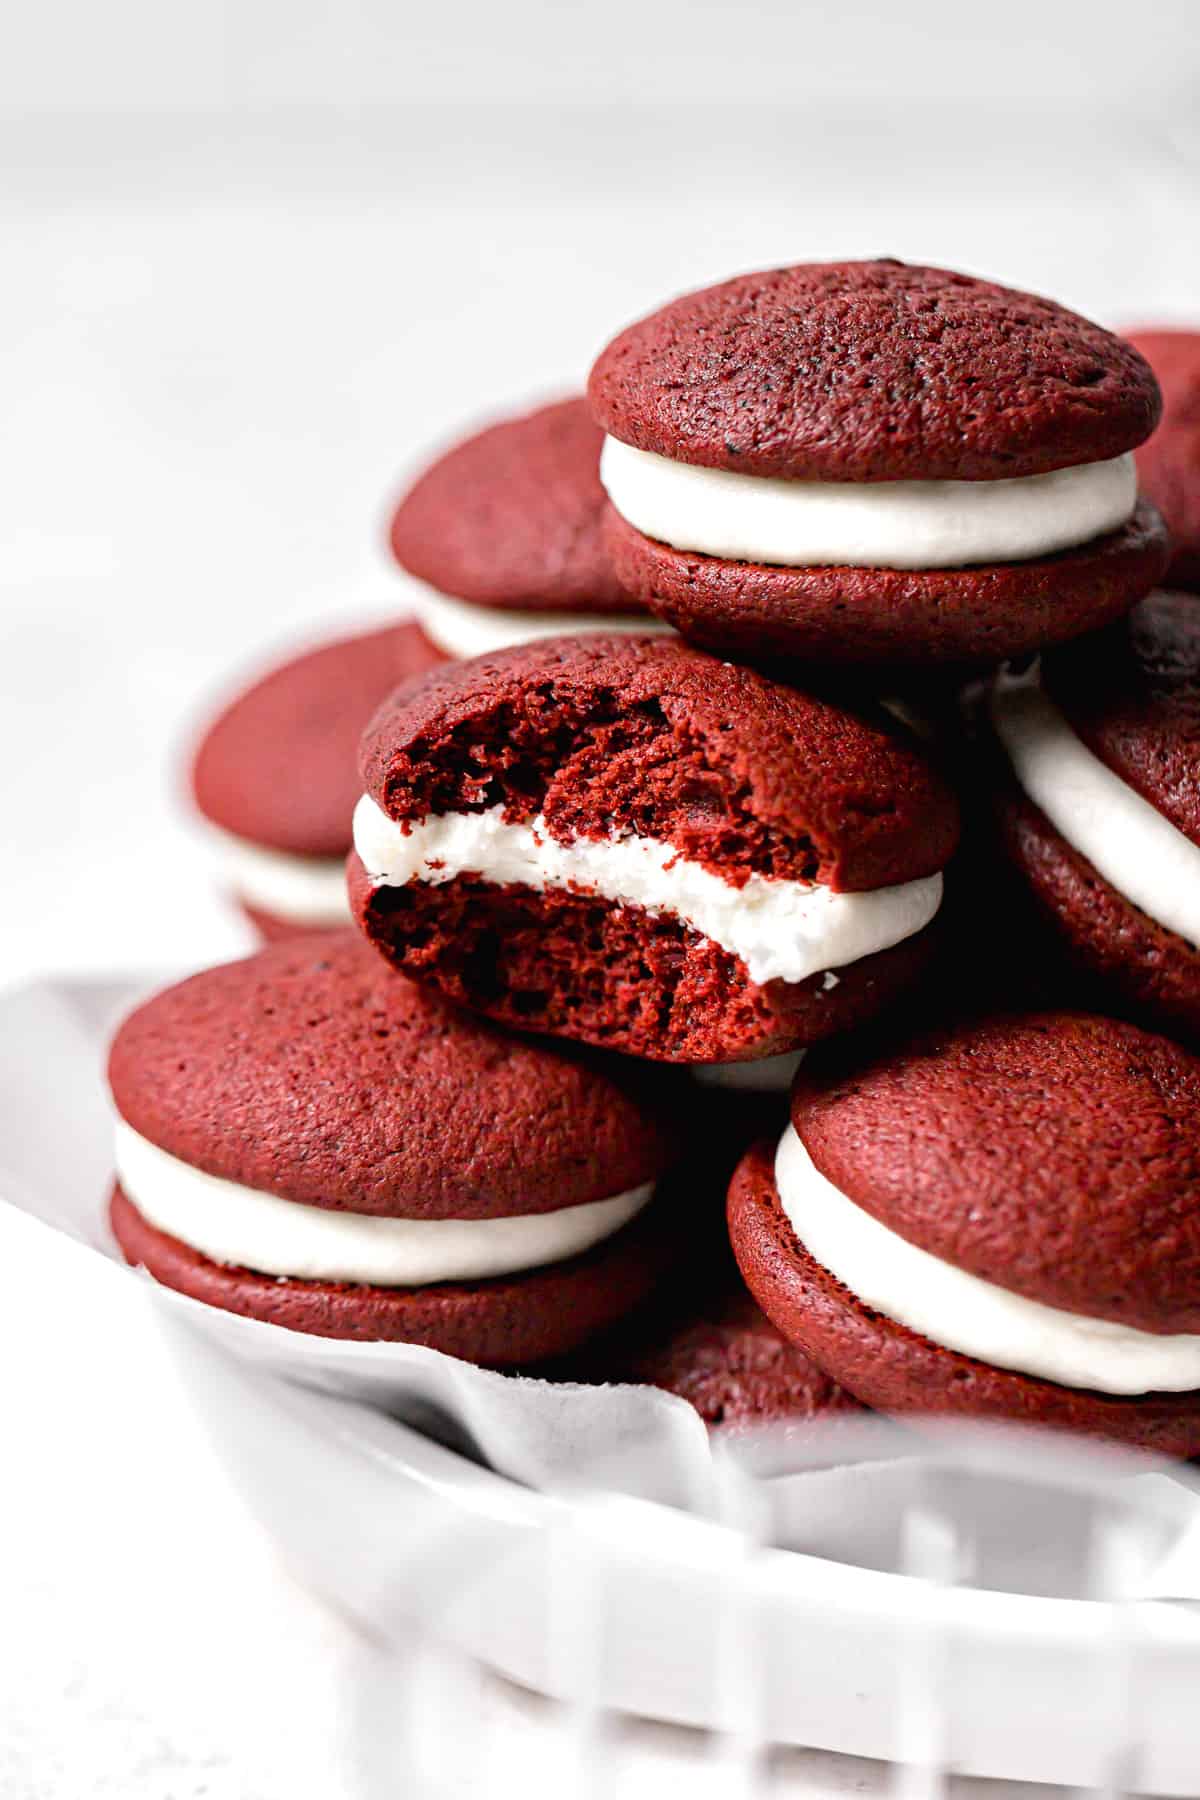
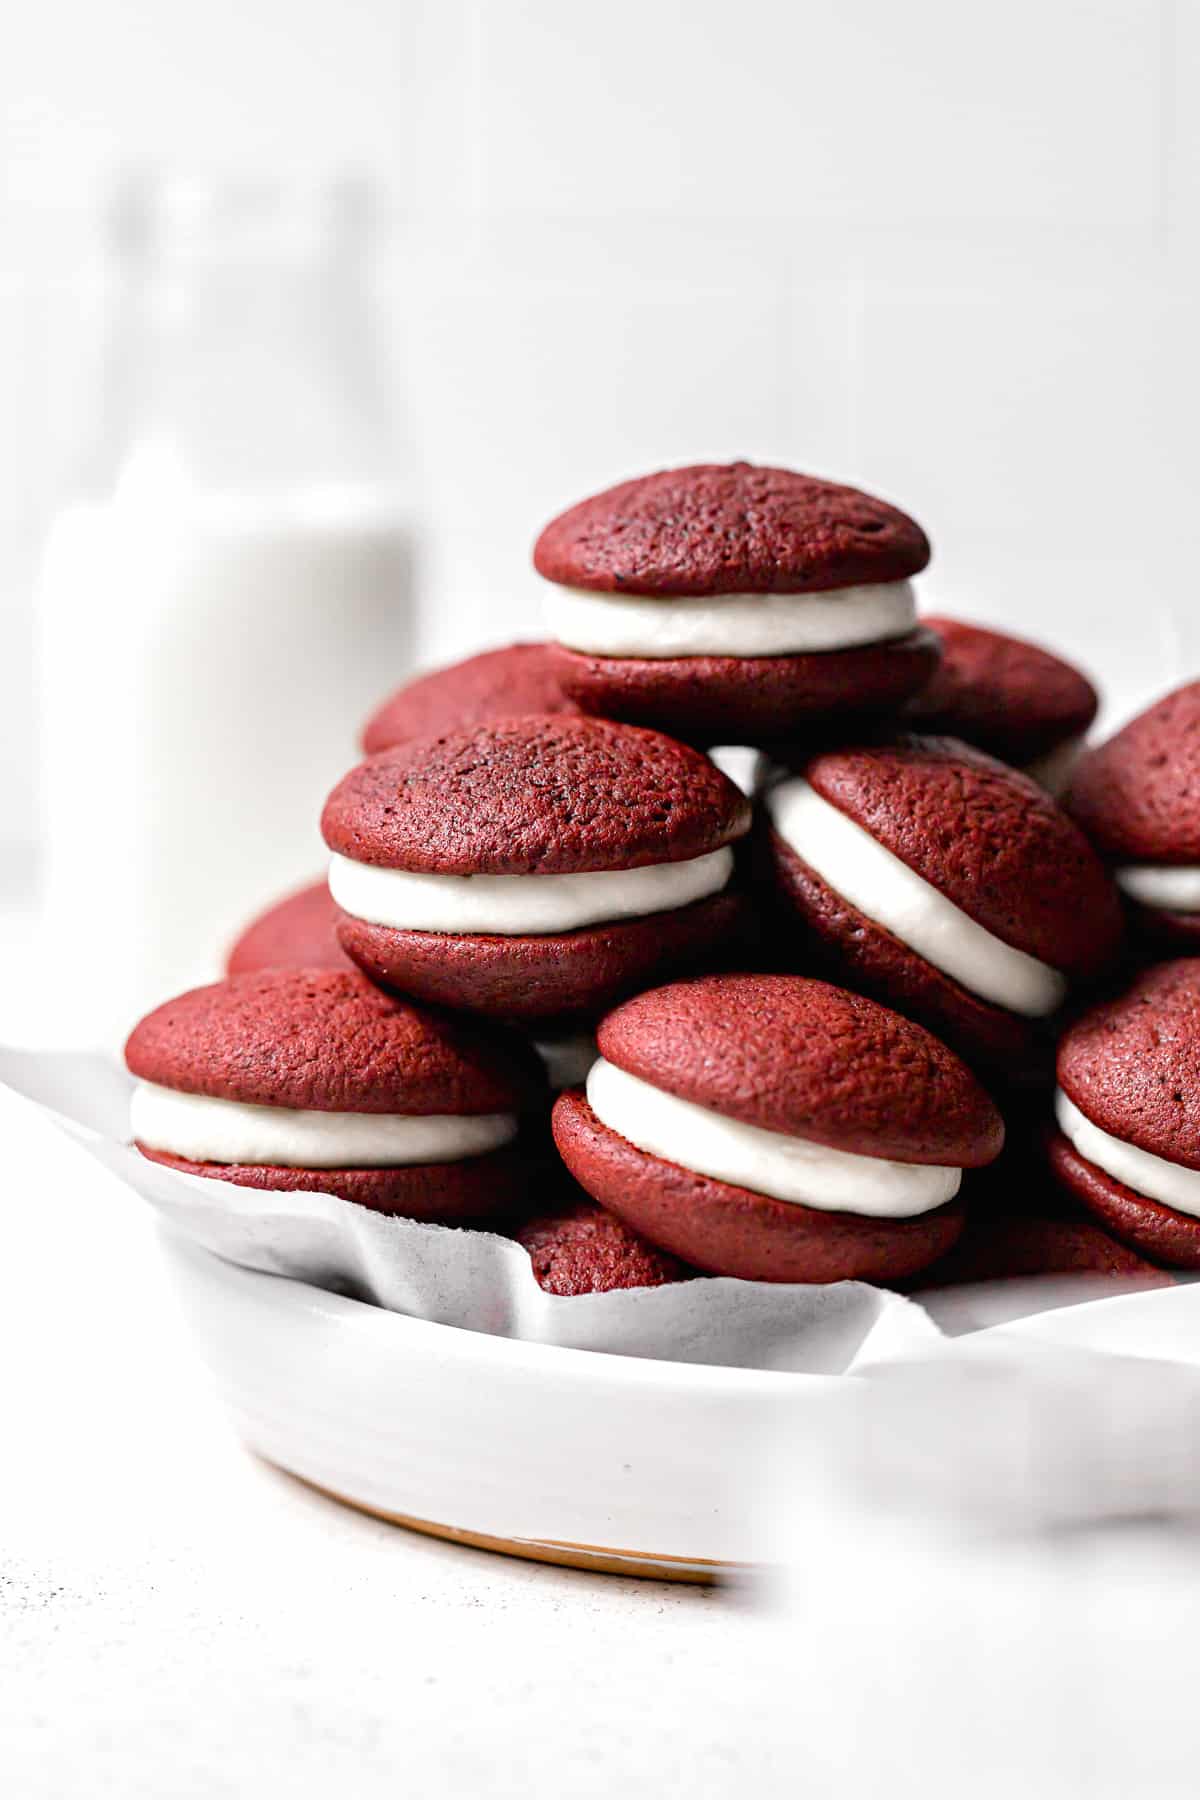
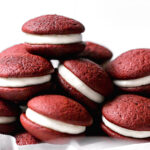
These mini red velvet whoopie pies have a moist, velvety smooth texture, subtle cocoa flavor, and a sweet cream cheese frosting.
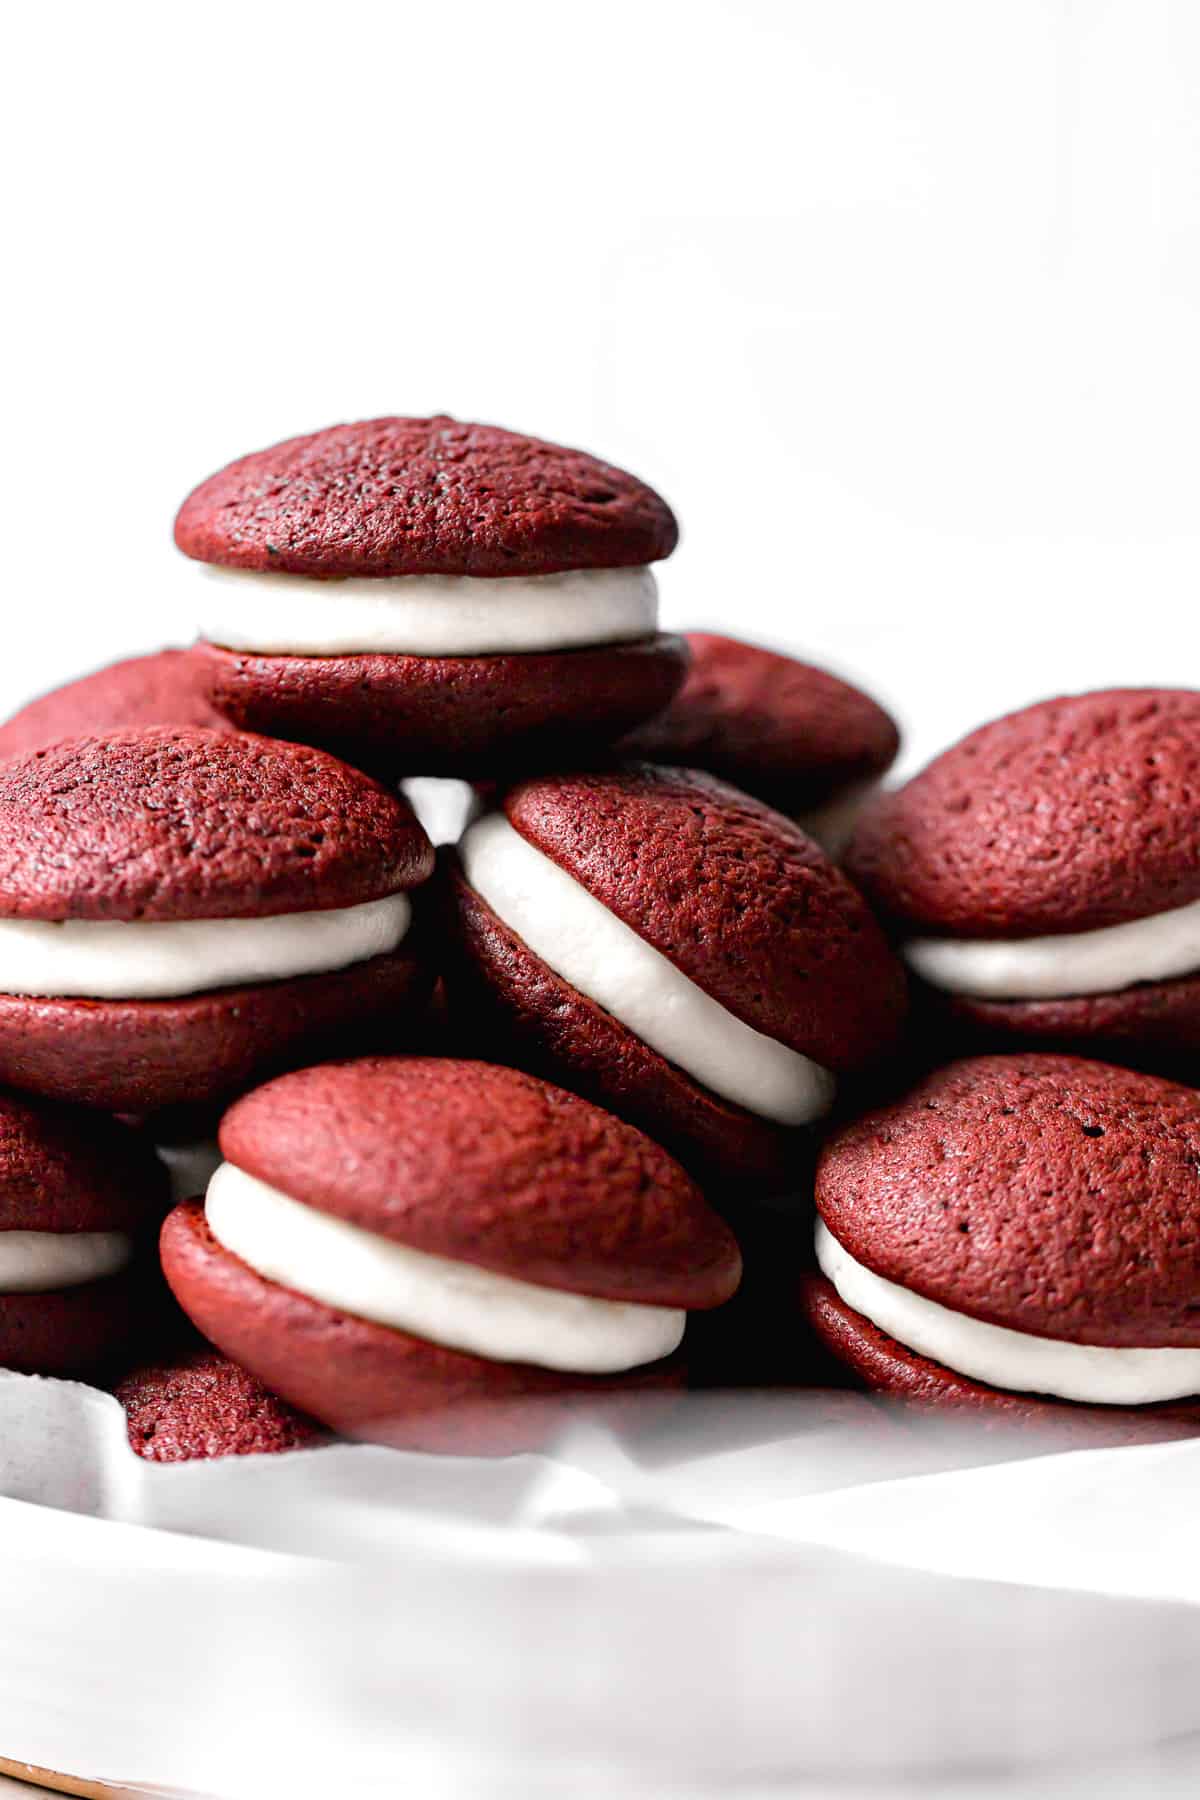
These red velvet whoopie pies are so delicious and even cuter in mini form! Red velvet sort of has a bad rap for being dry and flavorless, but these cake cookie treats are anything but that! With the addition of buttermilk, white vinegar, and rich cocoa powder, these whoopie pies take on that signature tangy, melt-in-your-mouth texture with a subtle chocolate flavor.
And when sandwiched with a sweet cream cheese frosting, they're absolutely irresistible! Their iconic bright red color makes them perfect for Valentine's Day, the 4th of July, Christmas, or any other festive occasion 🙂
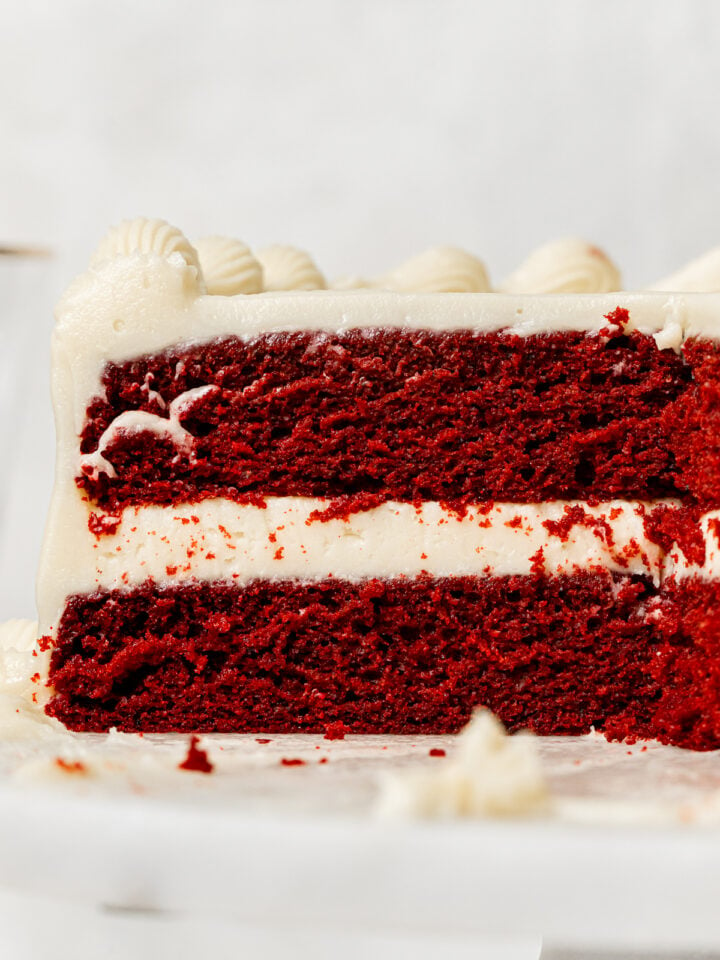
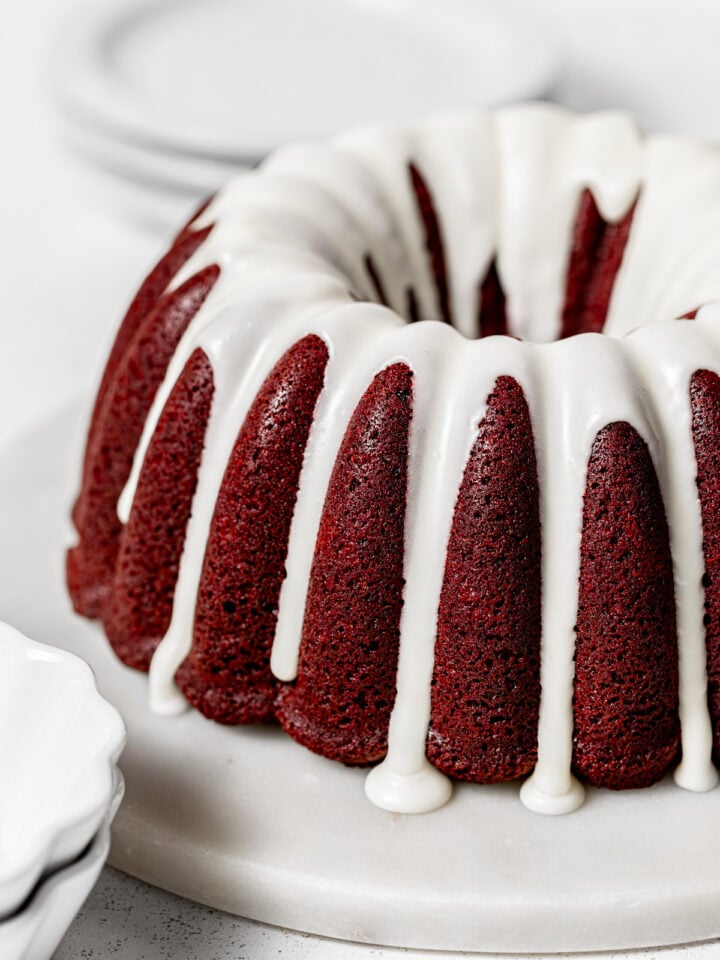
For more red velvet desserts, try Red Velvet Bundt Cake and Red Velvet Macarons.
Jump to Recipe
Why you'll love these red velvet whoopie pies
- Moist, Velvety Texture: These mini whoopie pies bake up so moist with a melt-in-your-mouth texture.
- Subtle Cocoa Flavor: A couple tablespoons of rich black cocoa powder adds subtle chocolate flavor.
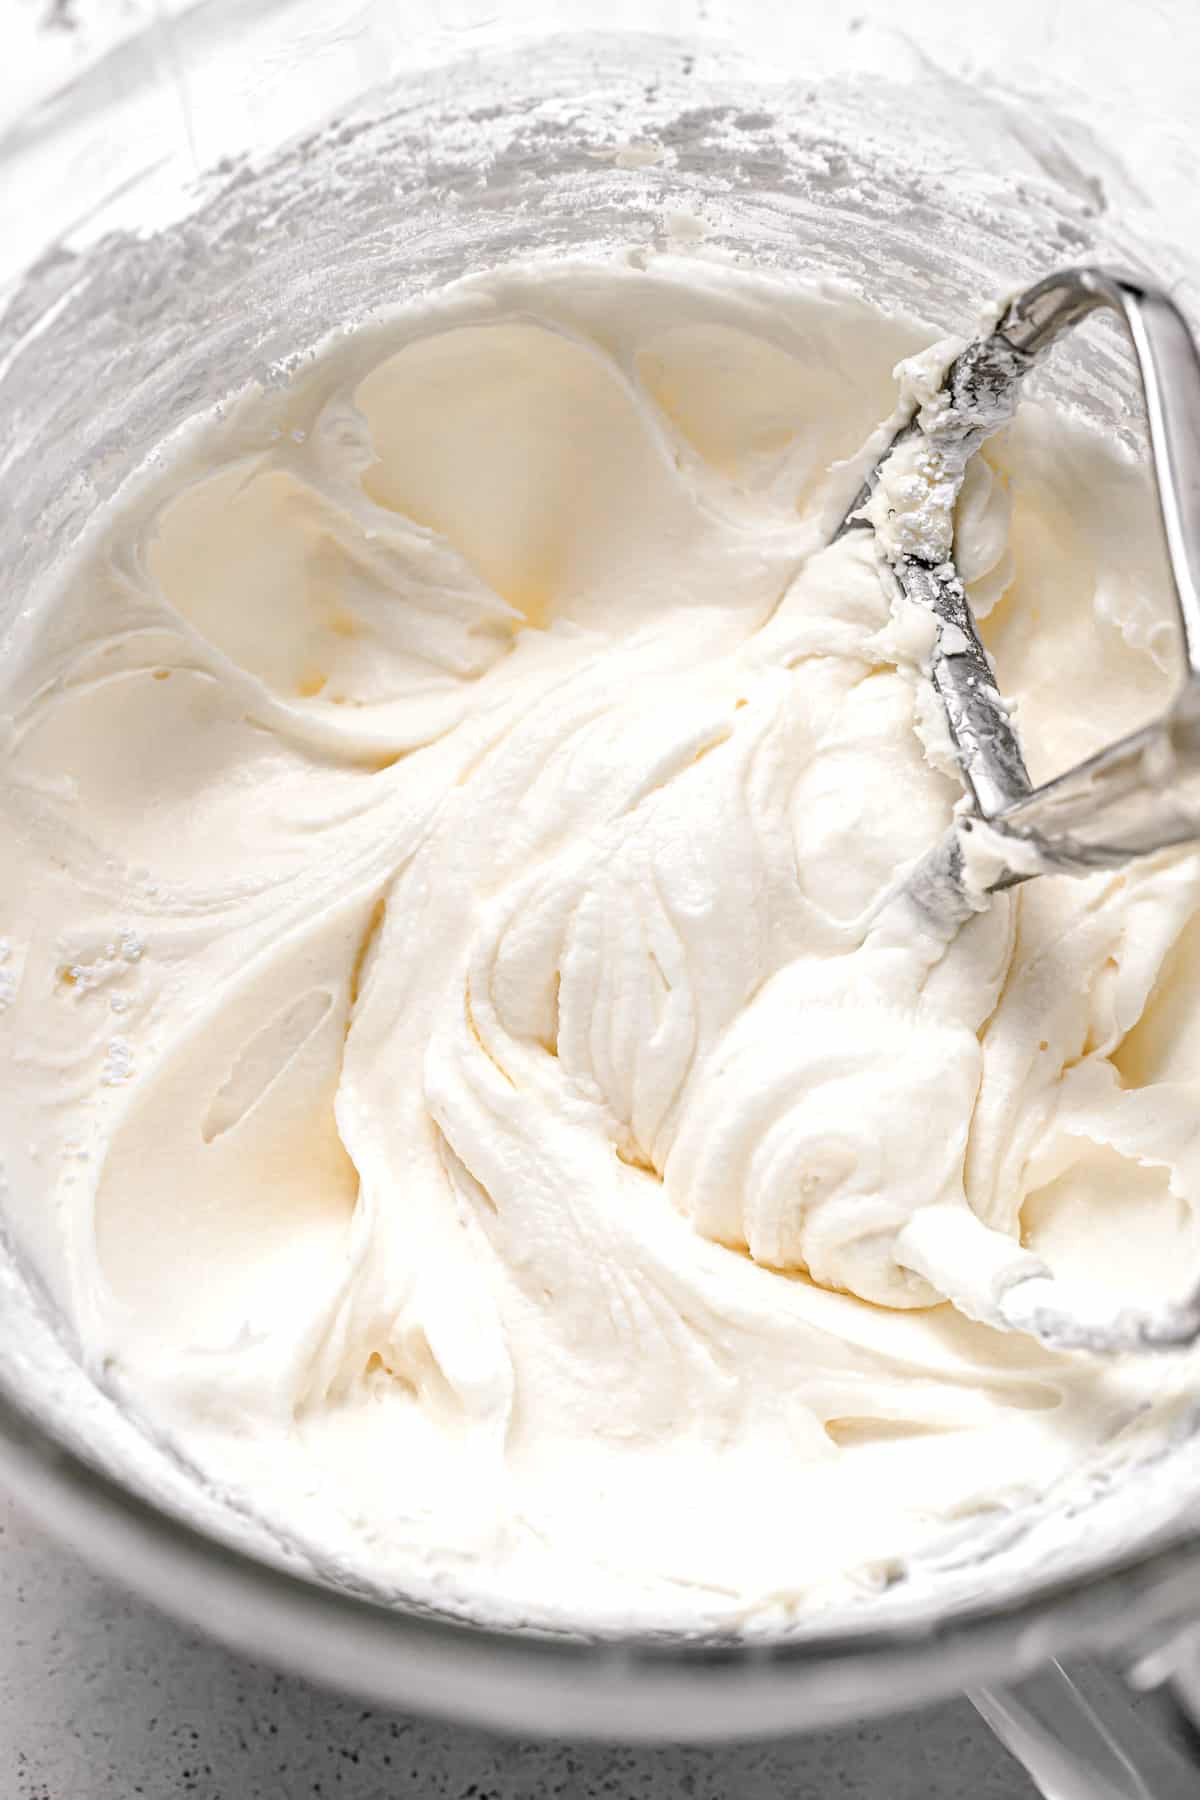
- Sweet Cream Cheese Frosting: Red velvet isn't the same without a sweet cream cheese frosting!
Ingredient Notes
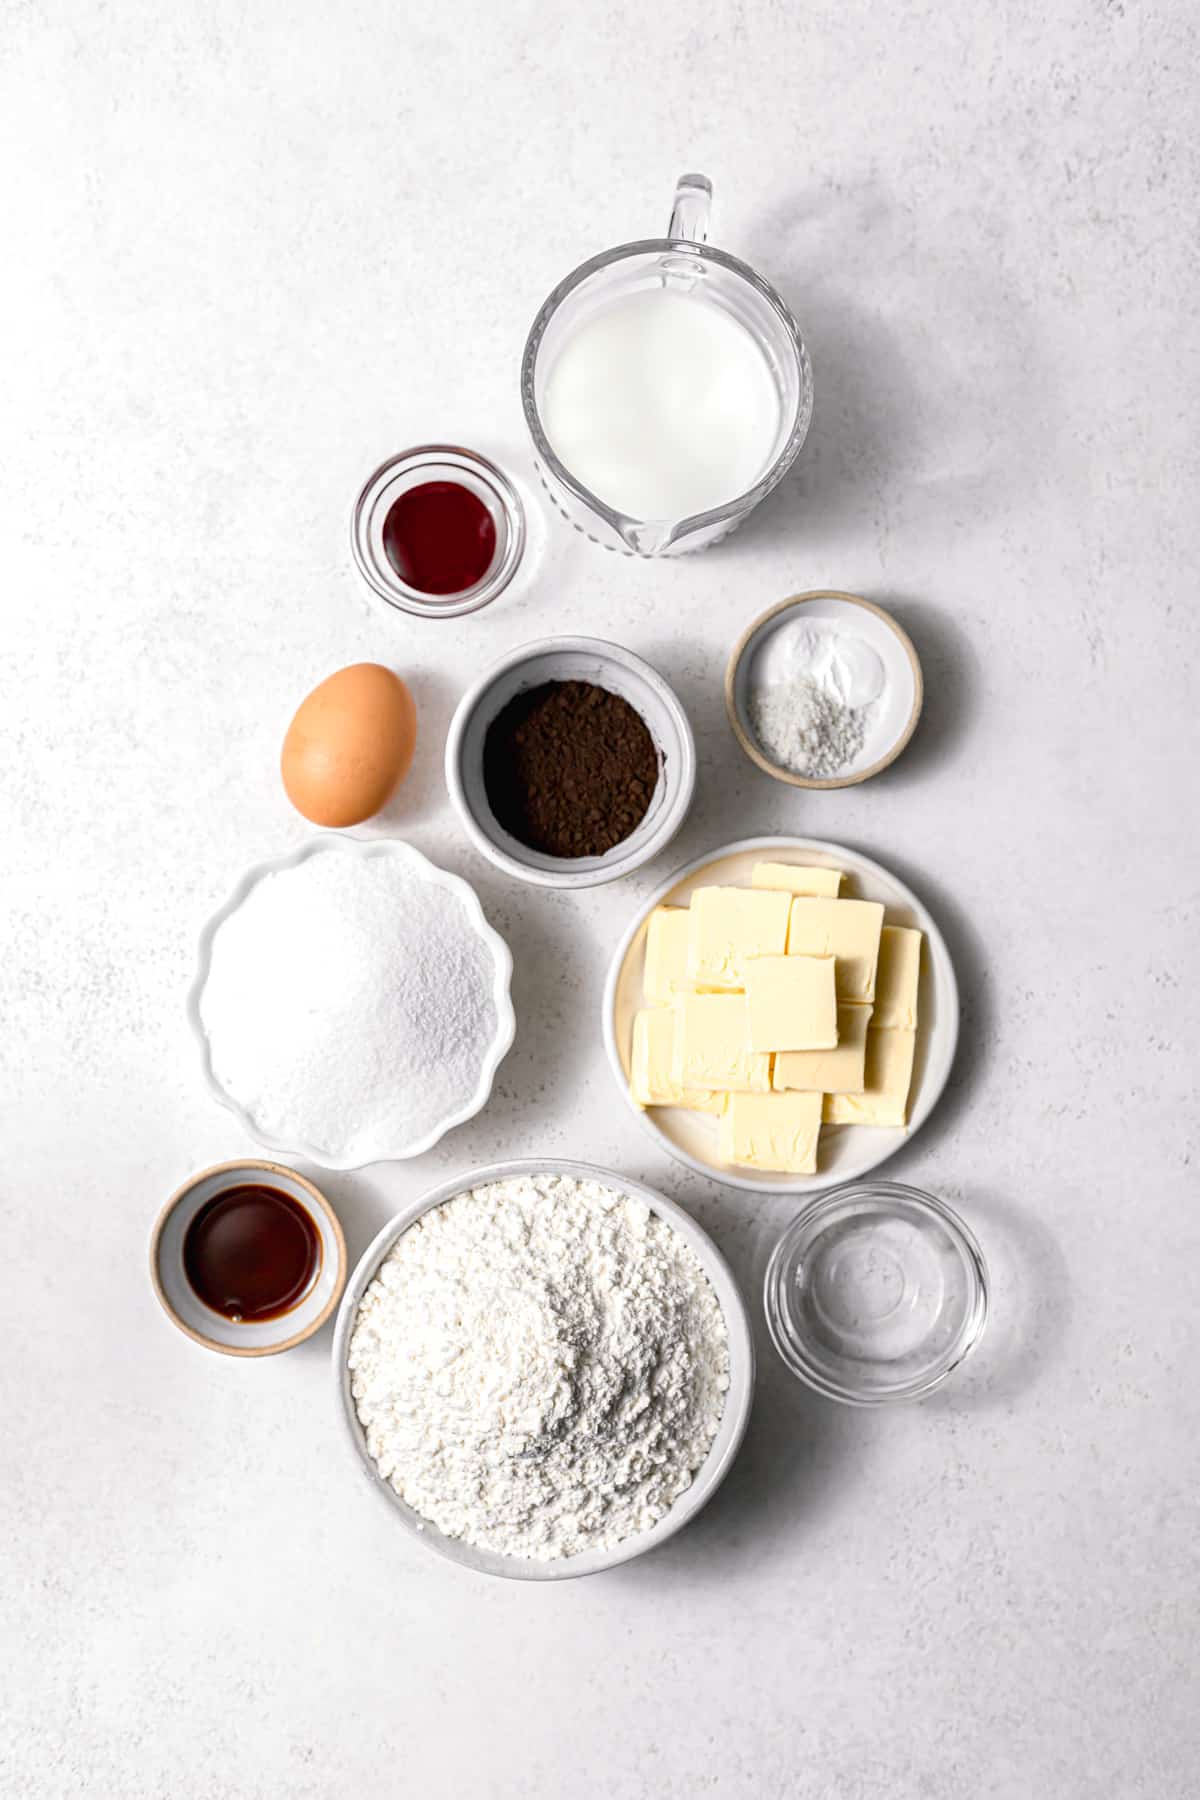
- All-Purpose Flour: You'll need about three cups of unbleached all-purpose flour.
- Cocoa Powder: Just a two tablespoons gives these whoopie pies the perfect subtle chocolate flavor.
- Leaveners: You'll need both baking powder and baking soda.
- Unsalted Butter: I recommend using high quality European-style unsalted butter for best flavor and overall results.
- Sugar: You'll need one cup of granulated sugar.
- Egg: Bring your egg to room temperature quickly by placing it a bowl of warm water.
- Buttermilk: Buttermilk is key to a good red velvet recipe. It adds moisture and lovely tangy taste that makes red velvet so unique.
- Vanilla Extract: Always need a good amount of quality vanilla!
- Distilled White Vinegar: Vinegar helps to activate the baking soda to ensure the cake rises well.
- Red Food Gel: Food gel is much more powerful than food coloring. I like Americolor food gel!
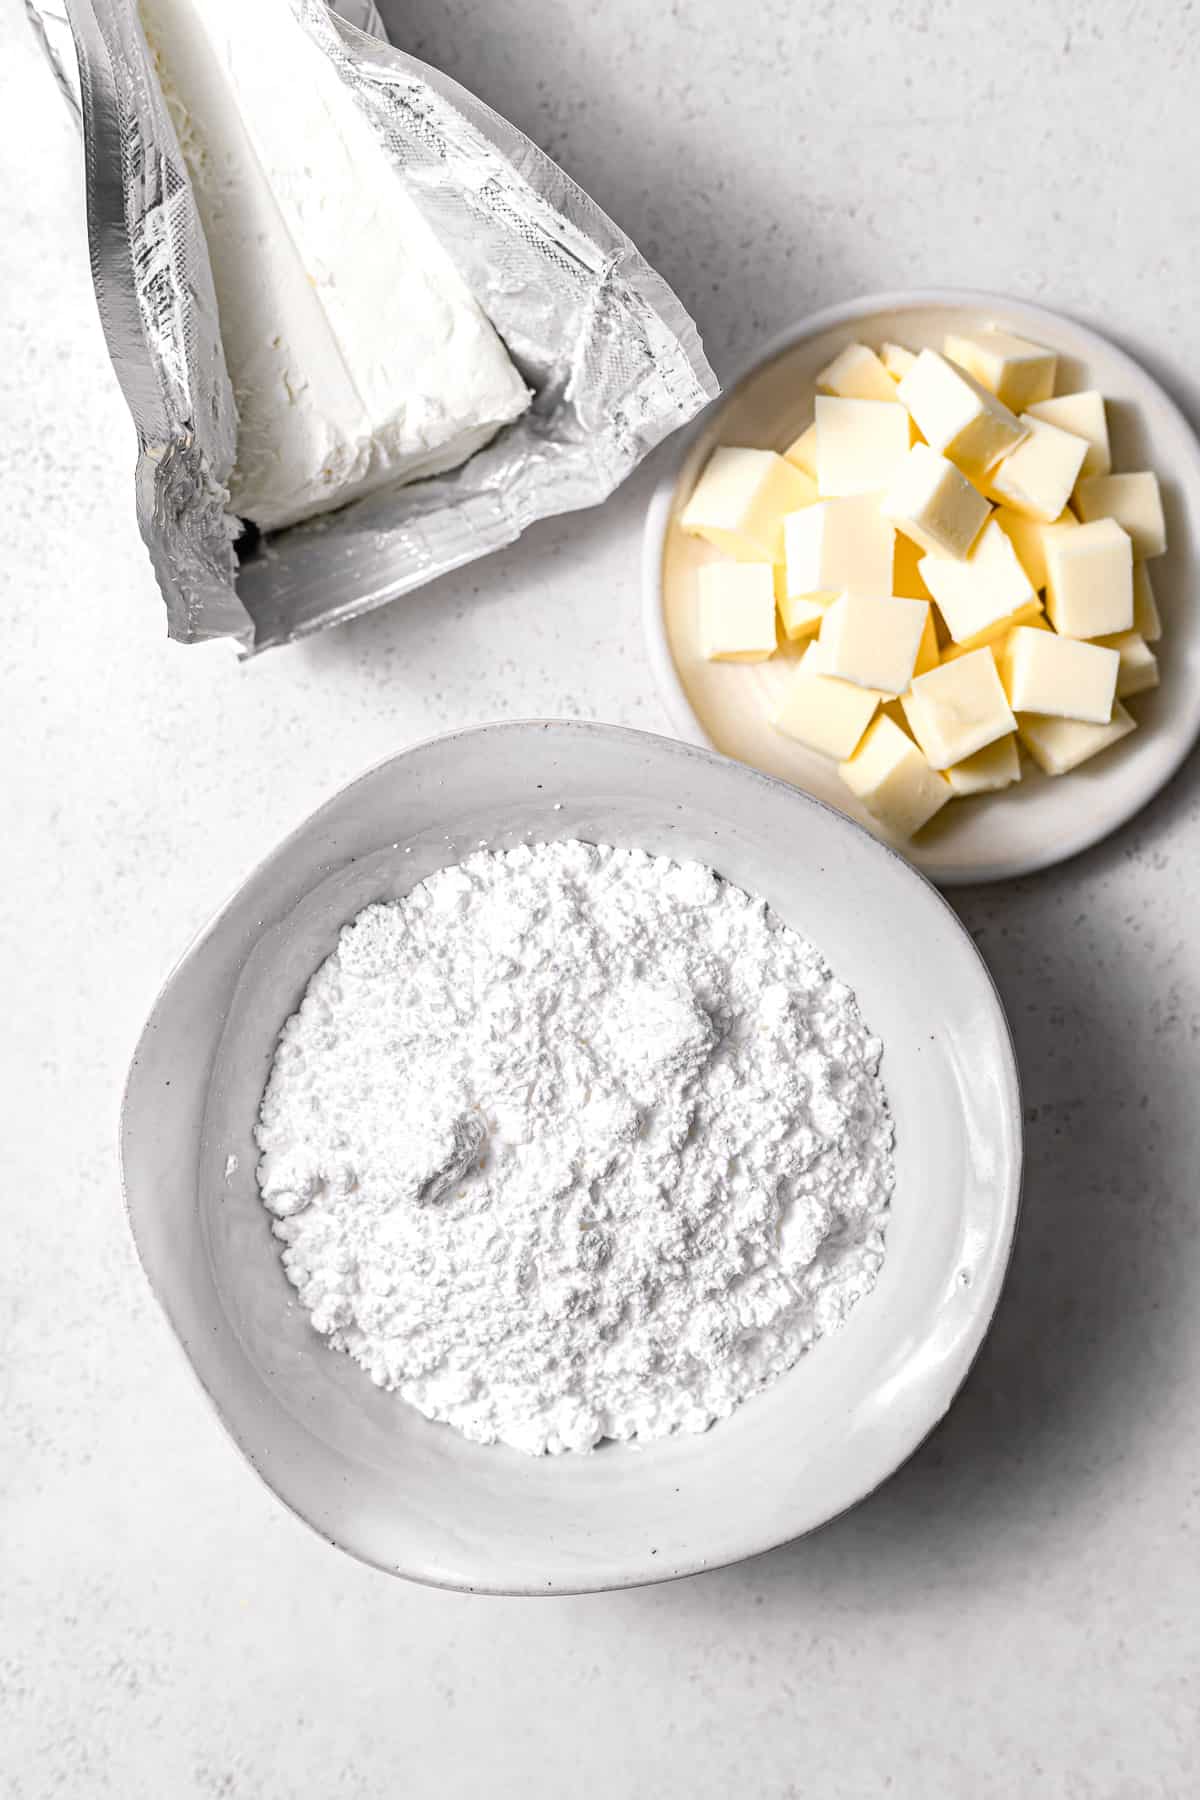
- Cream Cheese: Use cold block cream cheese to create a sturdy frosting.
- Powdered Sugar: Add the sifted powdered sugar slowly when making the frosting to avoid making a huge mess. Add more or less depending on the level of sweetness you like.
See recipe card for full information on ingredients and individual quantities.
Step by Step Instructions
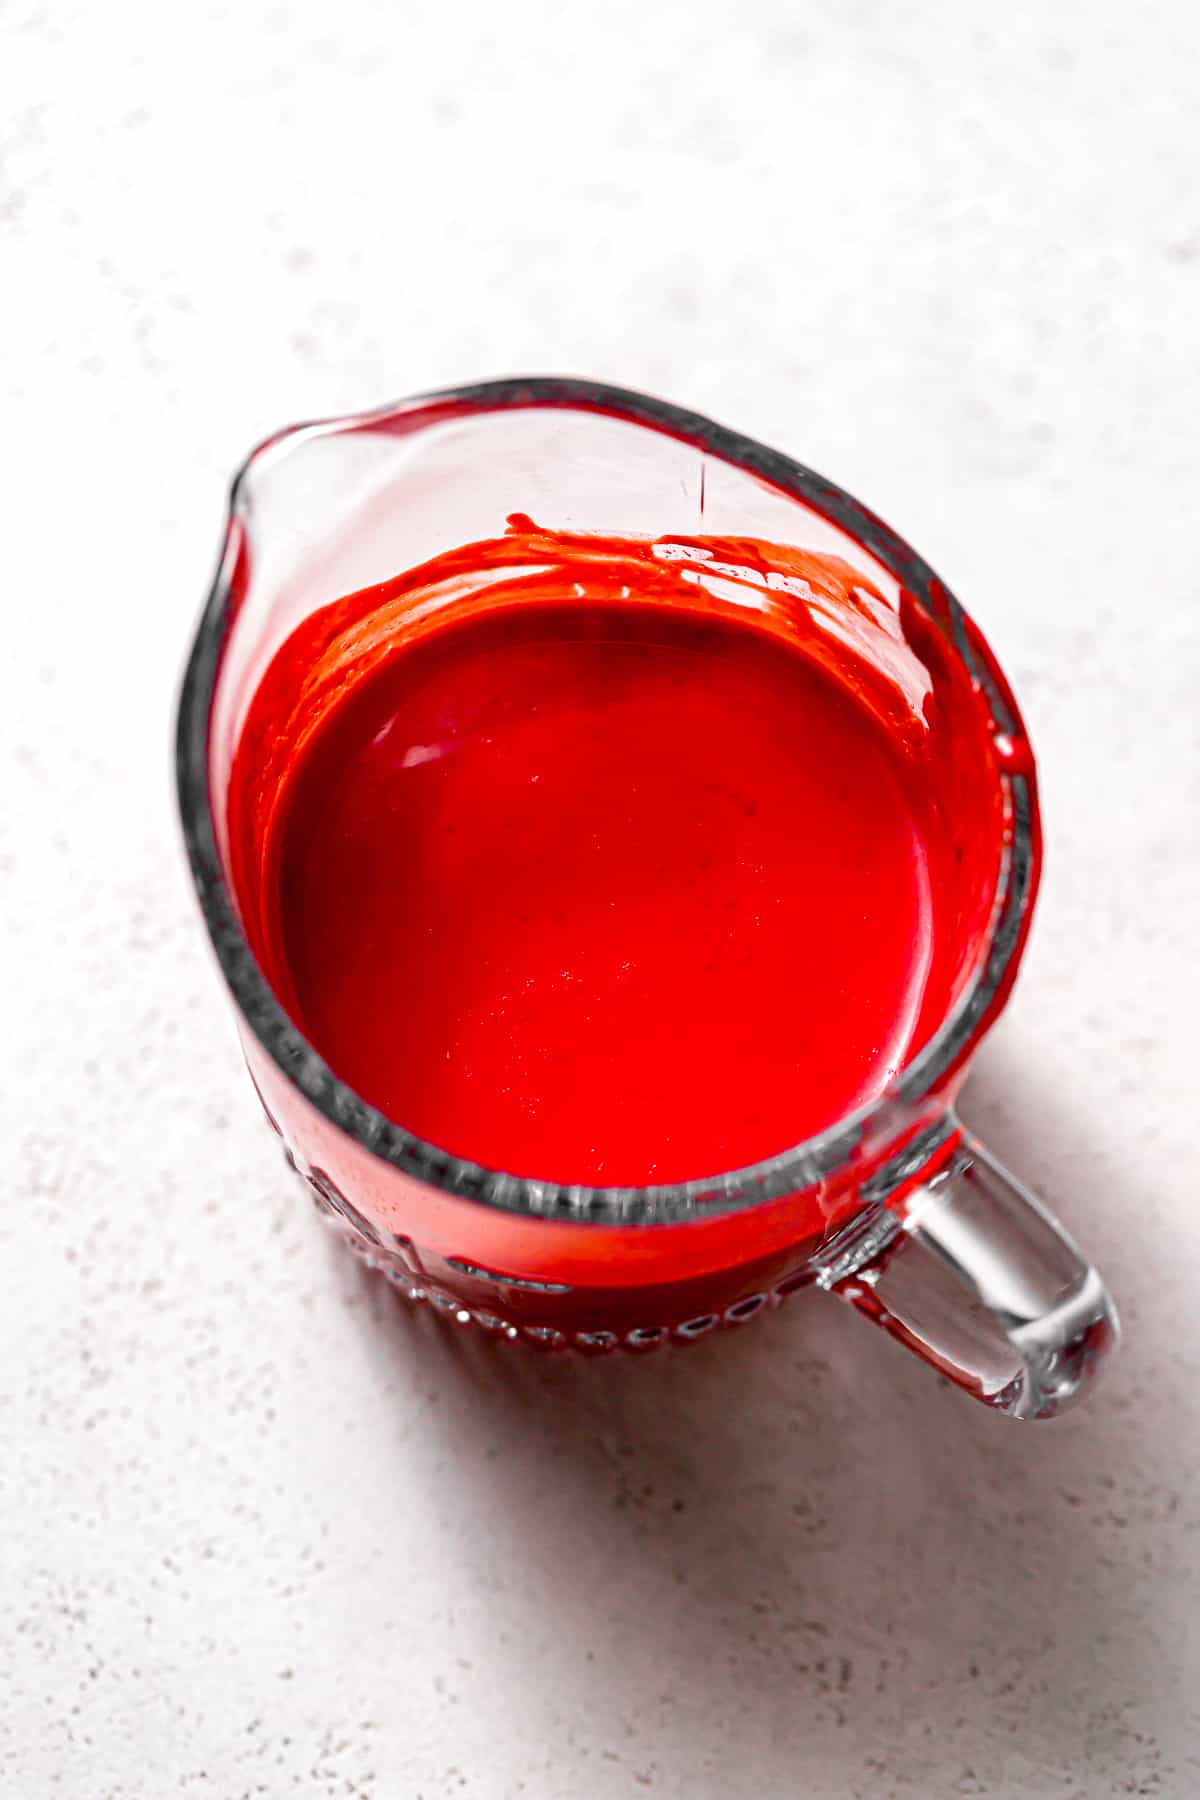
STEP 1: Combine wet ingredients. In a glass measuring cup, combine the lukewarm buttermilk, white vinegar, and food gel. Set aside.
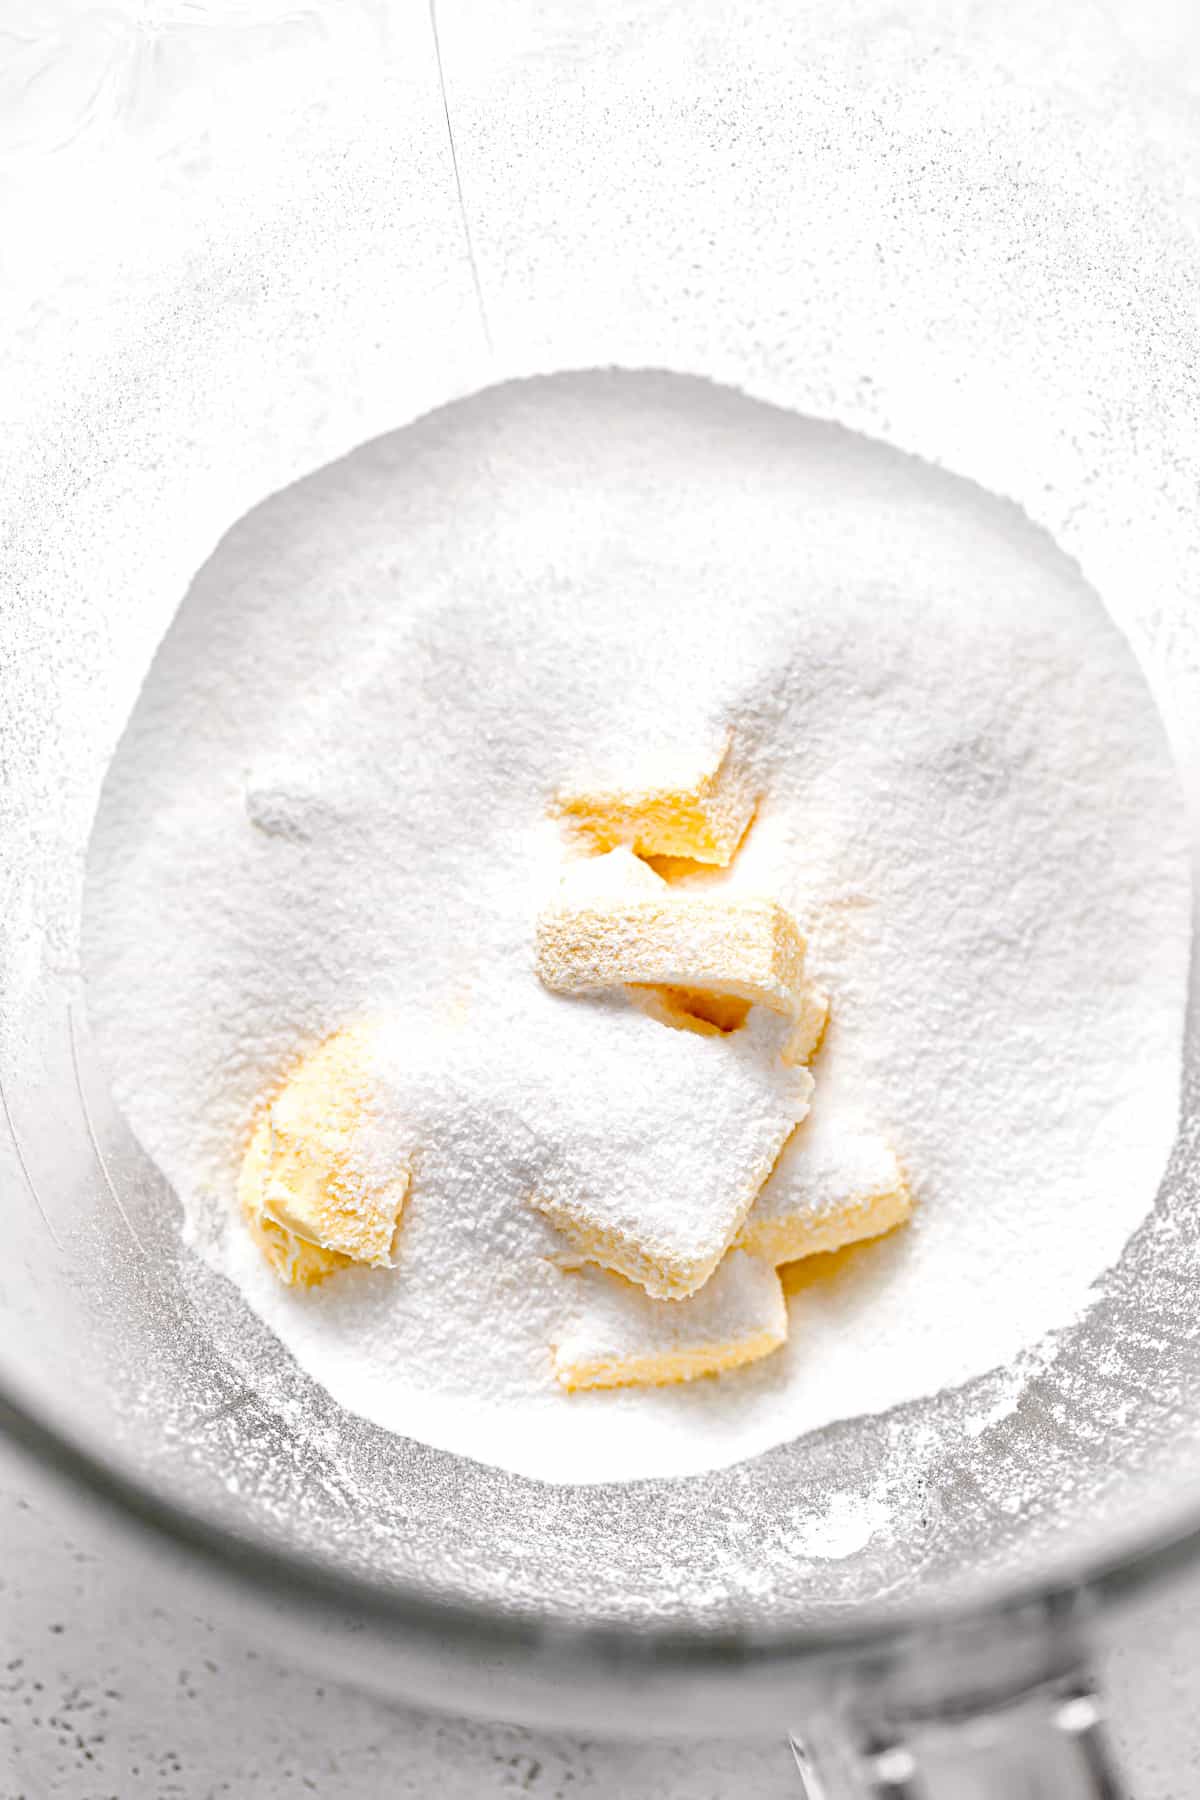
STEP 2: Cream together butter & sugar. In the bowl of a stand mixer fitted with the paddle attachment, cream together the butter and sugar for 2-3 minutes until light & fluffy.
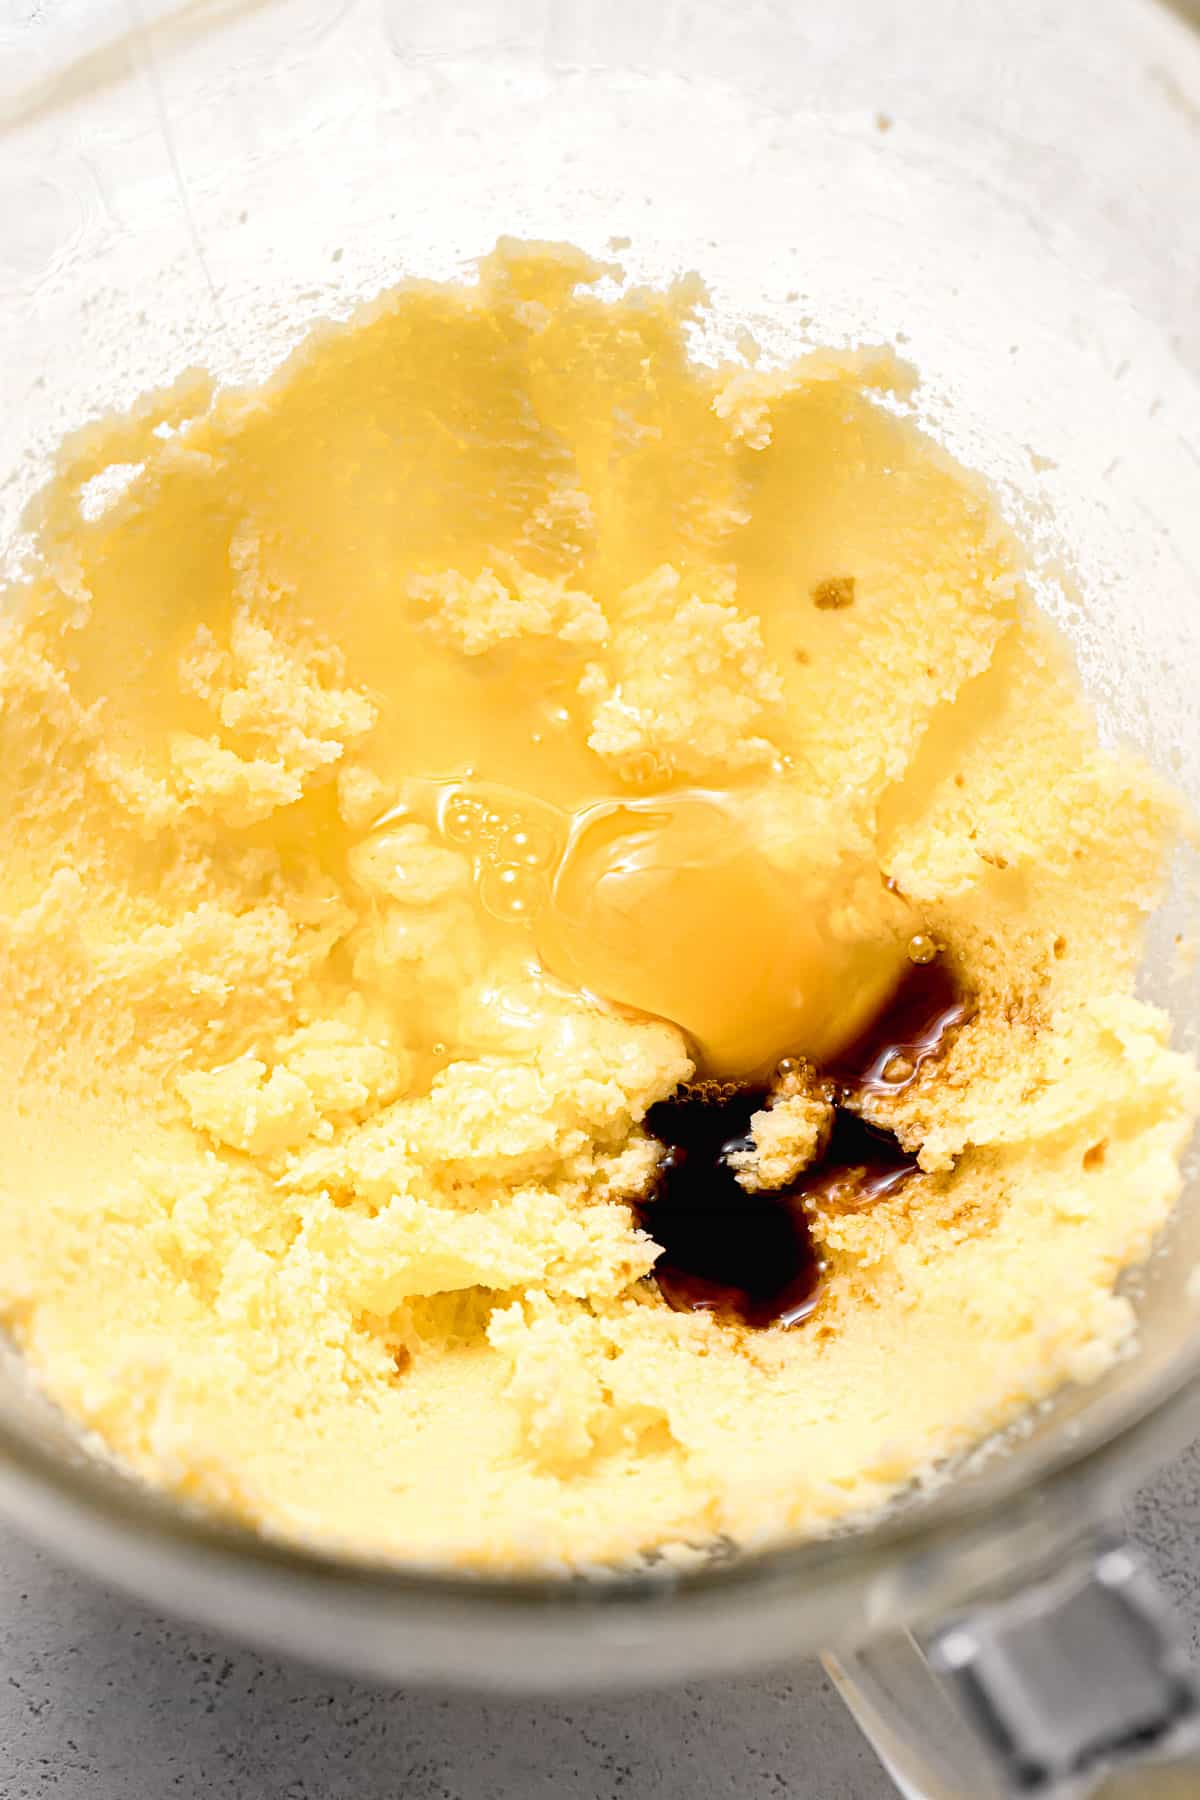

STEP 3: Mix in egg & vanilla. Mix in the egg and vanilla. Scrape down the bowl to ensure everything is fully combined.
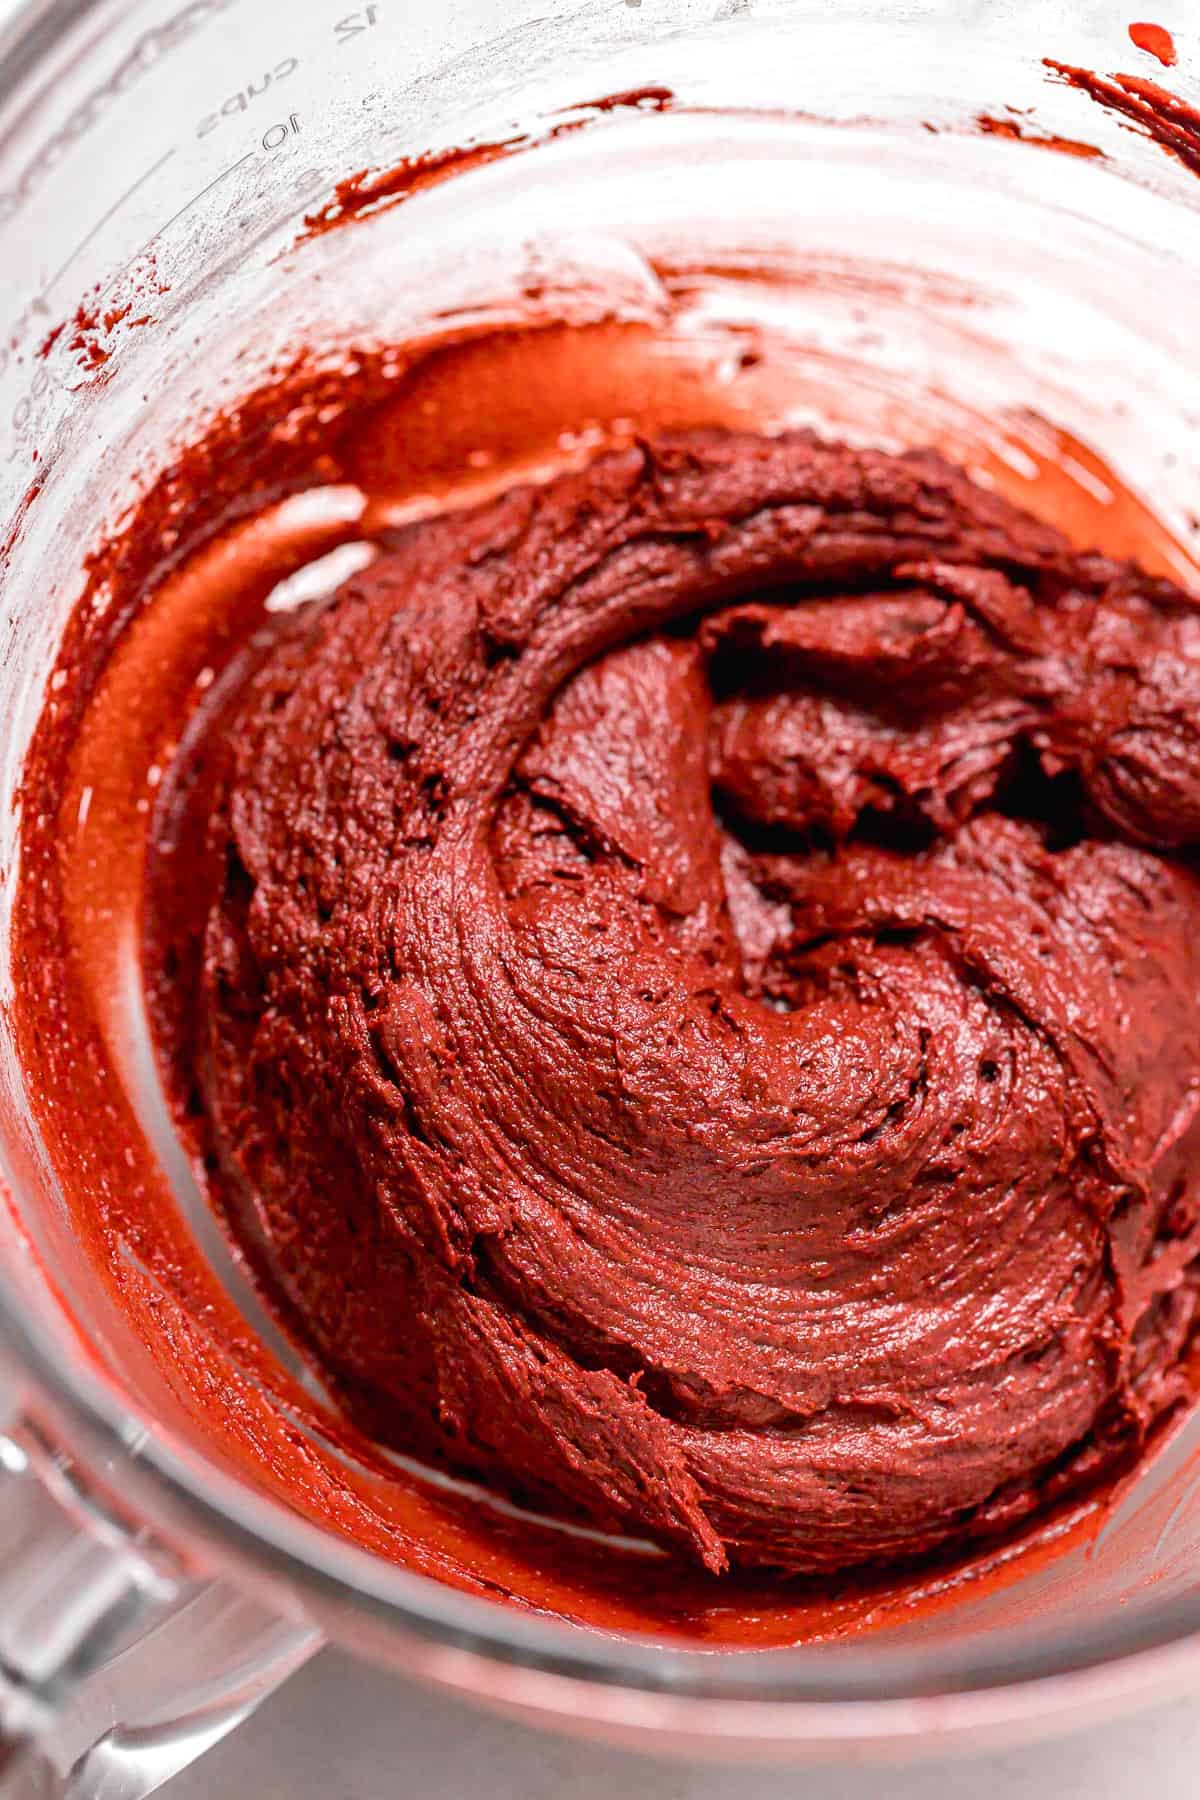
STEP 4: Alternate dry & wet ingredients. Add half of the dry ingredients and mix until just combined. Mix in the buttermilk mixture, then the remaining dry ingredients until just combined.
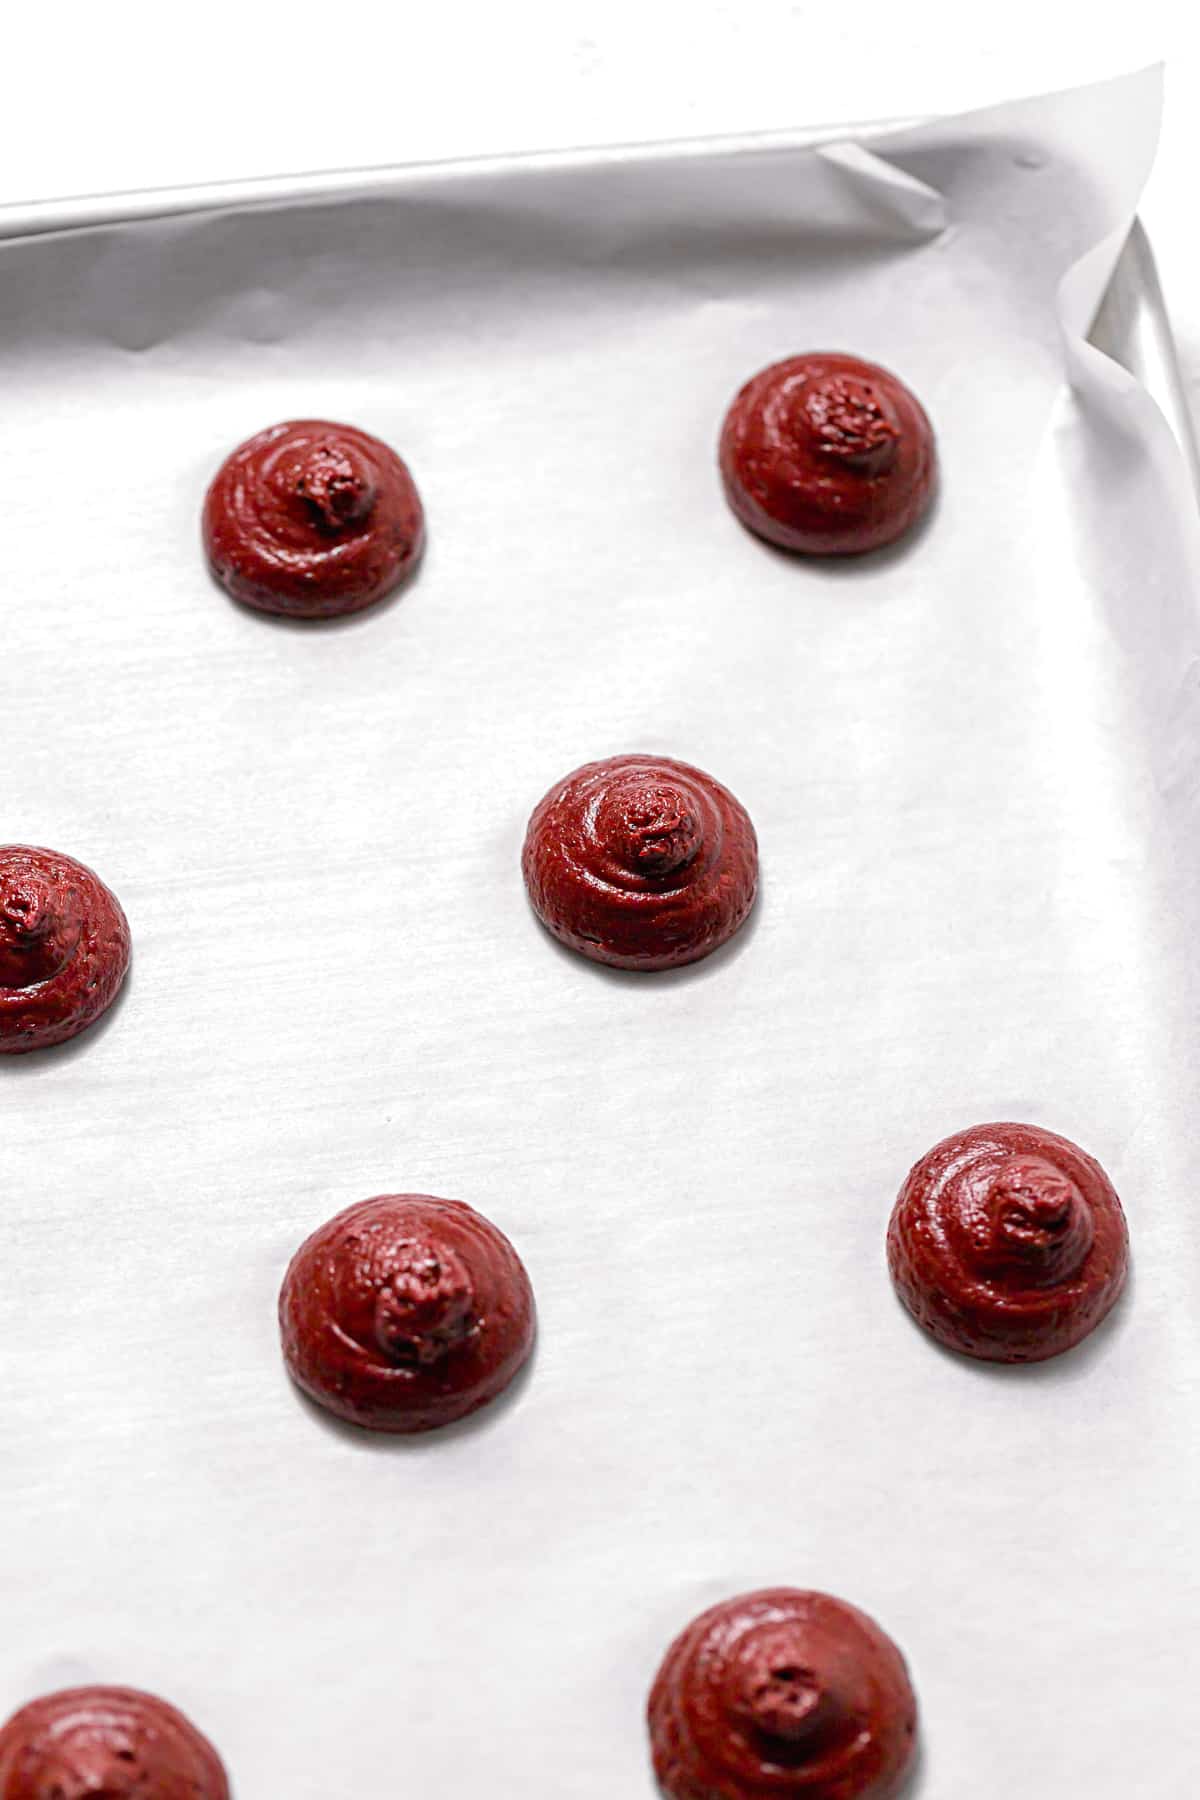
STEP 5: Transfer batter to piping bag. Transfer the batter to piping bag with a medium piping tip (I used Ateco 806).
STEP 6: Pipe the batter. Place the template under the parchment paper on the baking sheet. Pipe the batter perpendicular to fill in each circle. Gently pat down the points with your finger, then remove the template and repeat until all of the batter has been piped.
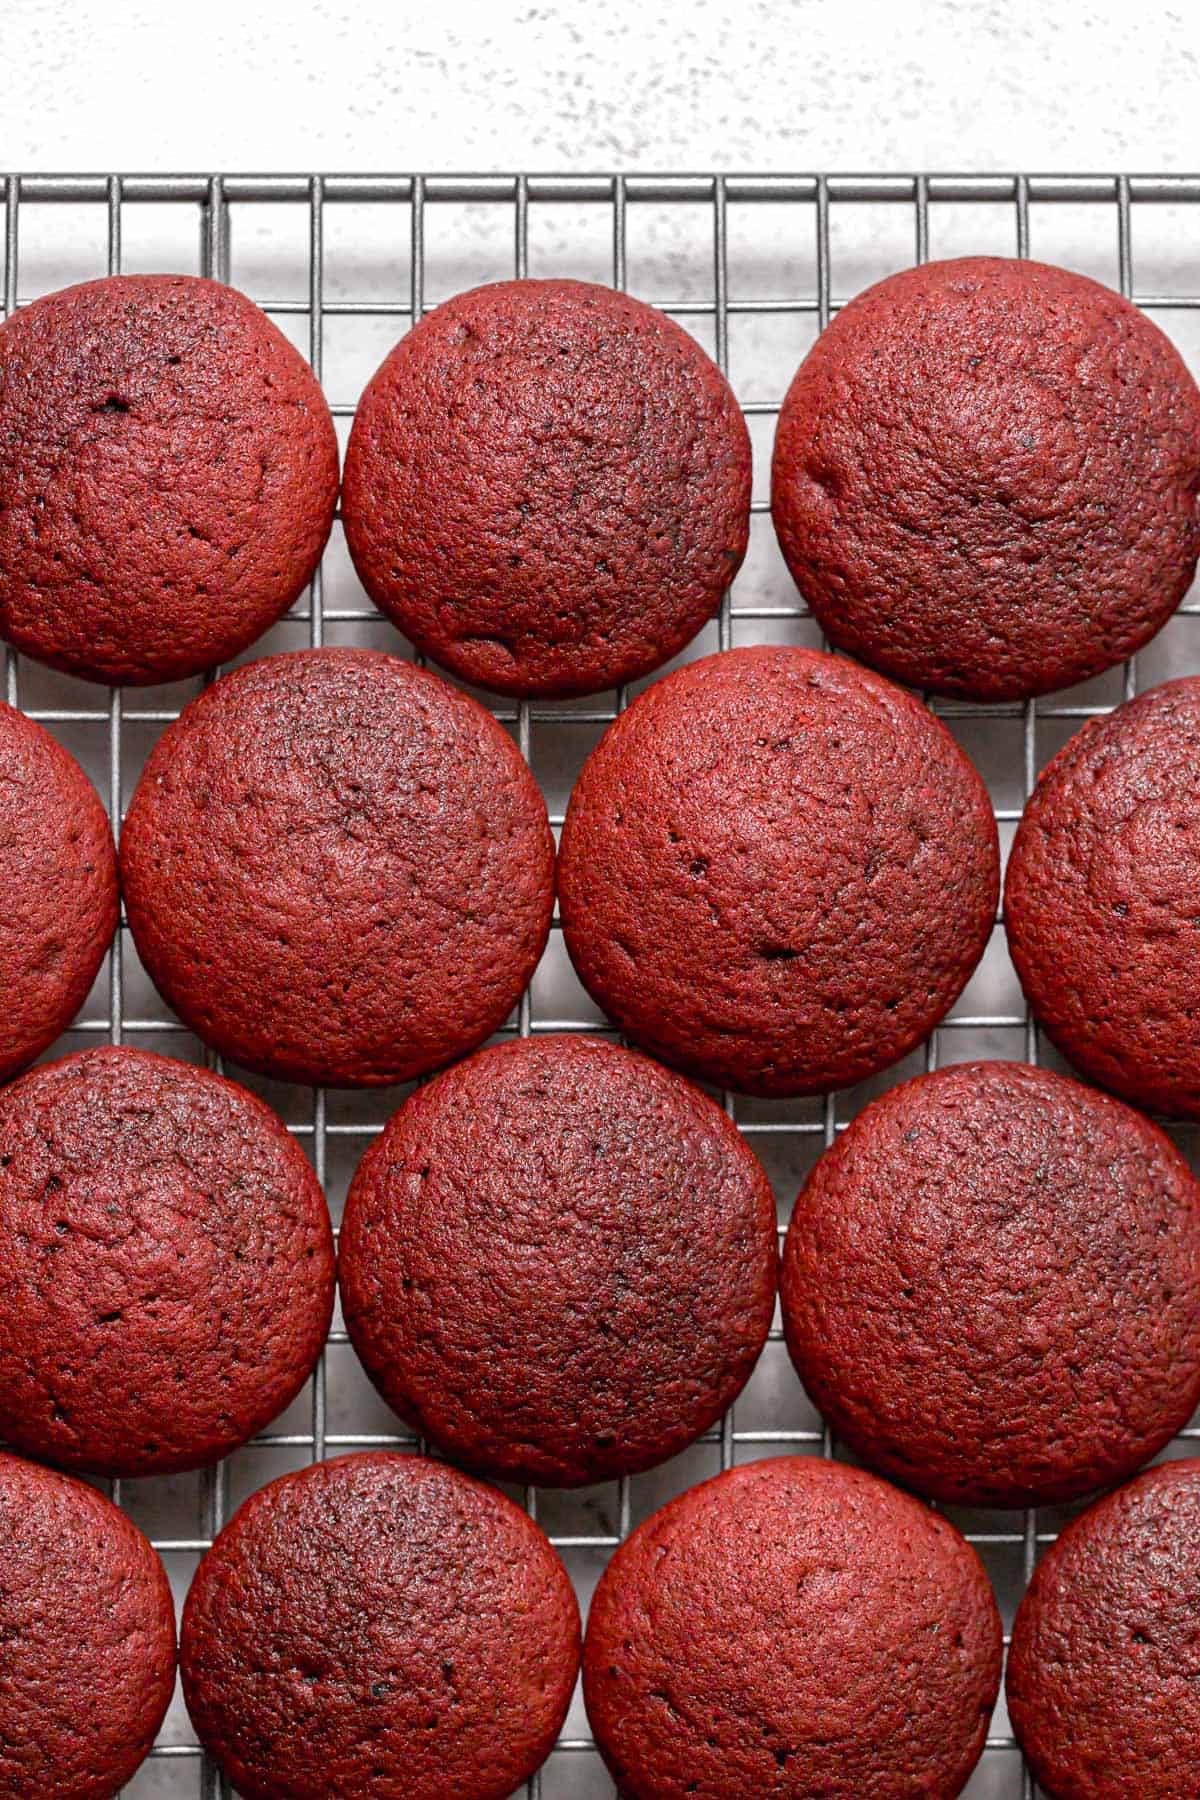
STEP 7: Bake. Bake the whoopie pies for about 8 minutes. Allow to cool completely on the baking sheet.
STEP 8: Make the cream cheese frosting. In the bowl of a stand mixer fitted with a paddle attachment, beat the butter and cream cheese on high speed until smooth. Slowly add the sifted powdered sugar and mix on low speed until fully combined. Once all of the powdered sugar is added, continue beating on low speed until no more lumps or pockets of air remain and the frosting is smooth.
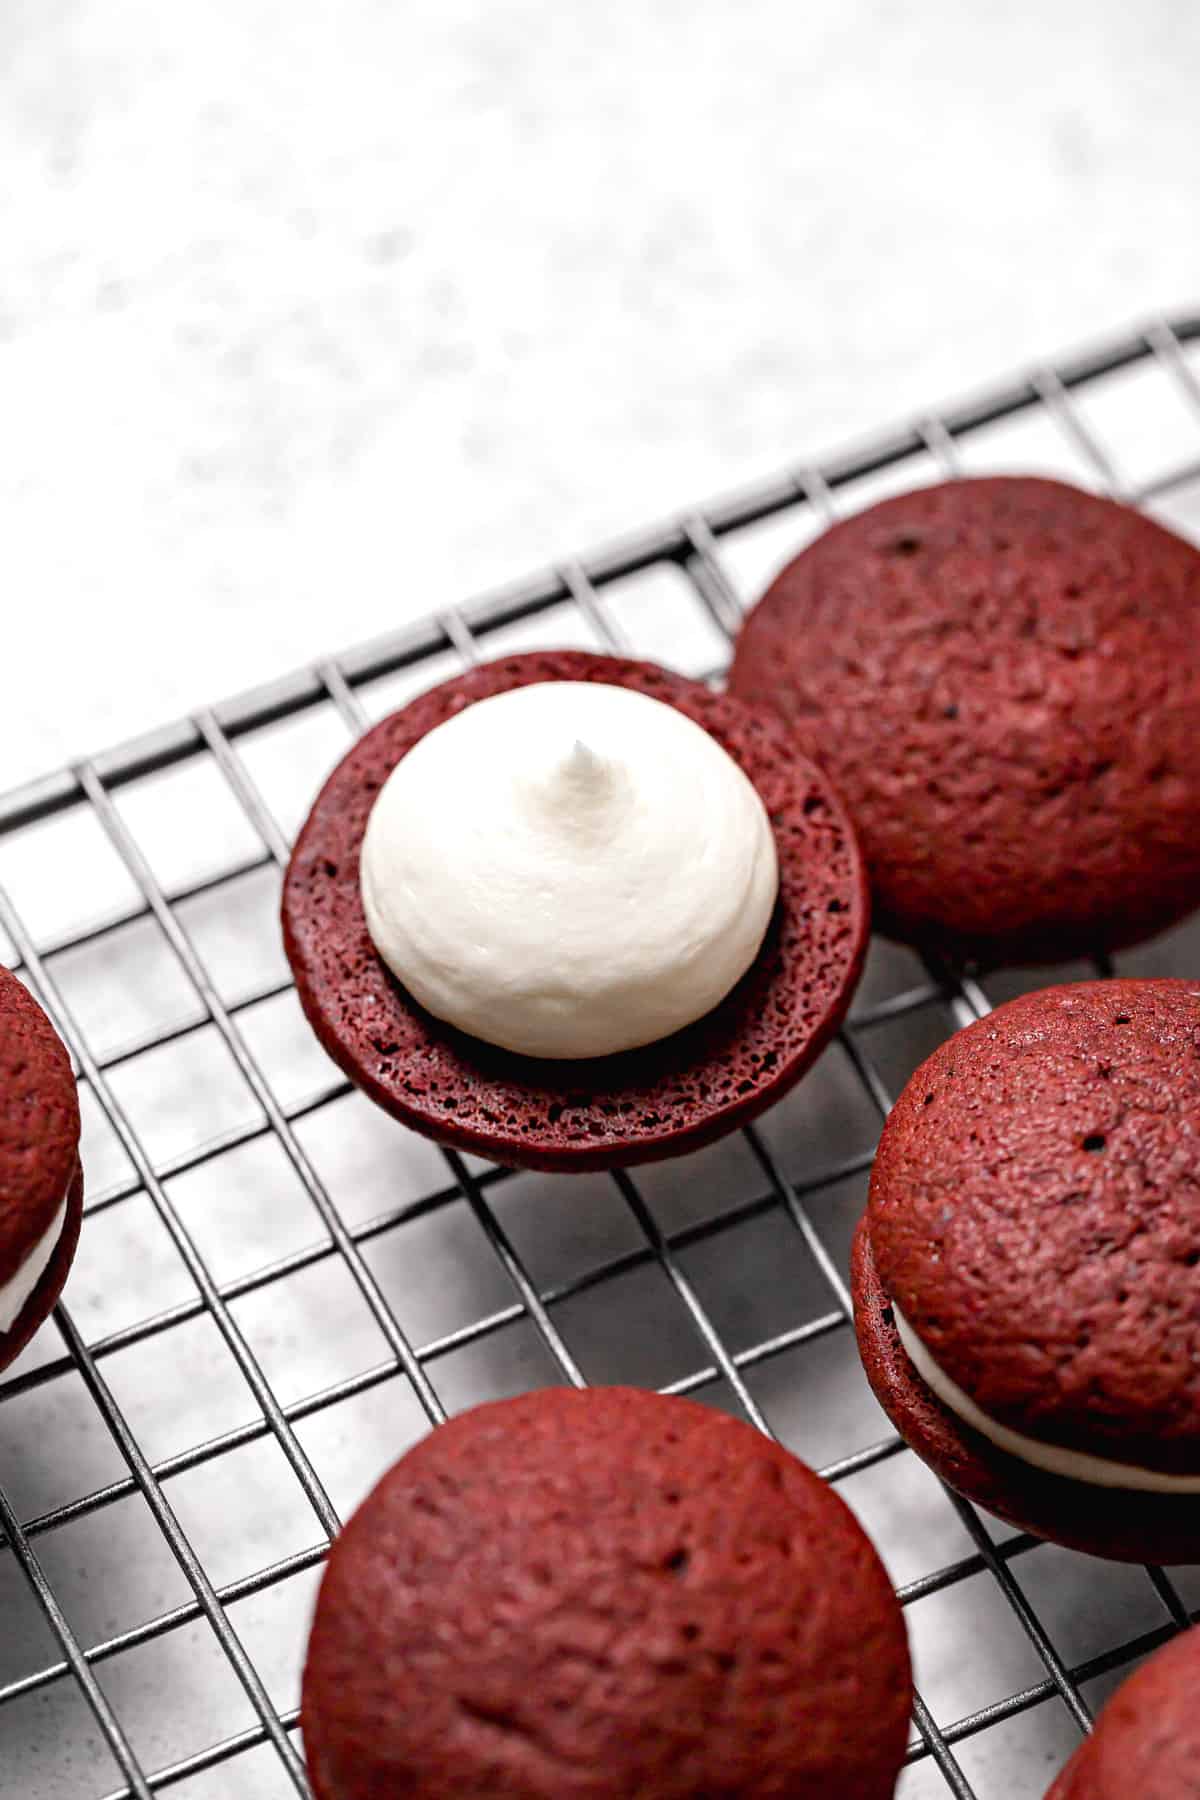
STEP 9: Assemble. Pair the whoopie pies up. Transfer the cream cheese frosting to a piping bag with a small round piping tip (I used Ateco 804). Pipe the frosting onto the bottom whoopie pie and gently press the paired one on top.
STEP 10: Serve room temperature or chilled. Enjoy!
Expert Baking Tips
- Pipe the batter onto the baking sheet. For uniform, perfectly round cakes, pipe the batter onto the baking sheet with a template and a medium round piping tip.
- Make the mini cakes ahead of time. If making these for an event, you can bake the mini cakes a day ahead of time, and store them in airtight container at room temperature. Make the cream cheese frosting and assemble the day of. You can also freeze the mini cakes without cream cheese frosting for up to 3 months. Allow them to come to room temperature overnight before assembling and serving.
Recipe FAQs
Technically yes you can swap the buttermilk for an equal amount of whole milk, but it likely will not be as flavorful or have that classic tangy taste that makes red velvet so unique.
I recommend using food gel, rather than regular food coloring. Food gel is much more potent, so you can use less and it will give your cake a more intense color!
I used black cocoa powder, since it is very rich in flavor and comes through better than most other cocoa powders. Alternatively, you can use an equal amount of dutch process or unsweetened cocoa powder.
Storage Tips
Room Temperature: Store the whoopie pies without cream cheese frosting in an airtight container for 3-5 days and with cream cheese frosting in an airtight container for 2-3 days.
Fridge: Store the whoopie pies with cream cheese frosting in airtight container for 3-5 days. So long as the container is actually airtight, the cakes won't dry out, and the cream cheese frosting thickens up into an almost cheesecake-like texture! I personally LOVE them chilled.
Freezer: Store the whoopie pies with or without cream cheese frosting in a freezer ziplock bag for up to 3 months.
Baking in Grams
All of the recipes on this blog are carefully developed with gram measurements so you can easily recreate them in your own kitchen with success. Volume measurements are extremely inaccurate and leave room for significant errors. Not all measuring cups are made equally, so your one cup of flour will be different from my one cup of flour. By providing precise measurements in grams (aside from minor ingredients, which are given in tsp/tbsp), you can make these recipes accurately and with less cleanup! All you need is this kitchen scale.
If this still isn't enough to convince you, I have provided volume measurements in the recipe card. If you are interested in understanding the conversions, this is the best conversion chart.
But trust me, once you try baking in grams you'll never turn back!
Happy baking! x
Other red velvet desserts to try
If you tried this recipe, I'd love to know how it turned out for you! Leave a star rating & review below and post a picture (or video!) on Instagram and tag me so I can see your bakes! Not ready to make this recipe yet? Click the heart button on the right of your screen to save it for later 🙂
📖 Recipe
Mini Red Velvet Whoopie Pies
Ingredients
For the red velvet whoopie pies:
- 280 g (2 ¼ cups) all-purpose flour
- 15 g (3 tablespoon) black cocoa powder
- ½ teaspoon baking powder
- ¼ teaspoon baking soda
- 1 teaspoon kosher salt
- 170 g (¾ cup) buttermilk, room temp
- 2 teaspoon white vinegar
- 1 teaspoon red food gel
- 113 g (½ cup) unsalted butter, room temp
- 200 g (1 cup) granulated sugar
- 1 egg, room temp
- 1 teaspoon vanilla extract
For the cream cheese frosting:
- 113 g (½ cup) unsalted butter, room temp
- 6 oz block-style cream cheese, cold
- 170 g (1 ½ cups) powdered sugar, sifted
Instructions
For the red velvet whoopie pies:
- Preheat the oven to 350 degrees F and line two large baking sheets with parchment paper. Create a template by tracing 2" circles, spaced about 1" apart, onto a separate piece of parchment paper.
- In a medium bowl, combine the flour, black cocoa powder, baking powder, baking soda, and salt. Set aside.
- In a glass measuring cup, combine the buttermilk, white vinegar, and food gel. Set aside.
- In the bowl of a stand mixer fitted with the paddle attachment, cream together the butter and sugar for 2-3 minutes until light & fluffy.
- Mix in the egg and vanilla. Scrape down the bowl to ensure everything is fully combined.
- Add half of the dry ingredients and mix until just combined.
- Mix in the buttermilk mixture, then the remaining dry ingredients until just combined.
- Transfer the batter to piping bag with a medium piping tip (I used Ateco 806).
- Place the template under the parchment paper on the baking sheet. Pipe the batter perpendicular to fill in each circle. Gently pat down the points with your finger, then remove the template and repeat until all of the batter has been piped.
- Bake the whoopie pies for about 8 minutes. Allow to cool completely on the baking sheet.
For the cream cheese frosting:
- In the bowl of a stand mixer fitted with a paddle attachment, beat the butter and cream cheese on high speed until smooth.
- Slowly add the sifted powdered sugar and mix on low speed until fully combined.
- Once all of the powdered sugar is added, continue beating on low speed until no more lumps or pockets of air remain and the frosting is smooth.
For assembly:
- Pair the whoopie pies up. Transfer the cream cheese frosting to a piping bag with a small round piping tip (I used Ateco 804).
- Pipe the frosting onto the bottom whoopie pie and gently press the paired one on top.
- Serve room temperature or chilled. Enjoy!
Notes
- Pipe the batter onto the baking sheet. For uniform, perfectly round cakes, pipe the batter onto the baking sheet with a template and a medium round piping tip.
- Make the mini cakes ahead of time. If making these for an event, you can bake the mini cakes a day ahead of time, and store them in airtight container at room temperature. Make the cream cheese frosting and assemble the day of. You can also freeze the mini cakes without cream cheese frosting for up to 3 months. Allow them to come to room temperature overnight before assembling and serving.
Comments
No Comments