
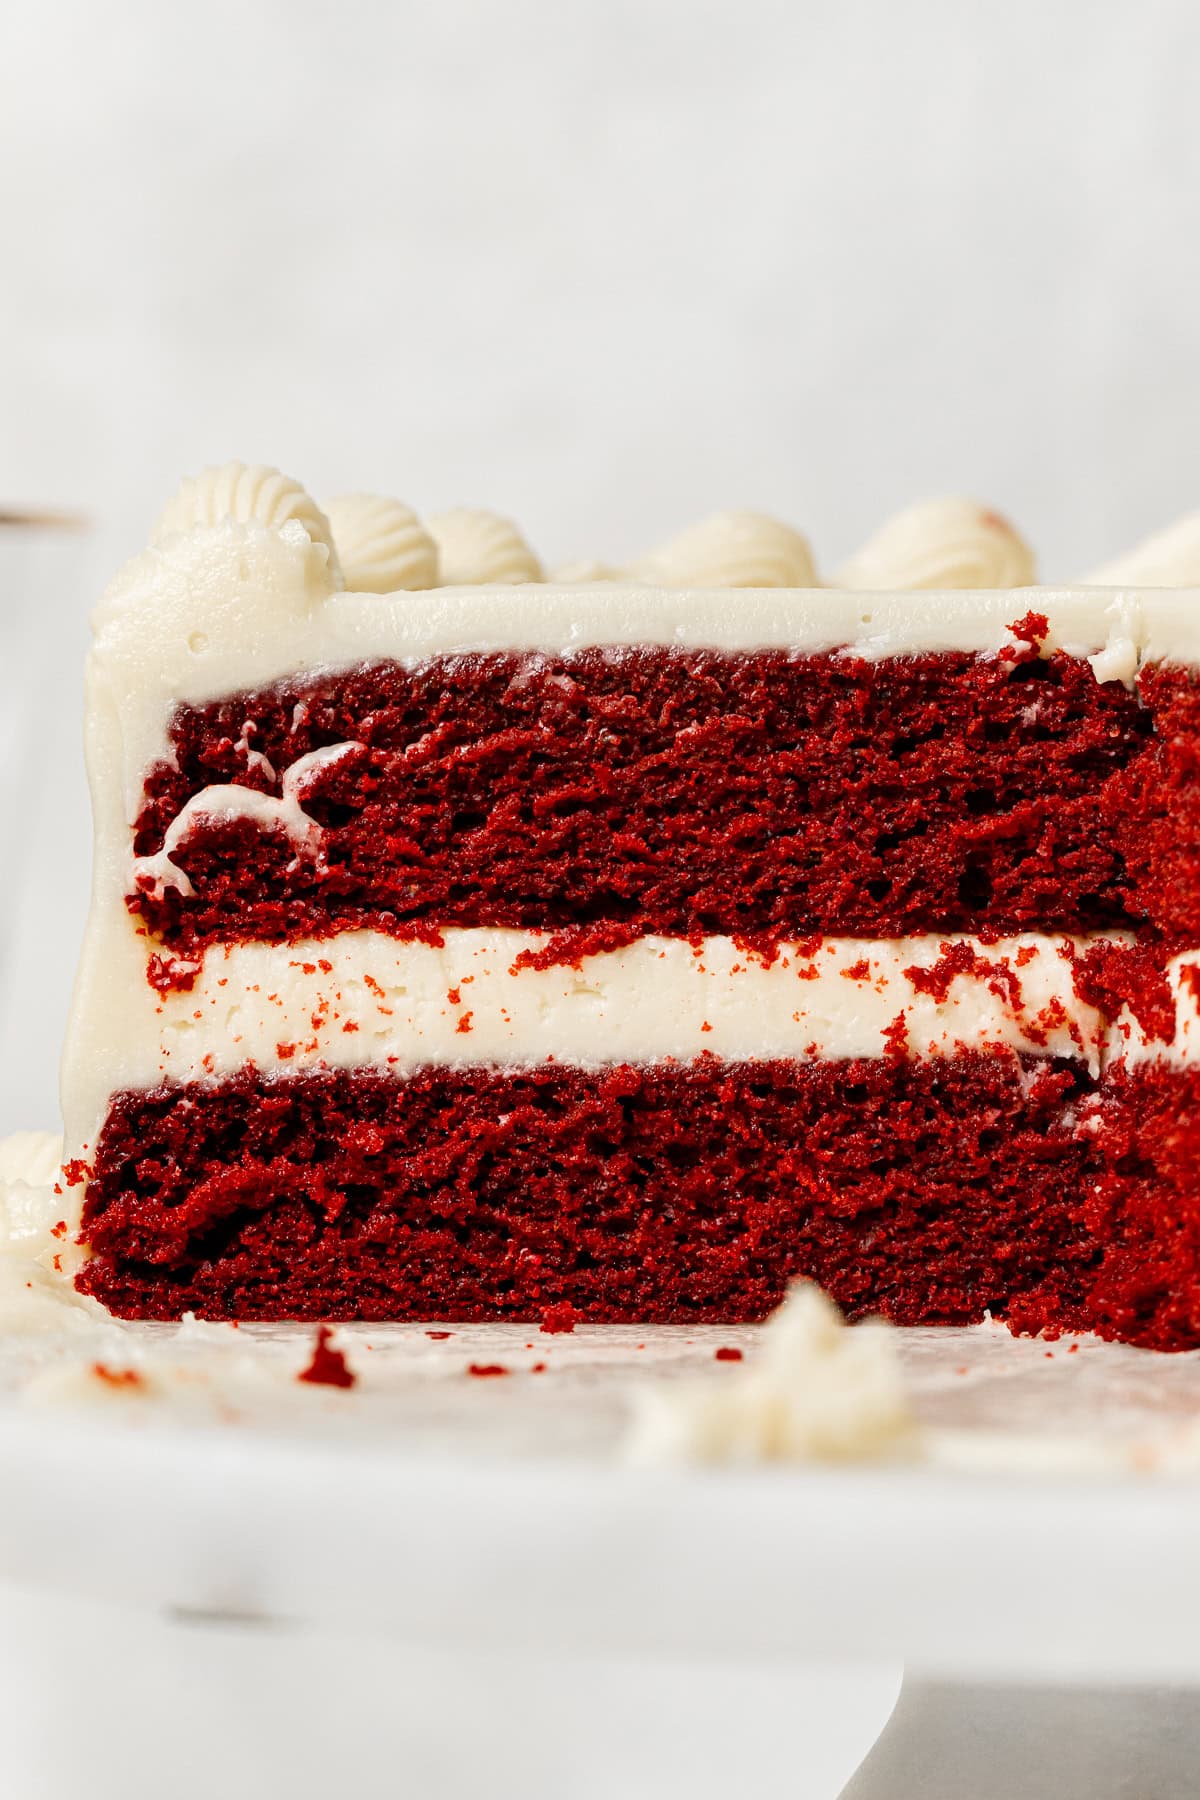
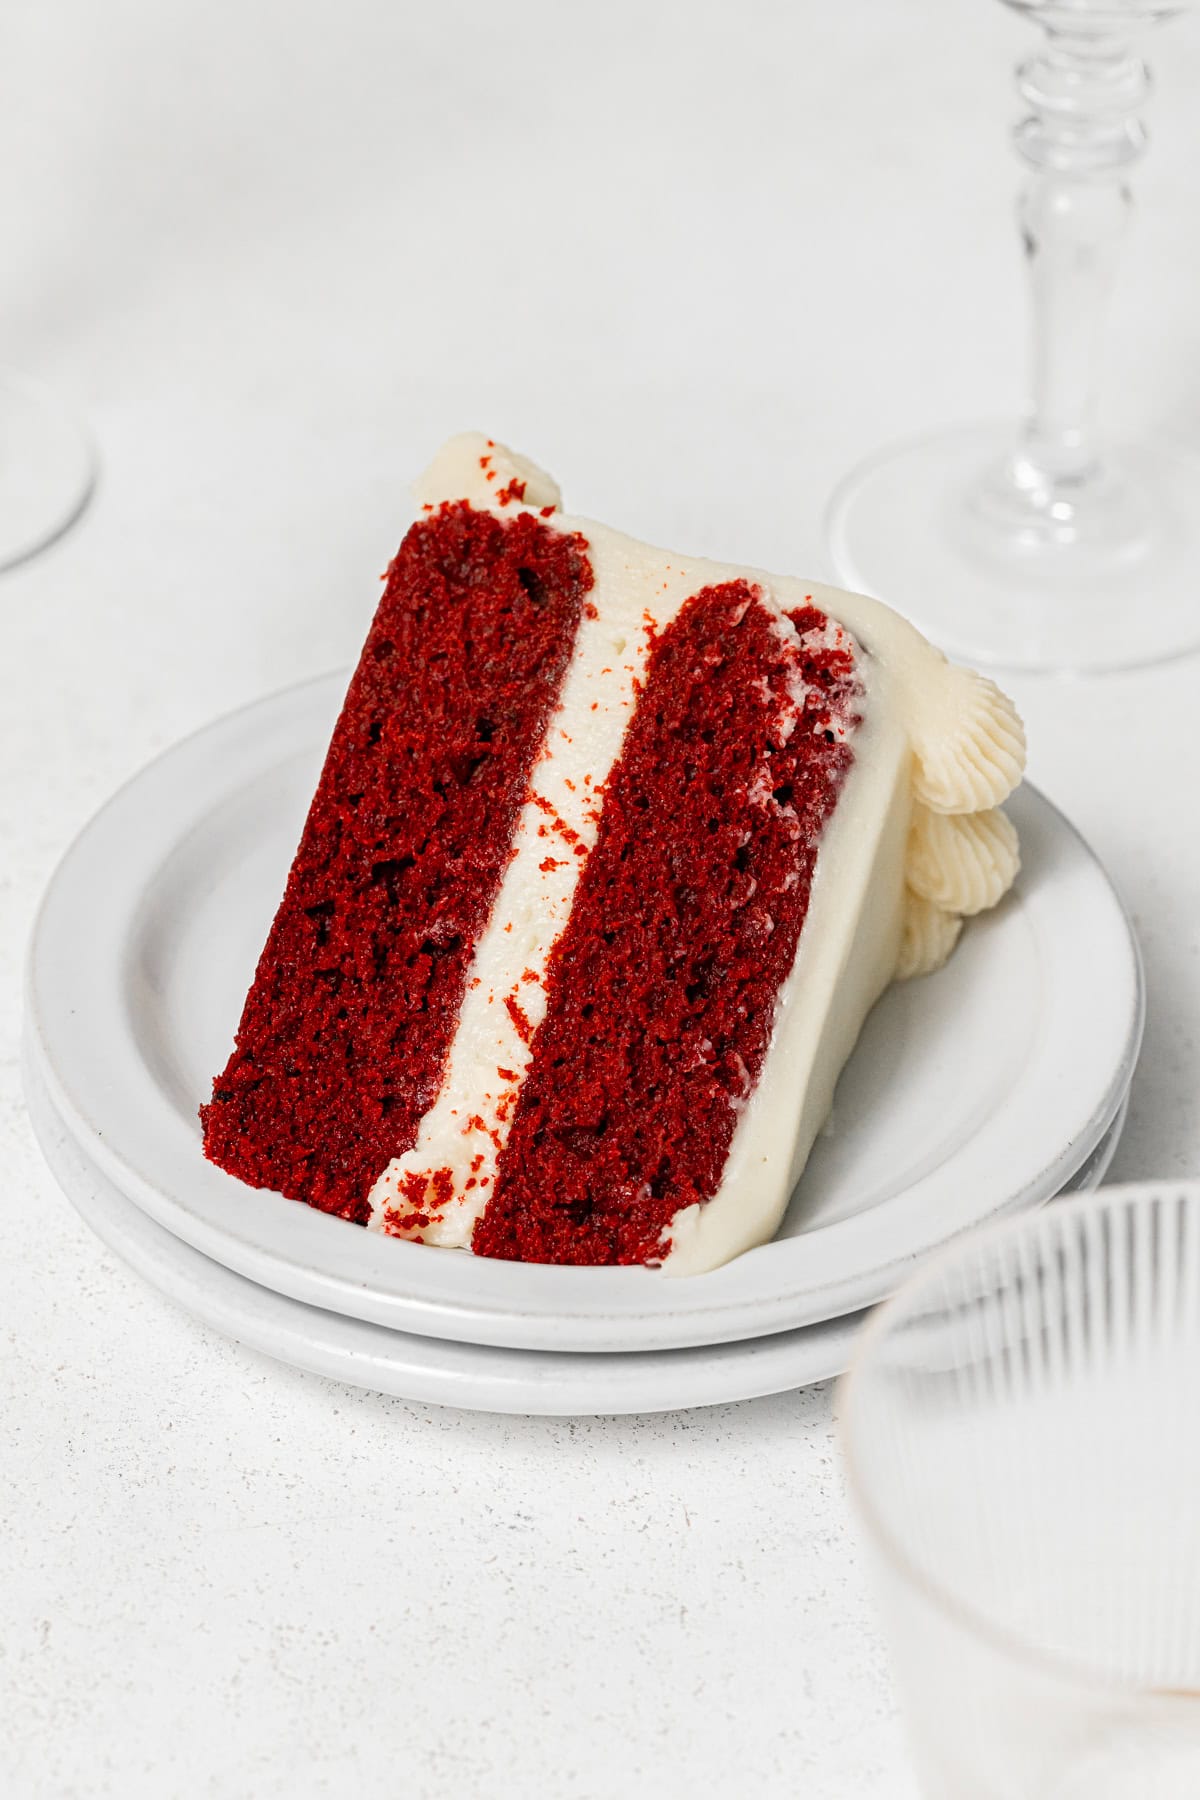
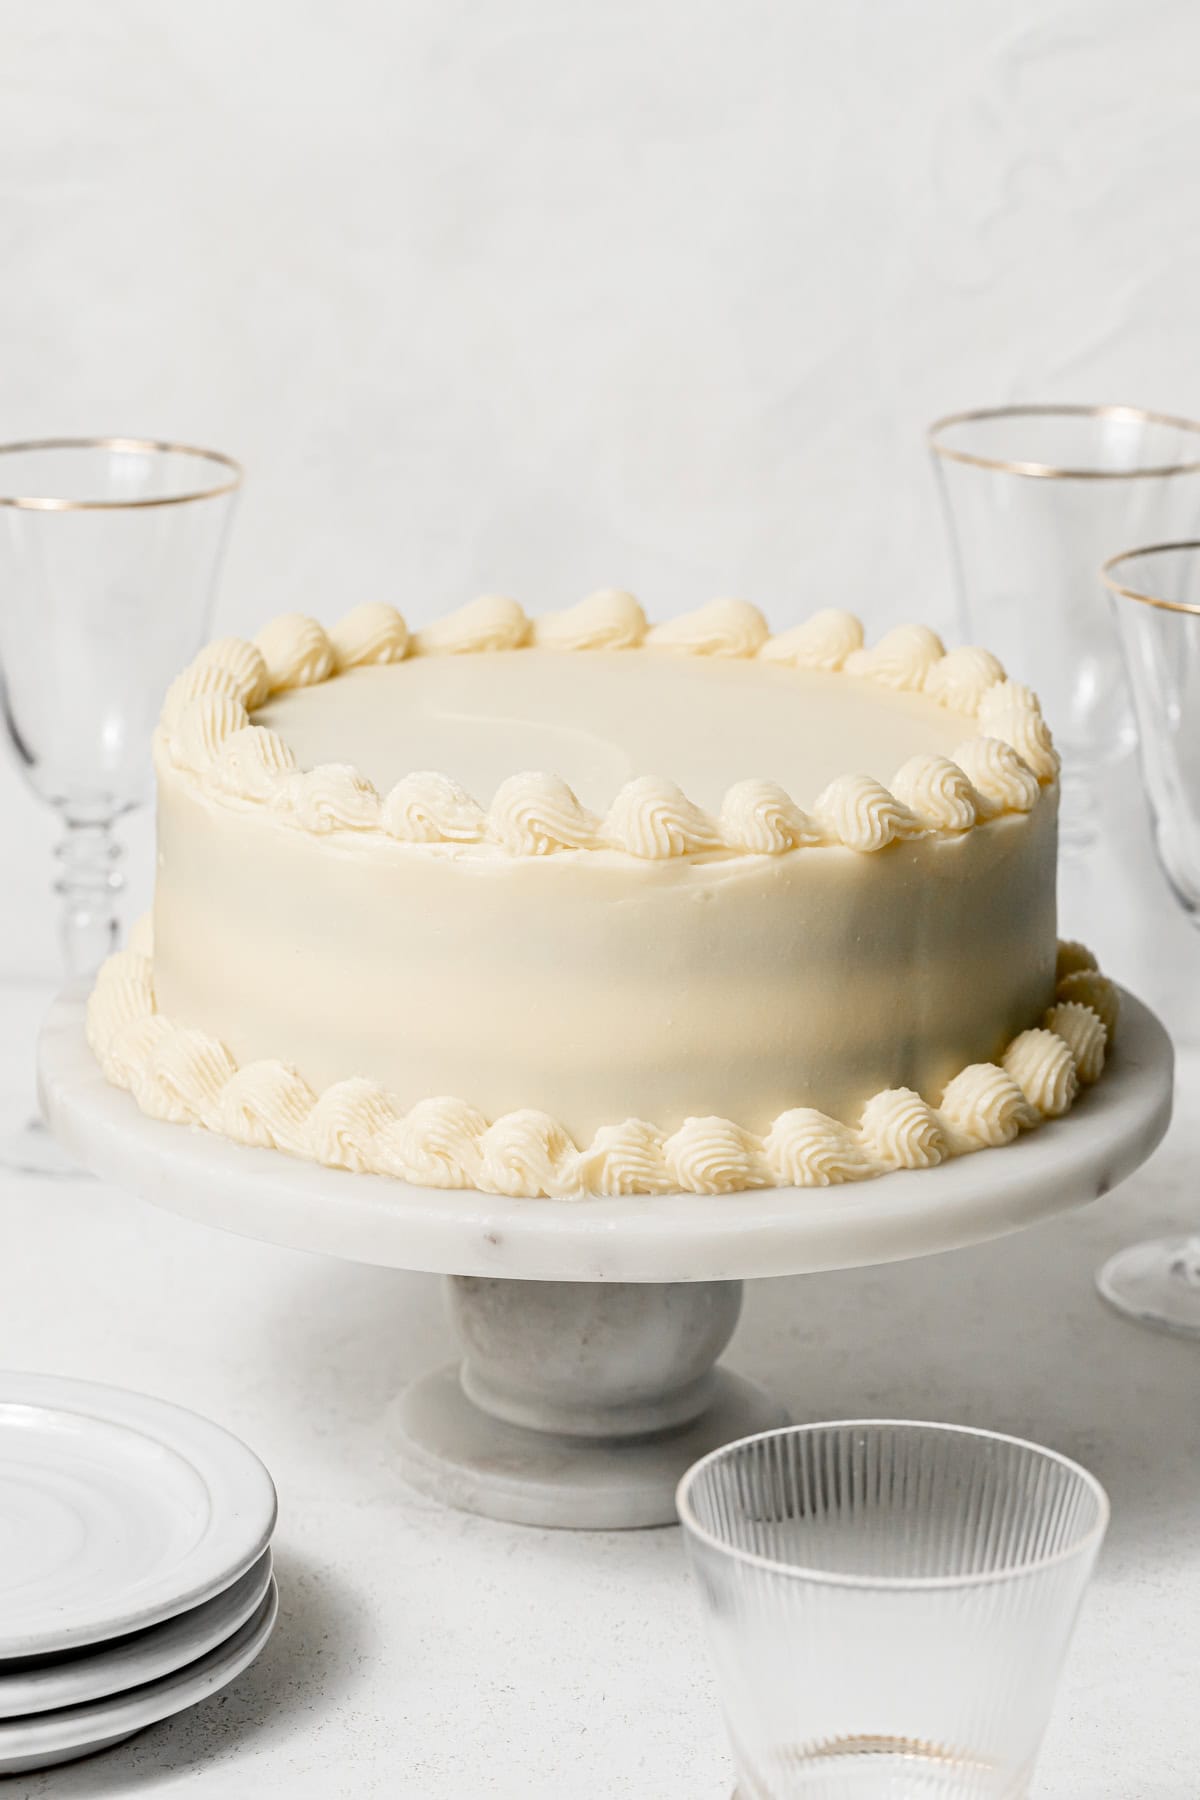
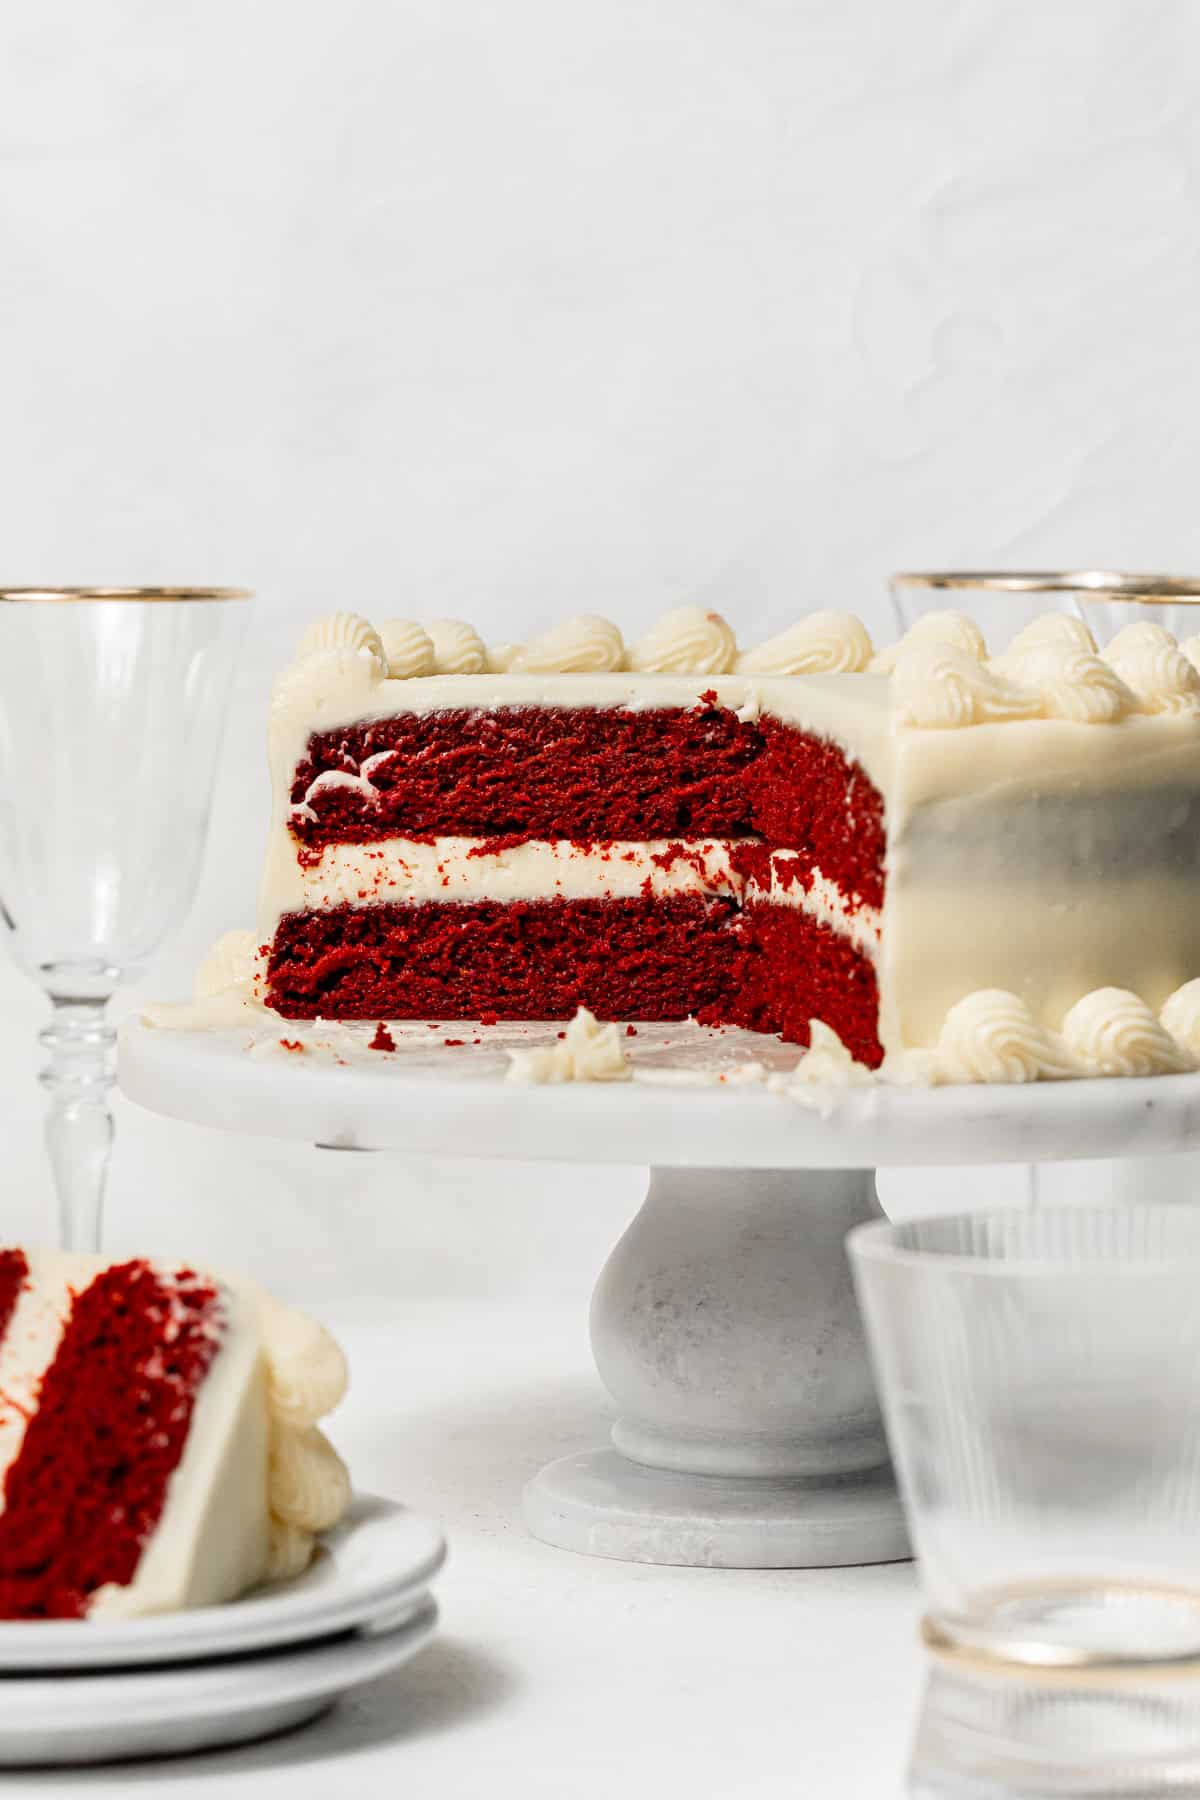
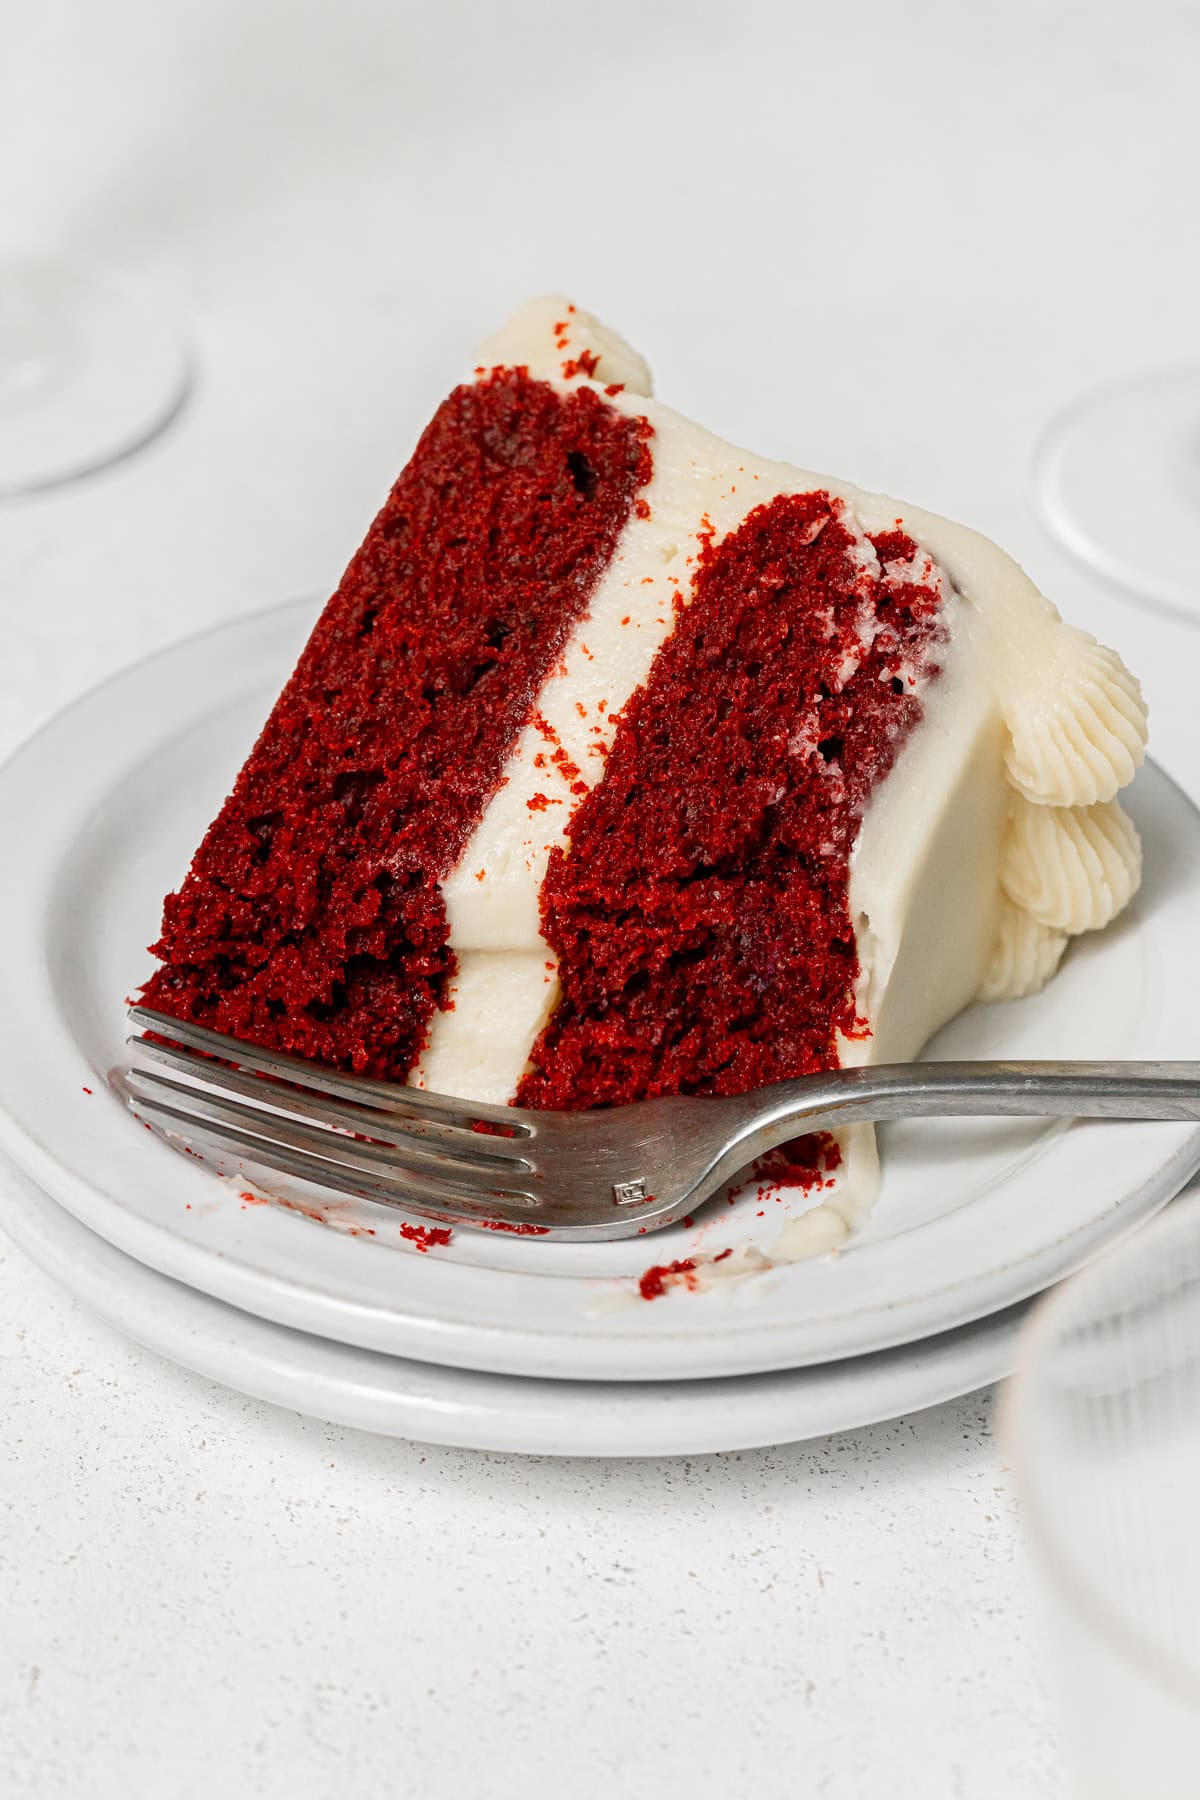
My red velvet layer cake consists of two sponges with a velvety, melt-in-your-mouth texture, subtle cocoa flavor, and eye-catching bright red color all enrobed in a tangy cream cheese frosting. This iconic cake is perfect for celebrating Valentine's Day or any other special occasion!
Jump to Recipe
Why you'll love this red velvet cake
- Velvety Smooth Texture: This cake bakes up with a melt-in-your-mouth texture thanks to the butter-oil combo, as well as the addition of buttermilk & yogurt.
- Subtle Cocoa Flavor: A subtle note of rich cocoa is adds a level of depth without taking over as the dominant flavor, and it's exactly what makes it so hard to take just one bite!
- Signature Red Color: With the addition of a small amount of red food gel, this cake takes on the prominent red color that makes red velvet so unique.
- Cream Cheese Frosting: You can't have red velvet without cream cheese frosting! That sweet & tangy frosting is the perfect finishing touch to this stunning cake.
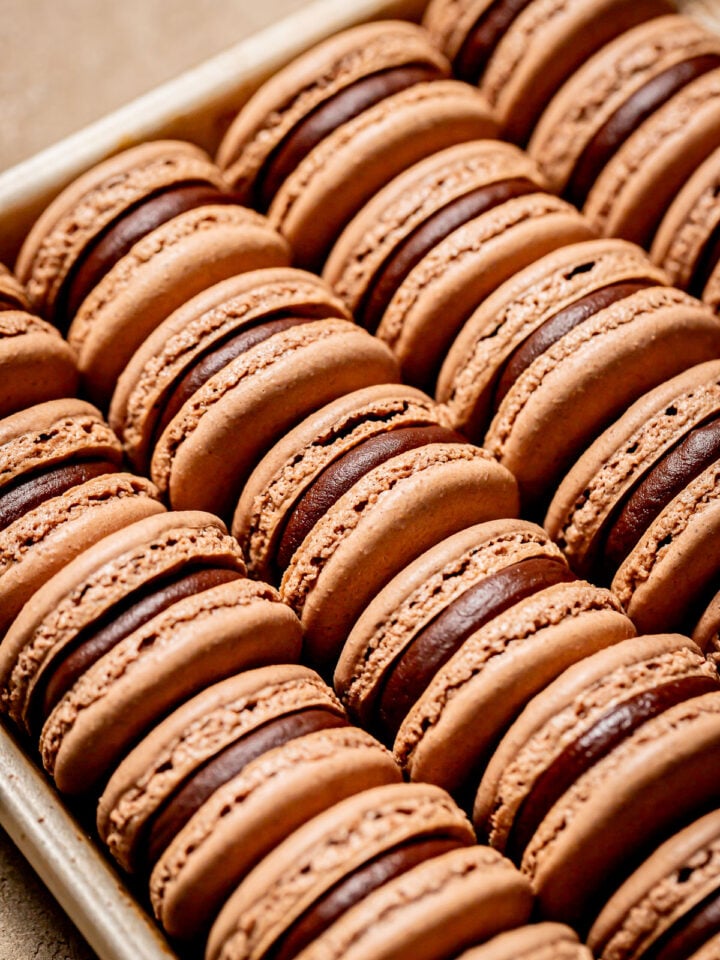
For more red velvet recipes, try my Red Velvet Brownies, Red Velvet Crinkle Cookies, Red Velvet Bundt Cake, and Red Velvet Macarons.
Ingredient Notes
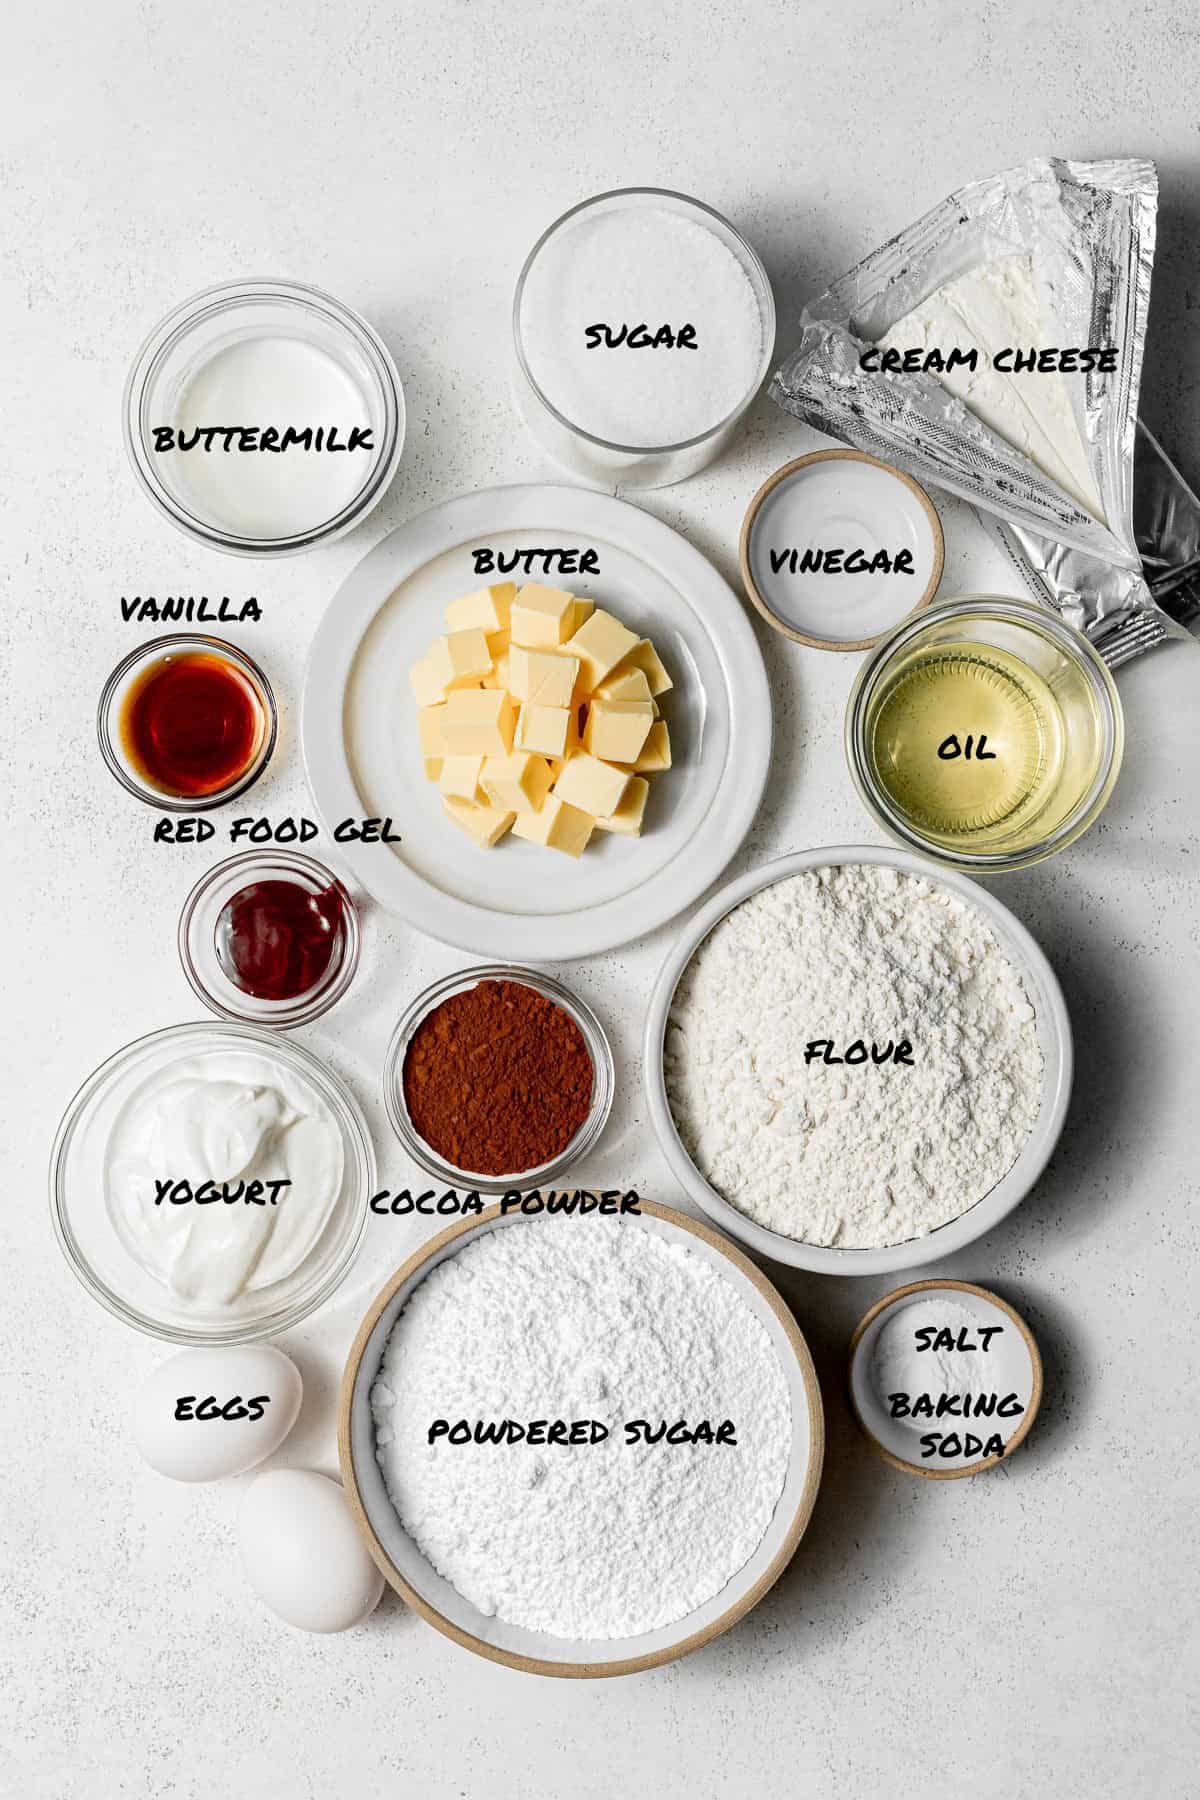
- All-Purpose Flour: Use a high quality unbleached all-purpose flour.
- Cocoa Powder: Just a ¼ cup gives this cake the perfect subtle chocolate flavor.
- Baking Soda: Be sure your baking soda is fresh by testing a small amount in vinegar.
- Unsalted Butter: Use high quality European-style butter for best overall flavor.
- Neutral Oil: Using both oil and butter gives this cake a super moist texture without losing out on that buttery taste.
- Buttermilk: Buttermilk is key to a good red velvet cake recipe. It adds moisture and lovely tangy taste that makes red velvet so unique.
- Plain Whole Milk Greek Yogurt: Yogurt adds even more moisture and still adds that tangy taste.
- Vanilla Extract: Always need a good amount of quality vanilla to make an outstanding cake!
- Distilled White Vinegar: Vinegar helps to activate the baking soda to ensure the cake rises well.
- Red Food Gel: Food gel is much more powerful than food coloring. I like Americolor food gel!
- Cream Cheese: Use cold block-style cream cheese.
See recipe card for full information on ingredients and individual quantities.
Step by Step Instructions
Here are step by step photos and instructions on how to make this red velvet cake recipe! For the full ingredient list and method, see the recipe card at the end of this post.
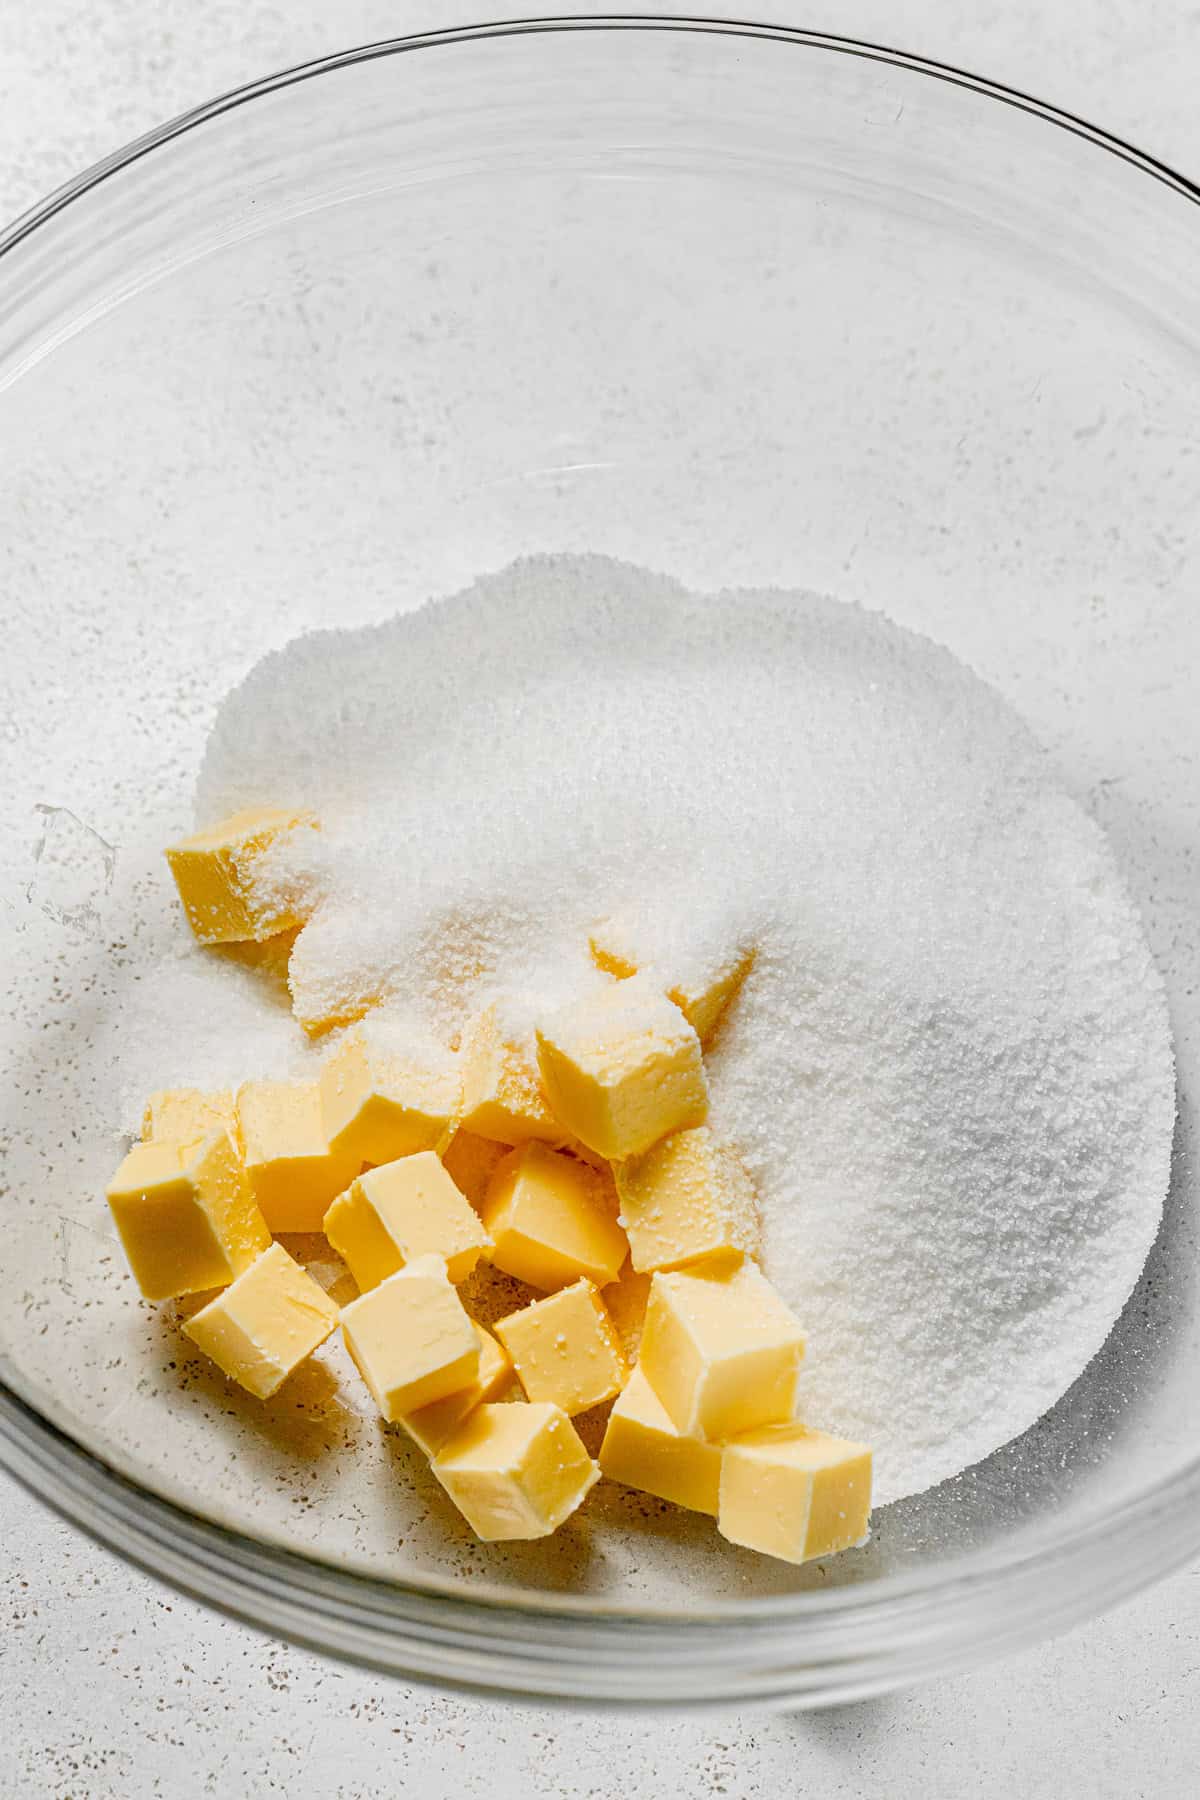
STEP 1: Cream butter & sugar. In the bowl of a stand mixer fitted with a paddle attachment, cream the butter and sugar together until light and fluffy, about 2-3 minutes.
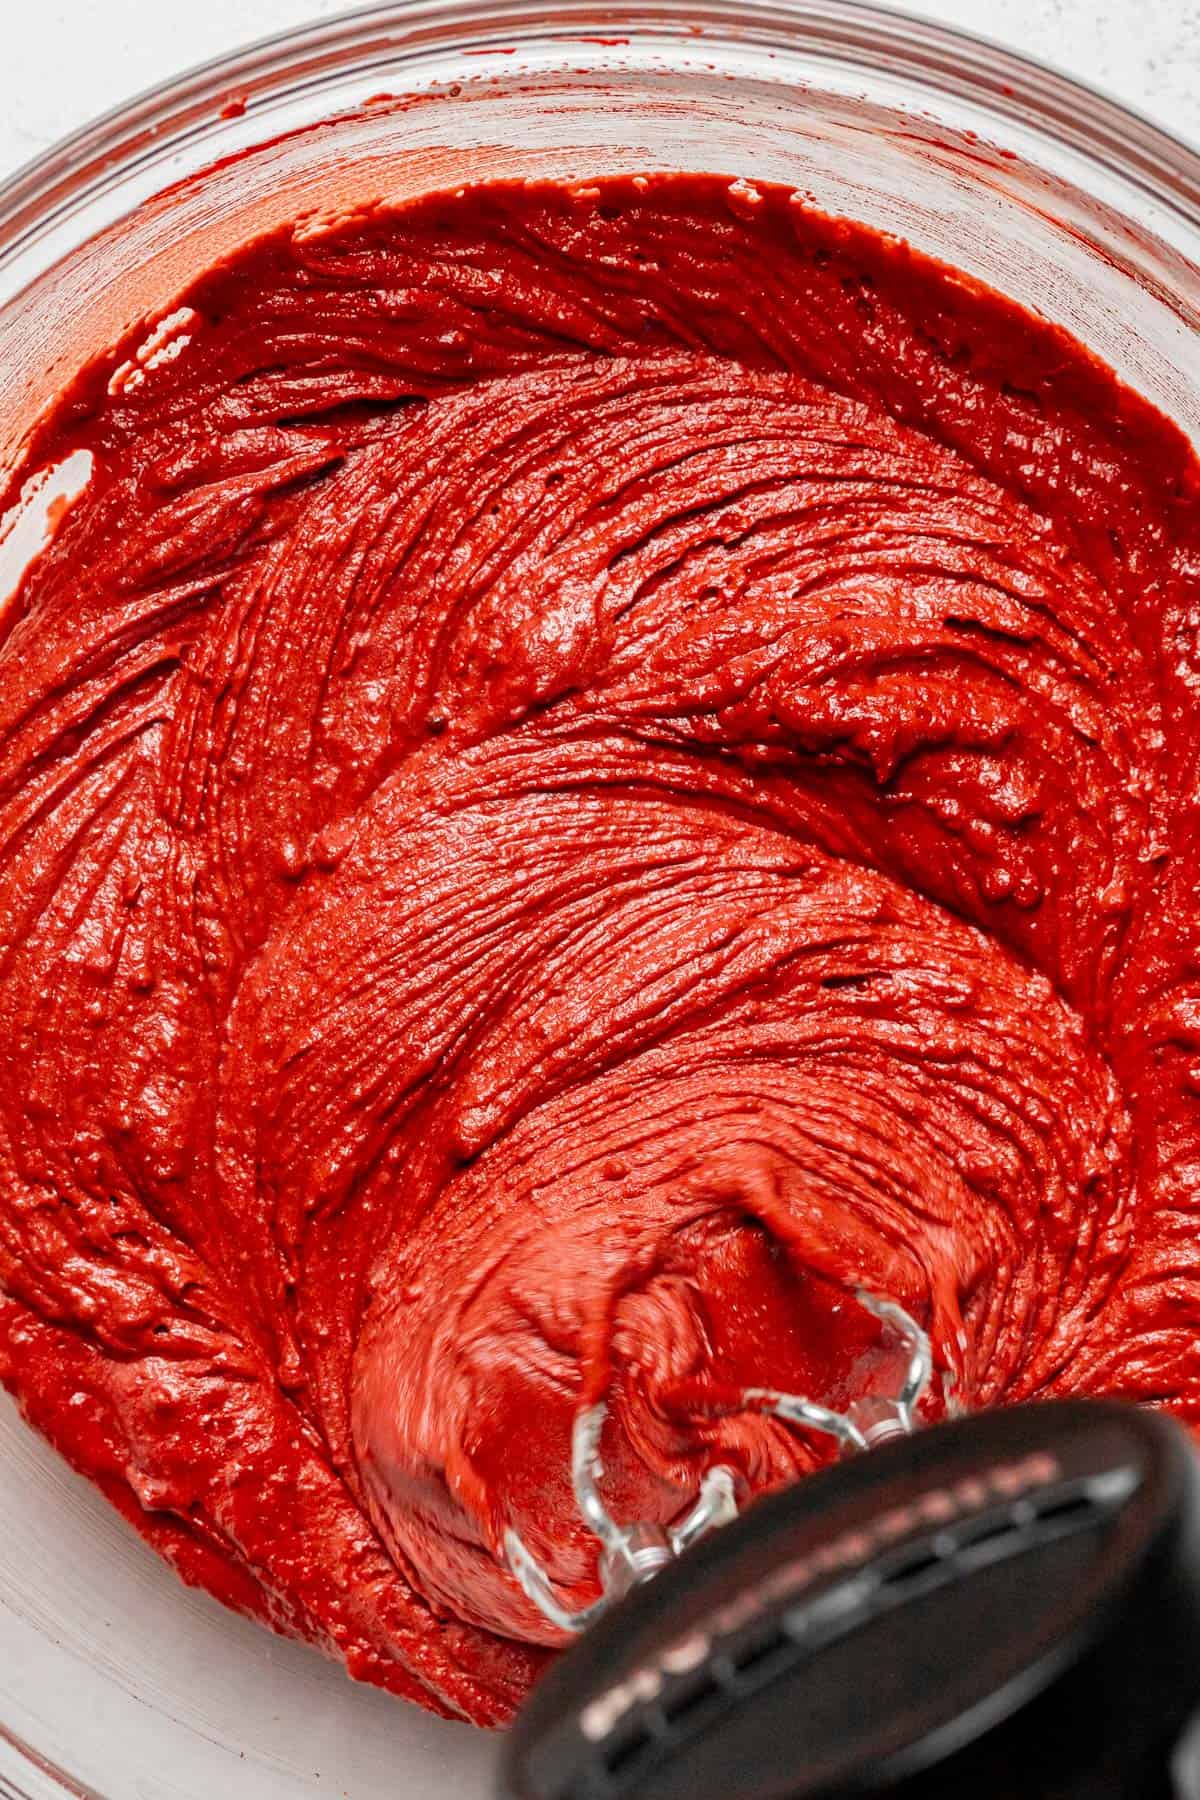
STEP 2: Add egg yolks; alternate dry & wet ingredients. Mix in the egg yolks and vanilla until well combined. Add half of the dry ingredients and mix on low speed until mostly combined. Then, mix in the buttermilk, yogurt, oil, vinegar, and red food gel, followed by the remaining dry ingredients.

STEP 3: Whip egg whites. In a separate small bowl, add the egg whites and use an electric hand mixer to beat until soft peaks form.
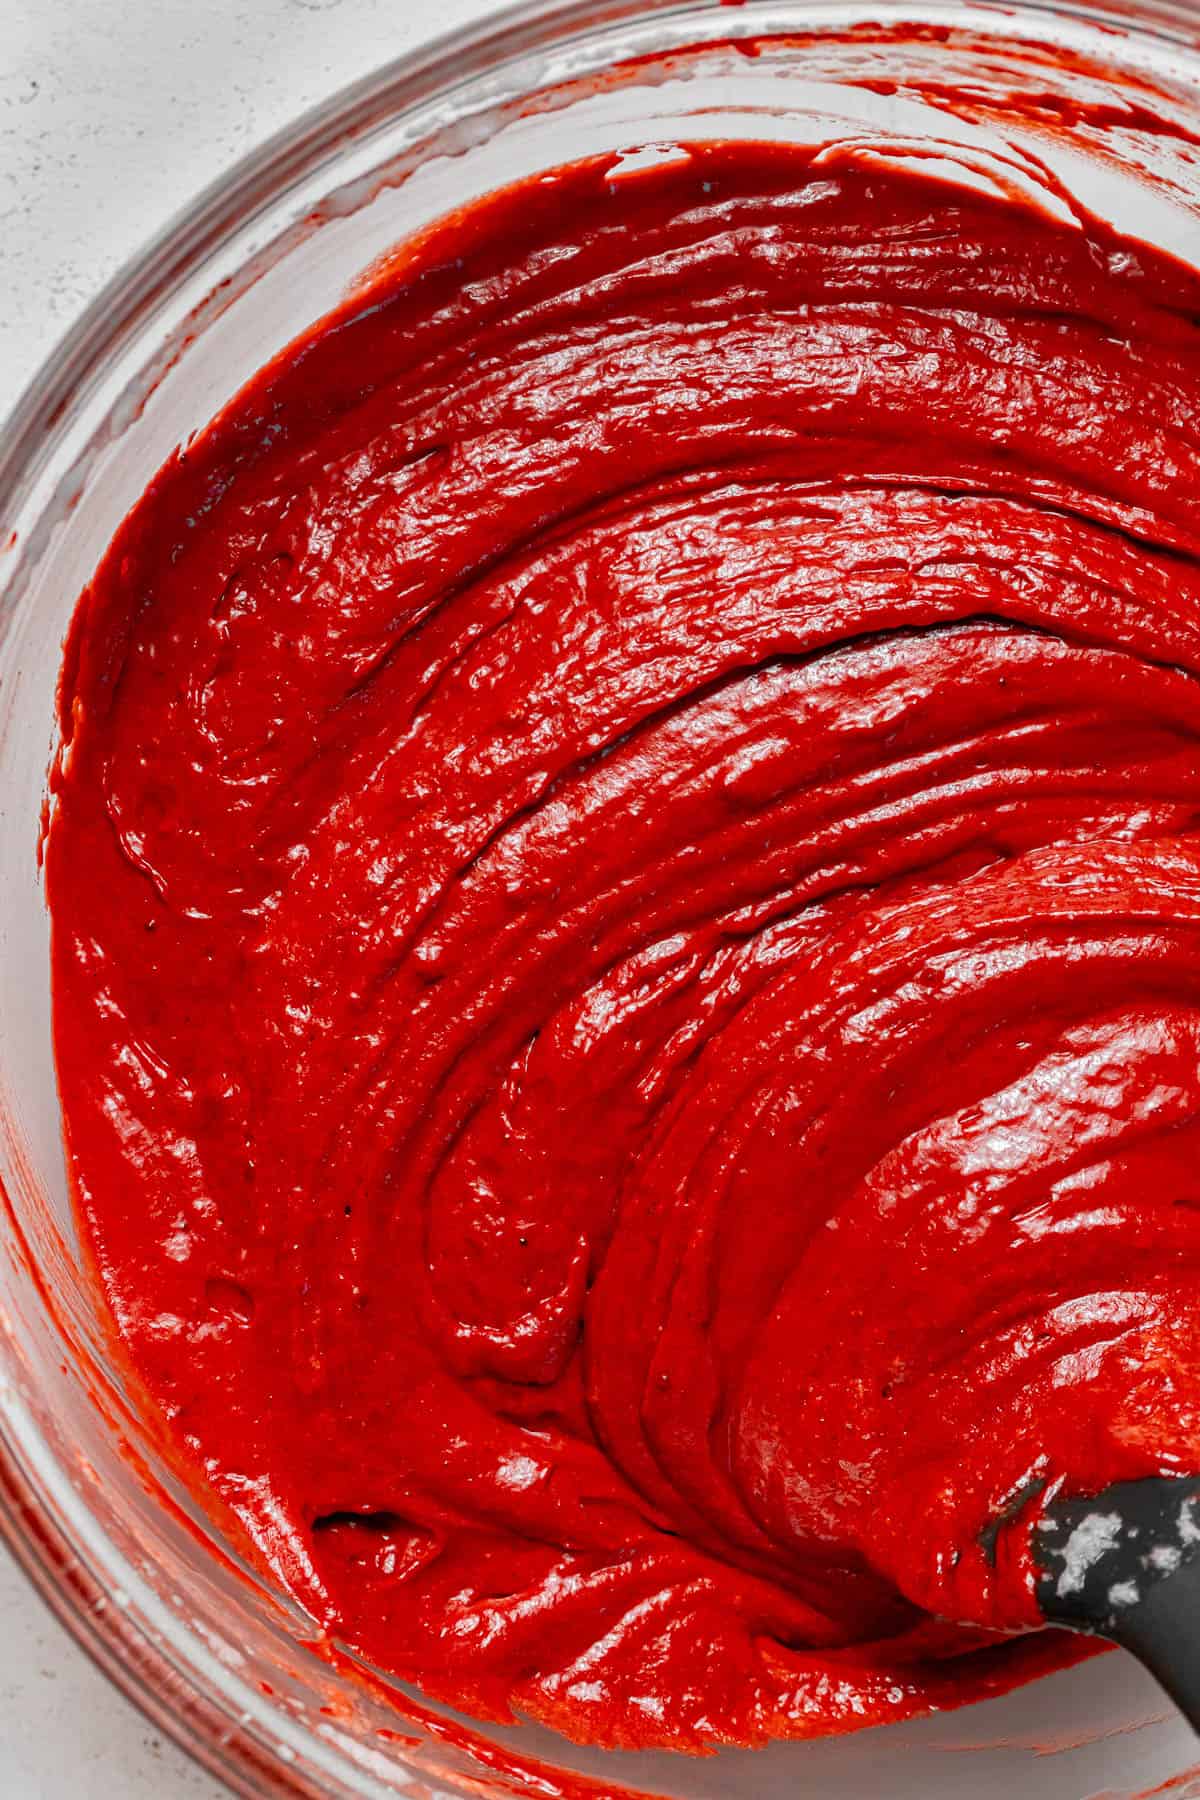
STEP 4: Fold egg whites into batter. Using a rubber spatula, gently fold the whipped egg whites into the cake batter until fully combined.
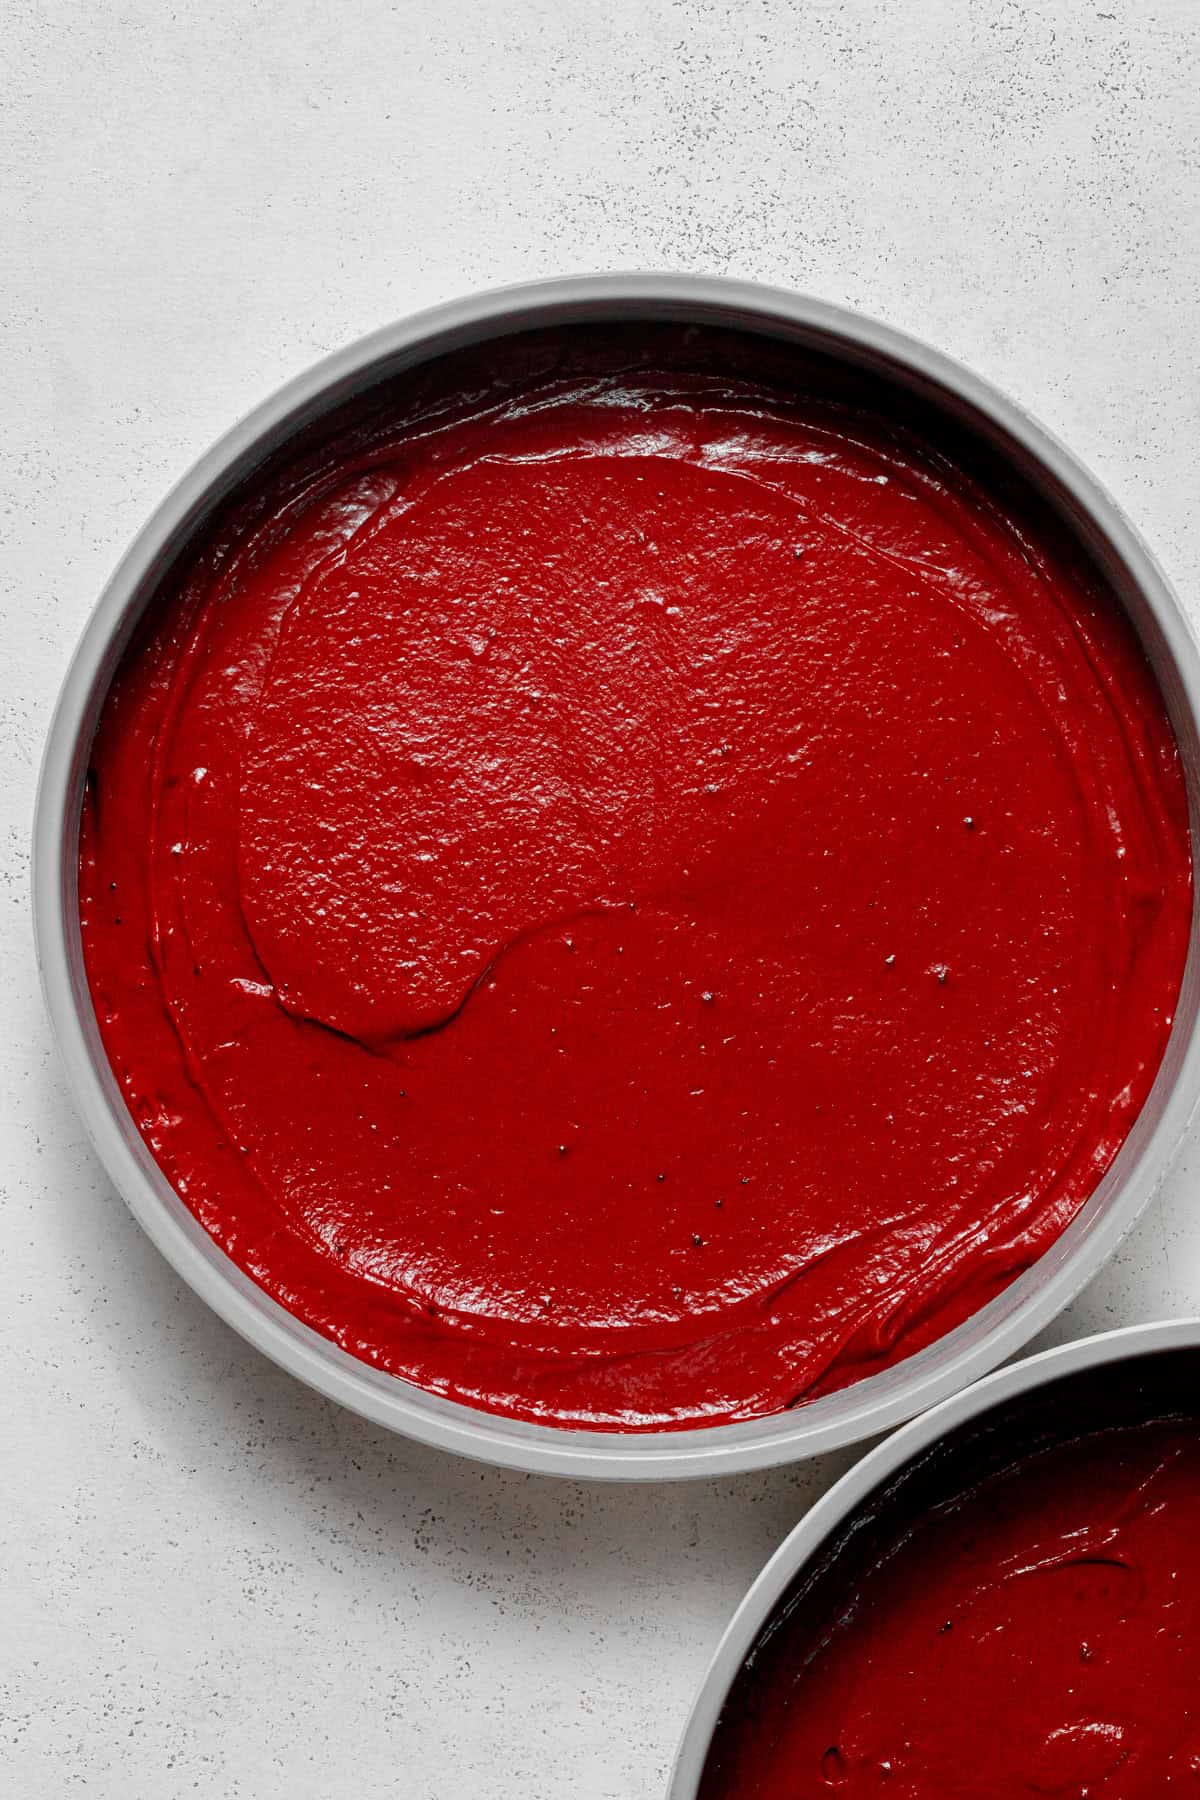
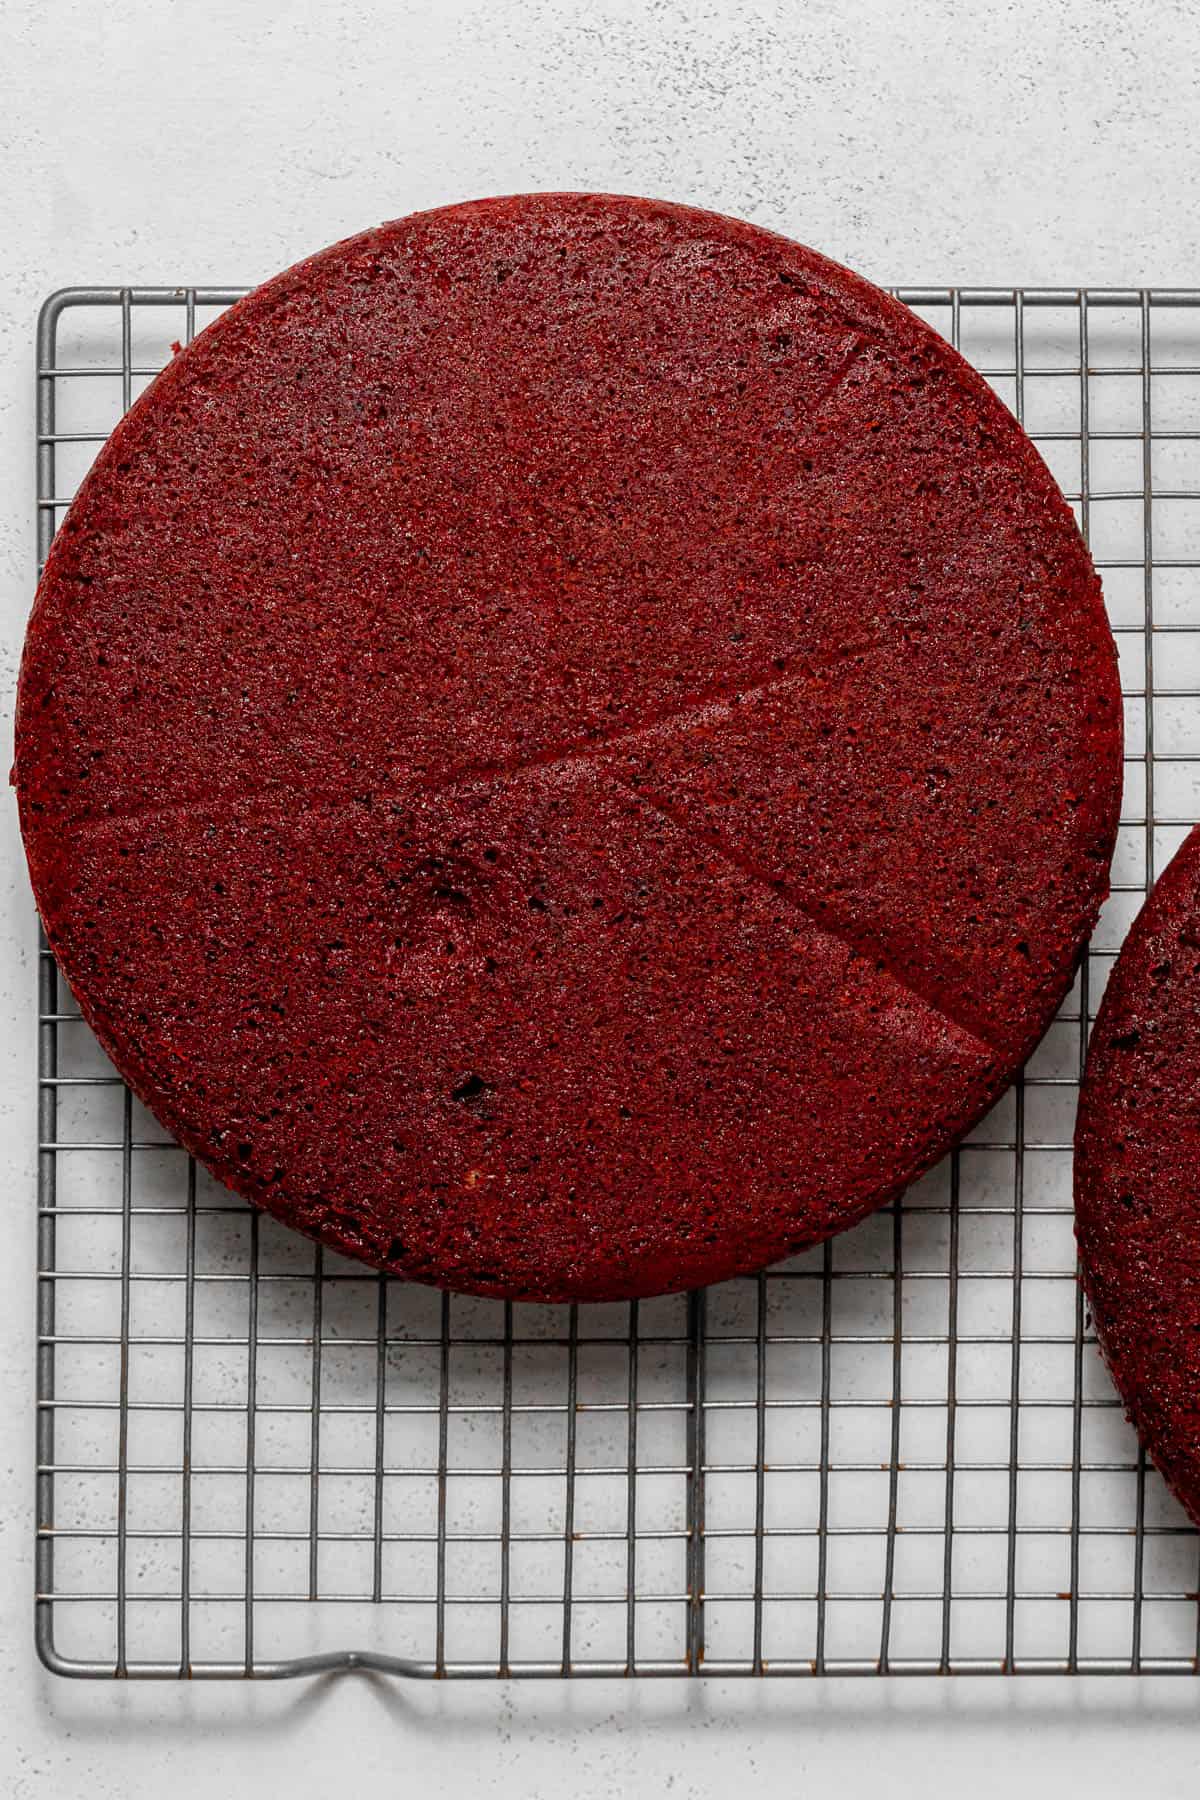
STEP 5: Bake. Divide the cake batter between the prepared cake pans. Wrap the cake strips around the outsides of the pans. Bake the cakes for about 30-35 minutes or until the edges start to pull away from the sides of the pan and a toothpick inserted comes out clean. Immediately turn the cakes out onto a wire rack to cool completely.
STEP 6: Cool, then freeze. Once cool, wrap the cakes in plastic wrap and freeze until ready to decorate. (Frozen cake layers will be much easier to frost!)
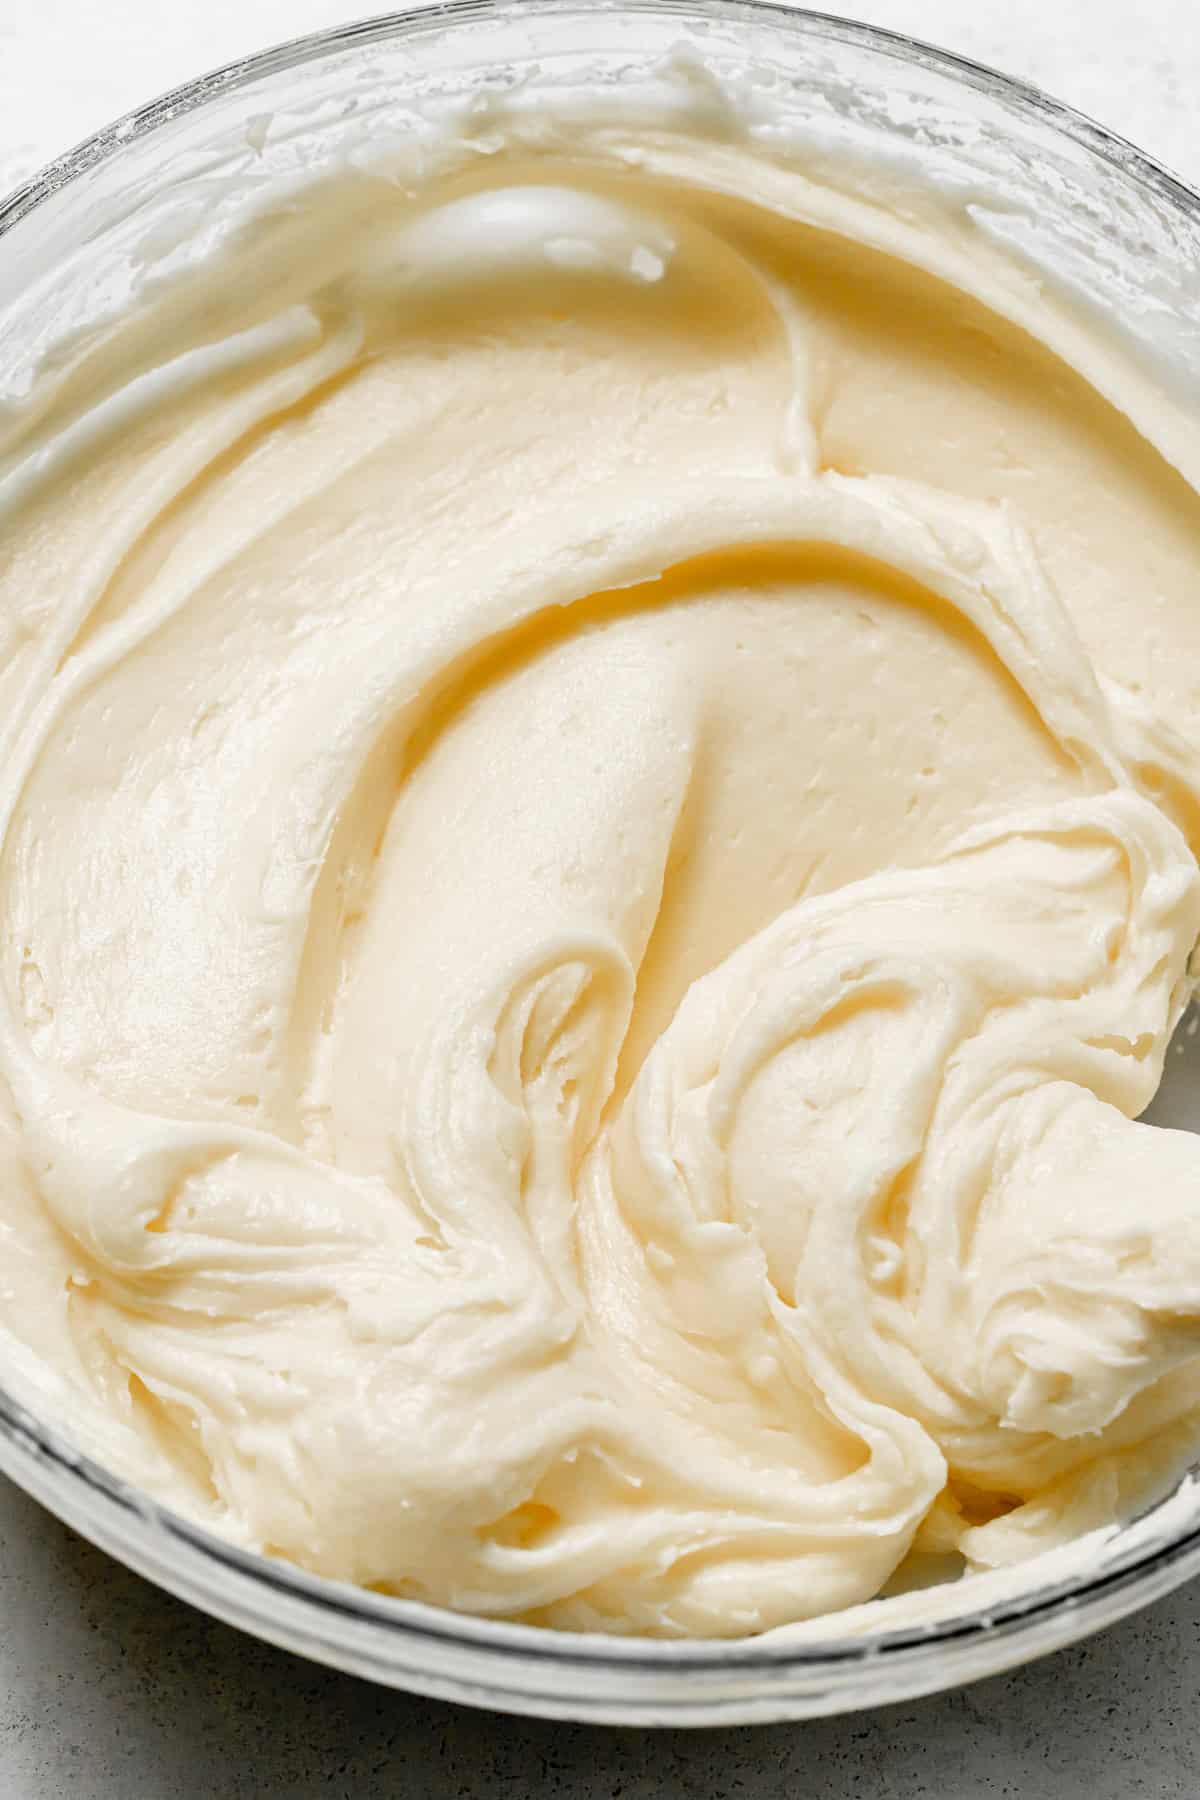
STEP 7: Make the cream cheese frosting. In the bowl of a stand mixer fitted with a paddle attachment, beat the butter and cream cheese on high speed until smooth. Slowly add the sifted powdered sugar and mix on low speed until fully combined. Once all of the powdered sugar is added, continue beating on low speed until no more lumps or pockets of air remain and the frosting is smooth.
STEP 8: Decorate. Secure the first cake layer on the cake stand with a small amount of frosting on the bottom. Using an offset spatula, spread on an even layer of frosting, then place the second cake layer on top. Spread an even layer (or crumb coat) of frosting along the top and outside of the cake, then place in the fridge for about 10-15 minutes. Take the cake out of the fridge and spread a thicker layer of frosting on the cake. Use the remaining frosting to pipe along the top and bottom of the cake, if desired. Allow the cake to sit at room temperature for a few hours before serving.
Expert Baking Tips
- Use cake strips to create flat cake layers. Soak these wilton cake strips in ice water before starting the cake batter. Just before baking, wrap the cake strips around the pan. The cold temperature on the outside of the cake will prevent the edges from baking faster than the center, resulting in an evenly baked flat cake.
- Freeze the cake layers before decorating. Since this is such a moist cake, I highly recommend freezing the cake layers for at least two hours before decorating.
- Use cold cream cheese & room temperature butter. In order to create a sturdy, pipeable cream cheese frosting, pay close attention to the temperature of the ingredients. Cold cream cheese will ensure it's thick enough, while room temperature butter will ensure all of the ingredients cream together properly.
- Sift the powdered sugar. I know it can be a pain, but trust me, sifting your powdered sugar before adding it to the frosting is so worth it! If you don't sift it, you'll need to mix the frosting on low speed for a long time to smooth it out. This also runs the risk of agitating the milk solids, creating a grainy frosting.
Recipe FAQs
I recommend using food gel, rather than regular food coloring. Food gel is much more potent, so you can use less and it will give your cake a more intense color!
Cakes may dome in the middle when they bake because the outside bakes faster than the center, so the center has more time to rise. This is not ideal for layer cakes, because it is a pain to have to trim away the top of the cake. The best way to ensure your cake layers bake up flat rather than doming is to use cake strips. Soak the cake strips in cold water before wrapping around the outside of the cake pans. This will ensure that the outside of the cake does not bake faster than the center.
The key is to use COLD block-style cream cheese. The cold temperature and consistency of this type of cream cheese will ensure your frosting turns out thick & sturdy. I also recommend using full-fat cream cheese for best flavor.
This cake lasts up to 5 days in airtight container stored at room temperature or in the fridge. Cake slices can also be stored in the freezer for up to 3 months.
Baking in Grams
All of the recipes on this blog are carefully developed with gram measurements so you can easily recreate them in your own kitchen with success. Volume measurements are extremely inaccurate and leave room for significant errors. Not all measuring cups are made equally, so your one cup of flour will be different from my one cup of flour. By providing precise measurements in grams (aside from minor ingredients, which are given in tsp/tbsp), you can make these recipes accurately and with less cleanup! All you need is this kitchen scale.
If this still isn't enough to convince you, I have provided volume measurements in the recipe card. If you are interested in understanding the conversions, this is the best conversion chart.
But trust me, once you try baking in grams you'll never turn back!
Happy baking! x
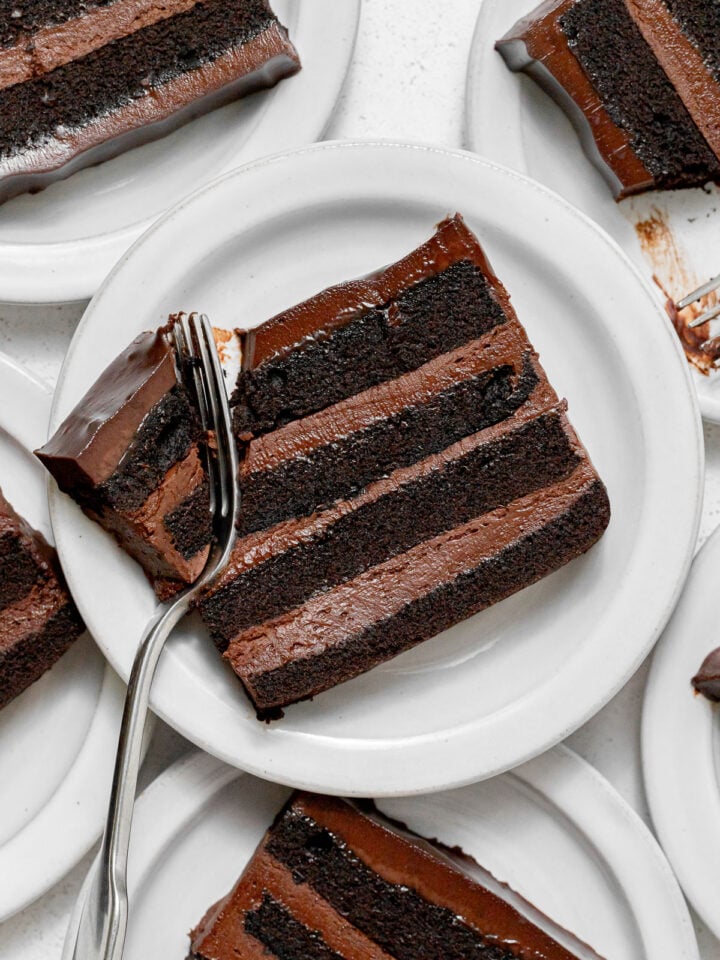
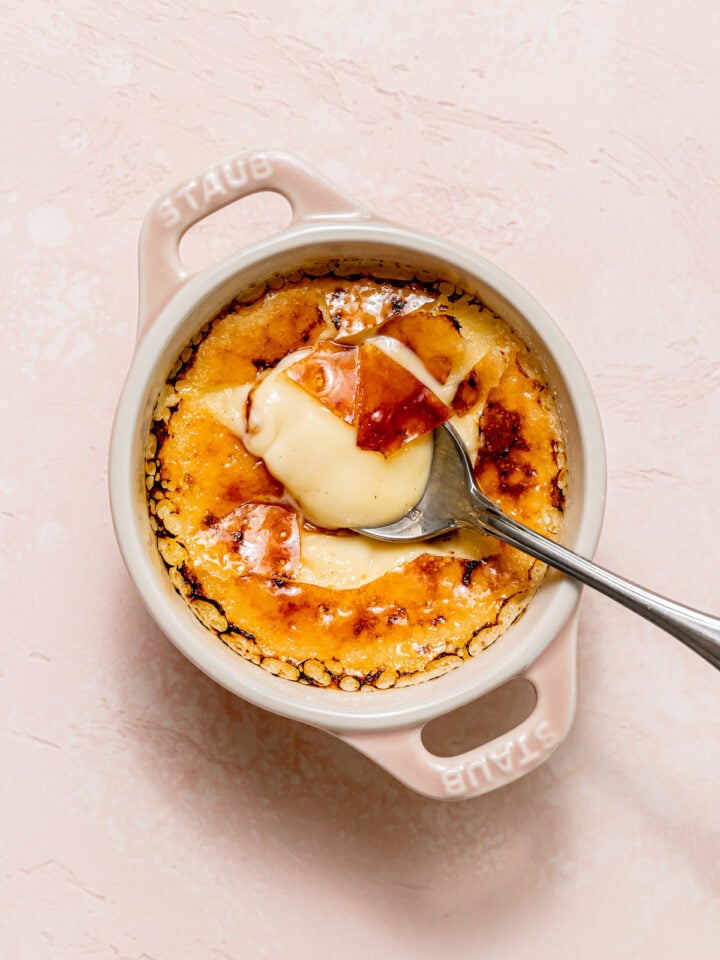
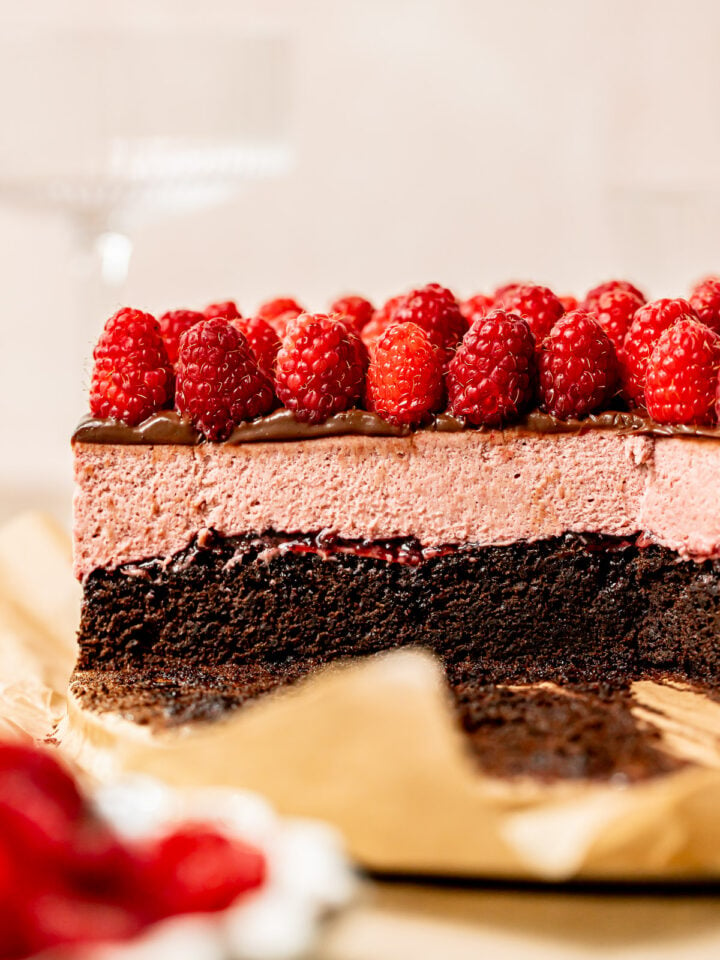
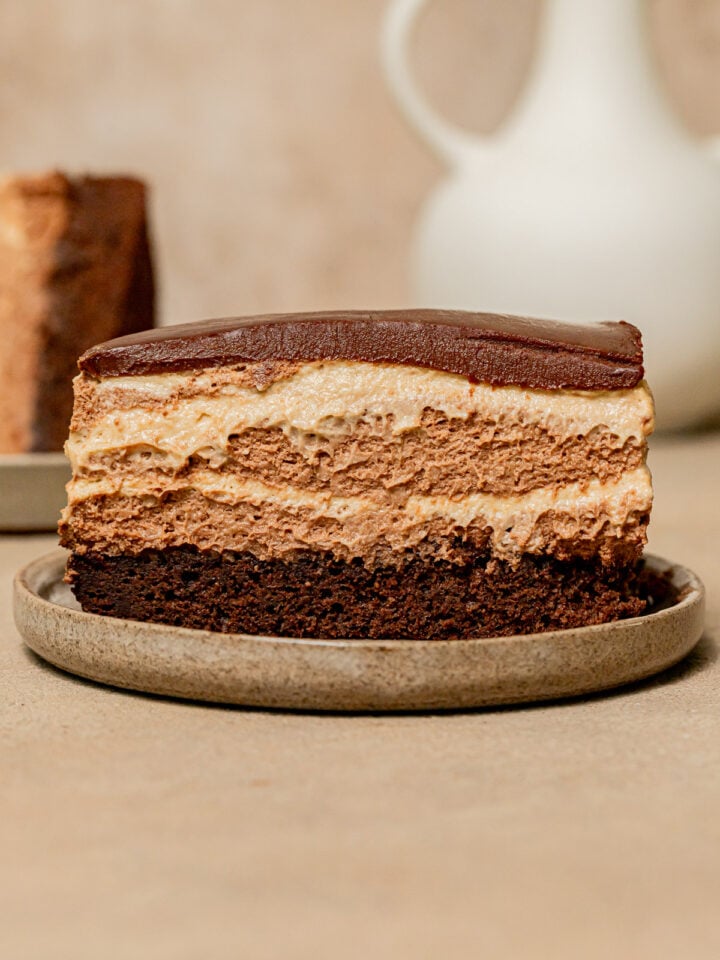
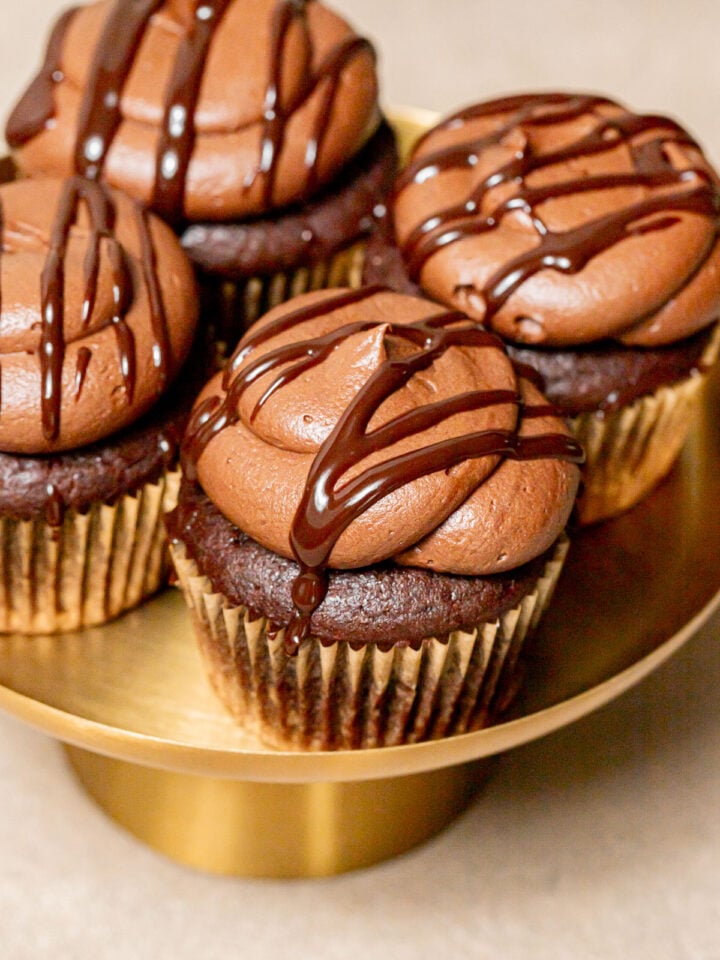
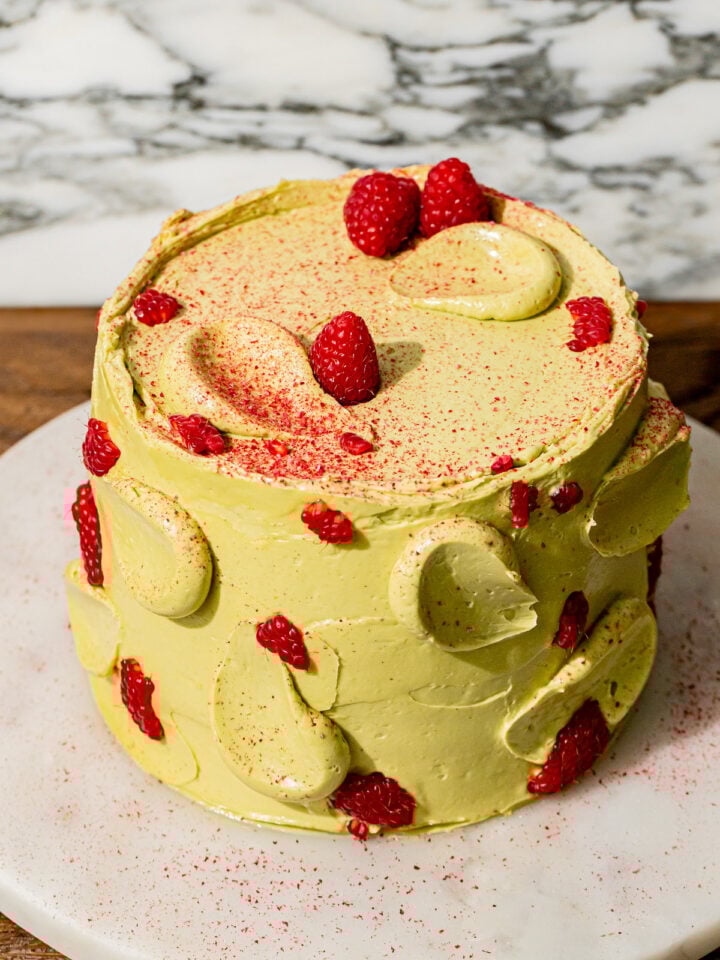
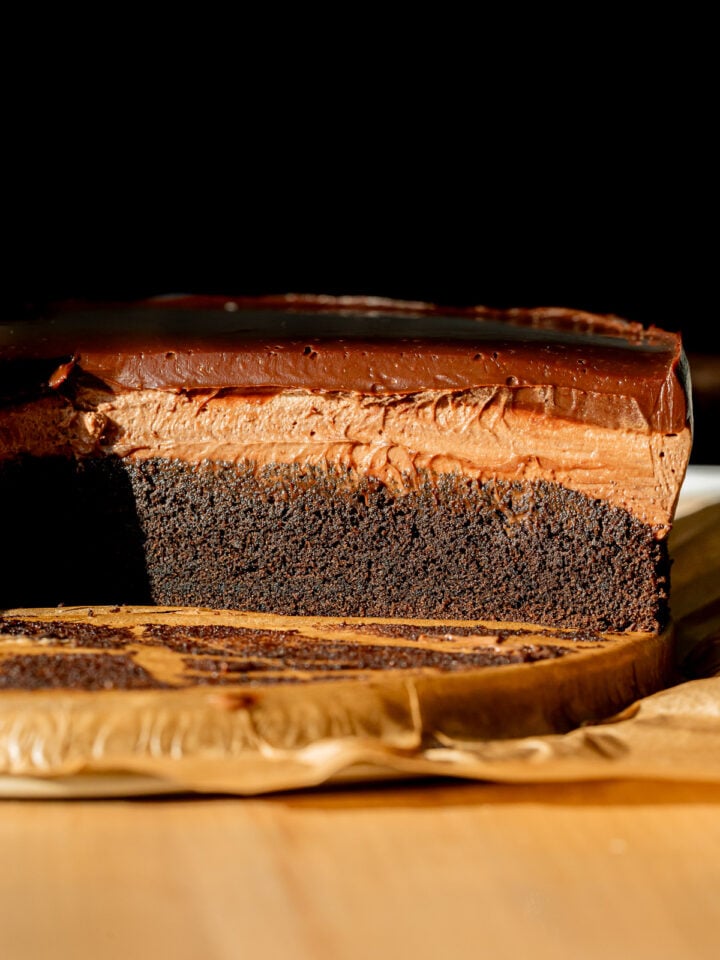
Other Valentine's Day desserts to try
If you tried this recipe, I'd love to know how it turned out for you! Leave a star rating & review below and post a picture (or video!) on Instagram and tag me so I can see your bakes! Not ready to make this recipe yet? Click the heart button on the right of your screen to save it for later 🙂
📖 Recipe

Red Velvet Layer Cake
Equipment
Ingredients
For the red velvet cake layers:
- 240 g (2 cups) all-purpose flour
- 21 g (¼ cup) dutch process cocoa powder
- ¾ teaspoon baking soda
- ½ teaspoon salt
- 113 g (8 tablespoon) unsalted butter, room temp
- 266 g (1 ⅓ cup) granulated sugar
- 2 eggs, separated
- 2 teaspoon vanilla extract
- 113 g (½ cup) buttermilk, room temp
- 113 g (½ cup) plain whole milk greek yogurt, room temp
- 100 g (½ cup) neutral oil
- 2 teaspoon distilled white vinegar
- 1 teaspoon red food gel
For the cream cheese frosting:
- 340 g (24 tablespoon) unsalted butter, room temp
- 18 oz (2 ¼ blocks) cream cheese, cold
- 508 g (4 ½ cups) powdered sugar, sifted
Instructions
For the red velvet cake layers:
- Preheat the oven to 350 degrees F.
- Grease and line two 9" cake pans with parchment paper.
- Soak two cake strips in ice water.
- In a medium bowl, whisk together the flour, cocoa powder, baking soda, and salt. Set aside.
- In the bowl of a stand mixer fitted with a paddle attachment, cream the butter and sugar together until light and fluffy, about 2-3 minutes.
- Mix in the egg yolks and vanilla until well combined.
- Add half of the dry ingredients and mix on low speed until mostly combined. Then, mix in the buttermilk, yogurt, oil, vinegar, and red food gel, followed by the remaining dry ingredients.
- In a separate small bowl, add the egg whites and use an electric hand mixer to beat until soft peaks form.
- Using a rubber spatula, gently fold the whipped egg whites into the cake batter until fully combined.
- Divide the cake batter between the prepared cake pans. Wrap the cake strips around the outsides of the pans.
- Bake the cakes for about 30-35 minutes or until the edges start to pull away from the sides of the pan and a toothpick inserted comes out clean. Immediately turn the cakes out onto a wire rack to cool completely.
- Once cool, wrap the cakes in plastic wrap and freeze until ready to decorate. (Frozen cake layers will be much easier to frost!)
For the cream cheese frosting:
- In the bowl of a stand mixer fitted with a paddle attachment, beat the butter and cream cheese on high speed until smooth. Slowly add the sifted powdered sugar and mix on low speed until fully combined. Once all of the powdered sugar is added, continue beating on low speed until no more lumps or pockets of air remain and the frosting is smooth.
For assembly:
- Secure the first cake layer on the cake stand with a small amount of frosting on the bottom. Using an offset spatula, spread on an even layer of frosting, then place the second cake layer on top.
- Spread an even layer (or crumb coat) of frosting along the top and outside of the cake, then place in the fridge for about 10-15 minutes.
- Take the cake out of the fridge and spread a thicker layer of frosting on the cake. Use the remaining frosting to pipe along the top and bottom of the cake, if desired.
- Allow the cake to sit at room temperature for a few hours before serving.
Notes
- Use cake strips to create flat cake layers. Soak these wilton cake strips in ice water before starting the cake batter. Just before baking, wrap the cake strips around the pan. The cold temperature on the outside of the cake will prevent the edges from baking faster than the center, resulting in an evenly baked flat cake.
- Freeze the cake layers before decorating. Since this is such a moist cake, I highly recommend freezing the cake layers for at least two hours before decorating.
- Use cold cream cheese & room temperature butter. In order to create a sturdy, pipeable cream cheese frosting, pay close attention to the temperature of the ingredients. Cold cream cheese will ensure it's thick enough, while room temperature butter will ensure all of the ingredients cream together properly.
- Sift the powdered sugar. I know it can be a pain, but trust me, sifting your powdered sugar before adding it to the frosting is so worth it! If you don't sift it, you'll need to mix the frosting on low speed for a long time to smooth it out. This also runs the risk of agitating the milk solids, creating a grainy frosting.
Comments
No Comments