A dinner party is never complete without Parker House rolls! My version is made up of a buttery, pillowy soft dough speckled with fresh herbs and garlicky goodness. When topped with melted butter and flaky sea salt, they're absolutely addicting!
This post is sponsored by Roland Foods. All opinions are my own. Thank you for supporting the brands that make Sloane's Table possible!
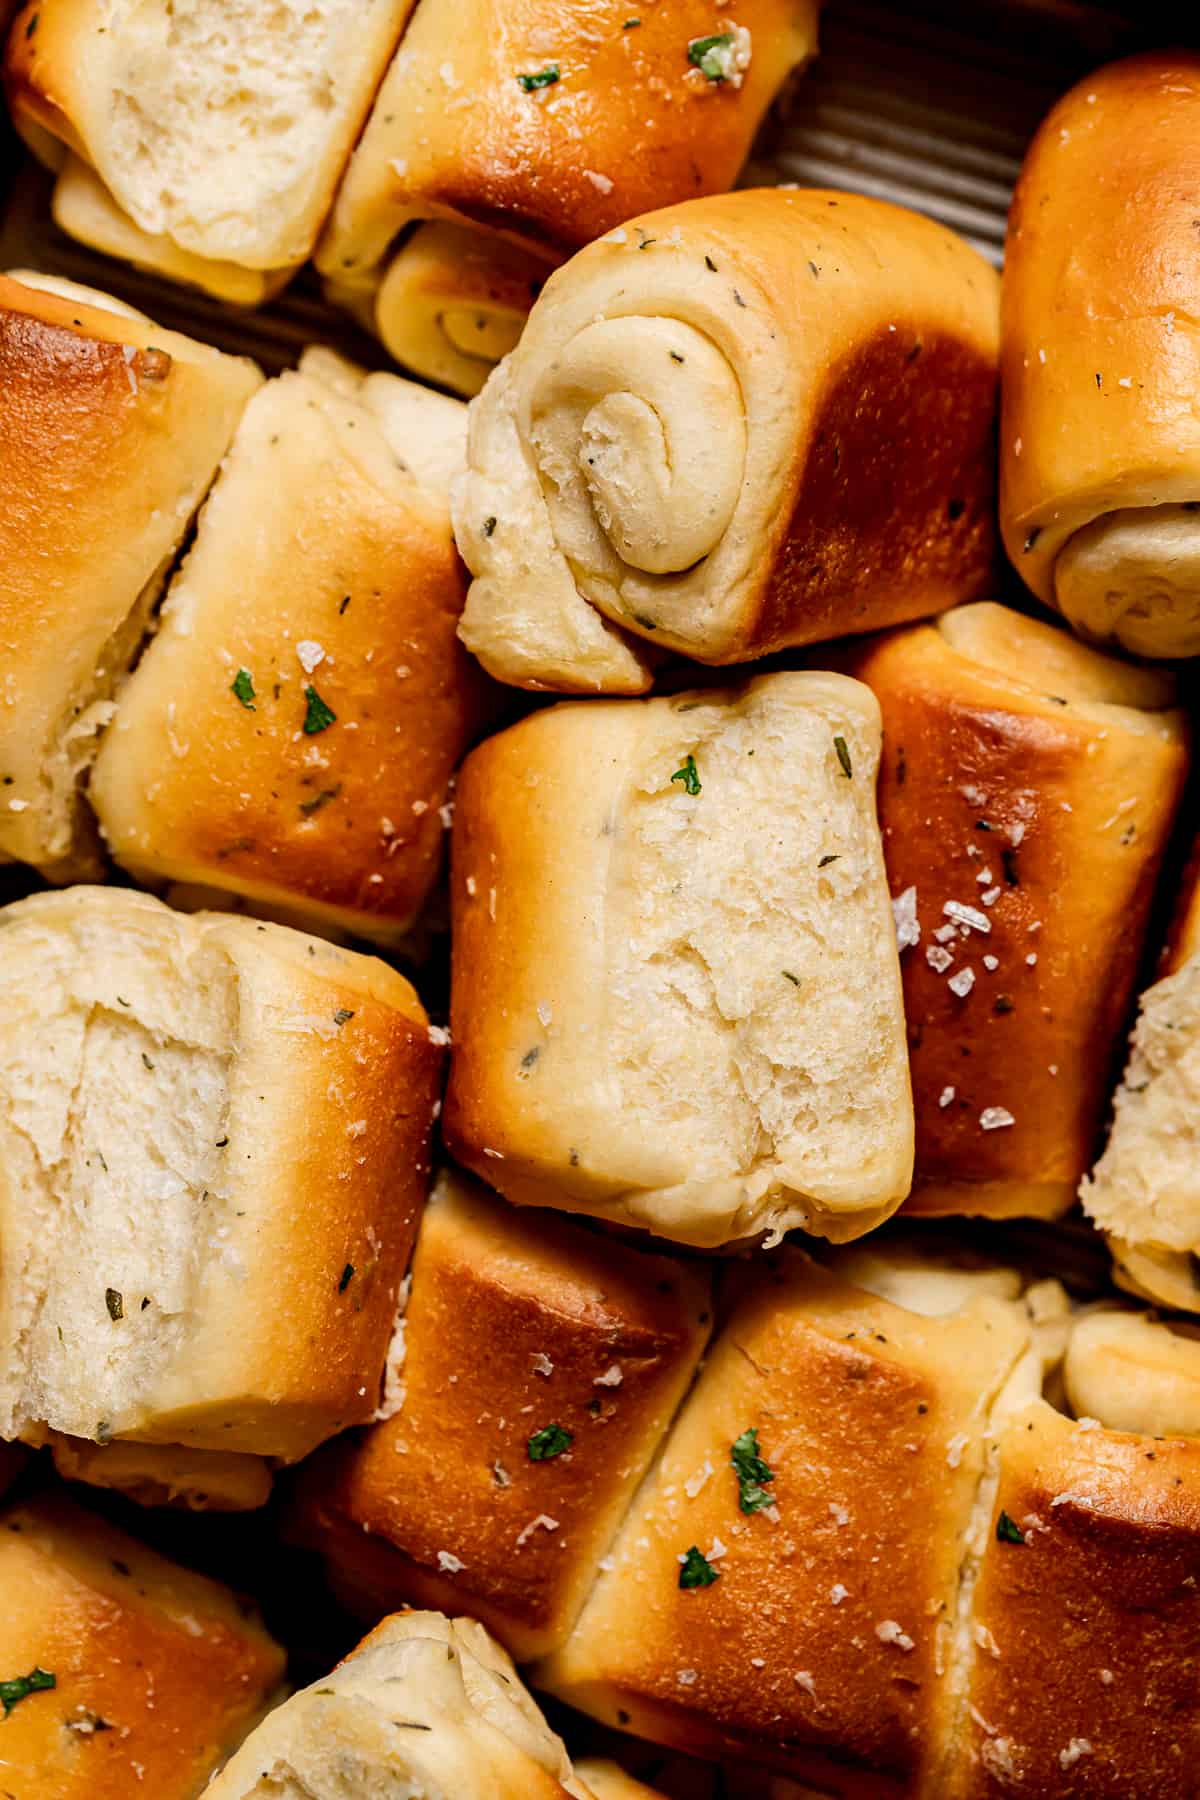
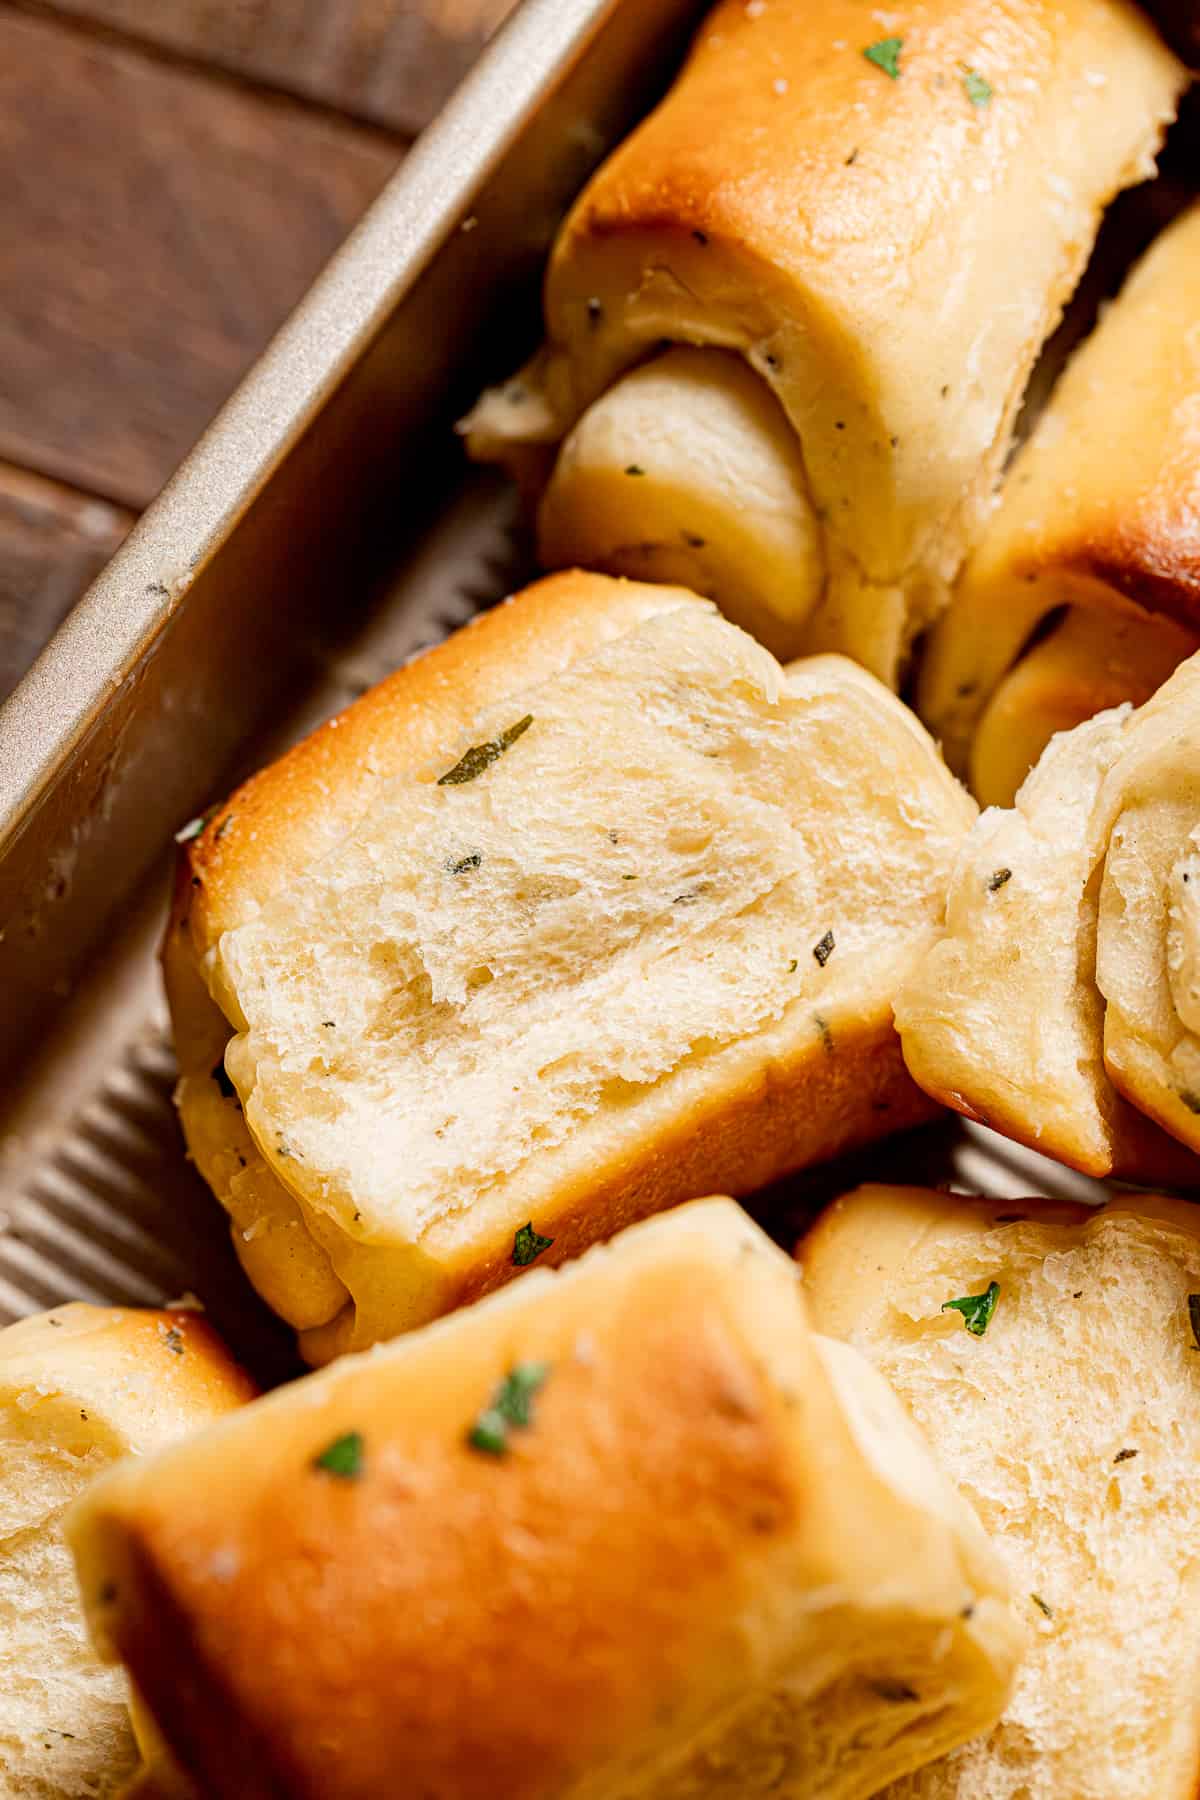
Dinner rolls are a classic part of any great meal, and starting off yours with these garlic herb Parker House rolls will truly set the tone for your whole dinner! They're light and fluffy, filled with salty garlic and fresh herbs throughout. Spread on some butter and enjoy them while they're warm - I promise you won't be able to eat just one!
For more bread and roll recipes to use as appetizers, try Salted Honey Milk Bread Rolls, Small Batch Buttermilk Biscuits, and Pesto Brioche Swirl Bread.
Jump to Recipe
Why you'll love these garlic herb Parker House rolls
- Pillowy Soft Texture: These rolls are next-level soft, just like any great bread roll recipe should be.
- Savory Garlic & Herbs: Roland Foods Whole Garlic Cloves paired with freshly chopped herbs and butter make the absolute best savory filling!
- Great Make-Ahead Recipe: This Parker House roll recipe is perfect for making ahead - make the dough the night before, let it proof overnight, and bake off the rolls the next day!
Ingredient Notes
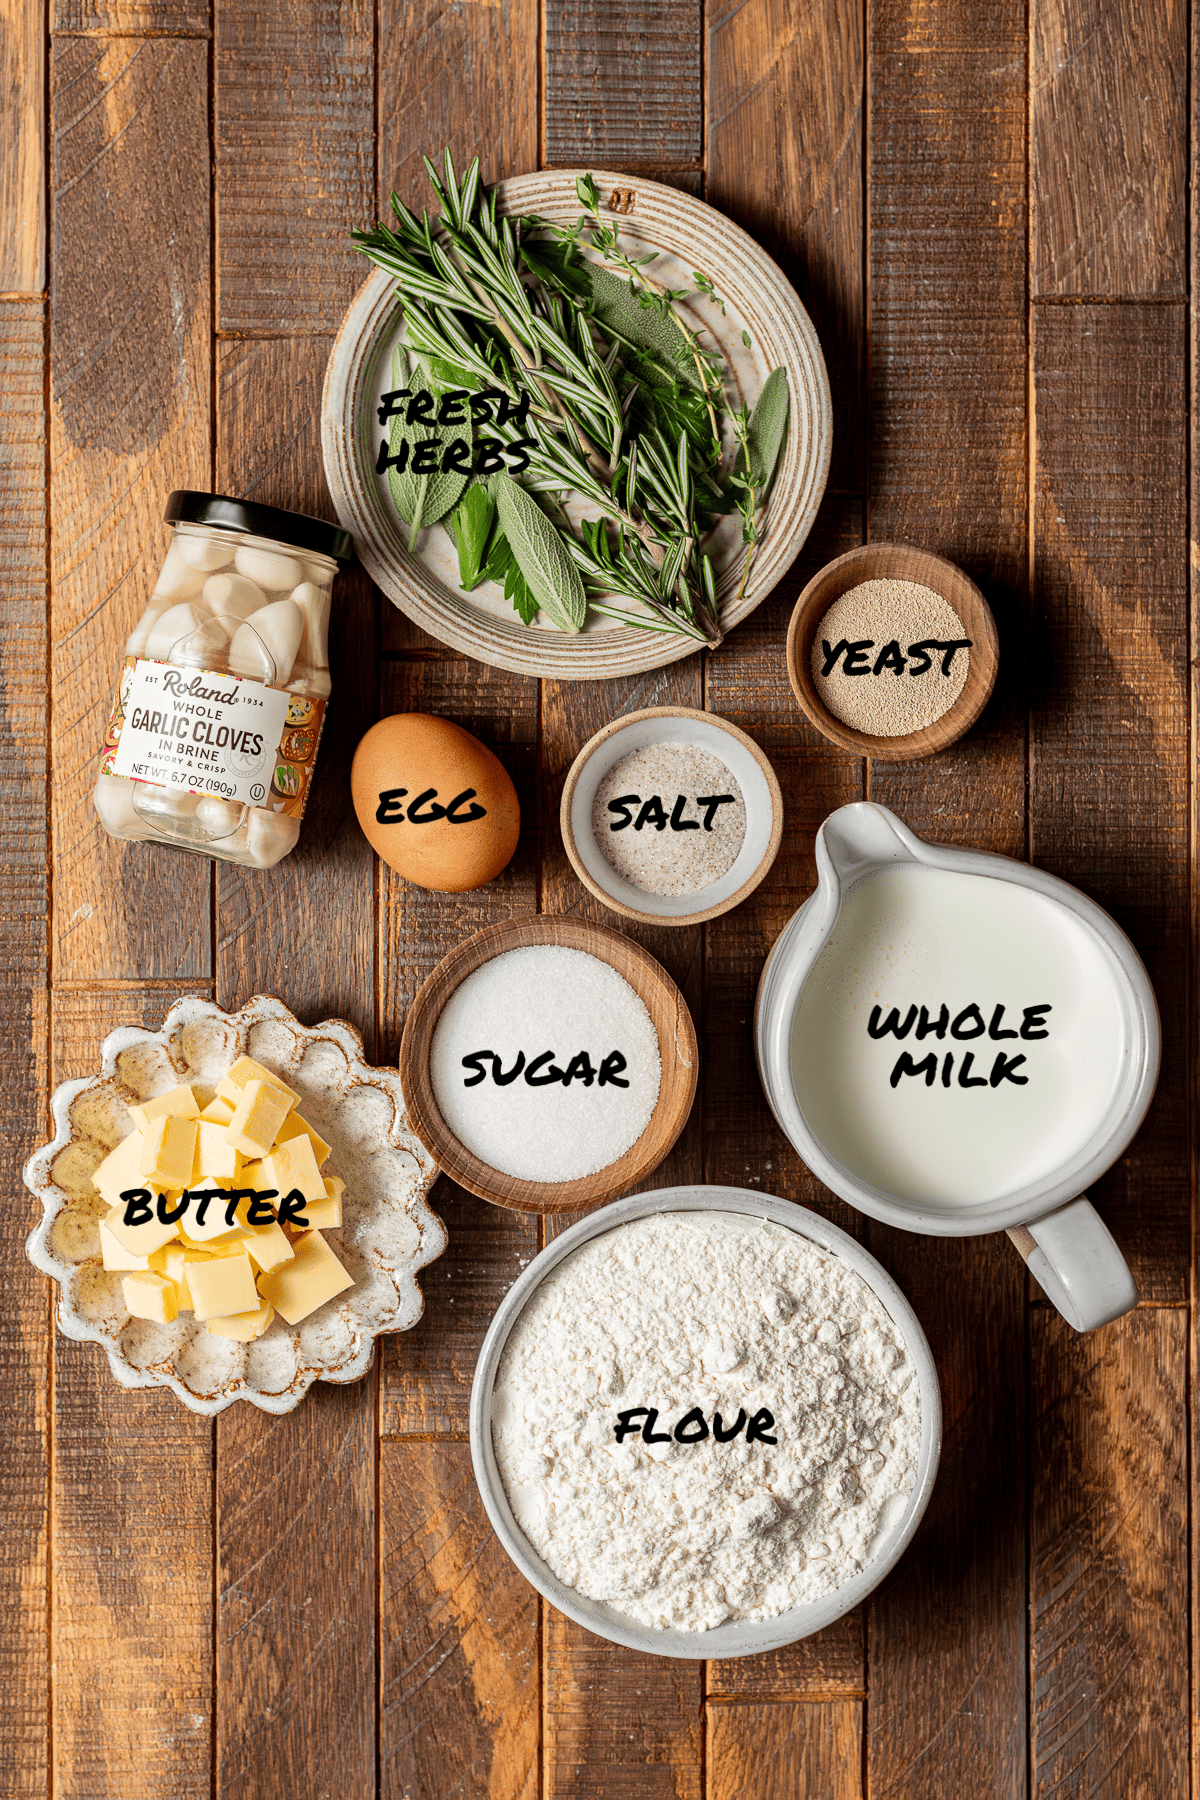
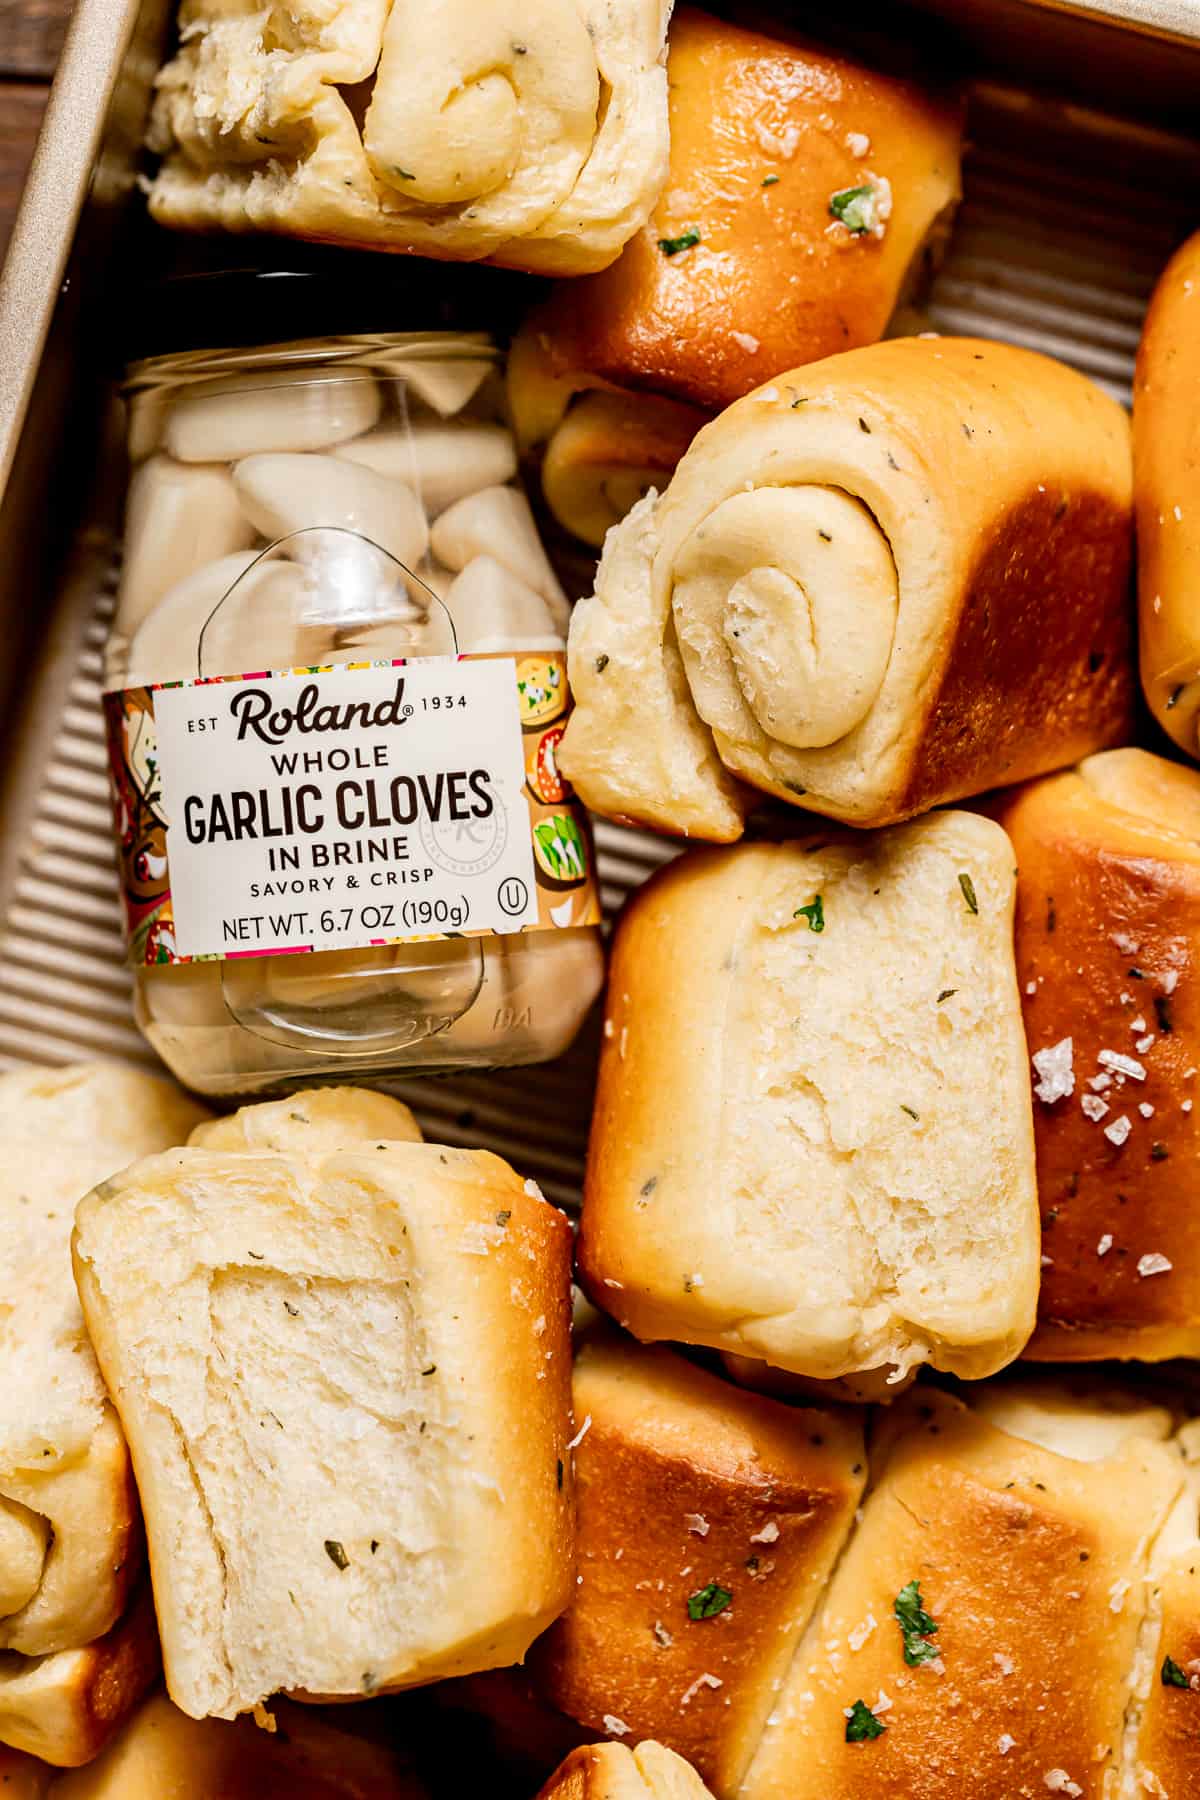
- Garlic: Roland Foods Whole Garlic Cloves are super convenient to add these Parker house rolls and add a gentle garlicky flavor to each bite!
- Fresh Herbs: Use fresh herbs like parsley, sage, rosemary, and thyme for best overall flavor.
- Flour: Use high quality unbleached all-purpose flour best results.
- Unsalted Butter: Use high quality European-style butter for best overall flavor.
- Milk: Use whole milk for best flavor, and be sure to warm it to 110 degrees so the yeast activates properly.
- Yeast: I recommend using instant yeast, but you can also use active dry yeast. Just be sure to let it sit with the milk and sugar for a few minutes in the first step and wait for it to become foamy.
- Egg: Bring your egg to room temperature quickly by placing it in a bowl of warm water for 10 minutes.
See recipe card for full information on ingredients and individual quantities.
Step by Step Instructions
Here are step by step photos and instructions on how to make this garlic herb Parker House roll recipe! For the full ingredient list and method, see the recipe card at the end of this post.
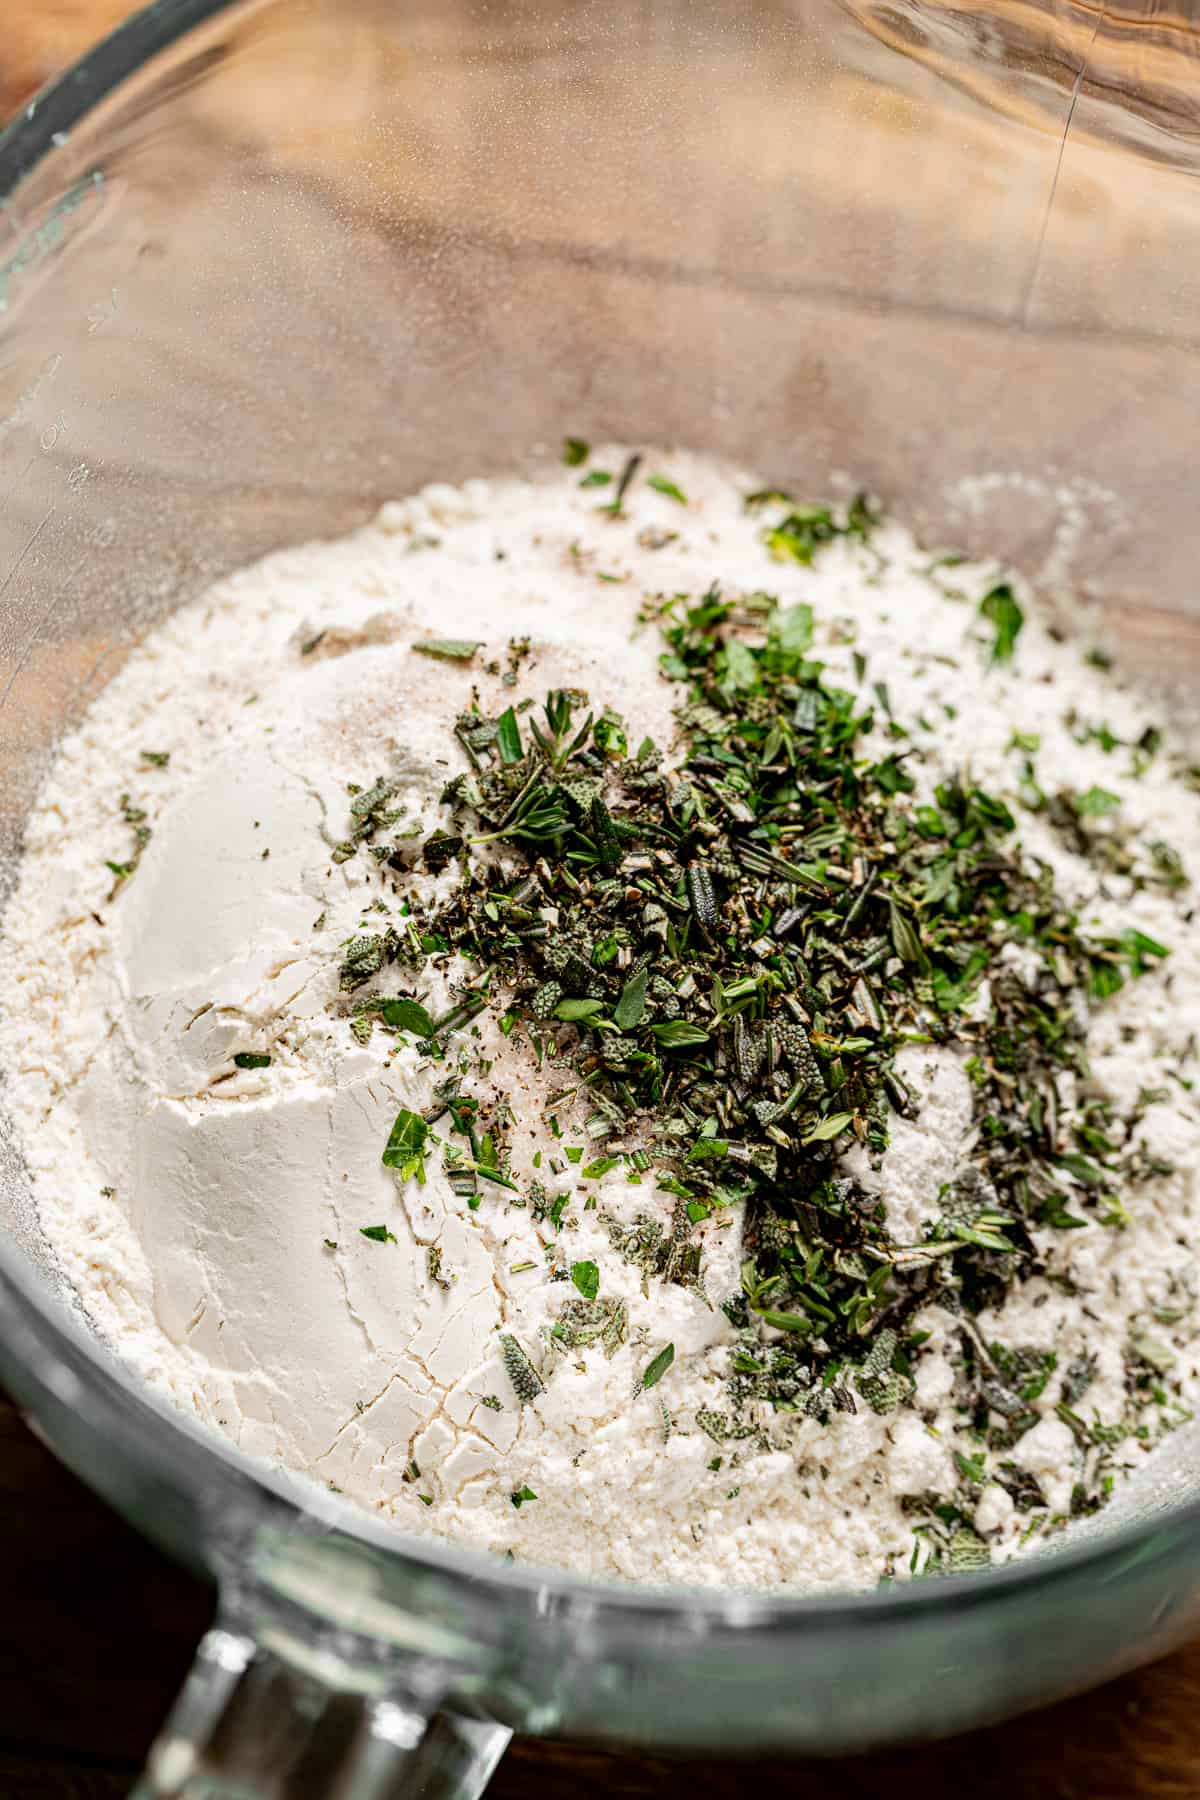
STEP 1: Mix dry ingredients. In the bowl of a stand mixer fitted with a dough hook, mix the flour, salt, herbs, and garlic together.
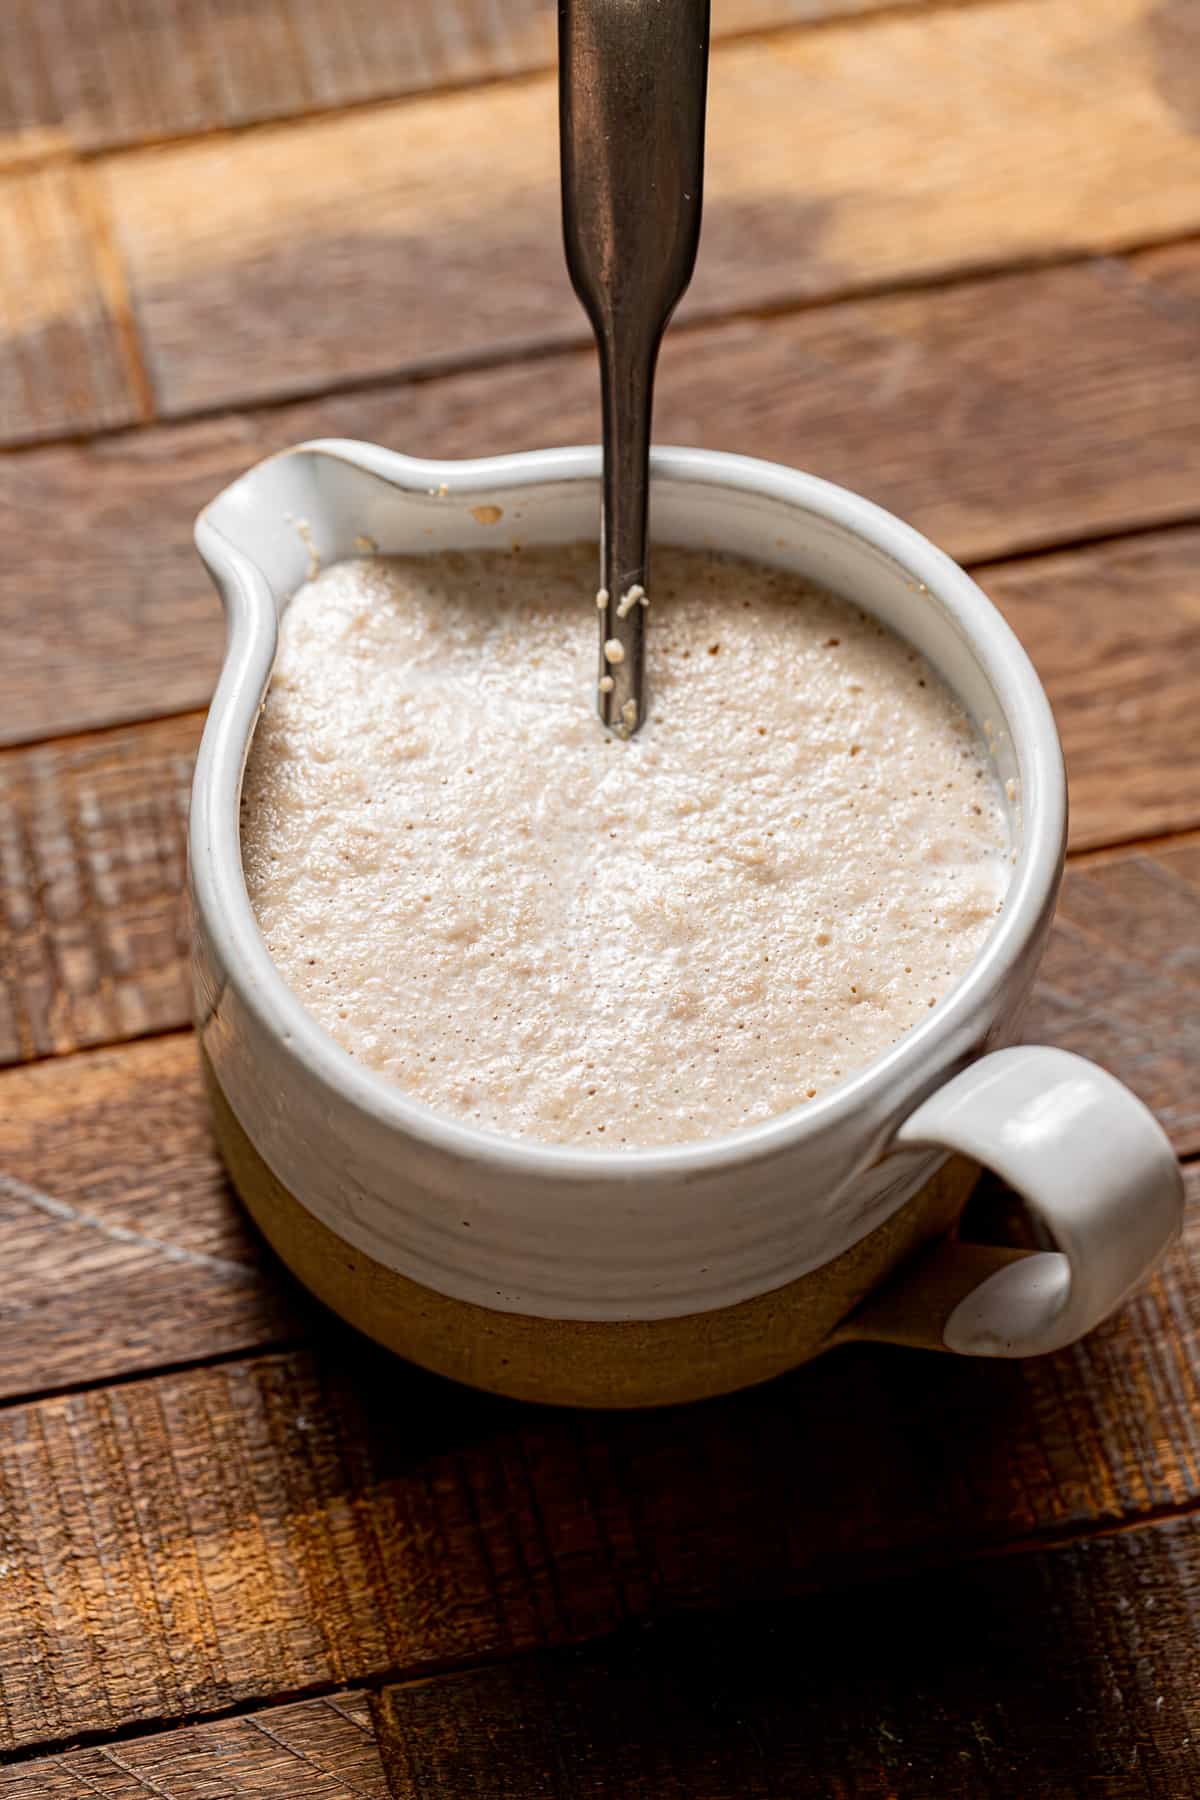
STEP 2: Activate the yeast. In a large glass measuring cup, heat the milk to 110 degrees F and stir in the sugar and yeast. If using active dry yeast, allow to sit for 15 minutes for the yeast to activate. If using instant yeast, simply move on to the next step of mixing a large egg into the milk yeast mixture.
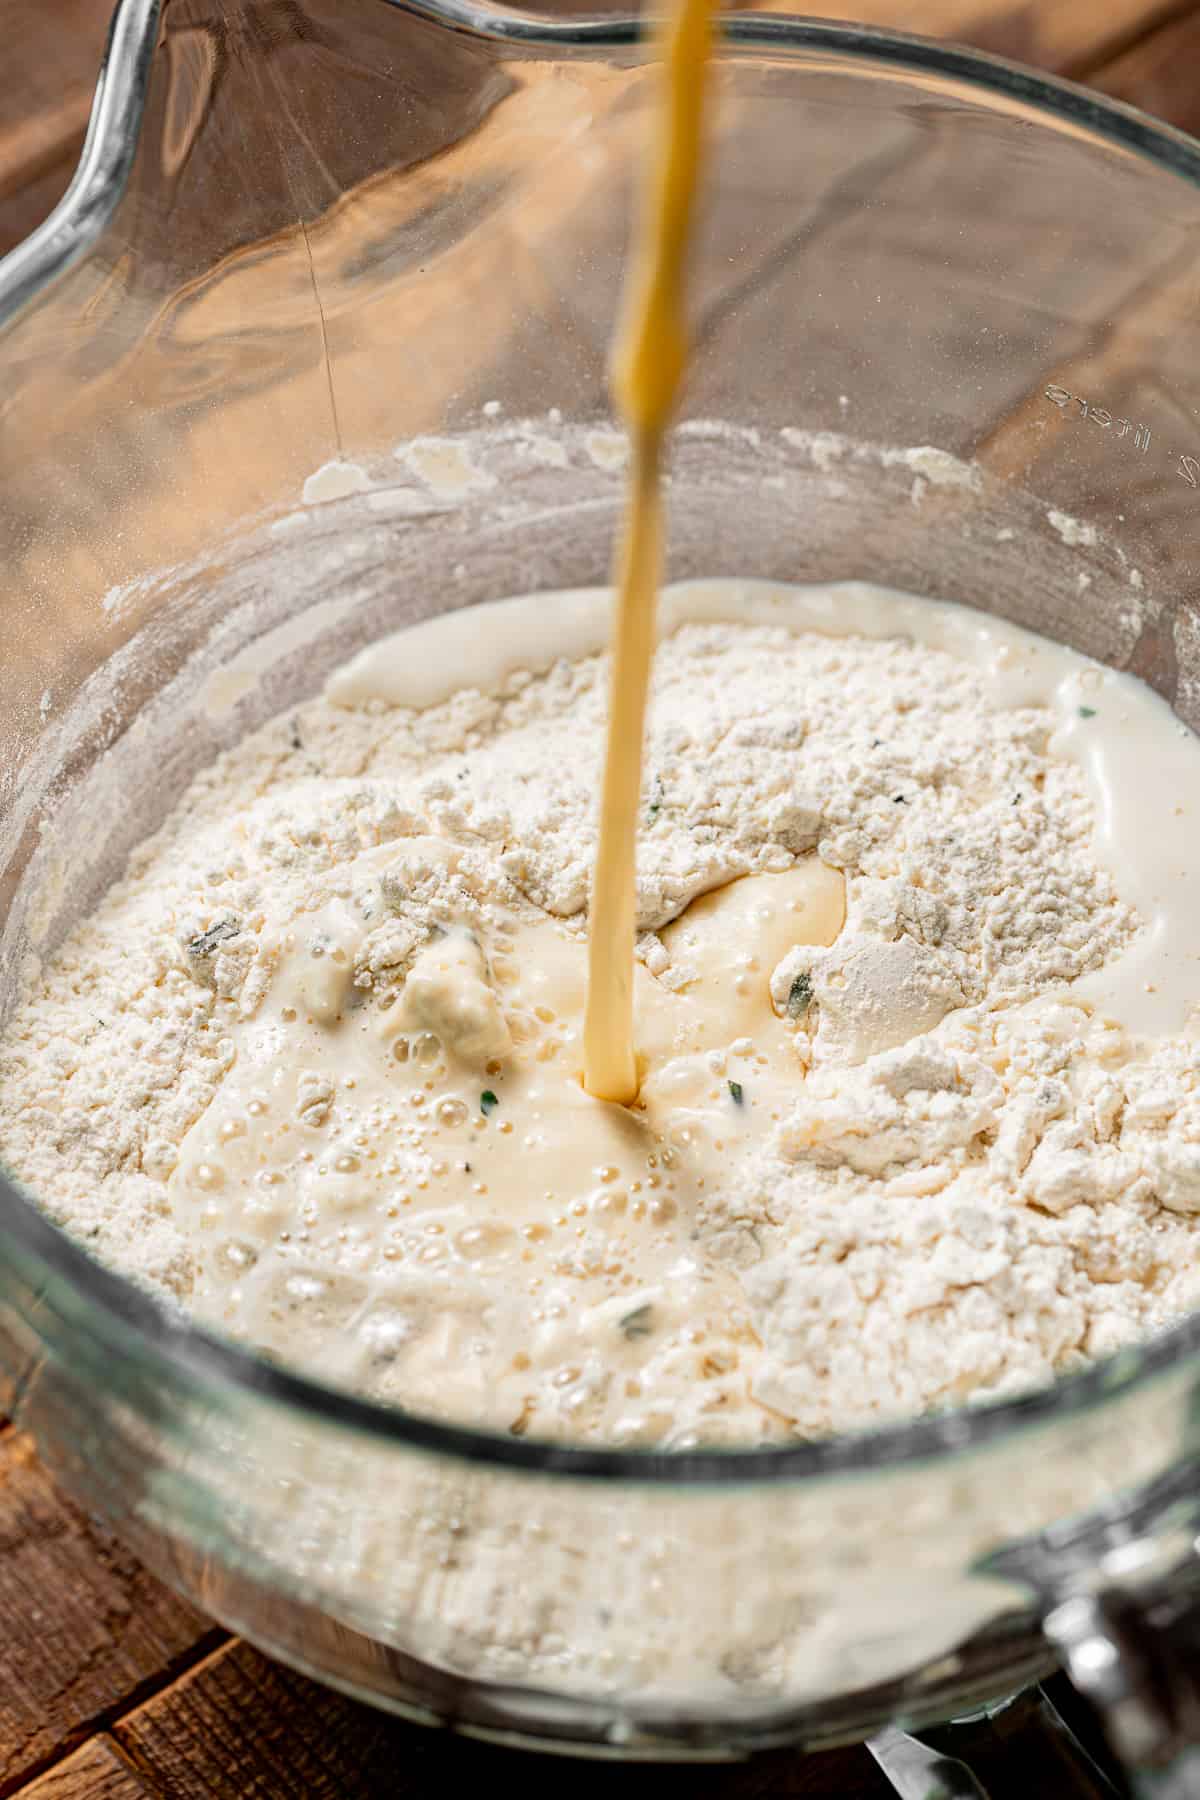
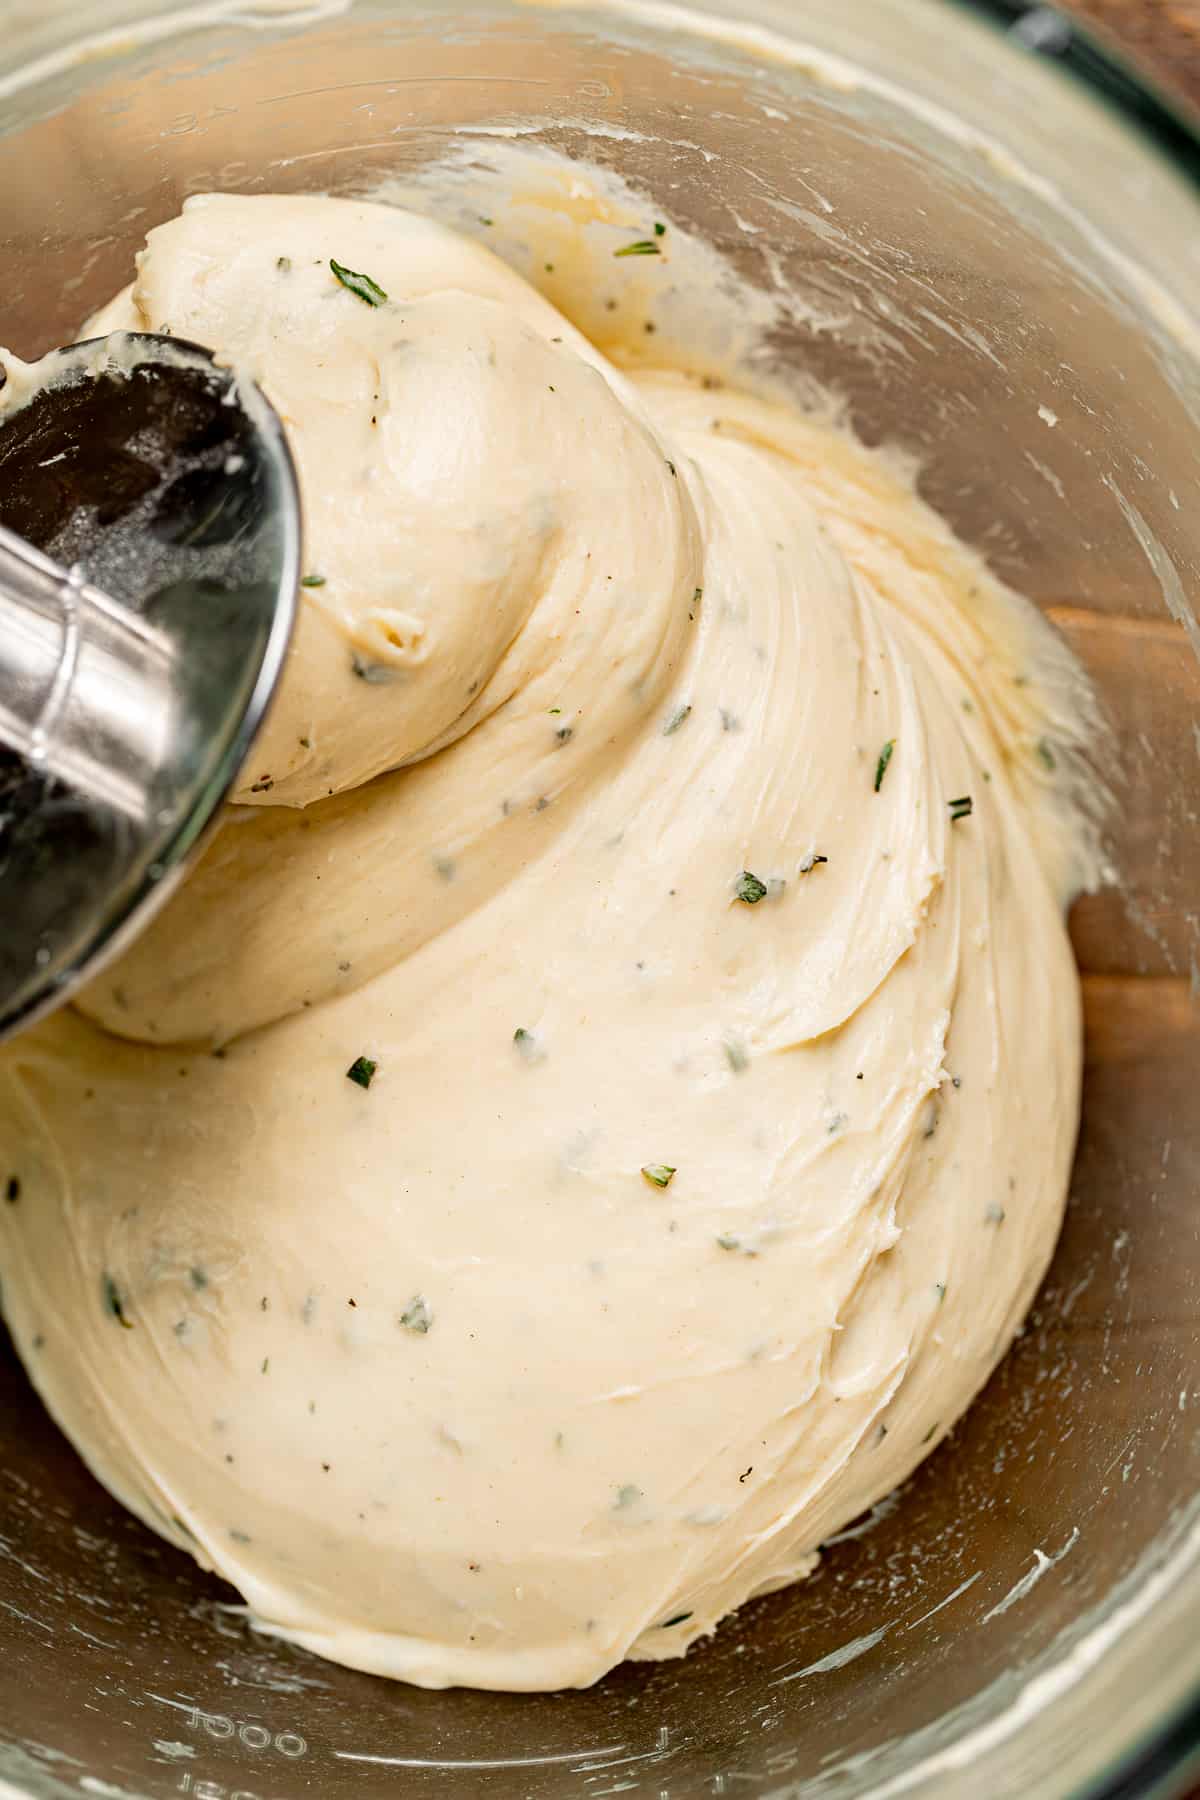
STEP 3: Combine wet and dry. Pour the wet ingredients into the flour and mix on low-medium speed for about 3 minutes, or until it forms a ball around the hook.
STEP 4: Mix the dough. Add in a few pieces of butter at a time, allowing them to fully incorporate before adding more. Once all of the butter is incorporated, turn the mixer up to medium-high speed and mix for 8-12 minutes. The dough will eventually pull away from the sides of the bowl and have a silky smooth texture with minimal stickiness. To check if the dough is ready, use the windowpane test - tear off a small piece and carefully spread it out to see if you can see the light through it without it tearing. If it tears, mix for another minute or two and check again.
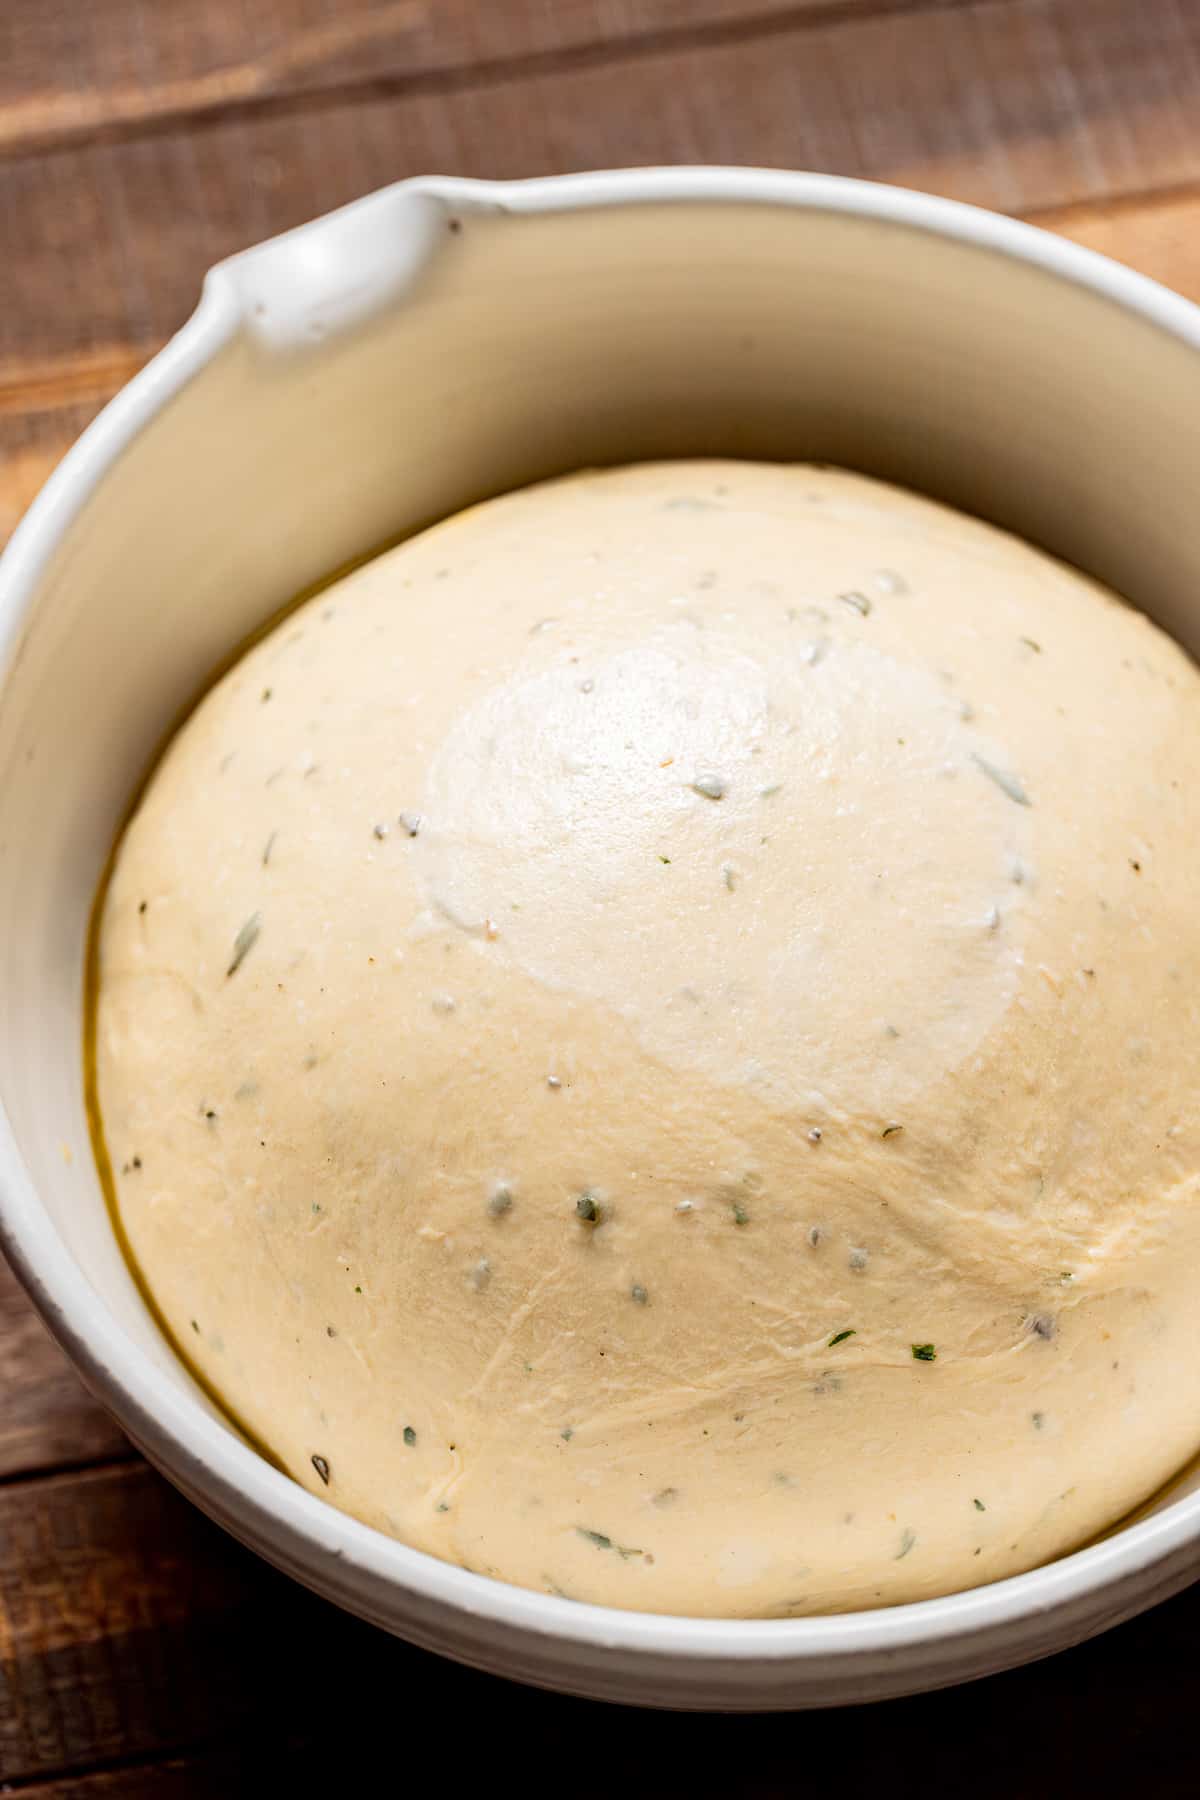
STEP 5: Proof. Once the dough is ready, shape it into a smooth ball. In a large bowl, add 1 tablespoon of olive oil and toss the dough in it to coat. Cover the bowl and allow the dough to proof overnight (or at least 6 hours) in the fridge. Alternatively, you can let the dough rise in a warm place for about 1 hour or until doubled in size.
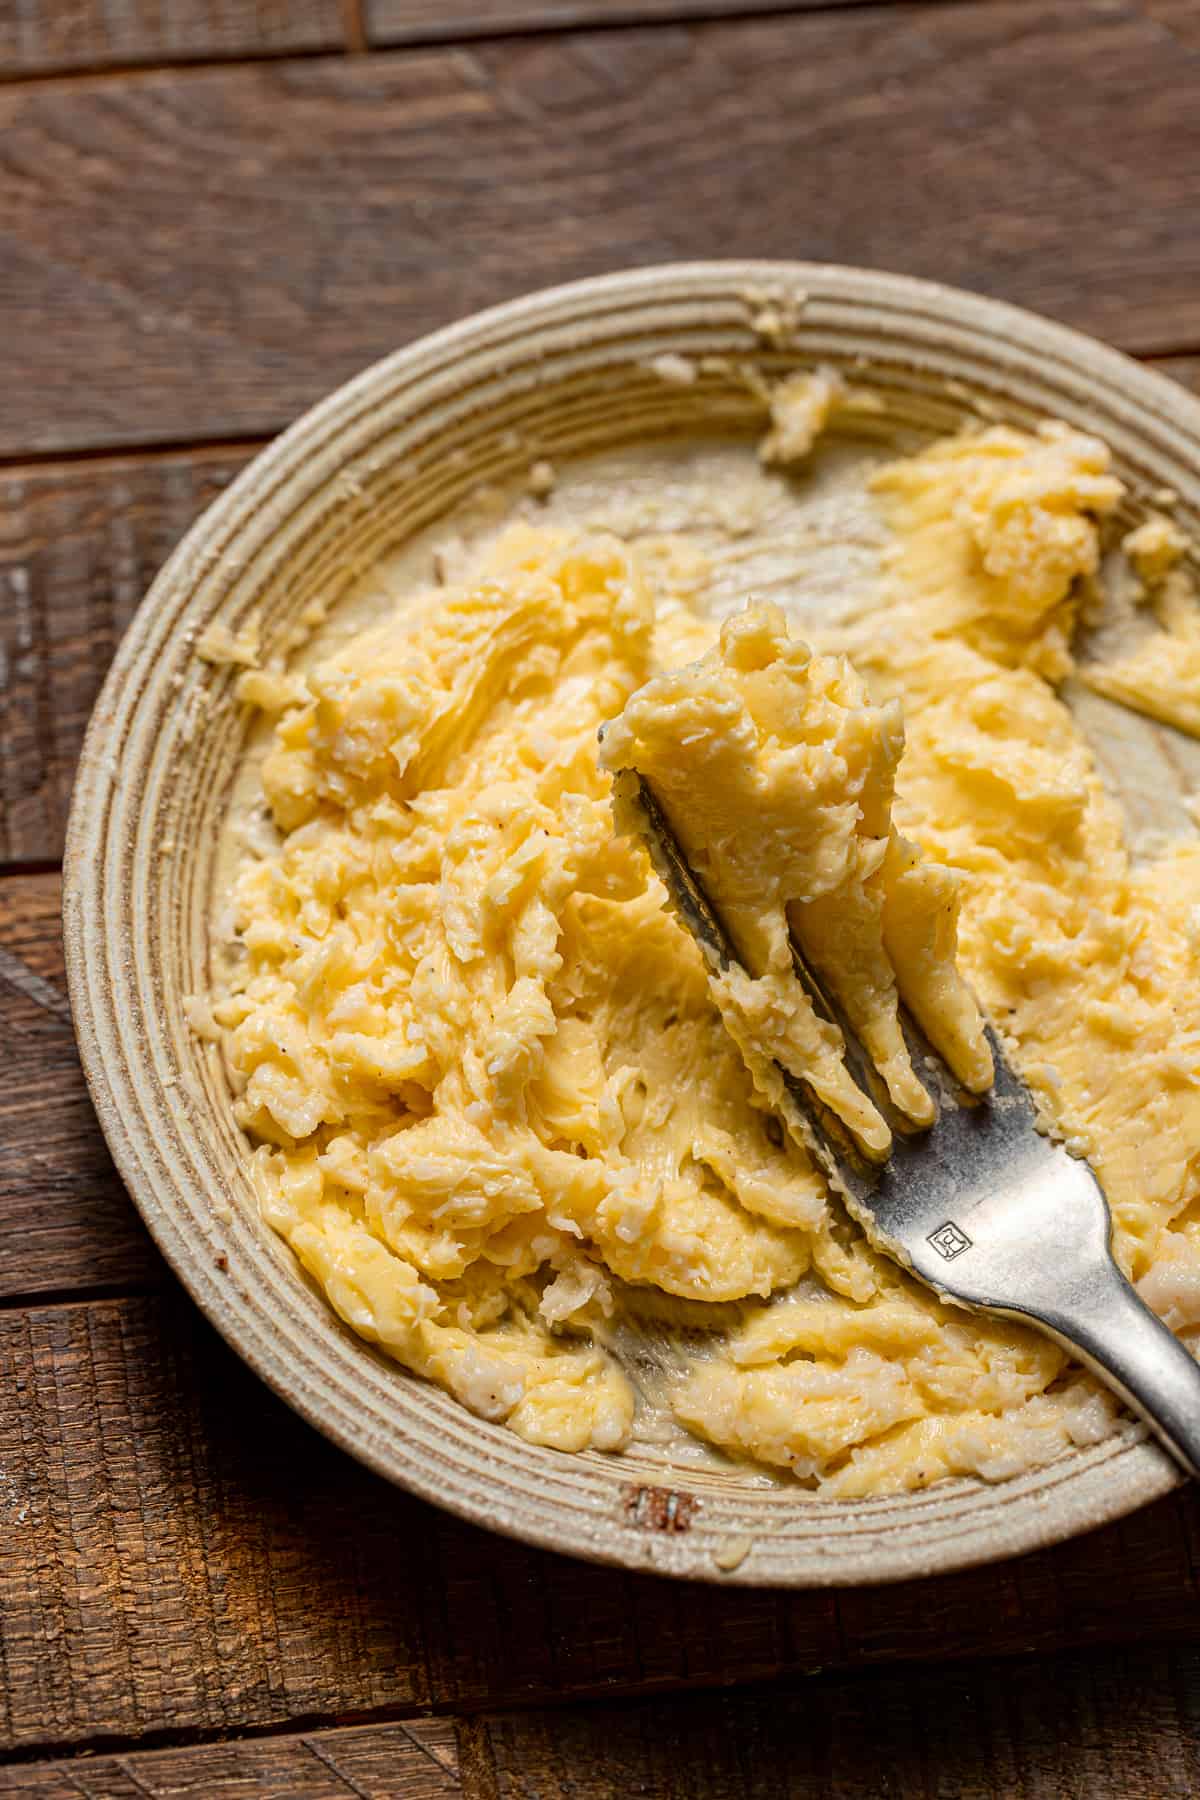
STEP 6: Mash the butter. When ready to shape the rolls, add the butter, salt, and garlic to a plate and mash with a fork until smooth.
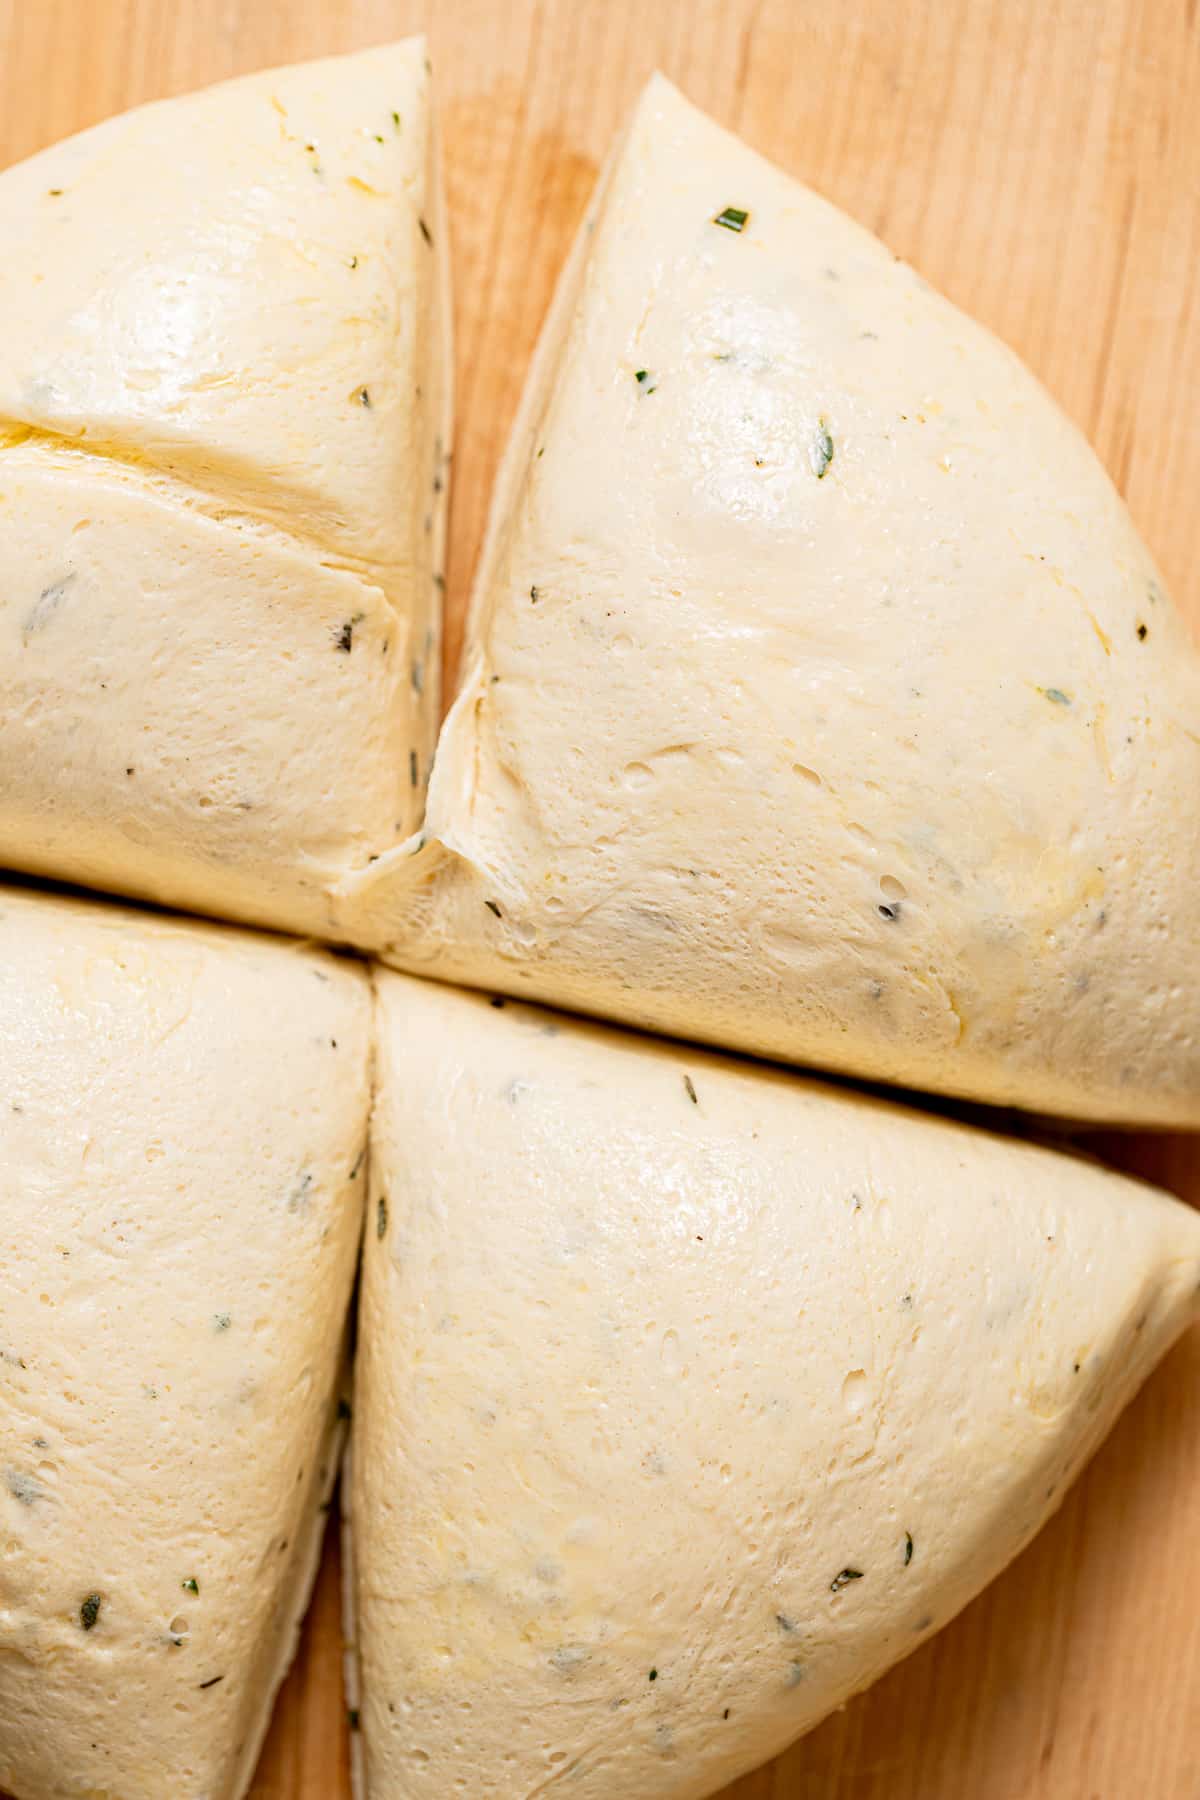
STEP 7: Divide. Divide the dough into four parts. While rolling out the dough, keep the other pieces in the fridge.
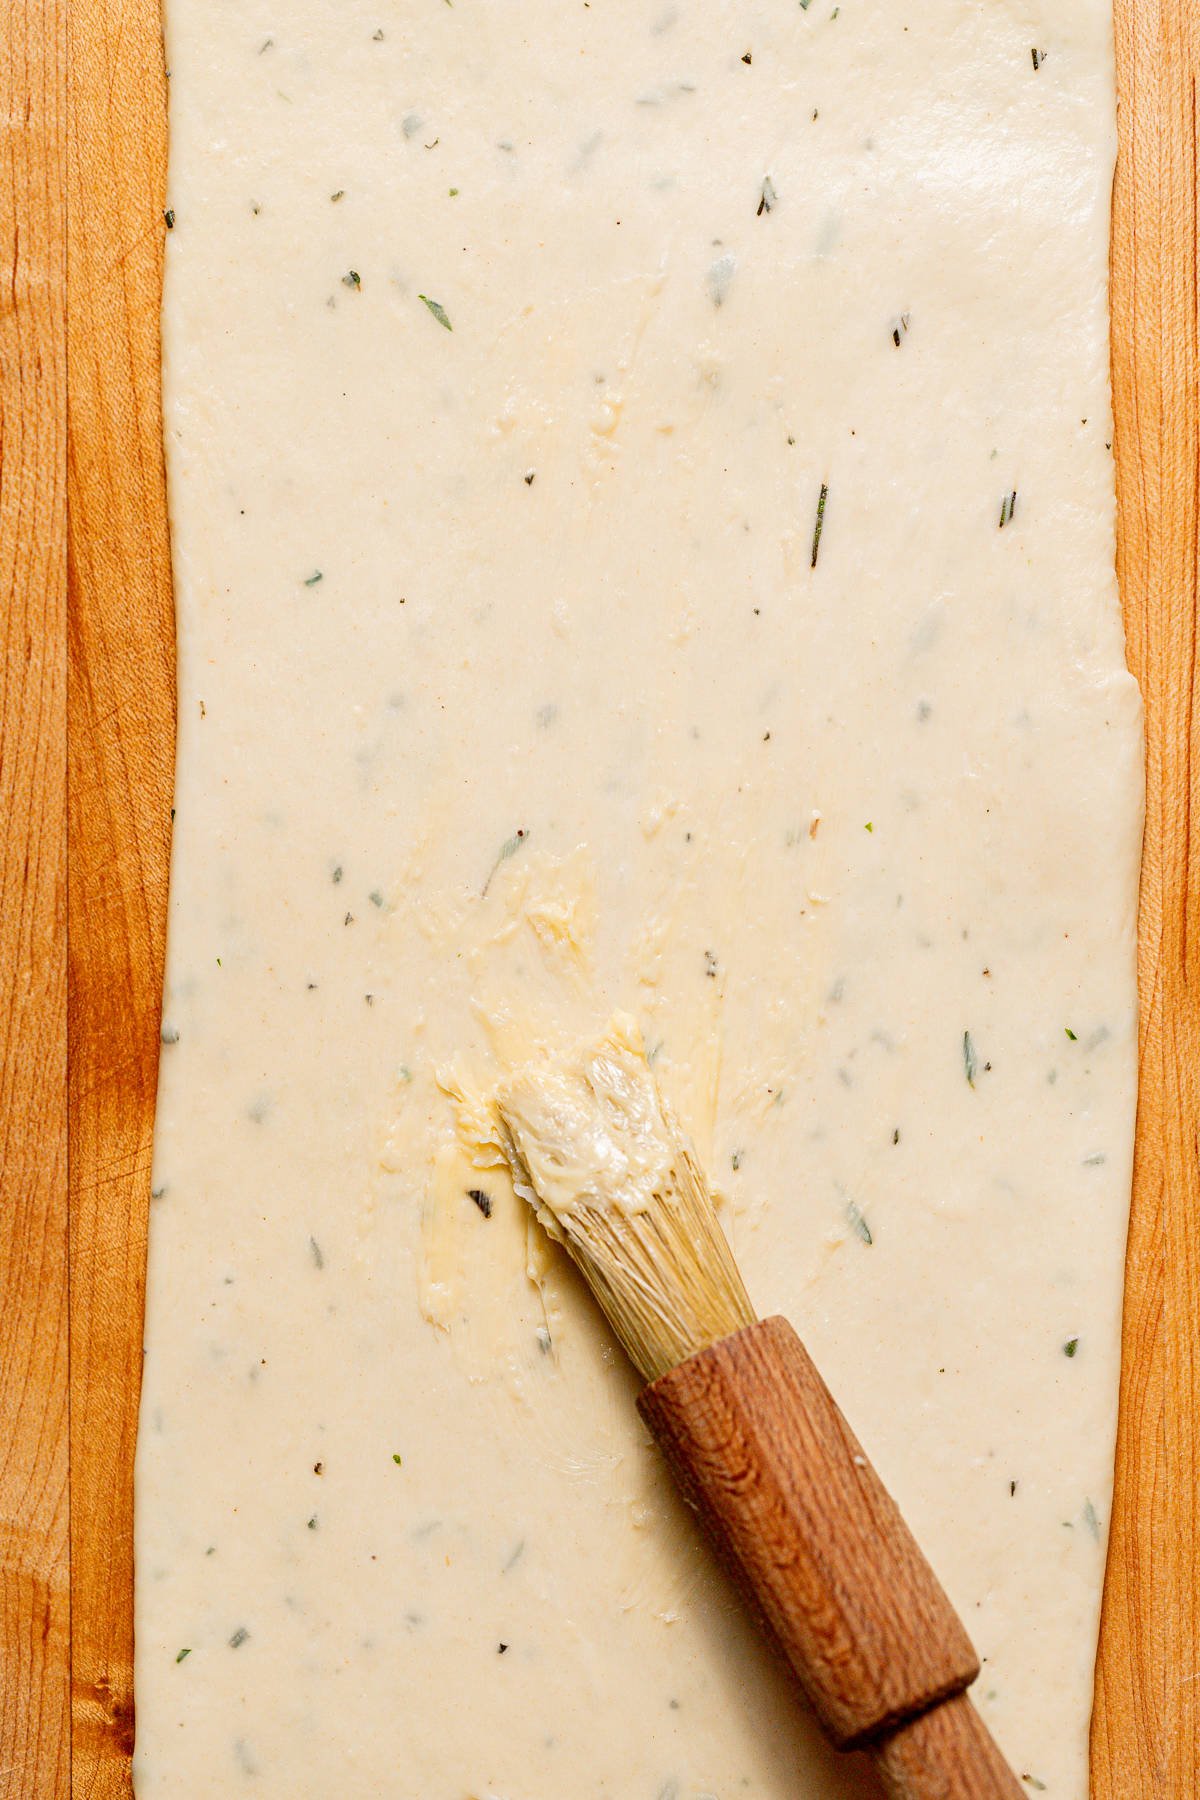
STEP 8: Roll and spread. On a non-floured surface, roll each piece out to a 5"x15" rectangle. Brush a thin layer of the garlic butter filling on top, then roll it up from the long side.
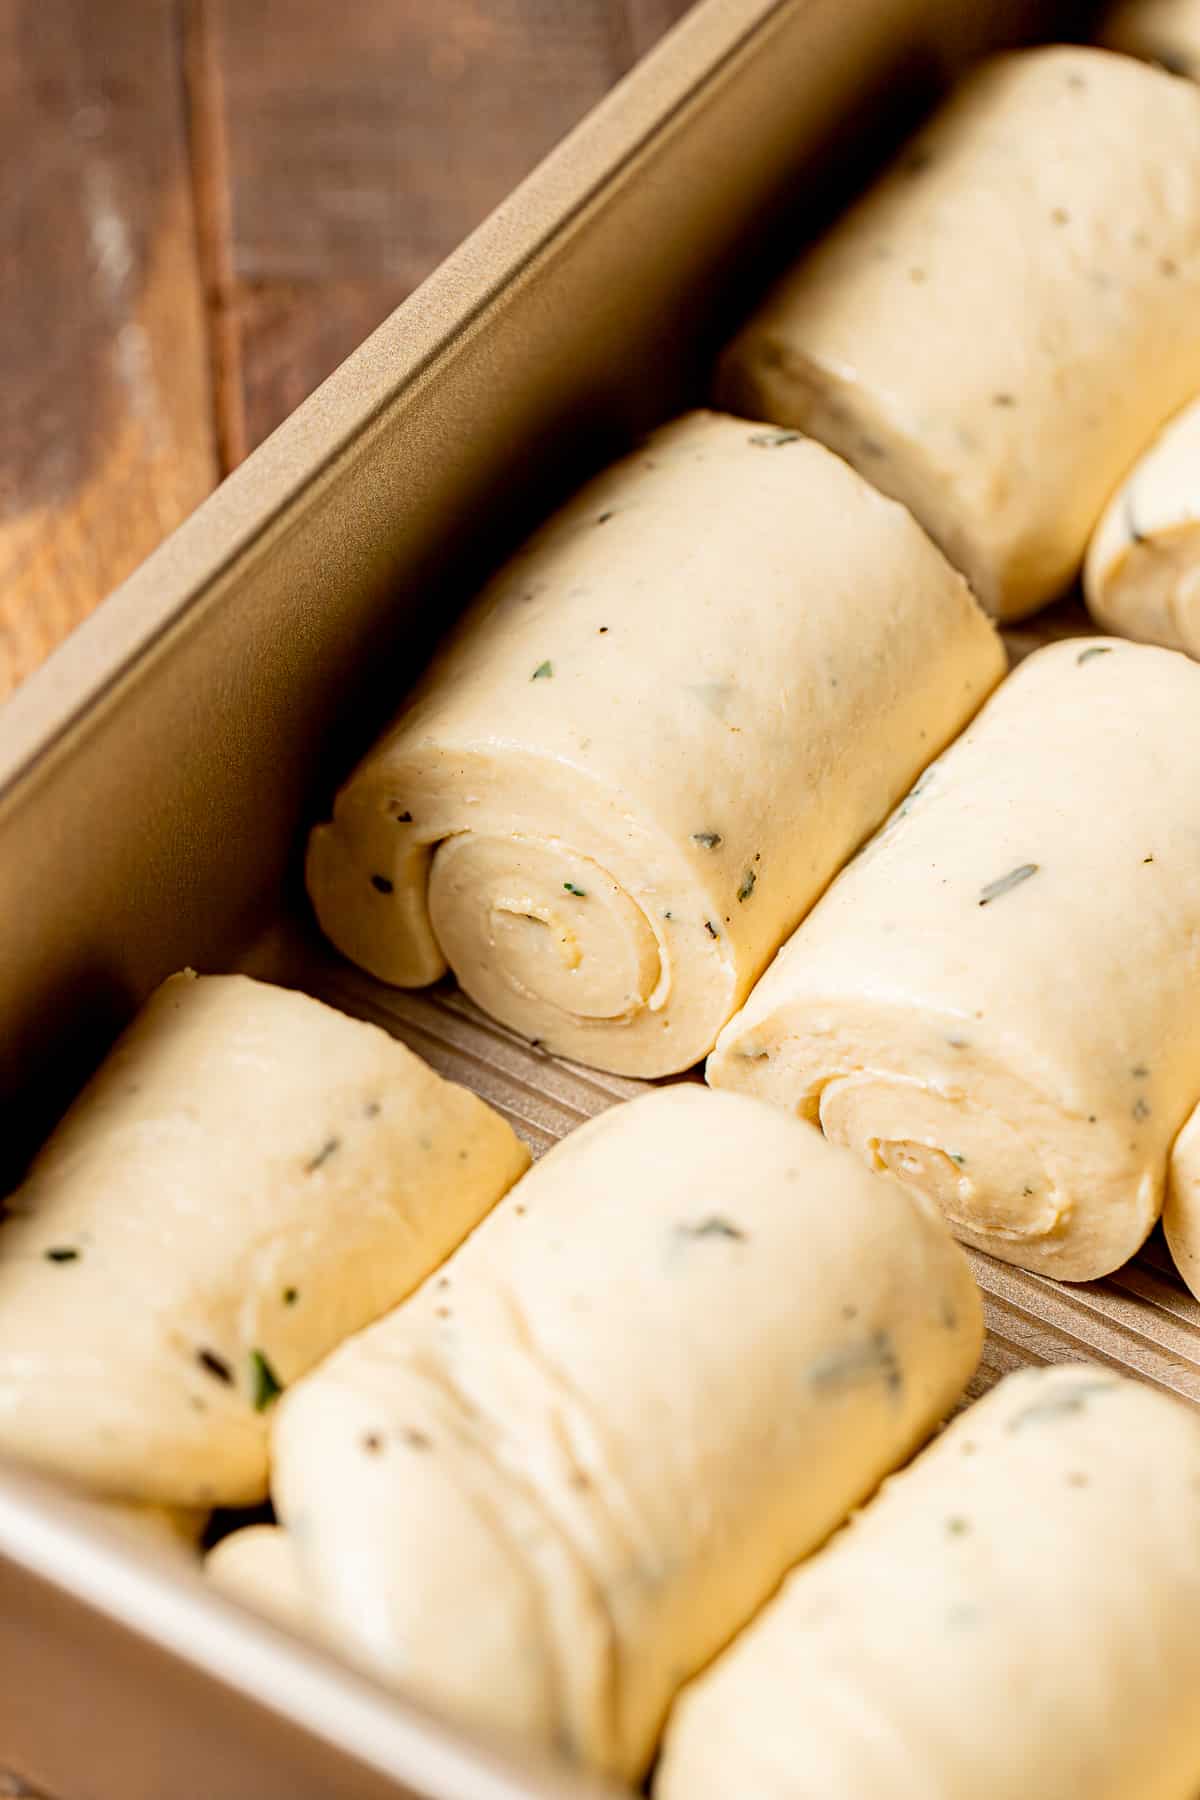
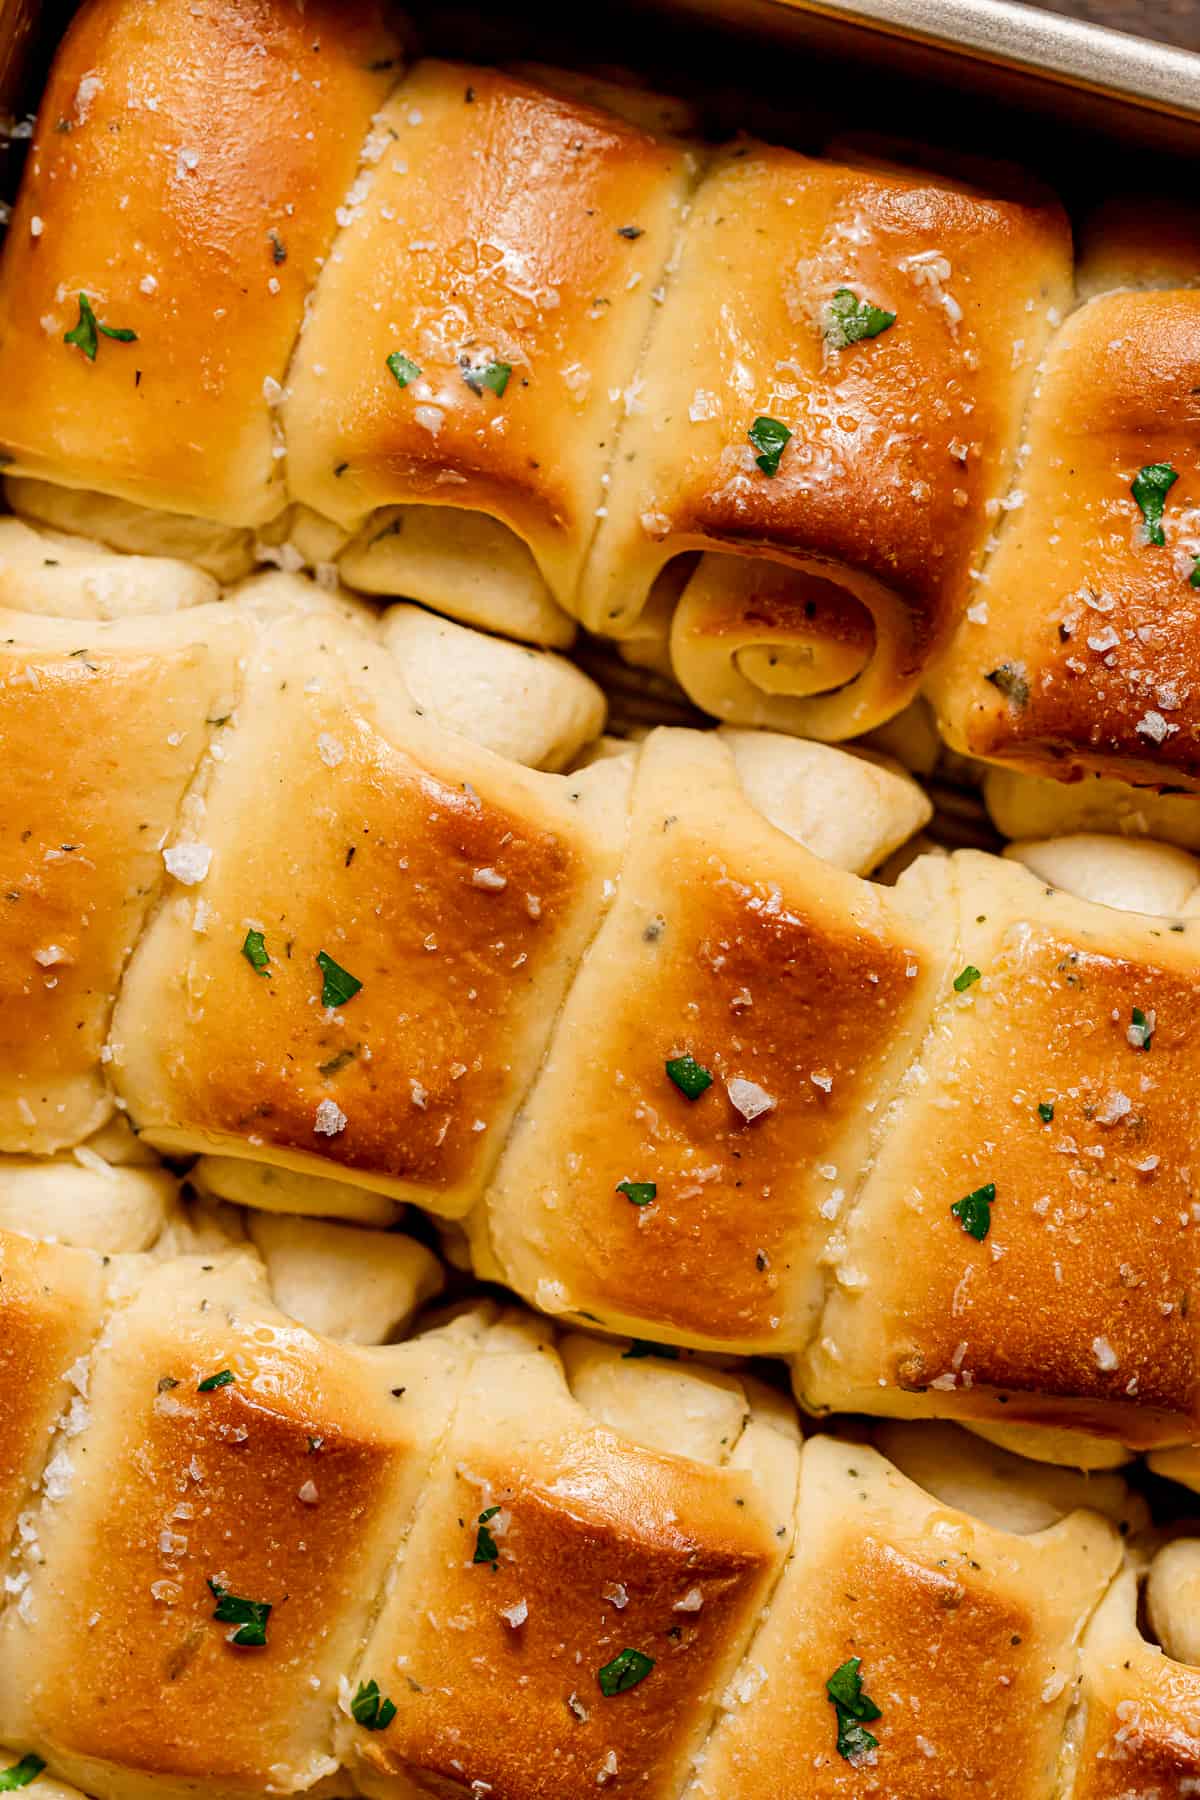
STEP 9: Cut and arrange. Use a serrated knife to score lines every 3 inches to get 5 rolls. Use unflavored dental floss to cut each roll by placing the floss under the dough, wrapping around, and pulling to cut through. Arrange the rolls in the baking pan to get 4 rows of 5 rolls. Repeat with the other pieces of dough.
STEP 10: Proof and bake. Cover the pan with plastic wrap and allow to rise for about 30-45 minutes or until nearly room temperature, but still slightly cool to the touch. When pressed with a finger, the dough will slowly spring back. Bake the rolls for 20-25 minutes or until evenly golden brown. Once they come out of the oven, brush the rolls with the remaining garlic butter and sprinkle with flaky sea salt.
Expert Baking Tips
- Windowpane Test: The windowpane test is used to tell when the dough has developed enough gluten. To check if the dough is ready, tear off a small piece and carefully spread it out to see if you can see the light through it without it tearing. If it tears, mix for another minute and check again.
- Proof the dough overnight: I recommend allowing your dough to rise slowly overnight (or at least 6 hours) in the fridge. Cold dough is so much nicer to work with! But you can also let it proof at room temperature for one hour and make the rolls immediately.
- Make the rolls within 24 hours: To find that sweet spot between properly proofed with a developed flavor and over-fermented, I recommend giving the dough at least 6 hours to rise in the fridge, but no more than 24 hours.
- Cut the dough with dental floss. To get a clean cut of each roll, use unflavored dental floss rather than a knife.
Recipe FAQs
Yes, just be sure to let it sit with the milk and sugar for a few minutes in the first step and wait for it to become foamy. Then proceed with the recipe as written.
The windowpane test is used to tell when the brioche has developed enough gluten. To check if the dough is ready, tear off a small piece and carefully spread it out to see if you can see the light through it without it tearing. If it tears, mix for another minute and check again.
These rolls are best eaten warm from the oven, but you can store them in a sealed container at room temperature or in the fridge for up to 5 days, or in the freezer for up to 3 months.
Baking in Grams
All of the recipes on this blog are carefully developed with gram measurements so you can easily recreate them in your own kitchen with success. Volume measurements are extremely inaccurate and leave room for significant errors. Not all measuring cups are made equally, so your one cup of flour will be different from my one cup of flour. By providing precise measurements in grams (aside from minor ingredients, which are given in tsp/tbsp), you can make these recipes accurately and with less cleanup! All you need is this kitchen scale.
If this still isn't enough to convince you, I have provided volume measurements in the recipe card. If you are interested in understanding the conversions, this is the best conversion chart.
But trust me, once you try baking in grams you'll never turn back!
Happy baking! x
Other bread and bun recipes to try
If you tried this recipe, I'd love to know how it turned out for you! Leave a star rating & review below and post a picture (or video!) on Instagram and tag me so I can see your bakes! Not ready to make this recipe yet? Click the heart button on the right of your screen to save it for later 🙂
📖 Recipe
Garlic Herb Parker House Rolls
Ingredients
For the dough:
- 340 g (1 ½ cups) whole milk
- 50 g (¼ cup) granulated sugar
- 2 ½ teaspoon yeast
- 1 egg, room temp
- 540 g (4 ½ cups) all-purpose flour
- 2 teaspoon salt
- 1 ½ teaspoon fresh rosemary, finely chopped
- 1 ½ teaspoon fresh sage, finely chopped
- 1 ½ teaspoon fresh thyme, finely chopped
- 1 ½ teaspoon fresh parsley, finely chopped
- 5 Roland Foods Garlic Cloves, minced
- 63 g (4 ½ tablespoon) unsalted butter, room temp
For the garlic butter filling:
- 56 g (4 tablespoon) unsalted butter, softened
- ½ teaspoon salt
- 3 cloves Roland Foods Garlic Cloves, minced
Instructions
For the dough:
- In a large glass measuring cup, heat the milk to 110 degrees F and stir in the sugar and yeast. If using active dry yeast, allow to sit for 15 minutes for the yeast to activate. If using instant yeast, simply move on to the next step.
- Mix the egg into the milk yeast mixture.
- In the bowl of a stand mixer fitted with a dough hook, mix the flour, salt, herbs, and garlic together.
- Pour the wet ingredients into the flour and mix on low-medium speed for about 3 minutes, or until it forms a ball around the hook.
- Add in a few pieces of butter at a time, allowing them to fully incorporate before adding more. Once all of the butter is incorporated, turn the mixer up to medium-high speed and mix for 8-12 minutes. The dough will eventually pull away from the sides of the bowl and have a silky smooth texture with minimal stickiness. To check if the dough is ready, use the windowpane test - tear off a small piece and carefully spread it out to see if you can see the light through it without it tearing. If it tears, mix for another minute or two and check again.
- Once the dough is ready, shape it into a smooth ball. In a large bowl, add 1 tablespoon of olive oil and toss the dough in it to coat. Cover the bowl and allow the dough to proof overnight (or at least 6 hours) in the fridge. Alternatively, you can let the dough rise in a warm place for about 1 hour or until doubled in size.
For the garlic butter filling:
- When ready to shape the rolls, add the butter, salt, and garlic to a plate and mash with a fork until smooth.
To shape the garlic herb Parker house rolls:
- Divide the dough into four parts. While rolling out the dough, keep the other pieces in the fridge.
- On a non-floured surface, roll each piece out to a 5"x15" rectangle. Brush a thin layer of the garlic butter filling on top, then roll it up from the long side.
- Use a serrated knife to score lines every 3 inches to get 5 rolls. Use unflavored dental floss to cut each roll by placing the floss under the dough, wrapping around, and pulling to cut through.
- Arrange the rolls in the pan to get 4 rows of 5 rolls. Repeat with the other pieces of dough.
- Cove the pan with plastic wrap and allow to rise for about 30-45 minutes or until nearly room temperature, but still slightly cool to the touch. When pressed with a finger, the dough will slowly spring back.
- While the rolls are proofing, preheat the oven to 350 degrees F.
- Bake the rolls for 20-25 minutes or until evenly golden. Once they come out of the oven, brush the rolls with the remaining garlic butter and sprinkle with flaky sea salt.
Notes
- Windowpane Test: The windowpane test is used to tell when the dough has developed enough gluten. To check if the dough is ready, tear off a small piece and carefully spread it out to see if you can see the light through it without it tearing. If it tears, mix for another minute and check again.
- Proof the dough overnight: I recommend allowing your dough to rise slowly overnight (or at least 6 hours) in the fridge. Cold dough is so much nicer to work with! But you can also let it proof at room temperature for one hour and make the rolls immediately.
- Make the rolls within 24 hours: To find that sweet spot between properly proofed with a developed flavor and over-fermented, I recommend giving the dough at least 6 hours to rise in the fridge, but no more than 24 hours.
- Cut the dough with dental floss. To get a clean cut of each roll, use unflavored dental floss rather than a knife.


Comments
No Comments