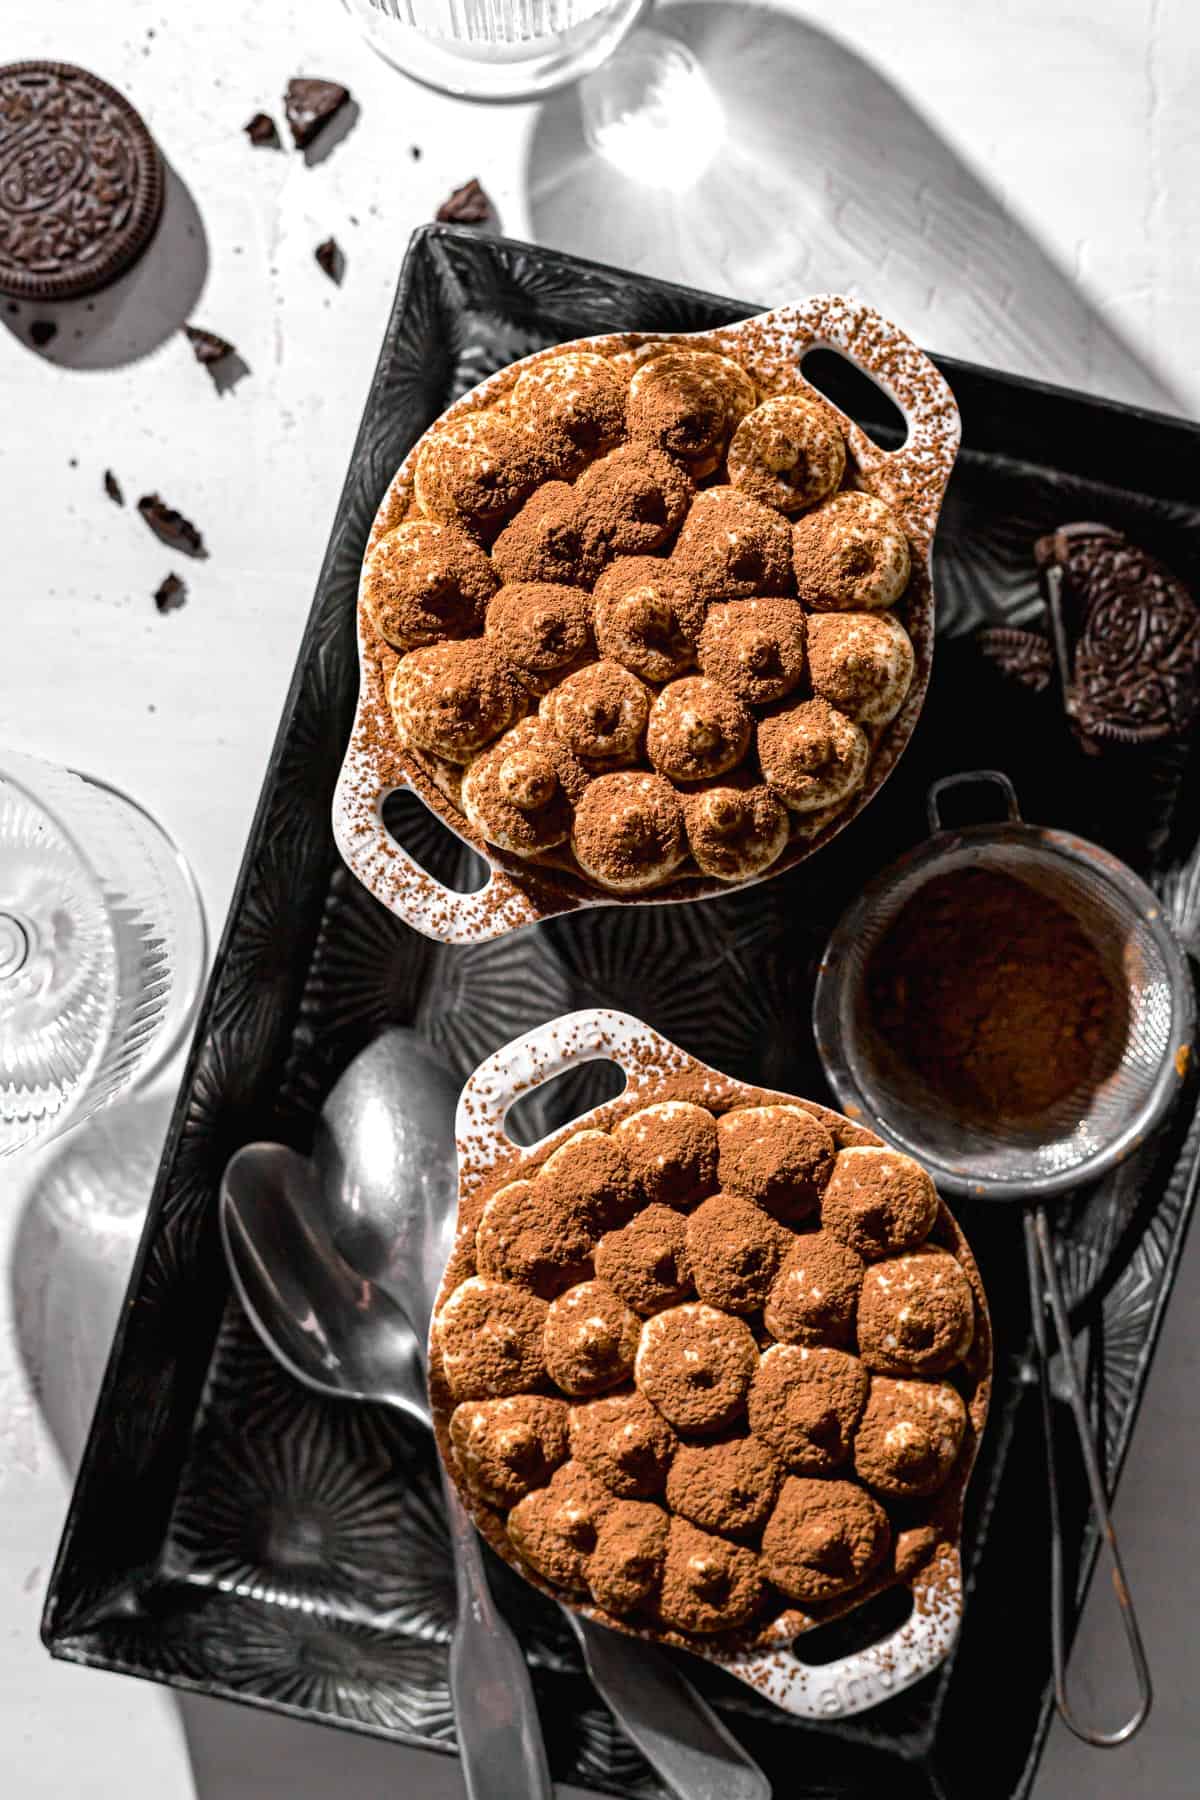
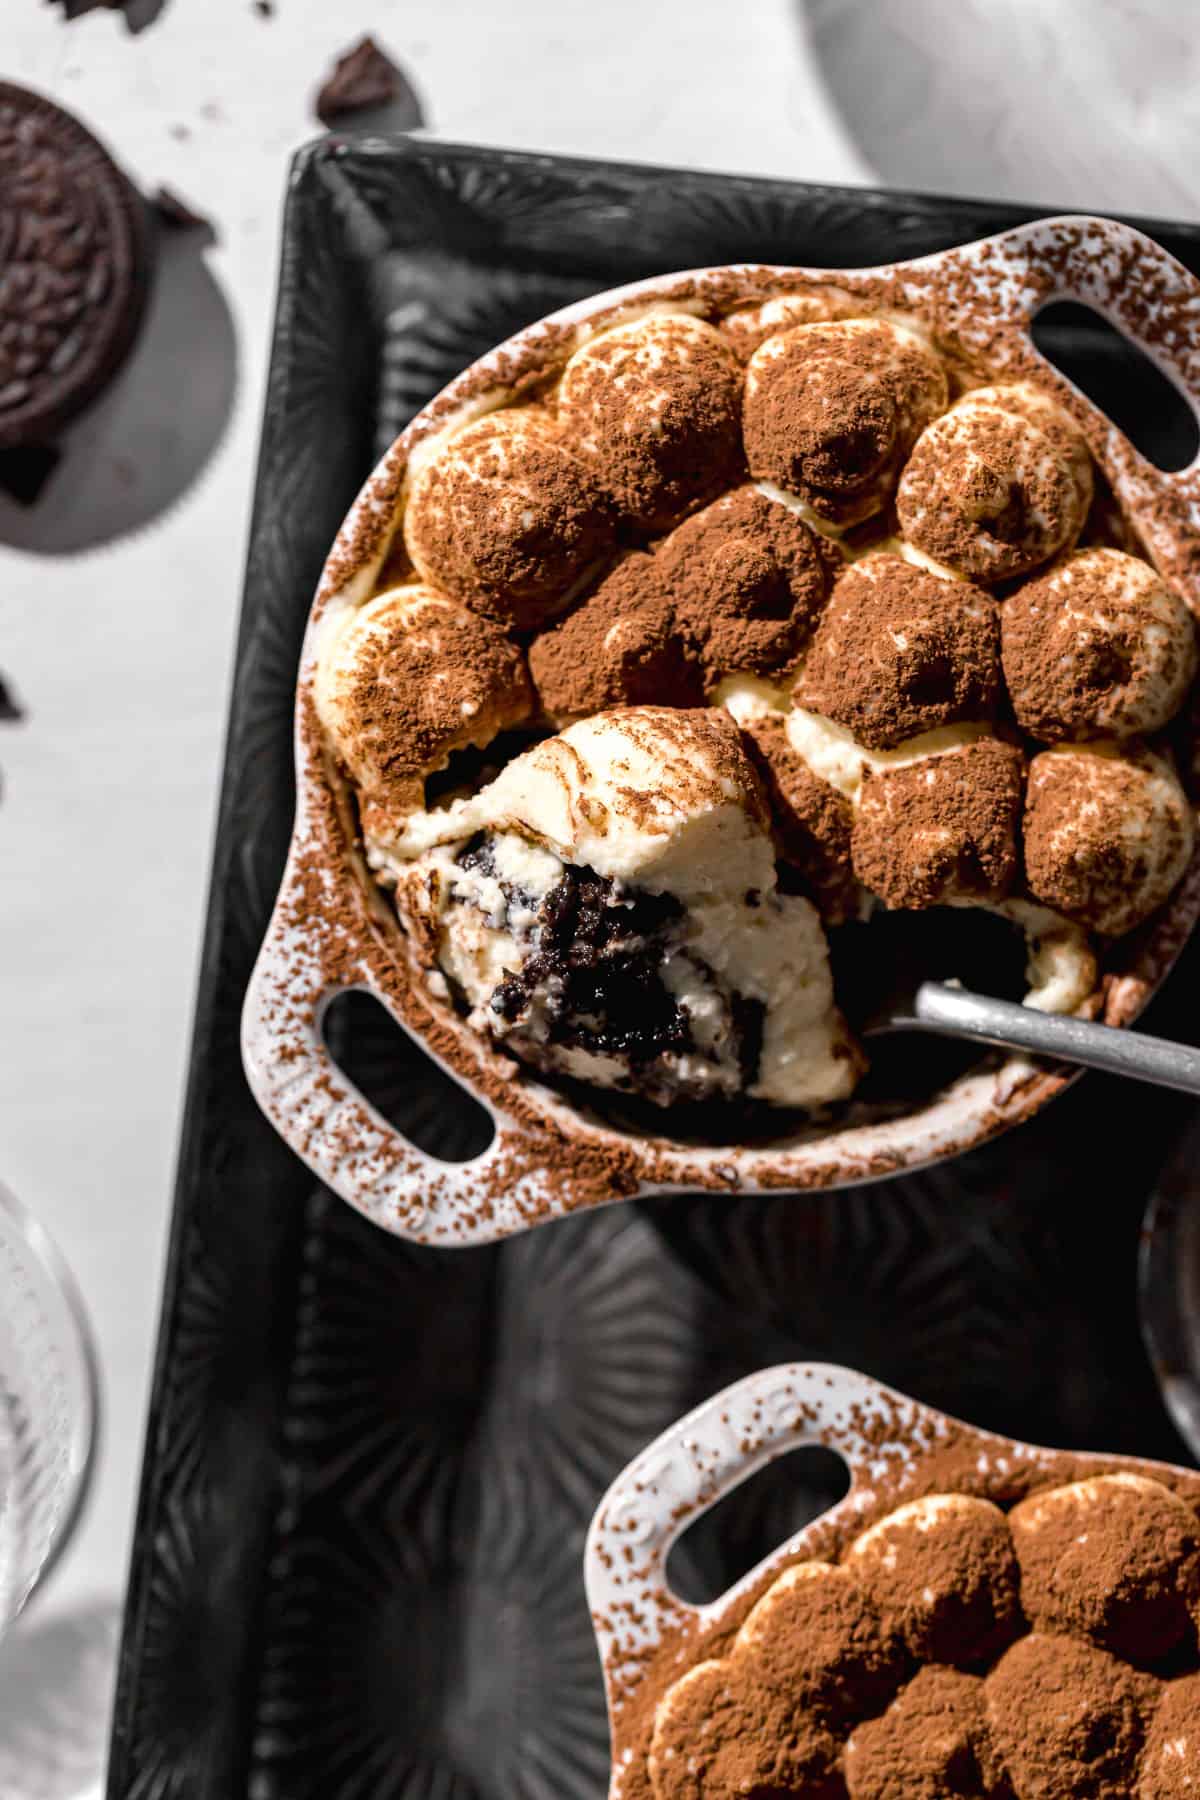
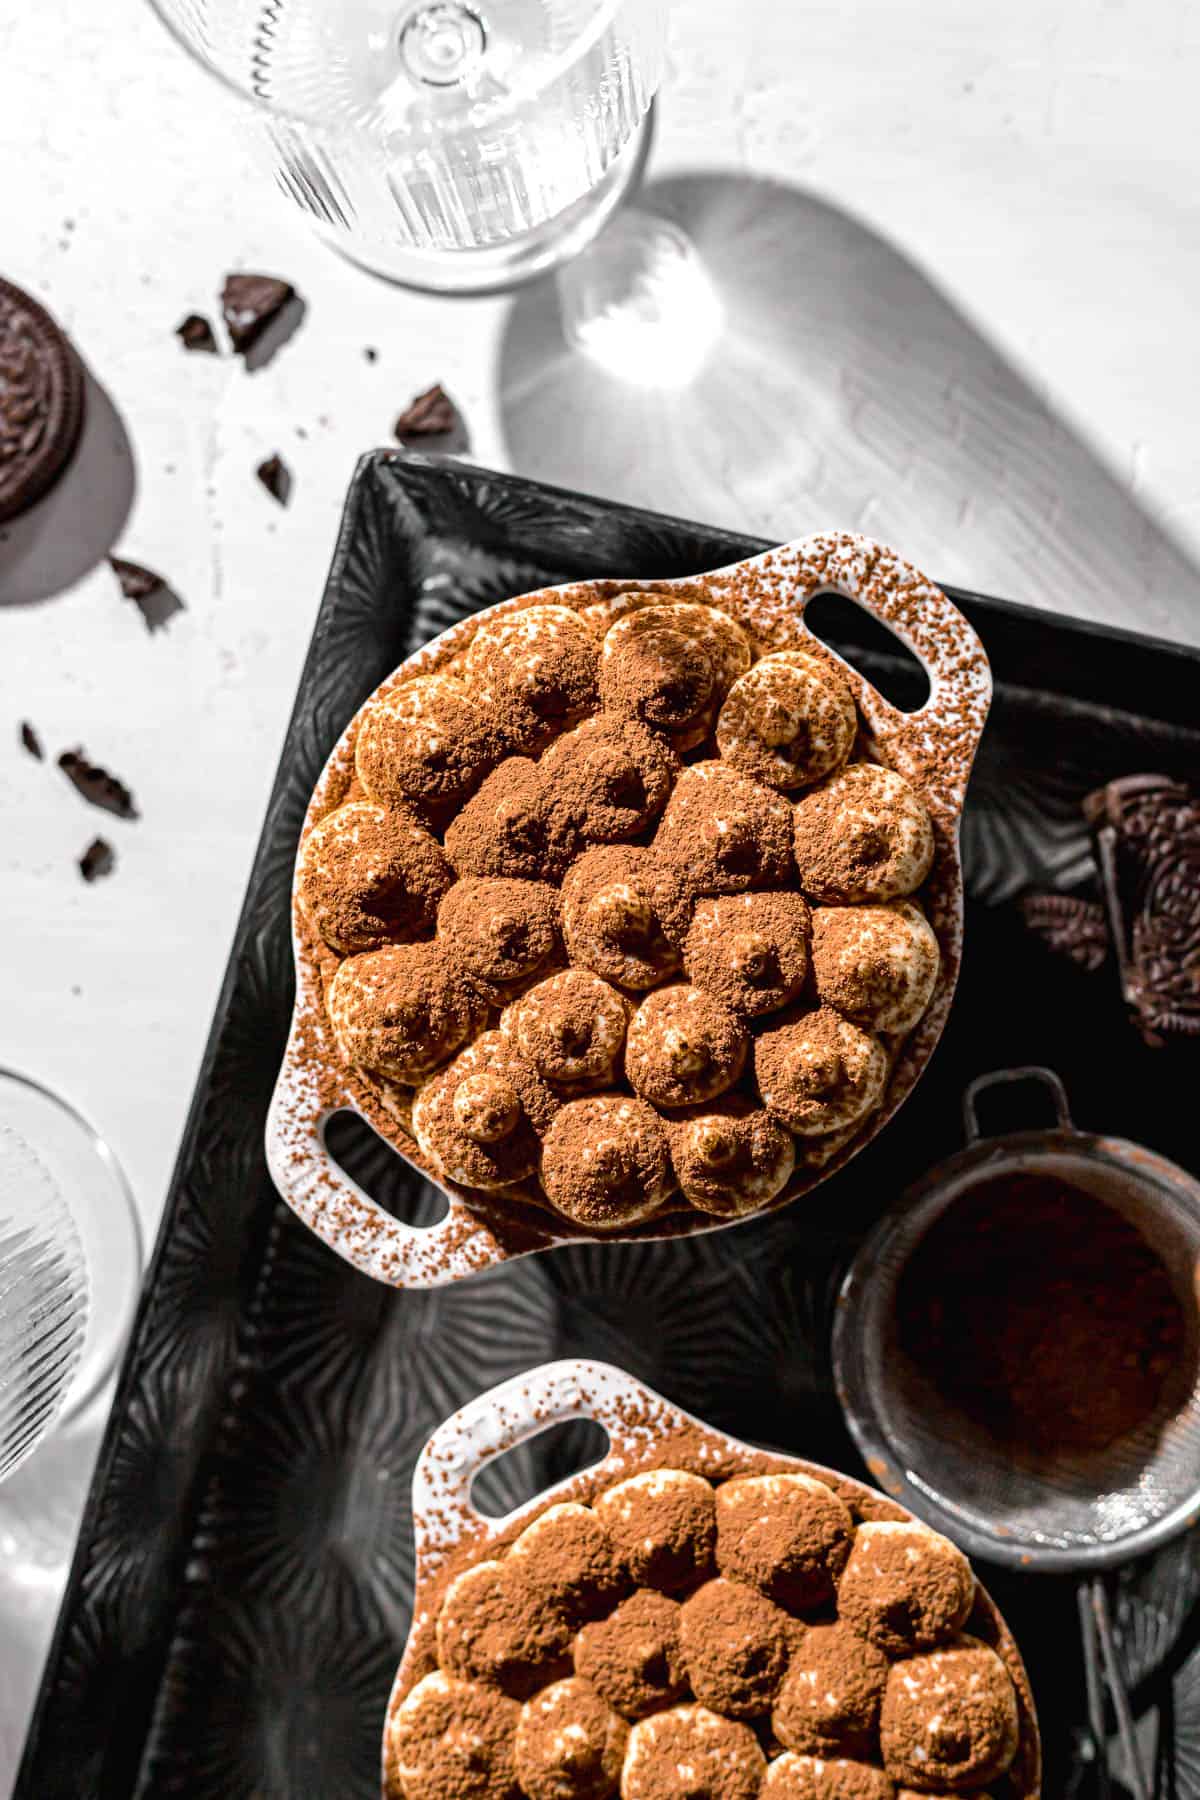
This oreo tiramisu for two is irresistibly decadent. The oreo, coffee, and mascarpone flavors make it the perfect Valentine's Day dessert!
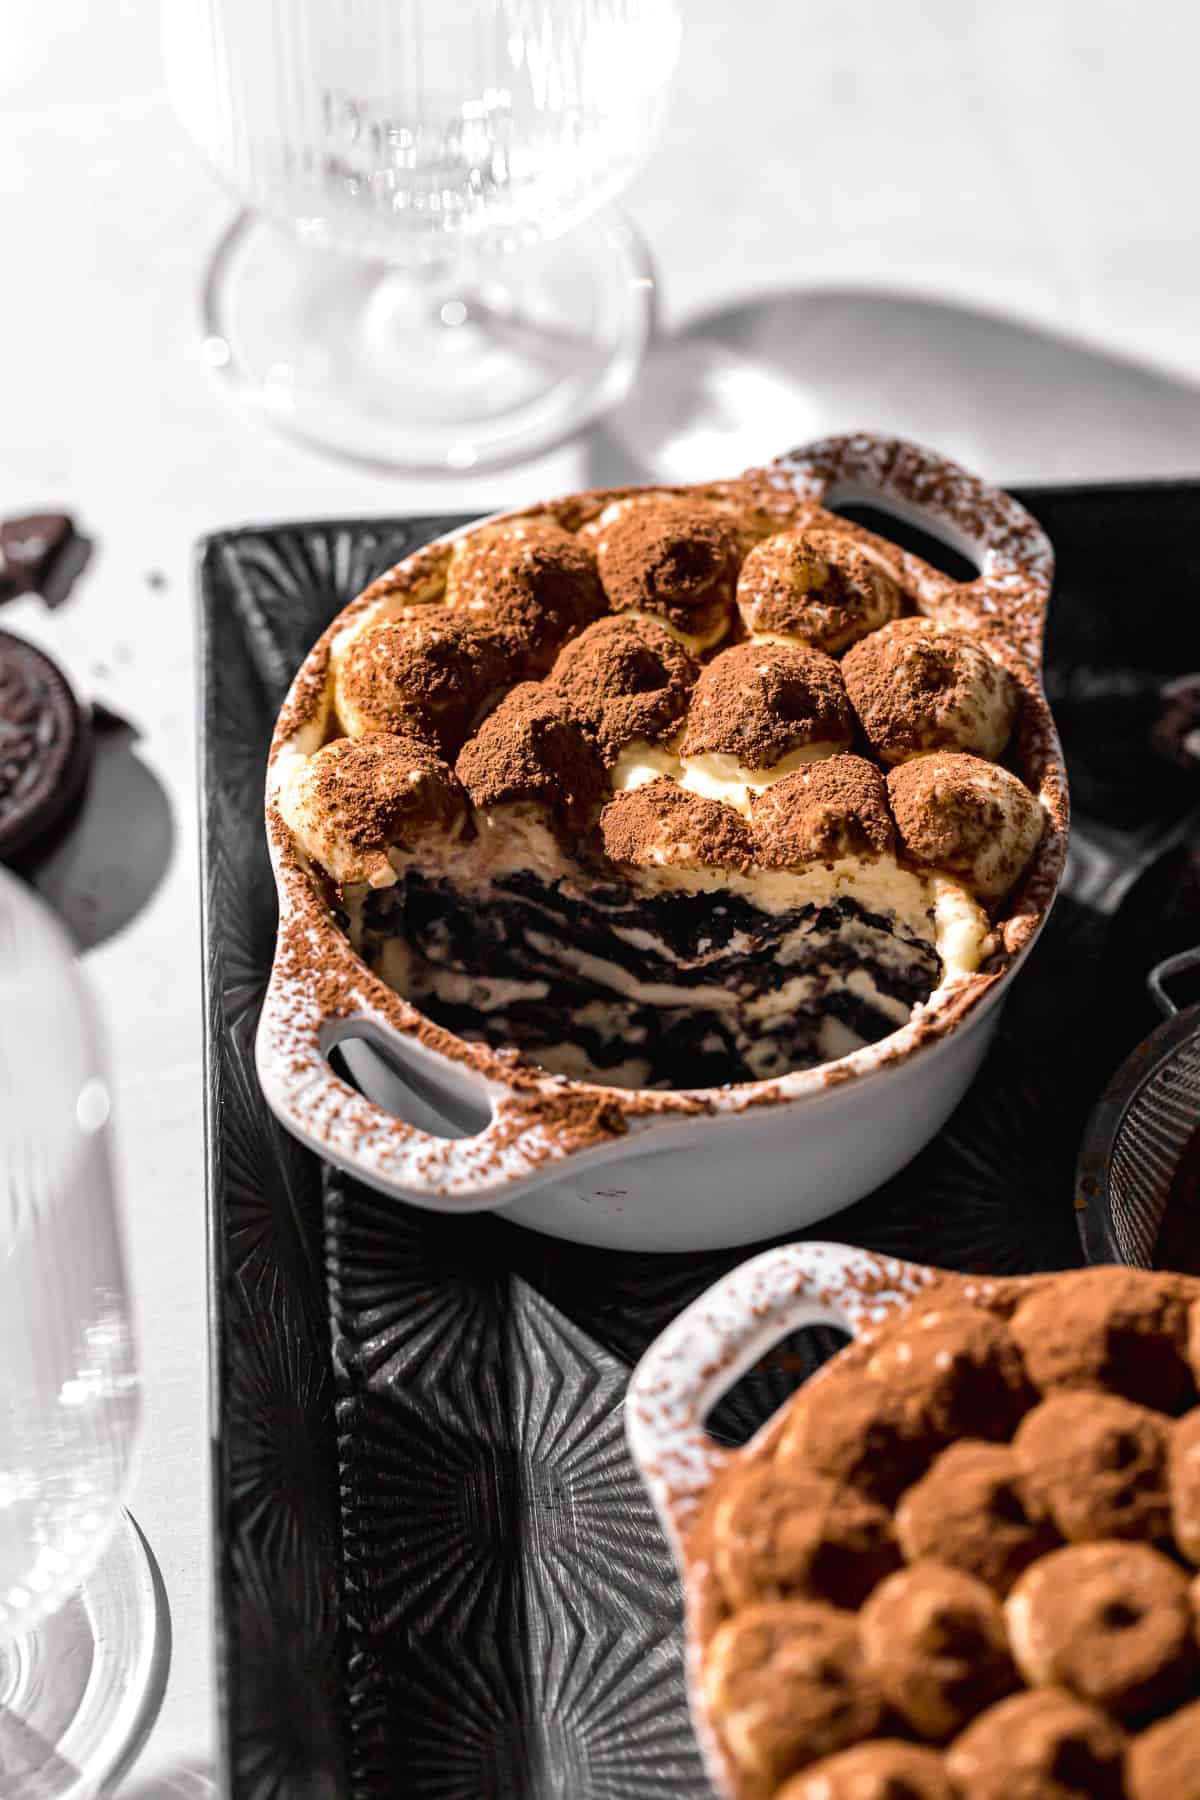
This small batch tiramisu recipe made with oreos instead of ladyfingers is creamy, rich, and downright delicious. It's made with just 8 ingredients, requires no bake time, and can be prepped ahead of time for that special date. Trust me, you'll win em over with just one taste of oreos, coffee, and mascarpone. It is absolute magic!
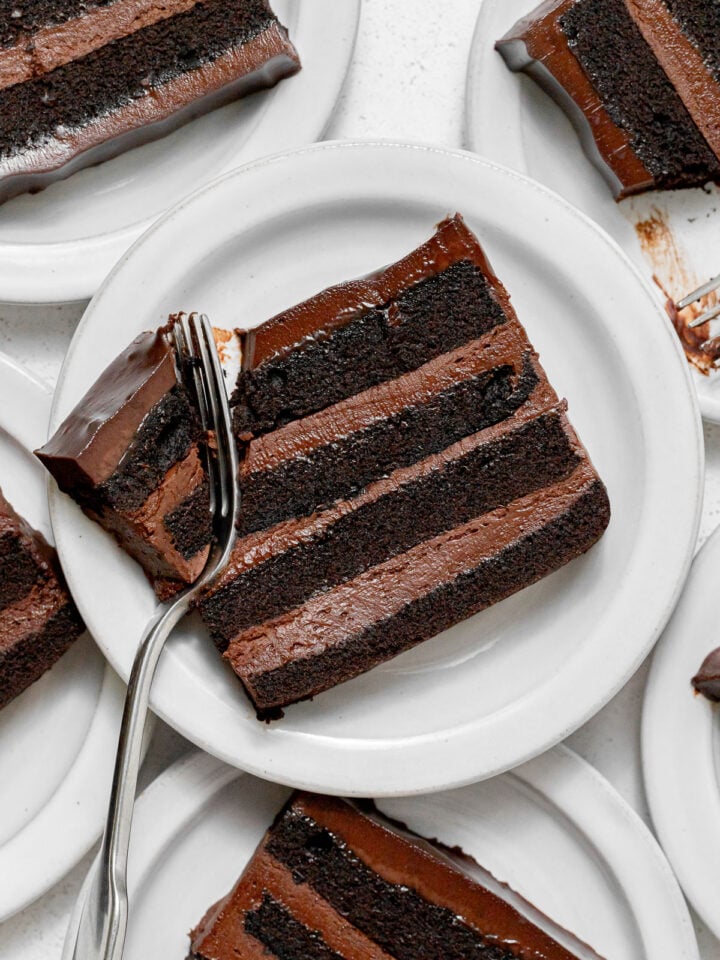
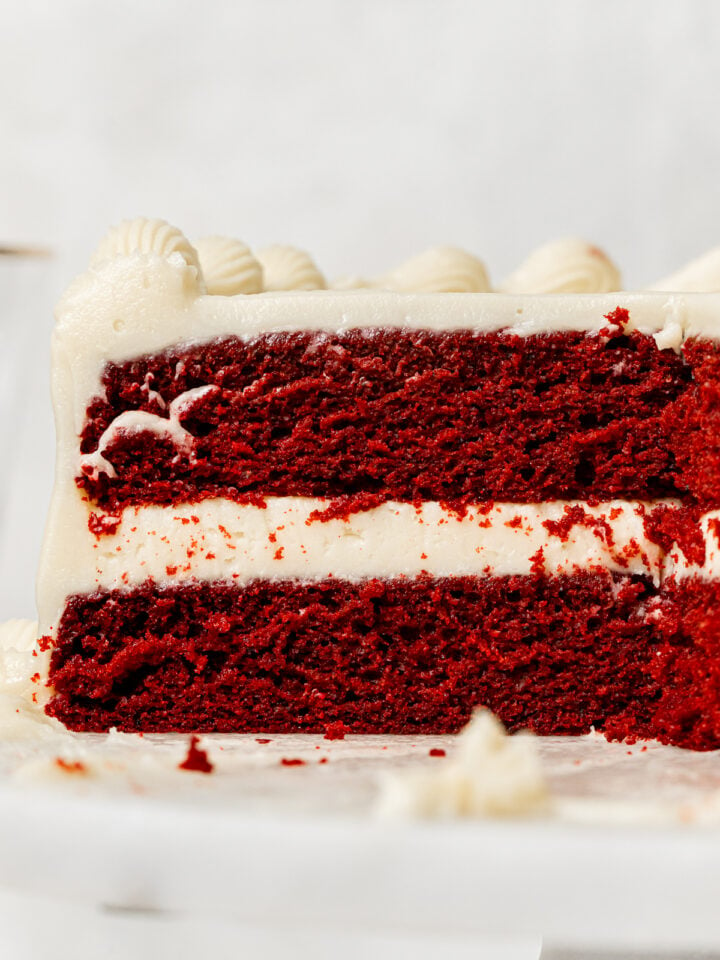
For more Valentine's Day recipes, try Red Velvet Whoopie Pies, Valentine's M&M Brownies, Chocolate Fudge Cake, and Chocolate Tiramisu Cake.
Jump to Recipe
Ingredient Notes
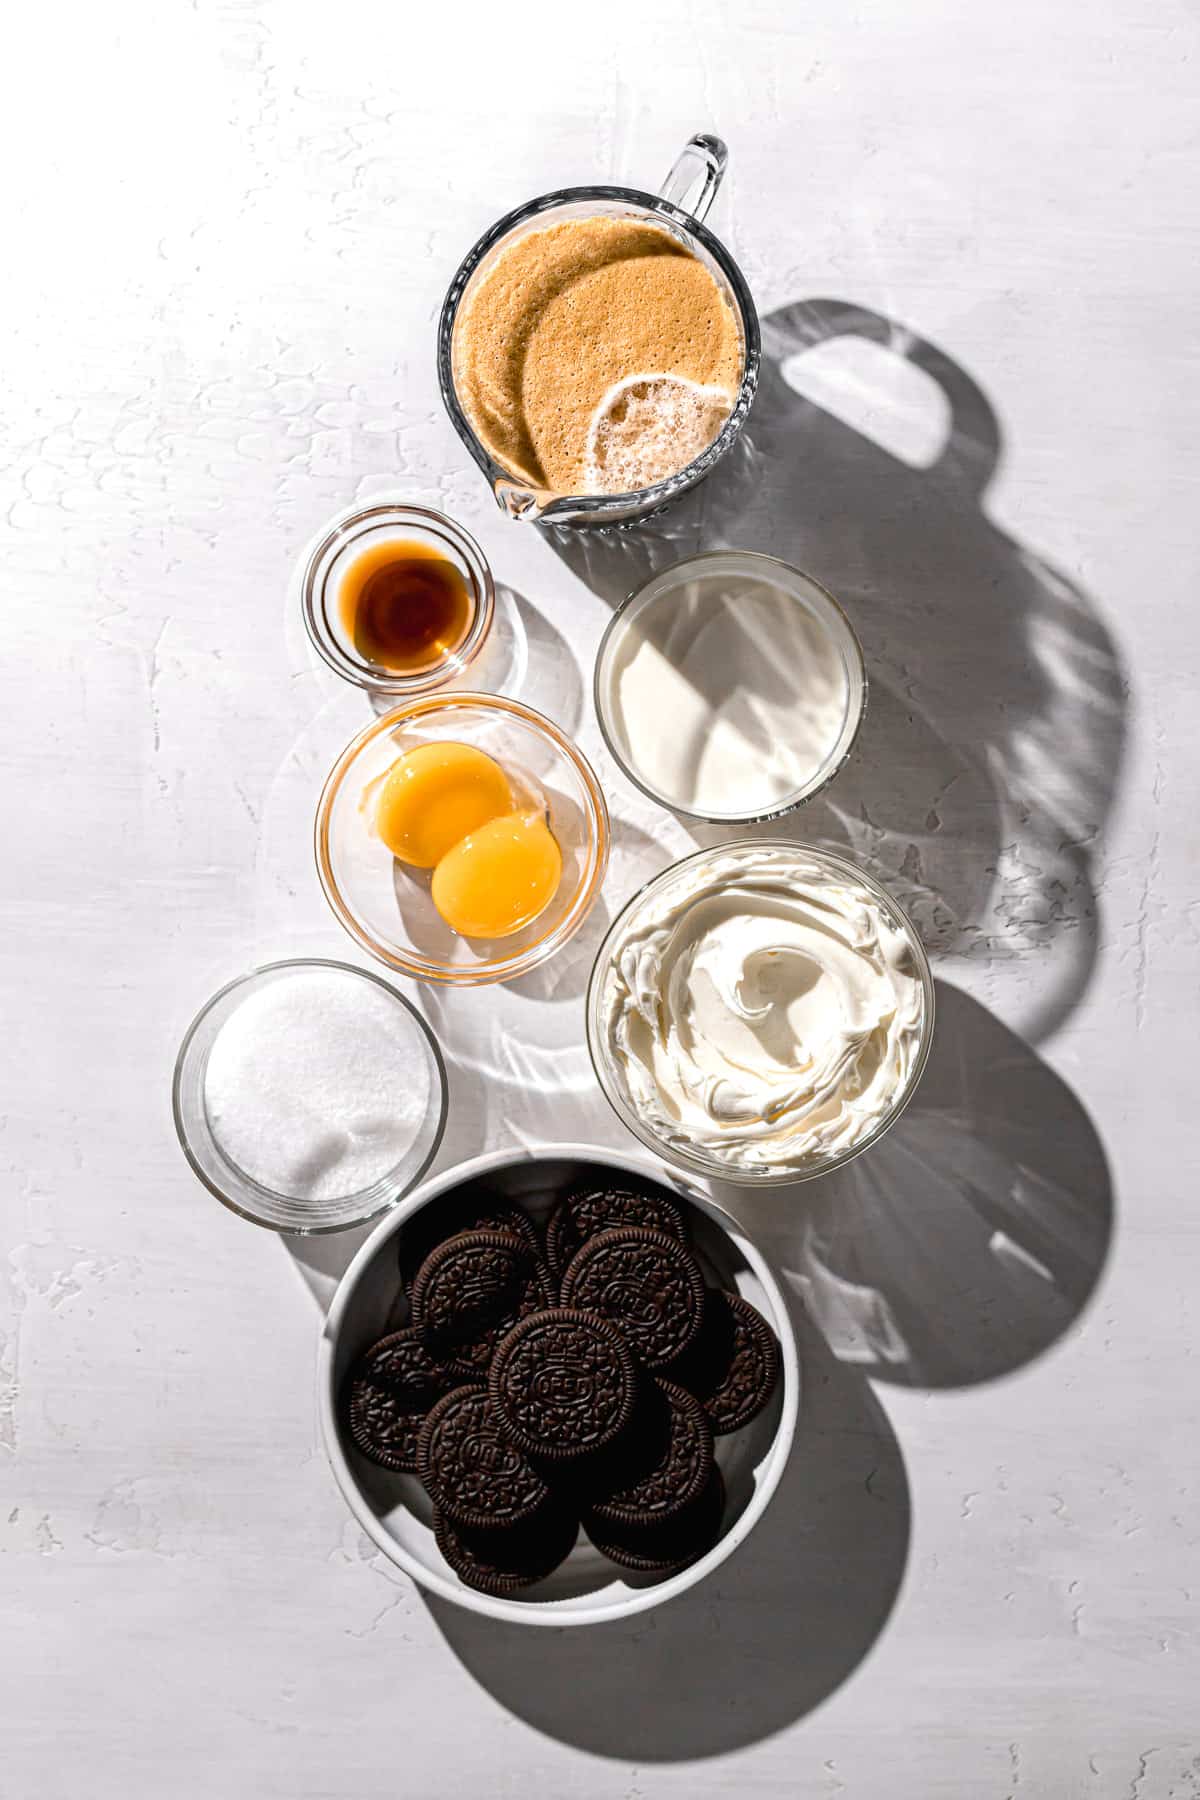
- Egg Yolks
- Sugar
- Mascarpone
- Heavy Cream
- Coffee
- Oreos
- Cocoa Powder
See recipe card for full information on ingredients and individual quantities.
Step by Step Instructions
Here are step by step photos and instructions on how to make this Oreo tiramisu recipe! For the full ingredient list and method, see the recipe card at the end of this post.
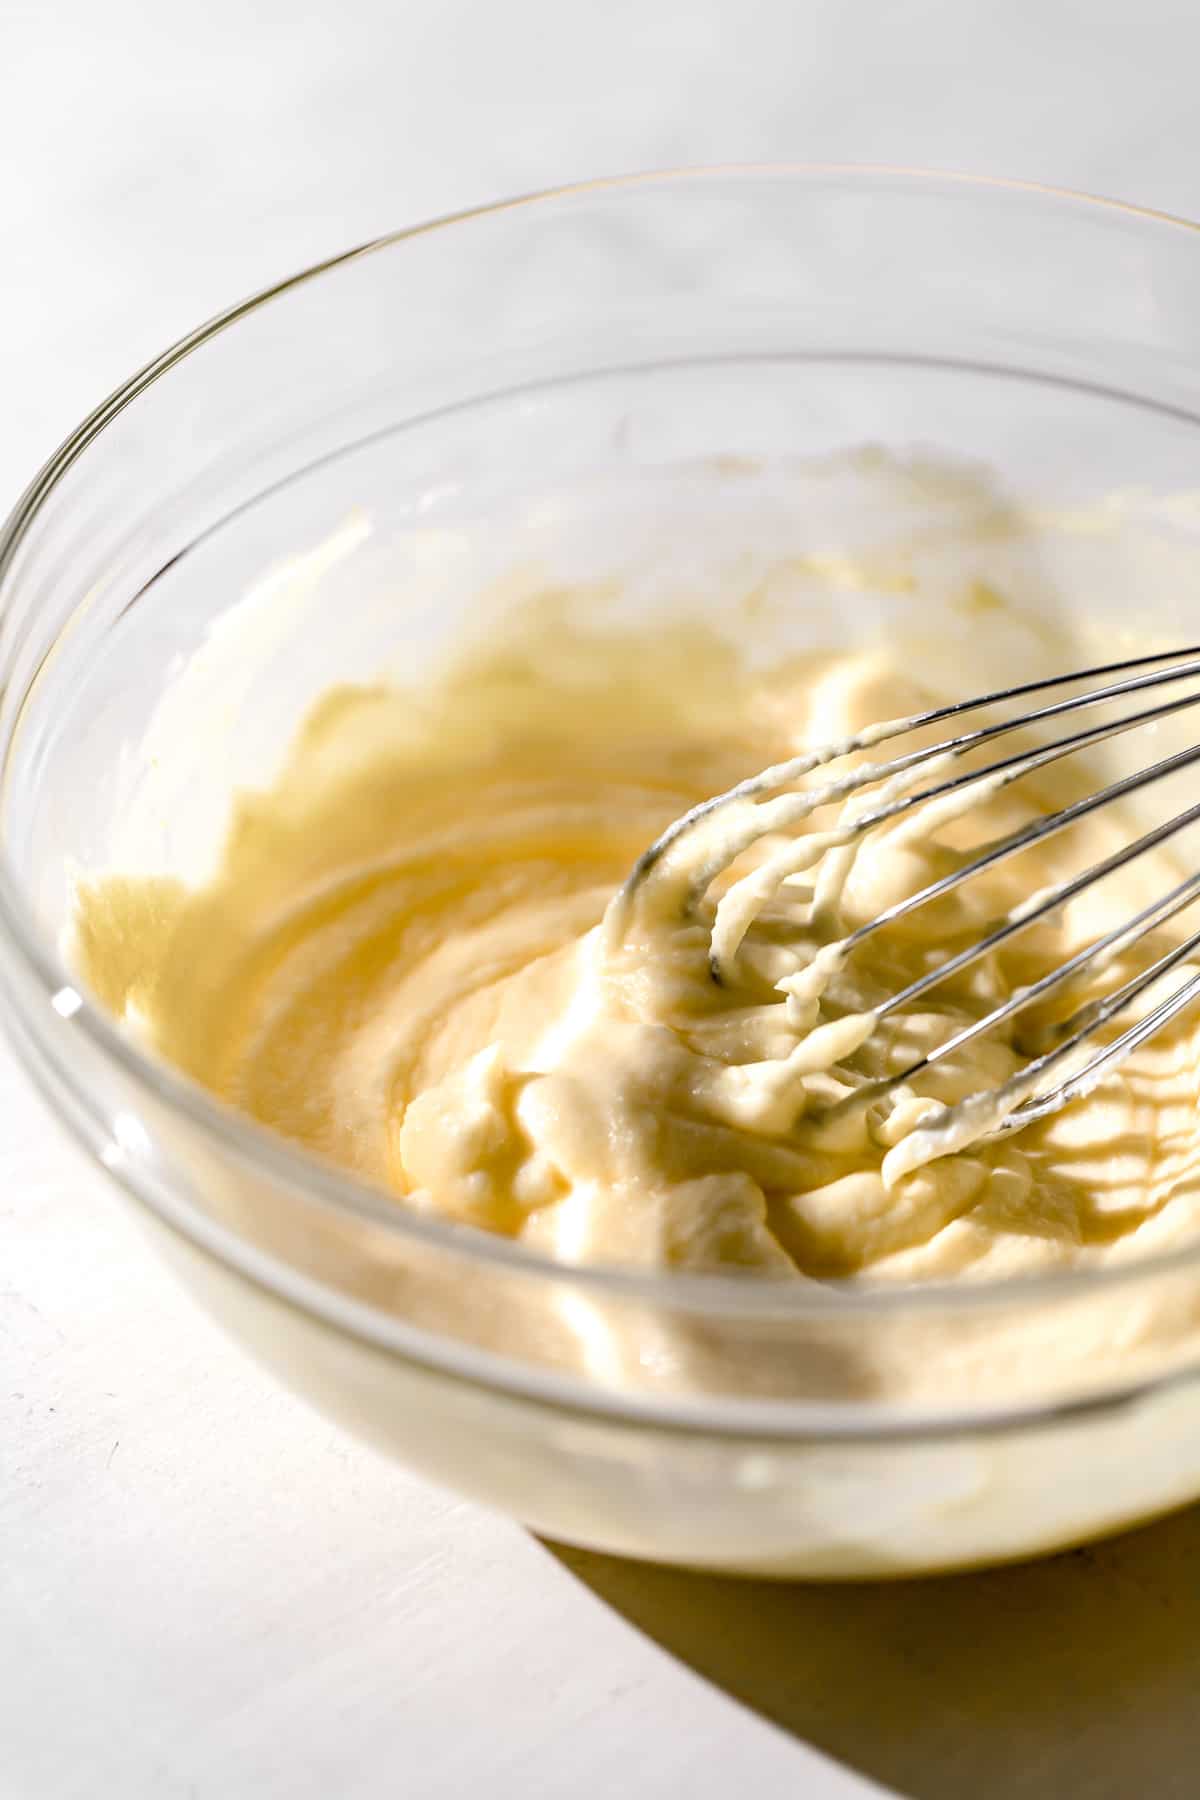
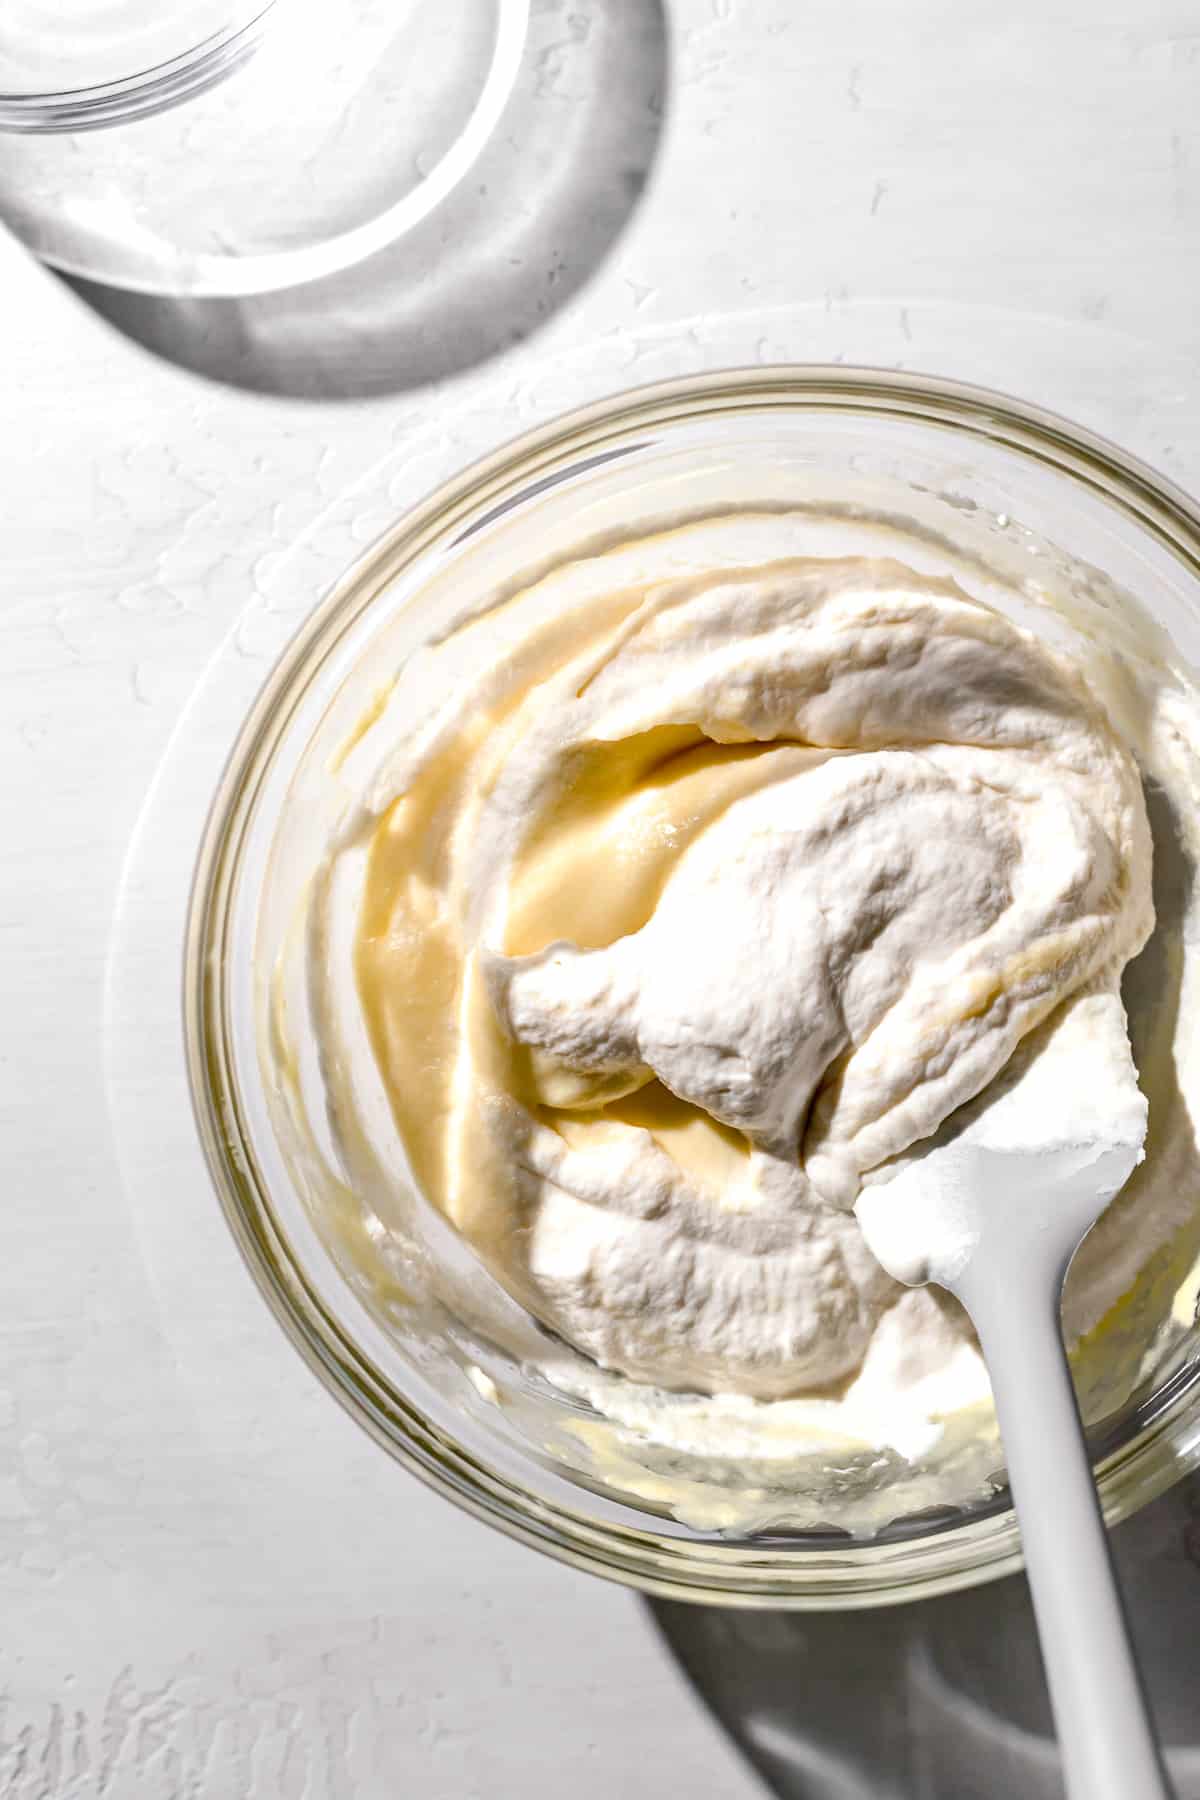
STEP 1: Gently heat the egg yolks & sugar, then whisk in the mascarpone. In a medium heat proof bowl, whisk together the egg yolks and sugar until fully combined. Place the bowl over a pot of simmering water. Constantly whisk the yolk, sugar mixture for about 8 minutes or until the sugar has completely dissolved. Remove bowl and allow to cool for a few minutes. Once cool, whisk in the mascarpone.
STEP 2: Fold in the whipped cream. In a separate bowl, combine the heavy cream and vanilla, then whip to medium peaks. (Careful not to over-whip!) Gently fold the whipped cream into the other mixture until fully combined. Set aside.
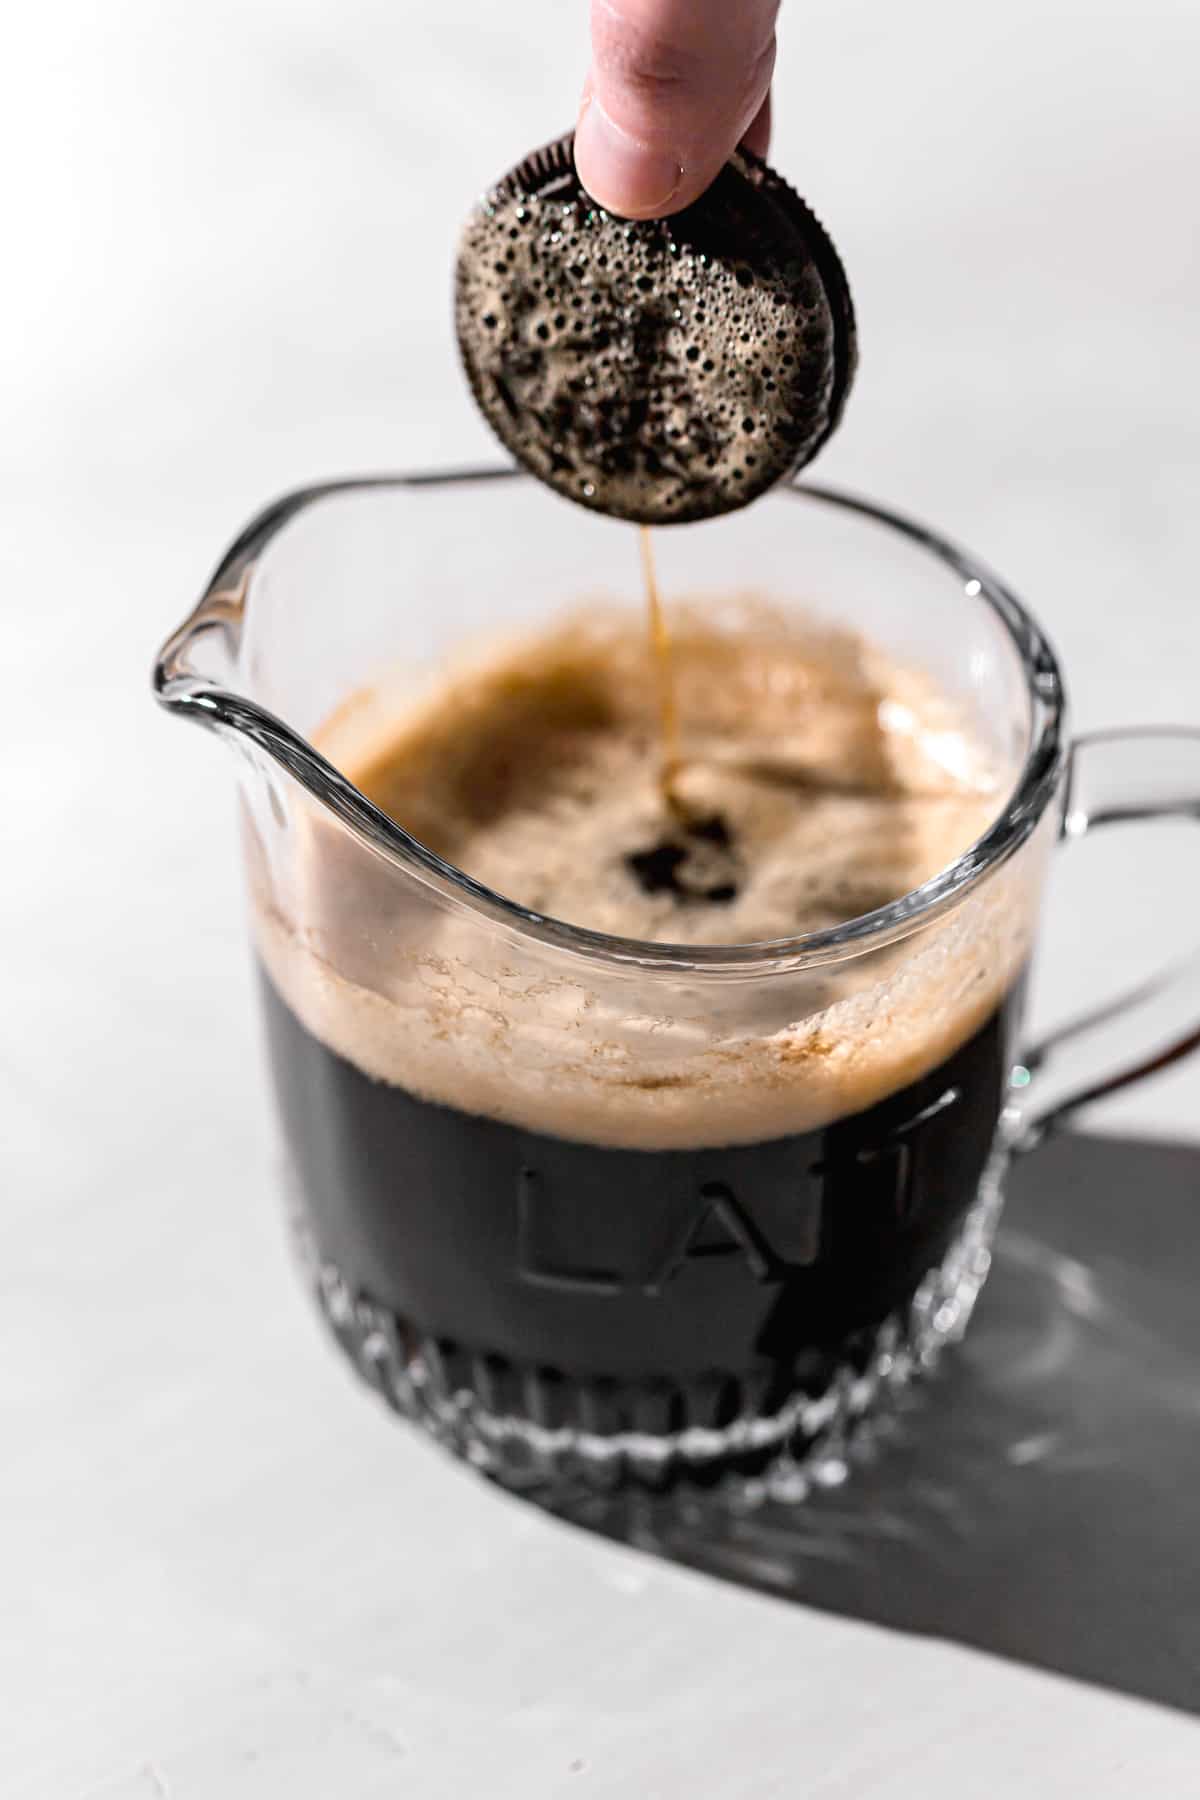
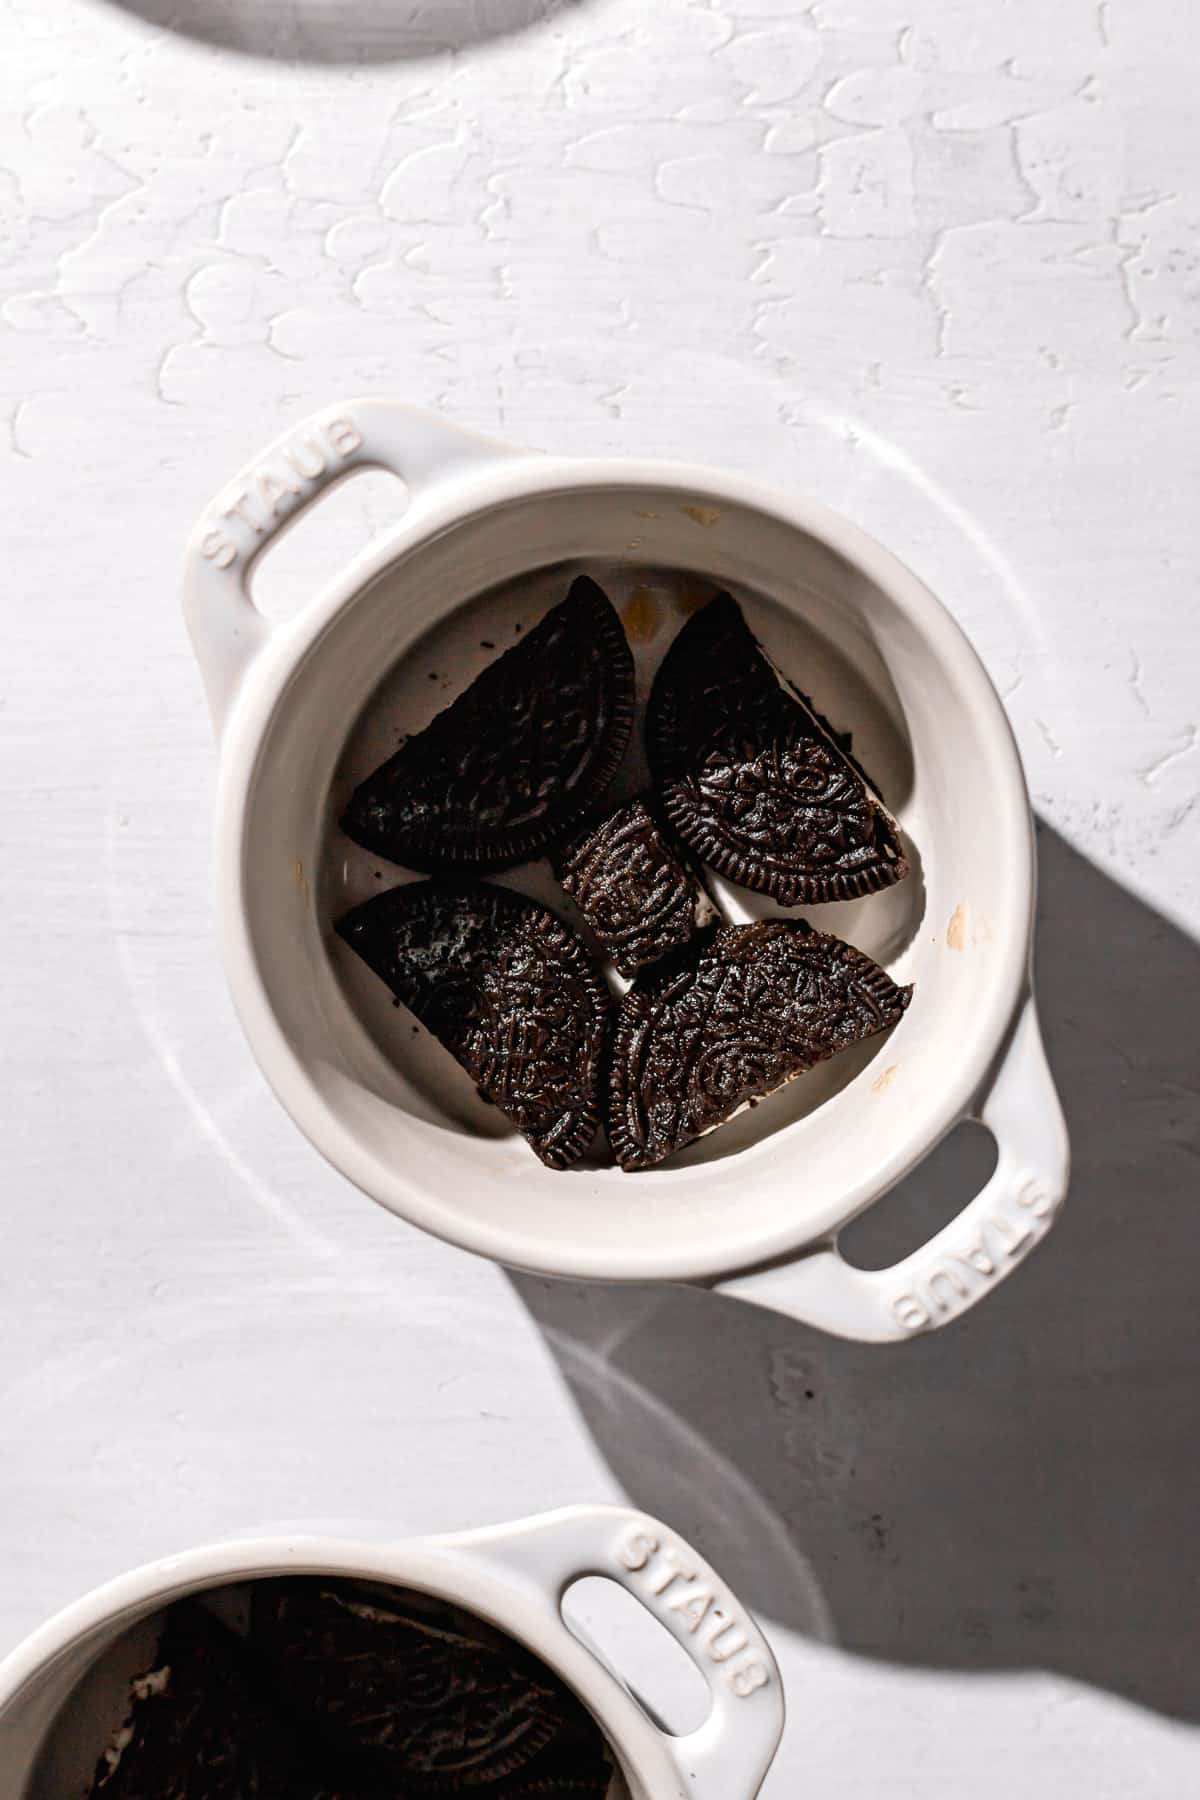
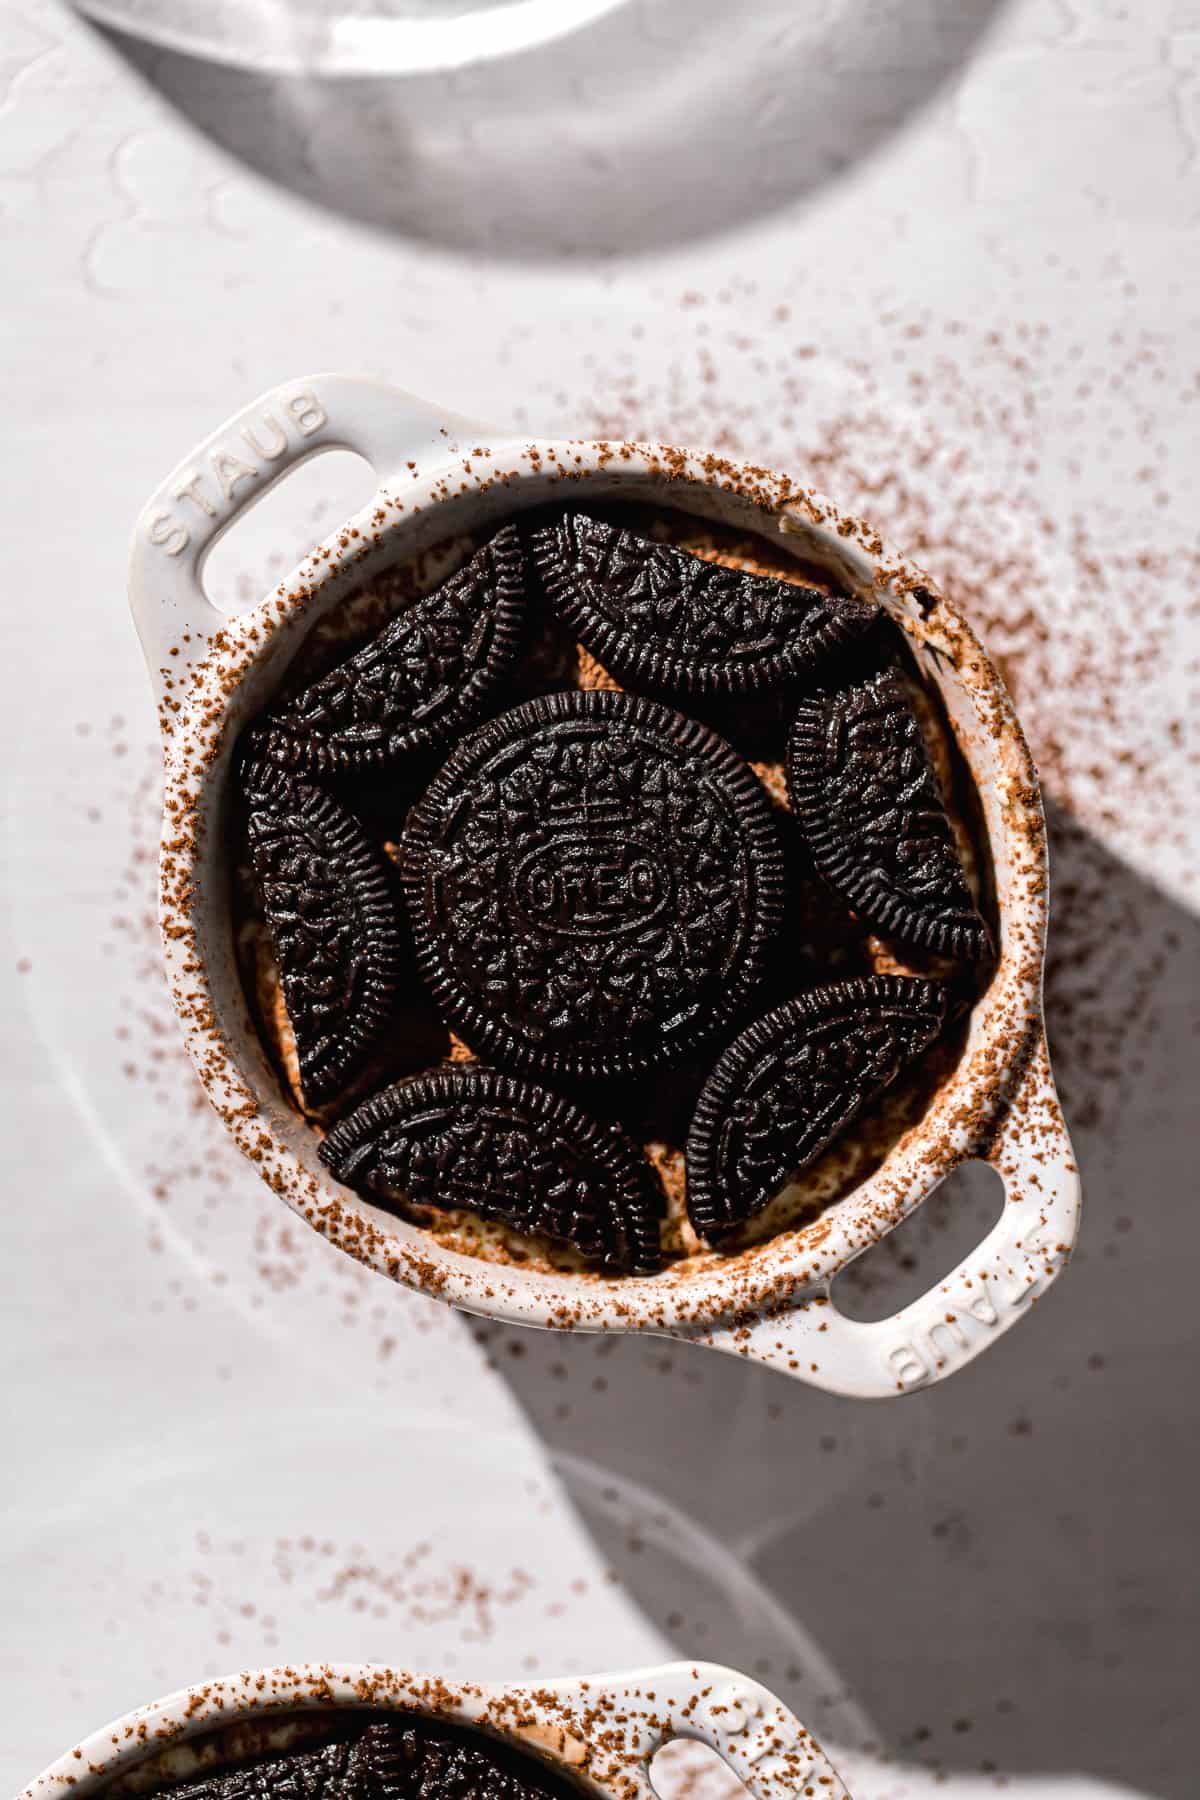
STEP 3: Dip the oreos in coffee. Start with a layer of oreos - dip the oreos quickly into the cooled coffee.
STEP 4: Arrange the oreos in the dish. Place the coffee dipped oreos in the bottom of the cup. (I used two mini cocottes, but you can use just about anything!)
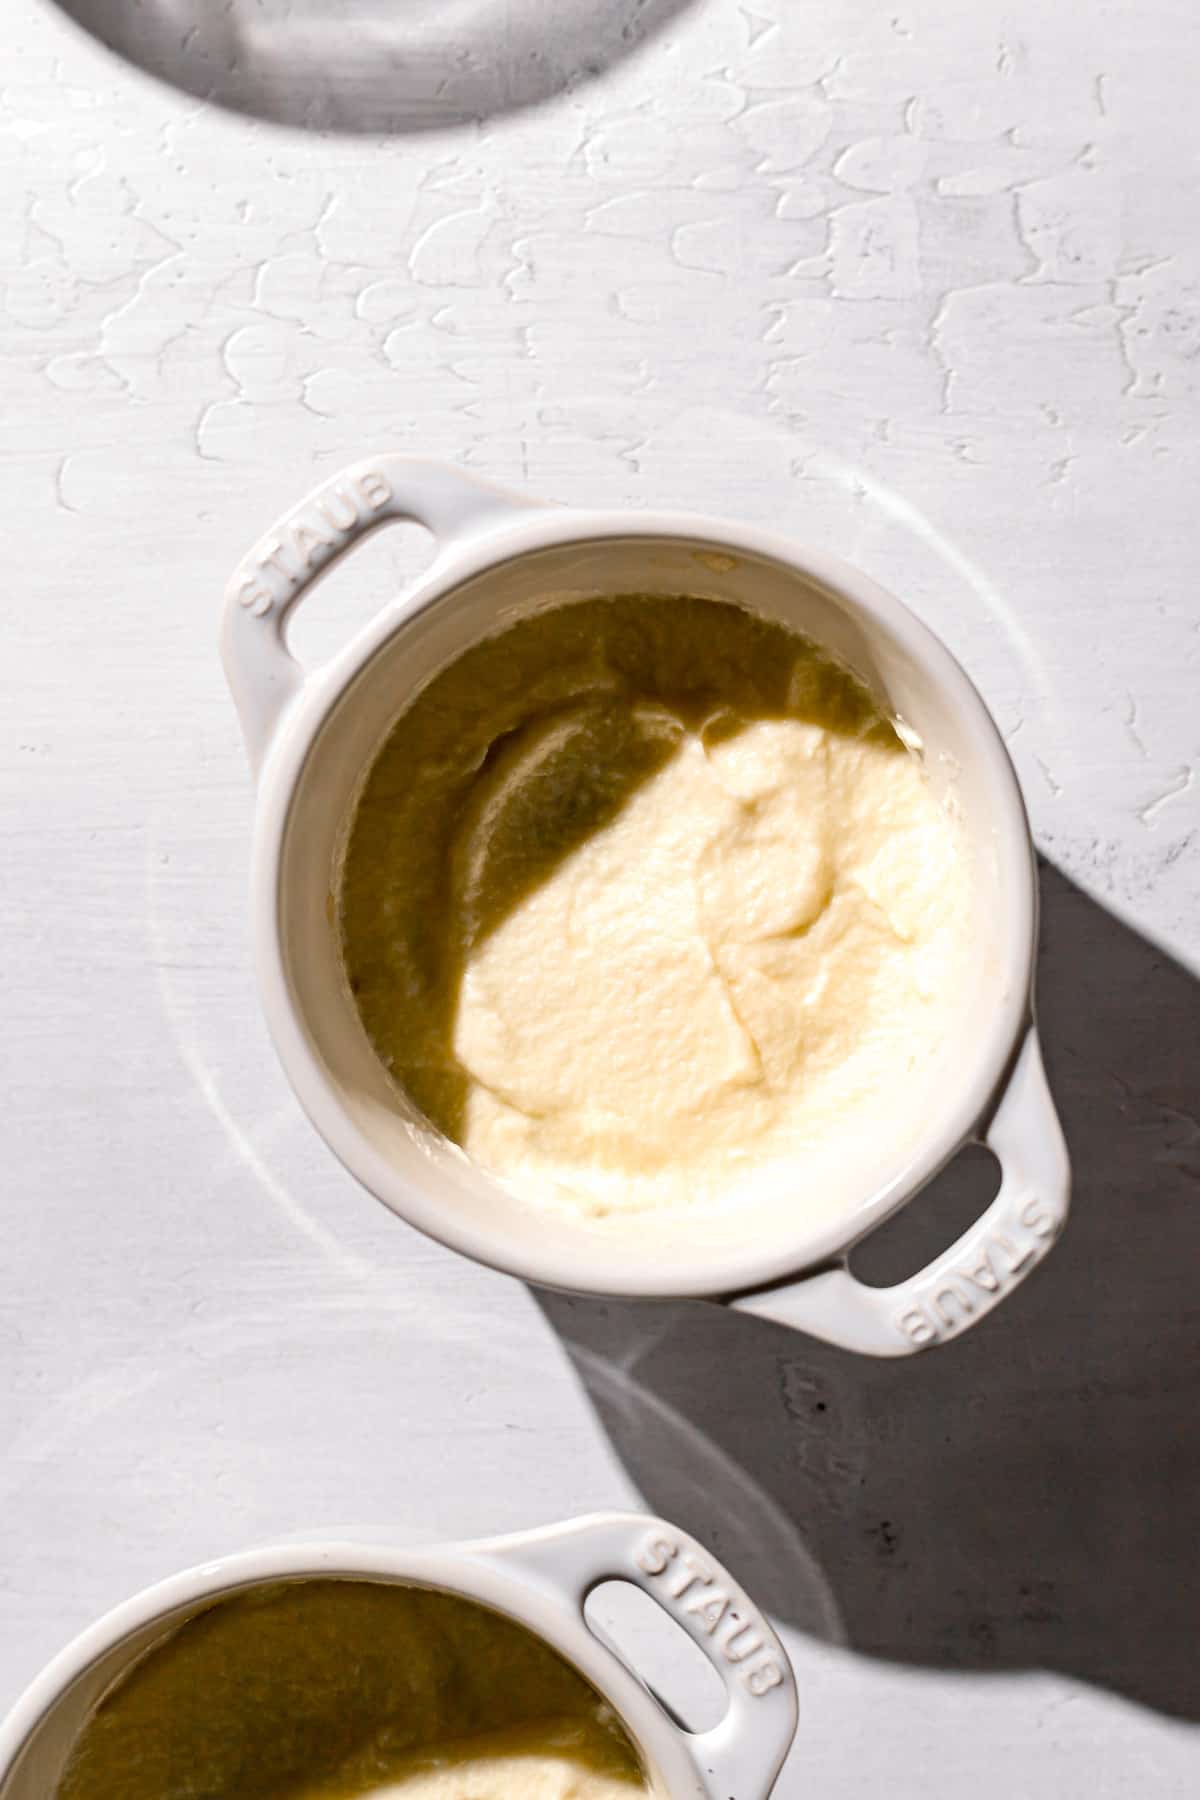
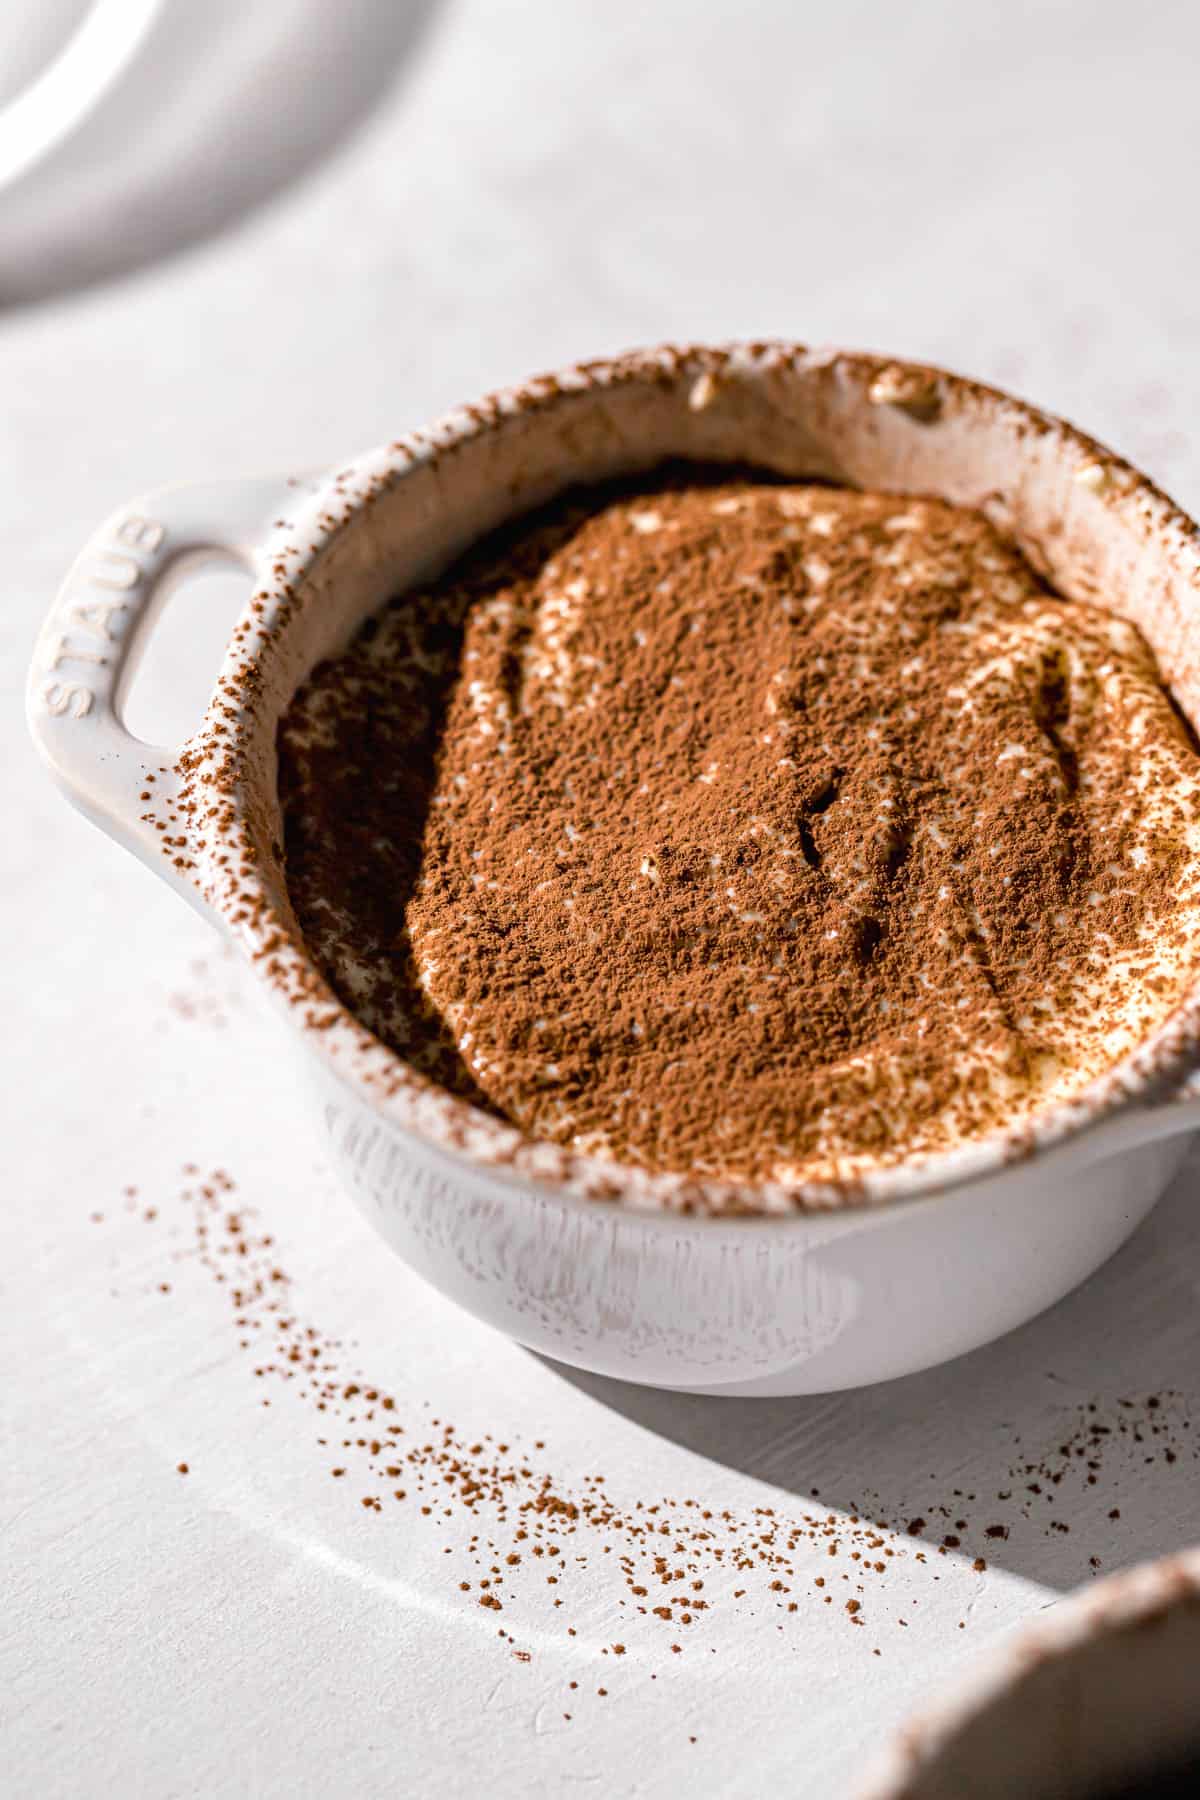
STEP 5: Top with the mascarpone filling. Top the oreos with about 3 tablespoons of the tiramisu filling, spreading it evenly. Then dust the top with cocoa powder.
STEP 6: Repeat the layers. Repeat this layering process two more times.
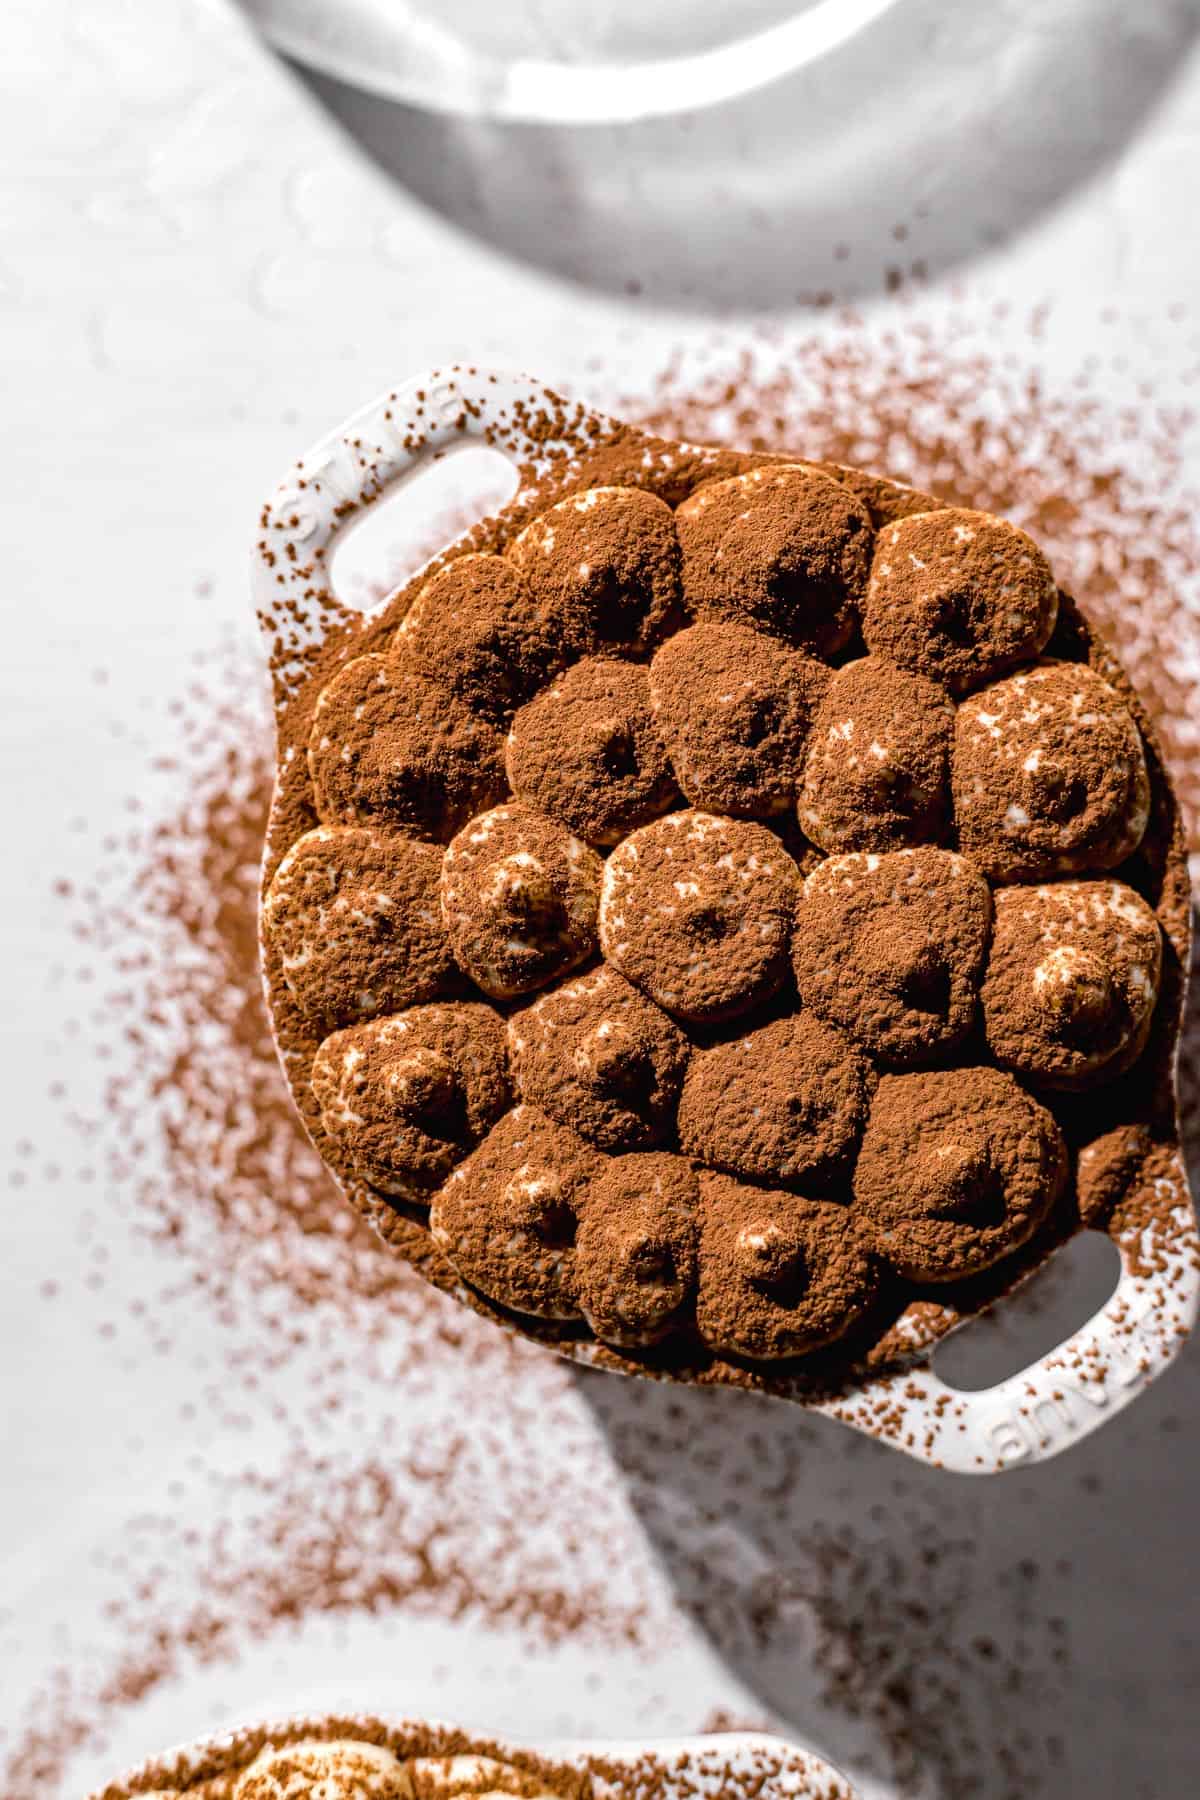
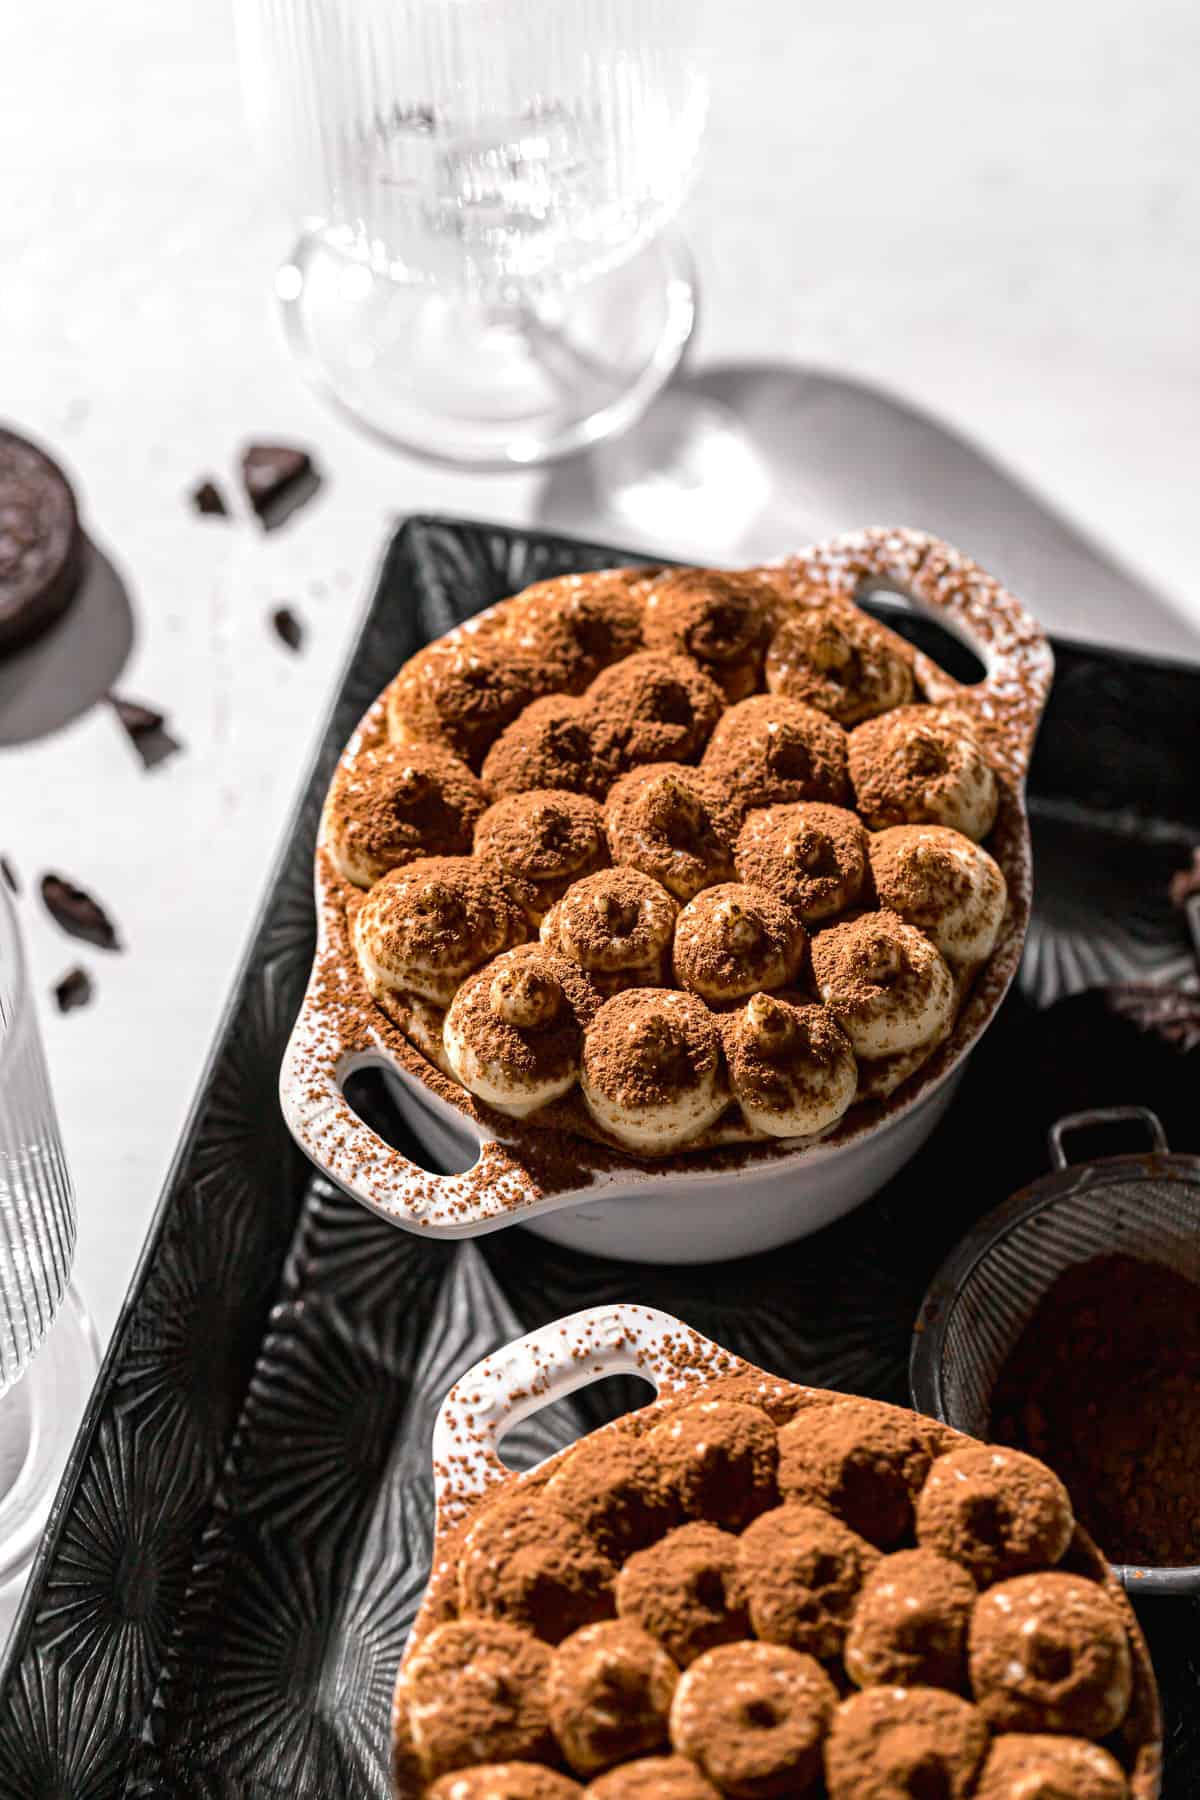
STEP 7: Add a final layer of mascarpone filling. For the top layer of filling, you can either spread it on or pipe it on with a small round piping tip. Finish with a final dusting of cocoa powder.
STEP 8: Chill, then serve. Allow the tiramisu to chill in the fridge for about an hour before serving.
Expert Baking Tips
- Since oreos are extremely sweet, this dessert is VERY rich. If you are not a big fan of overly sweet desserts, you might want to consider using traditional lady fingers instead.
- You can easily cut this recipe in half for an even smaller serving!
Recipe FAQs
Yes! Since oreos are extremely sweet, this dessert is VERY rich. If you are not a big fan of overly sweet desserts, you might want to consider using traditional ladyfingers instead.
Yes, you can easily cut this recipe in half for an even smaller serving! Honestly, since it is so rich, you may want to split the one serving!
Yes, you can assemble it in a mug, an 8x8 pan, or just about anything else. The size or shape of the vessel really doesn't matter, but it may affect the number of the layers. I used two mini cocottes!
Baking in Grams
All of the recipes on this blog are carefully developed with gram measurements so you can easily recreate them in your own kitchen with success. Volume measurements are extremely inaccurate and leave room for significant errors. Not all measuring cups are made equally, so your one cup of flour will be different from my one cup of flour. By providing precise measurements in grams (aside from minor ingredients, which are given in tsp/tbsp), you can make these recipes accurately and with less cleanup! All you need is this kitchen scale.
If this still isn't enough to convince you, I have provided volume measurements in the recipe card. If you are interested in understanding the conversions, this is the best conversion chart.
But trust me, once you try baking in grams you'll never turn back!
Happy baking! x
Other Valentine's Day desserts to try
If you tried this recipe, I'd love to know how it turned out for you! Leave a star rating & review below and post a picture (or video!) on Instagram and tag me so I can see your bakes! Not ready to make this recipe yet? Click the heart button on the right of your screen to save it for later 🙂
📖 Recipe
Oreo Tiramisu for Two
Equipment
Ingredients
- 2 egg yolks
- 50 g (¼ cup) granulated sugar
- 170 g (¾ cup) mascarpone
- 113 g (½ cup) heavy cream
- ½ teaspoon vanilla
- 113 g (½ cup) freshly brewed coffee, cooled
- 20 oreos, 2 whole, the rest cut to fit the cup as pictured above
- cocoa powder for dusting
Instructions
For the tiramisu filling:
- In a medium heat proof bowl, whisk together the egg yolks and sugar until fully combined.
- Place the bowl over a pot of simmering water. Constantly whisk the yolk, sugar mixture for about 8 minutes or until the sugar has completely dissolved.
- Remove bowl and allow to cool for a few minutes.
- Once cool, whisk in the mascarpone.
- In a separate bowl, combine the heavy cream and vanilla, then whip to medium peaks. (Careful not to over-whip!)
- Gently fold the whipped cream into the other mixture until fully combined. Set aside.
For assembly:
- Start with a layer of oreos - dip the oreos quickly into the cooled coffee and place in the bottom of the cup. (I used two mini cocottes, but you can use just about anything!)
- Top the oreos with about 3 tablespoons of the tiramisu filling, spreading it evenly. Then dust the top with cocoa powder.
- Repeat this layering process two more times.
- For the top layer of filling, you can either spread it on or pipe it on with a small round piping tip, then finish with a final dusting of cocoa powder.
- Allow the tiramisu to chill in the fridge for about an hour before serving.
Notes
- Since oreos are extremely sweet, this dessert is VERY rich. If you are not a big fan of overly sweet desserts, you might want to consider using traditional lady fingers instead.
- You can easily cut this recipe in half for an even smaller serving!


Comments
No Comments