
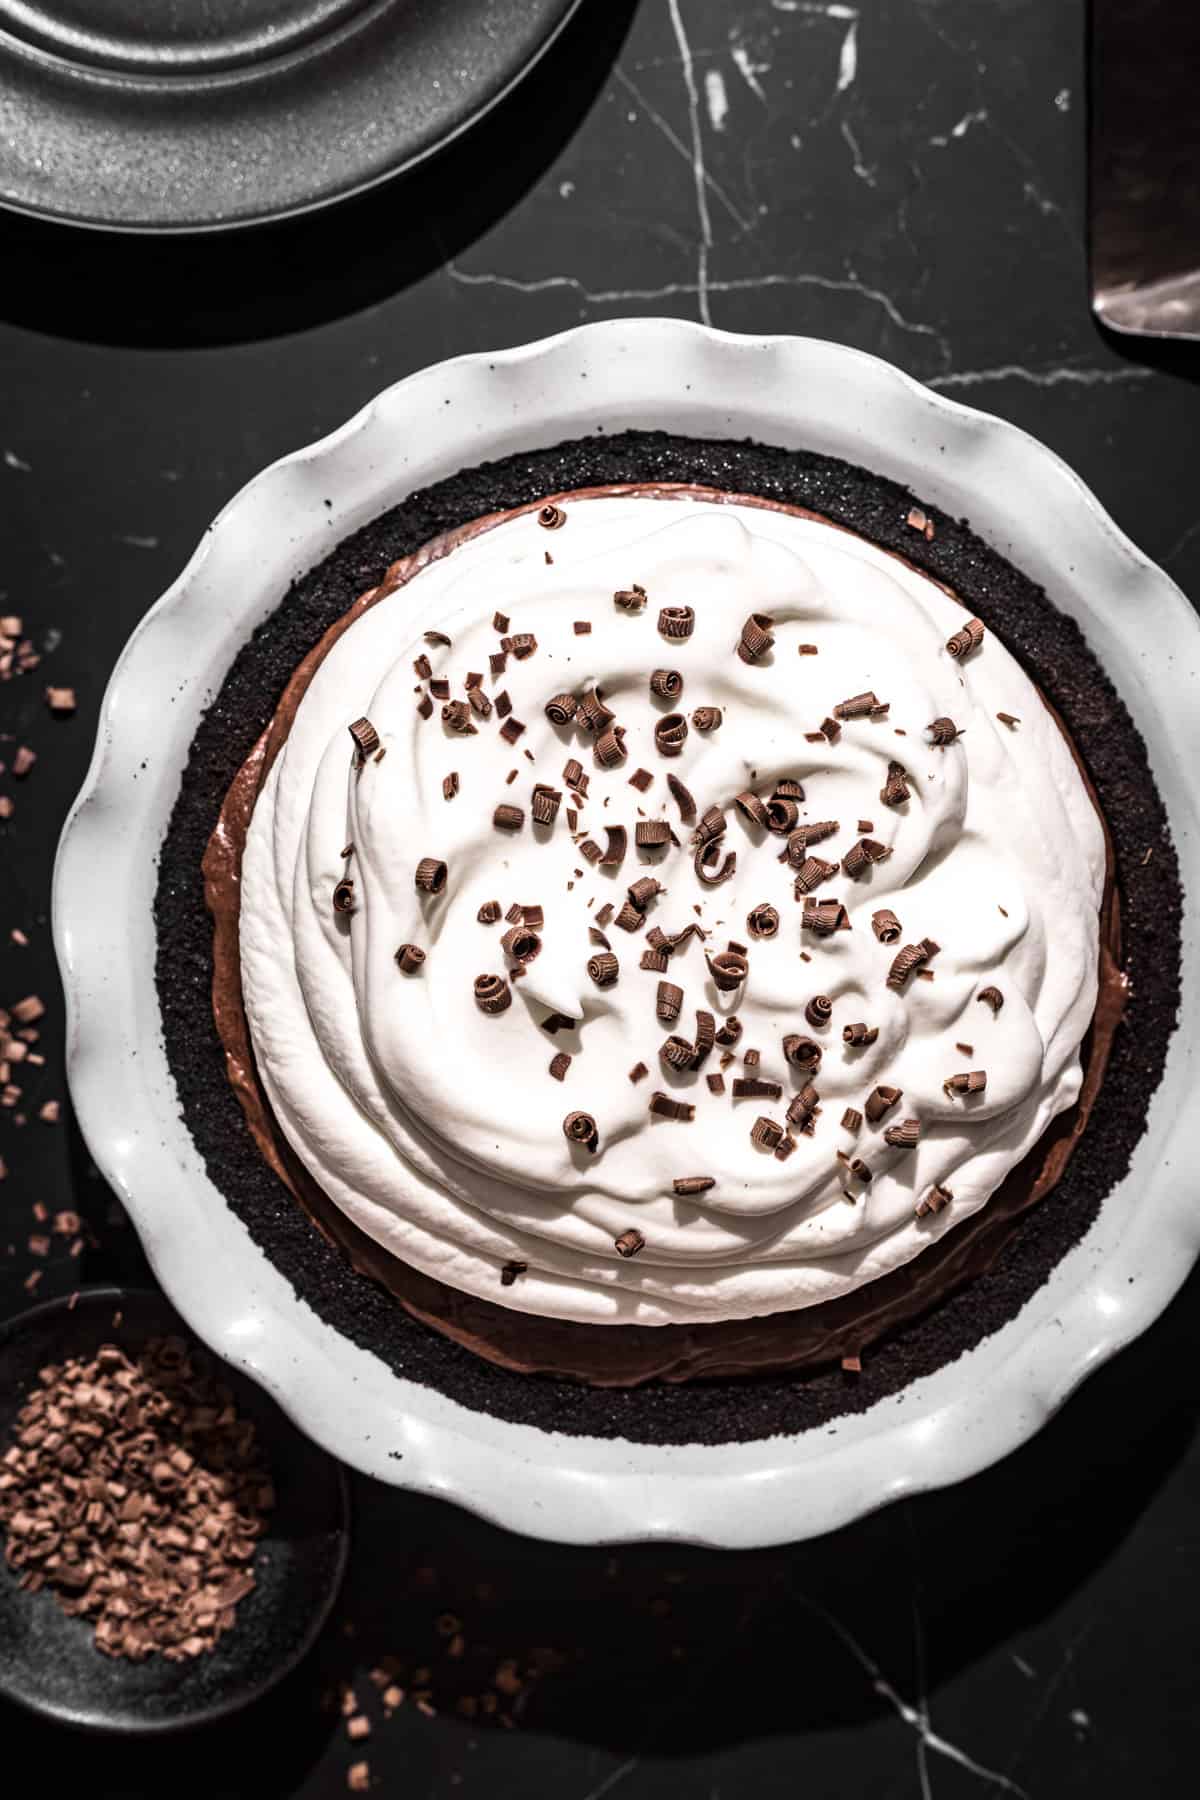
This no bake chocolate mousse pie has a buttery Oreo crust, silky smooth chocolate filling, and a heaping pile of freshly whipped cream. No need to turn your oven on to make a decadent & impressive dessert!
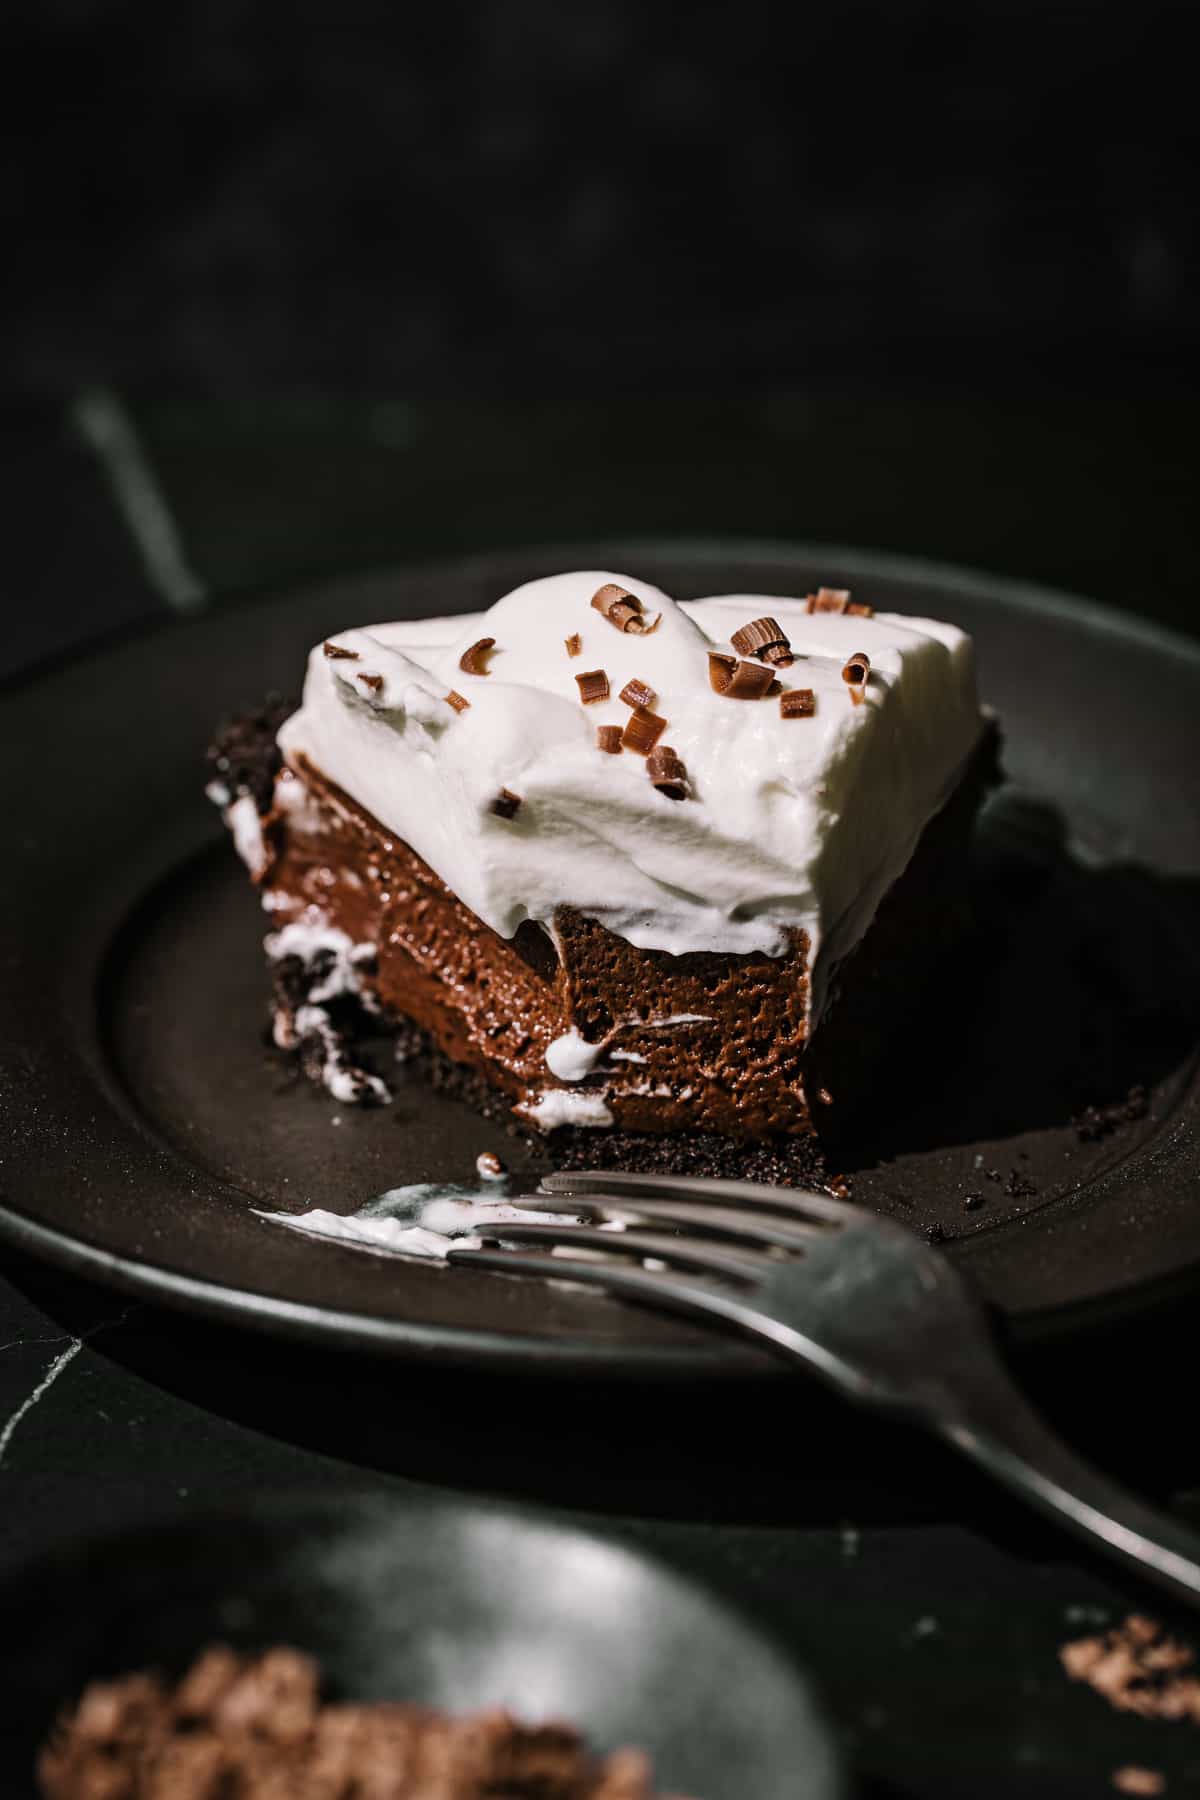
This chocolate mousse pie is the perfect no-bake dessert to make when you're craving a fancy treat that requires minimal effort! A gorgeous, silky smooth chocolate mousse nestled inside a sweet Oreo crust, topped with homemade whipped cream–all without using your oven. You can even make each part of the pie ahead of time and assemble it all together right before serving, so it's a great make-ahead recipe for parties and get-togethers, or just when you're on a time crunch.
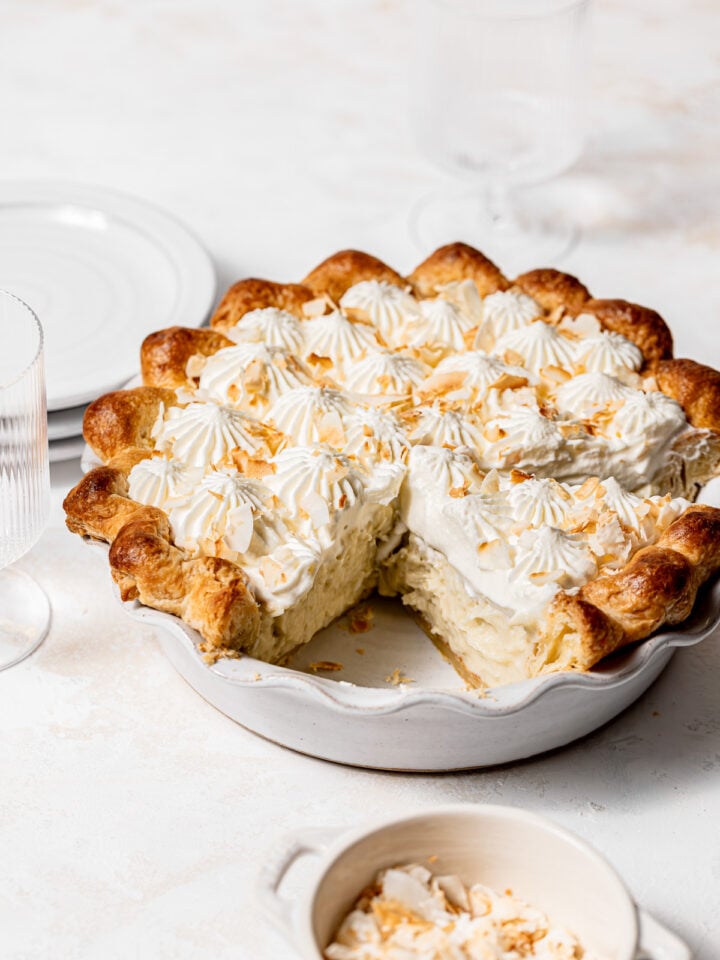
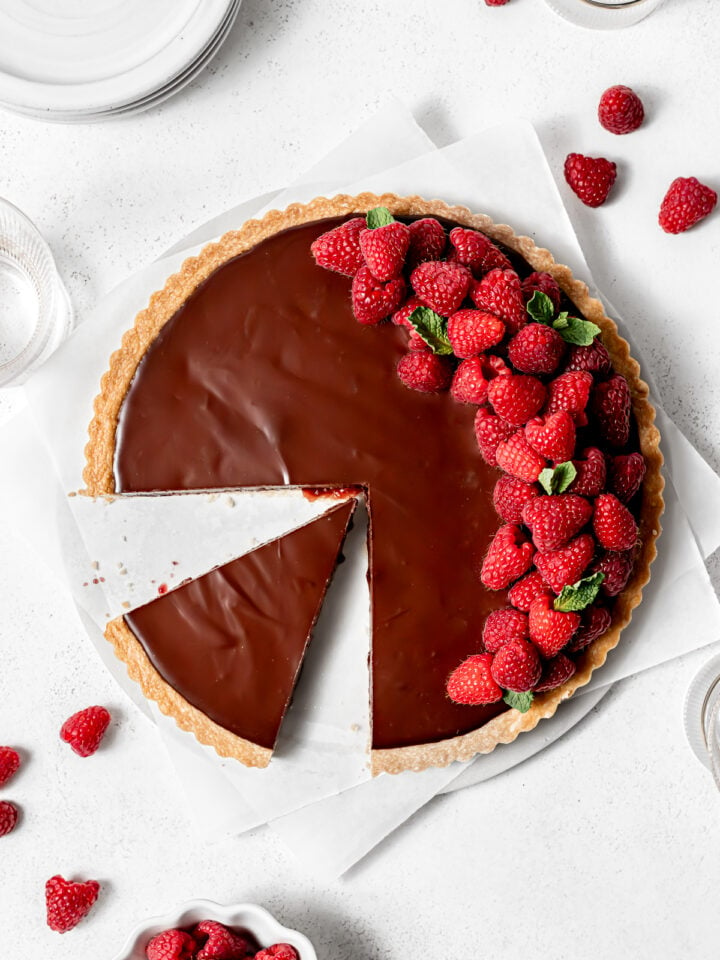
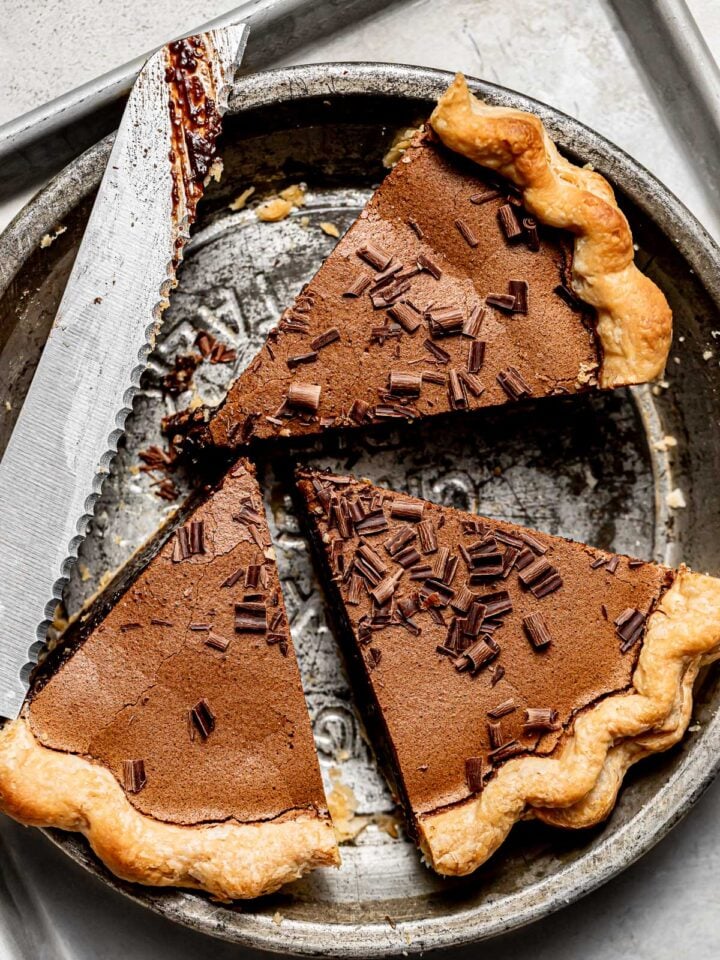
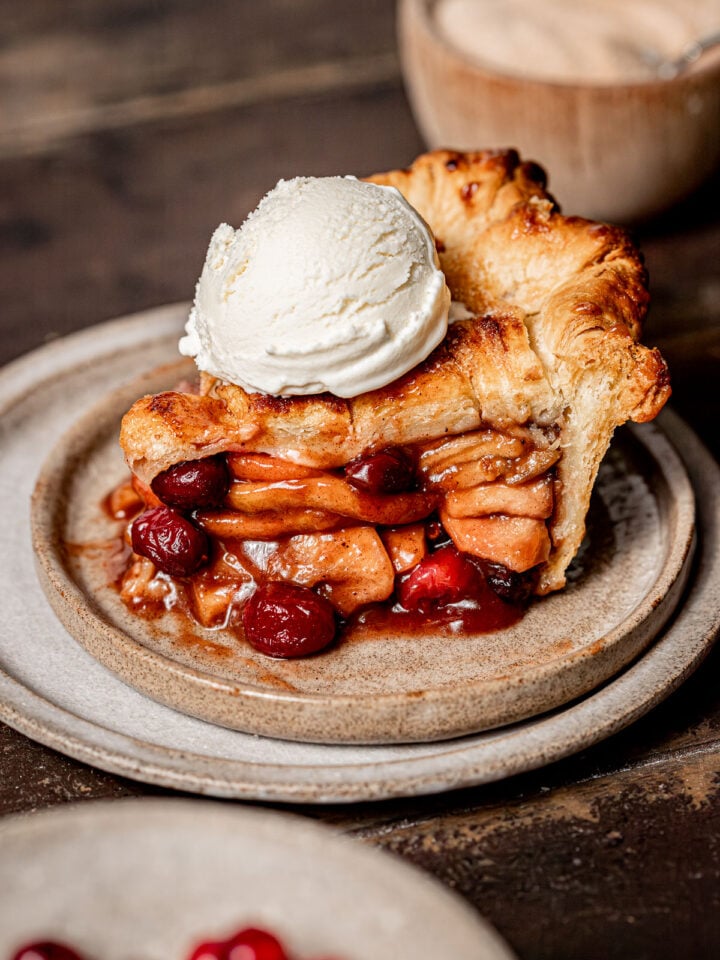
For more pie and tart recipes, try Cardamom Cherry Pie, Pecan Brownie Pie, and Chocolate Raspberry Tart.
Jump to Recipe
Why you'll love this chocolate mousse pie
- Silky Smooth, Rich Chocolate Filling: The chocolate mousse is light and silky while still having a rich, chocolate flavor that tastes just as good as it looks.
- Simple, Yet Impressive Dessert: This pie is super simple to make, but absolutely stunning to serve, making it an easy recipe to impress your guests.
- Perfect Make-Ahead Recipe: If you're baking in advance, this pie is the perfect dessert–you can make the crust and filling ahead of time, and assemble the pie just before serving!
Ingredient Notes
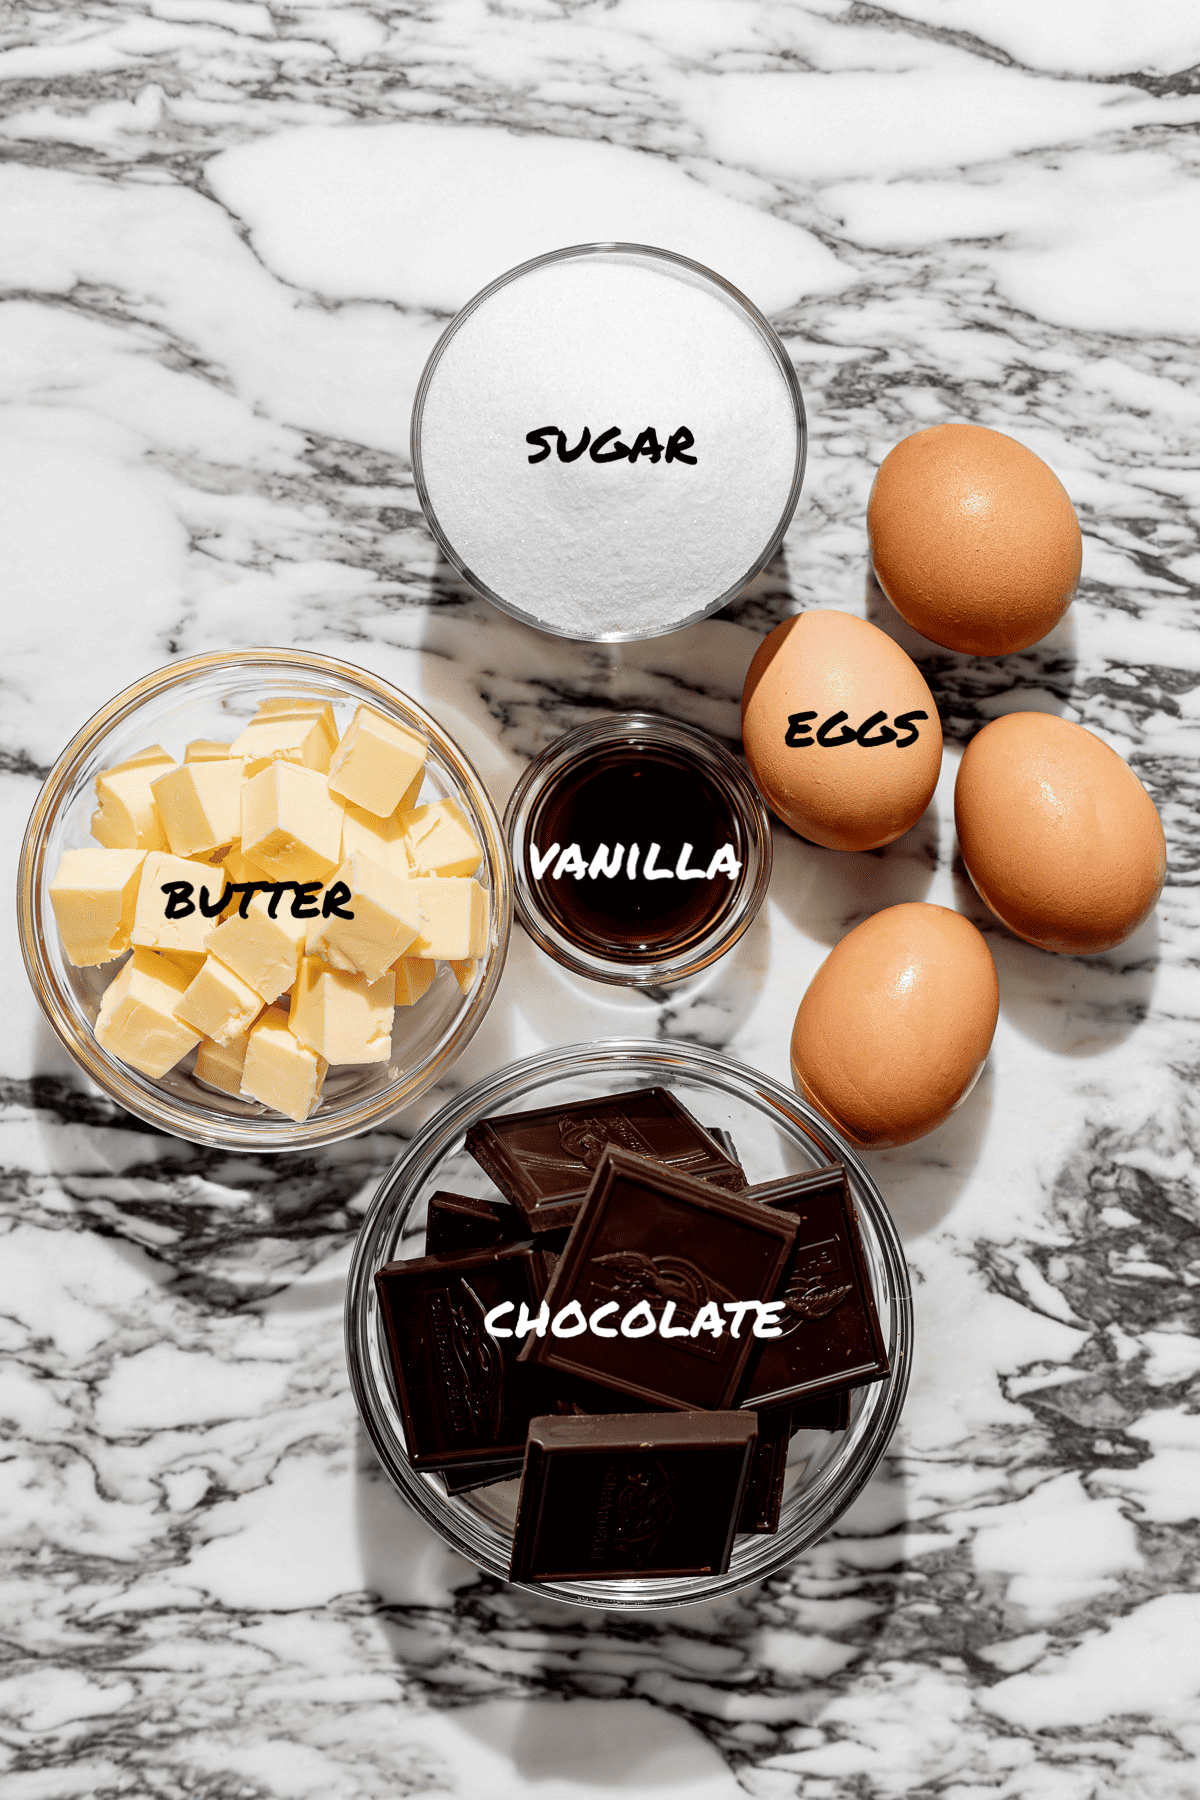
- Chocolate: Use a high quality bittersweet chocolate for best results. Alternatively, you can use semi-sweet chocolate chips, or even dark chocolate chips.
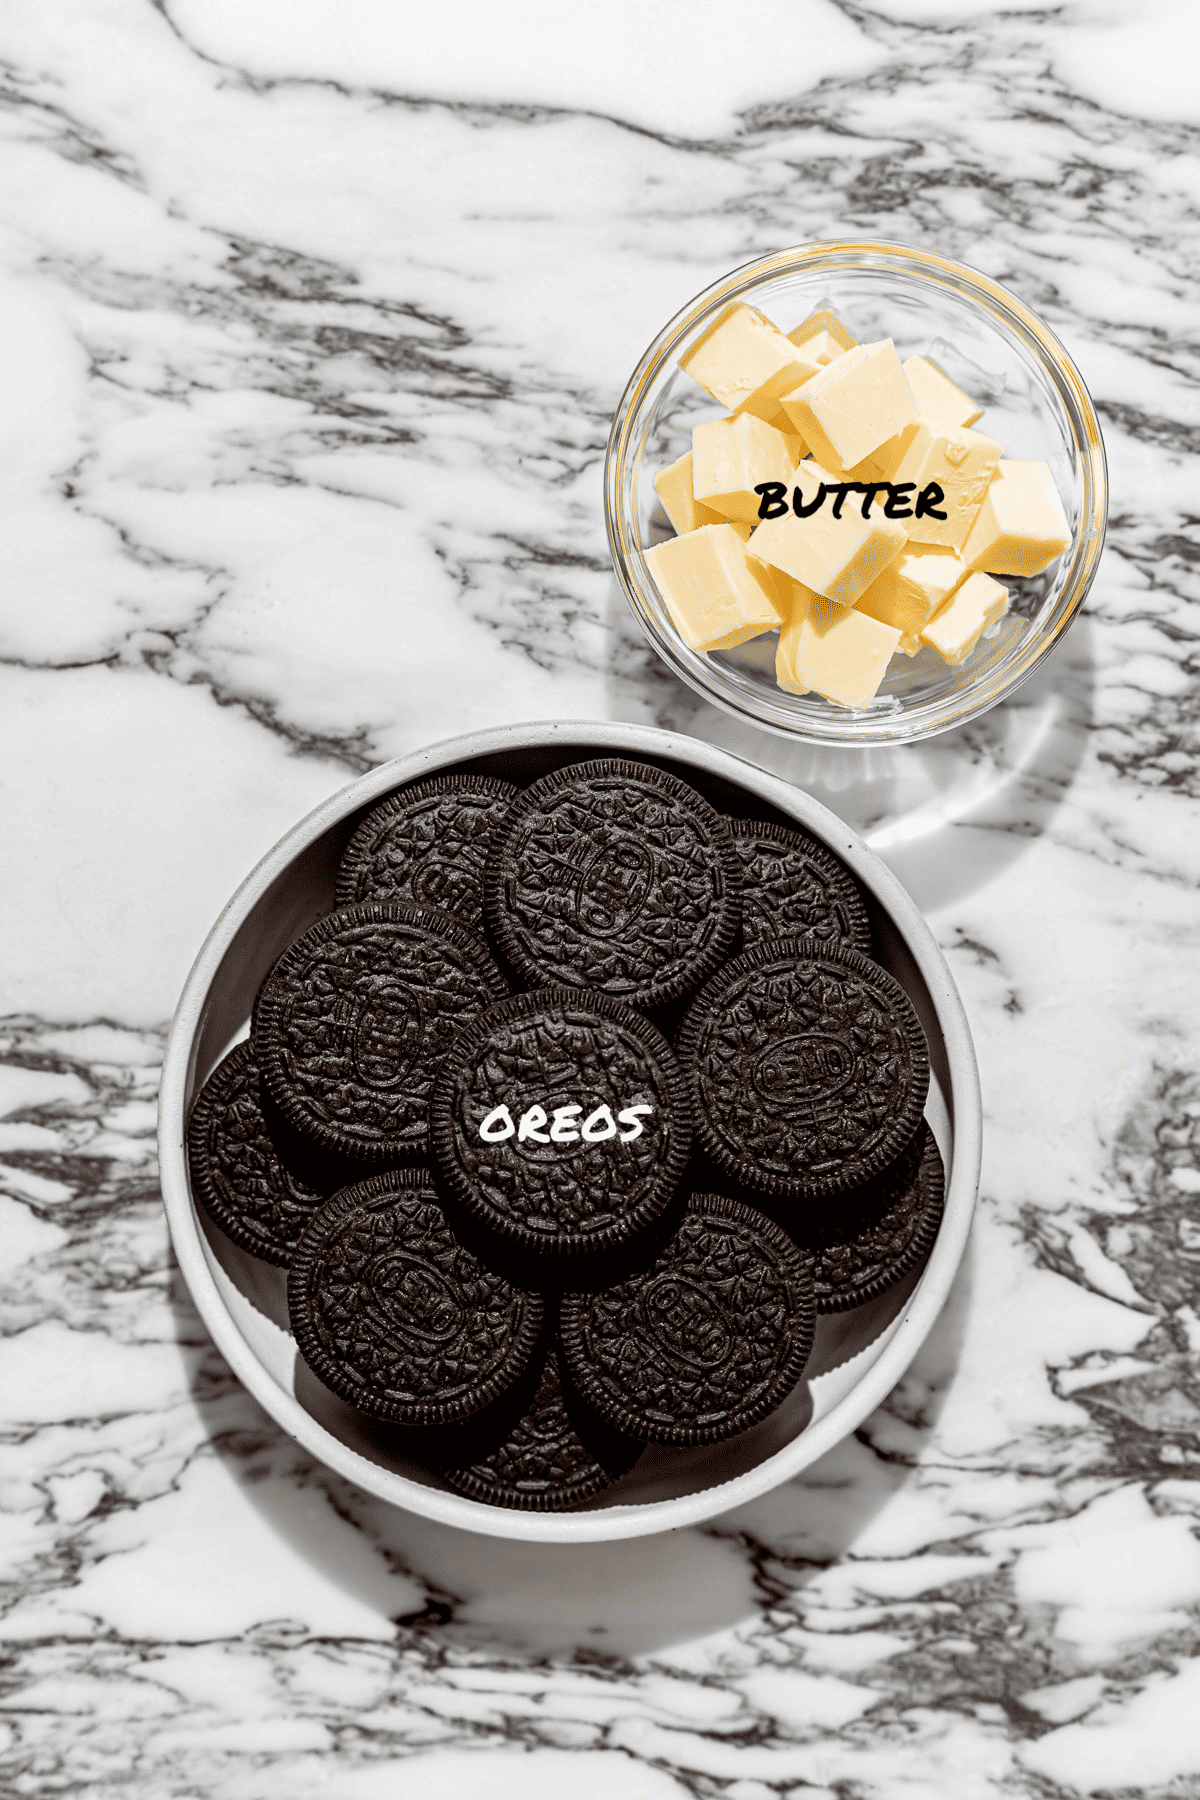
- Oreos: You can use regular Oreos, double stuffed, or any other flavor you enjoy!
- Flour: Use a high quality, unbleached all-purpose flour.
- Unsalted Butter: Use high quality European-style butter for best overall flavor.
- Eggs: You'll need 4 eggs, separated into yolks and whites.
- Vanilla: Add a high quality vanilla extract for optimal flavor.
- Heavy Cream: Use a high quality heavy cream for best whipping results.
See recipe card for full information on ingredients and individual quantities.
Step by Step Instructions
Here are step by step photos and instructions on how to make this no-bake chocolate mousse pie recipe! For the full ingredient list and method, see the recipe card at the end of this post.
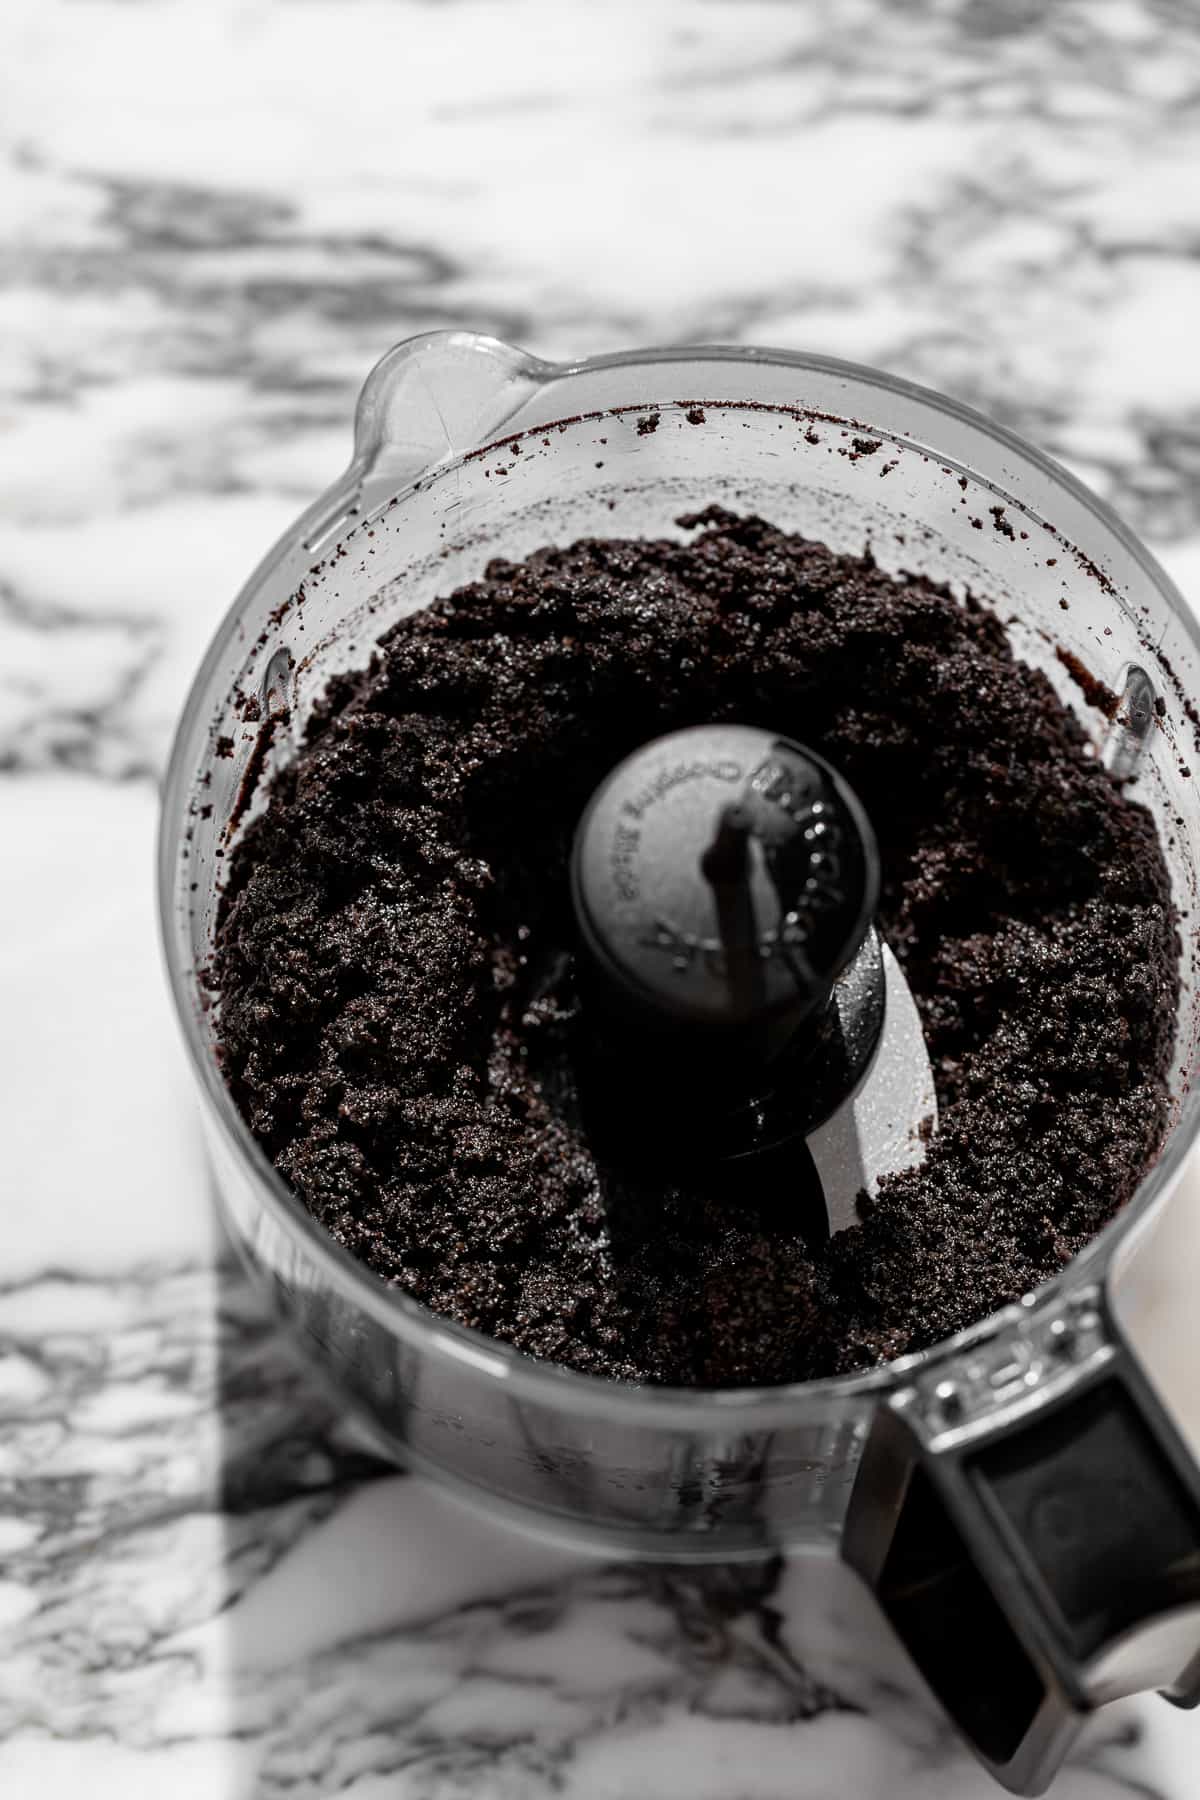
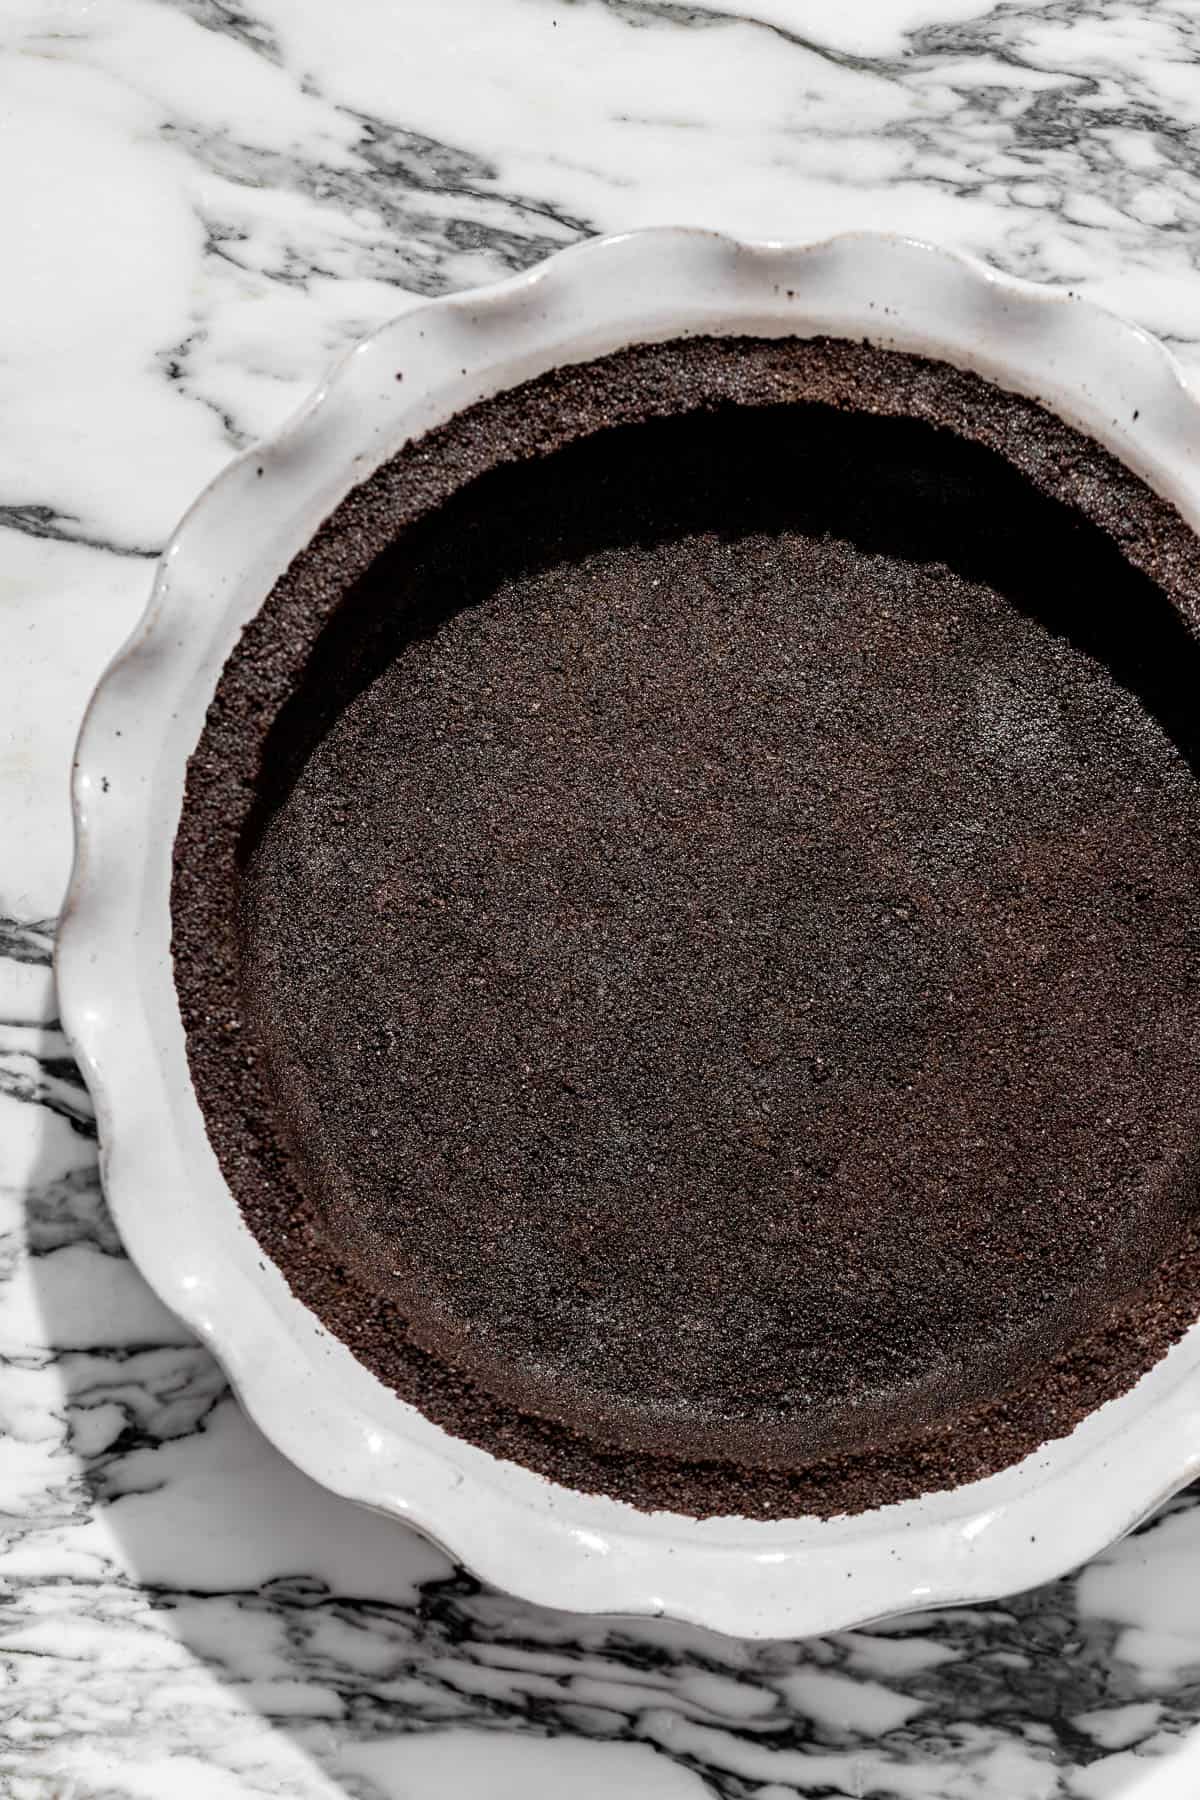
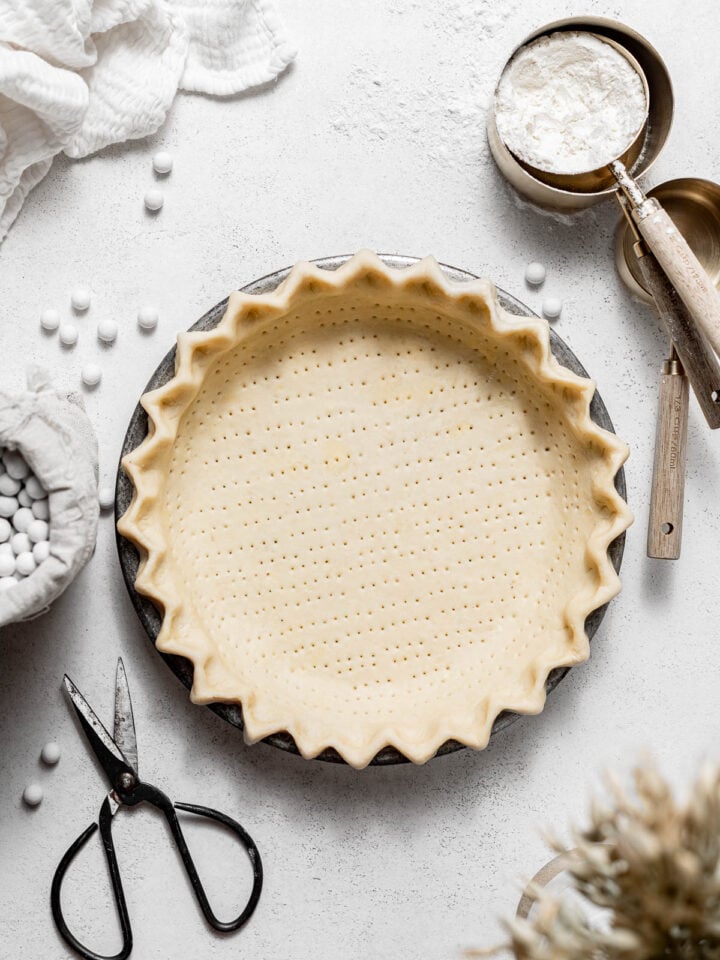
STEP 1: Make the crust. In a food processor, add the Oreos and pulse until they become fine cookie crumbs. Add the melted butter and mix until combined.
STEP 2: Press and freeze. Press the Oreo mixture into the bottom and sides of a 9” pie pan, packing it in with the back of a spoon or a small cup. Place the Oreo cookie crust in the freezer while you make the chocolate mousse filling.
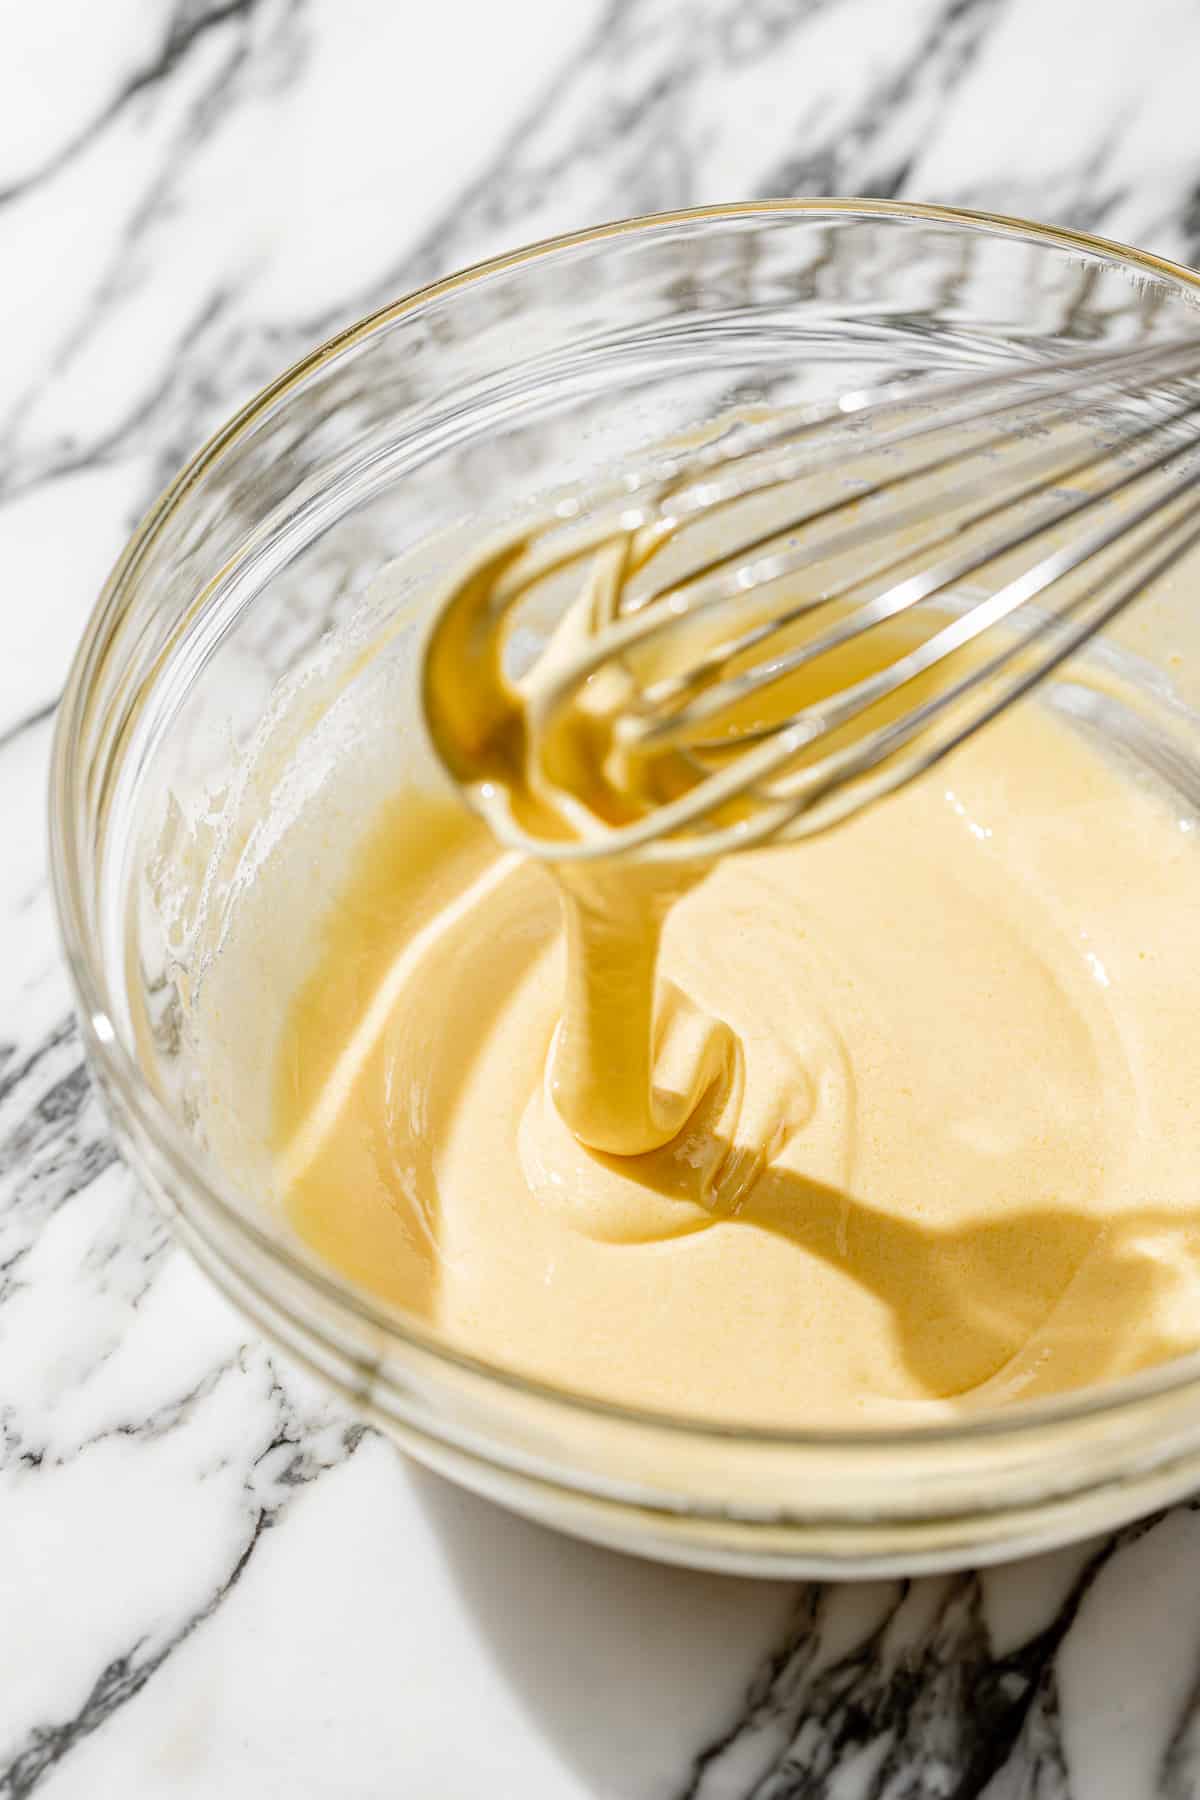
STEP 3: Whisk egg yolks and sugar. In a medium mixing bowl, whisk together the room temperature egg yolks and 66g (⅓ cup) sugar until it's pale in color and flows off of the whisk. Then, place over a small pot of simmering water, whisking frequently until it reaches 160 F.
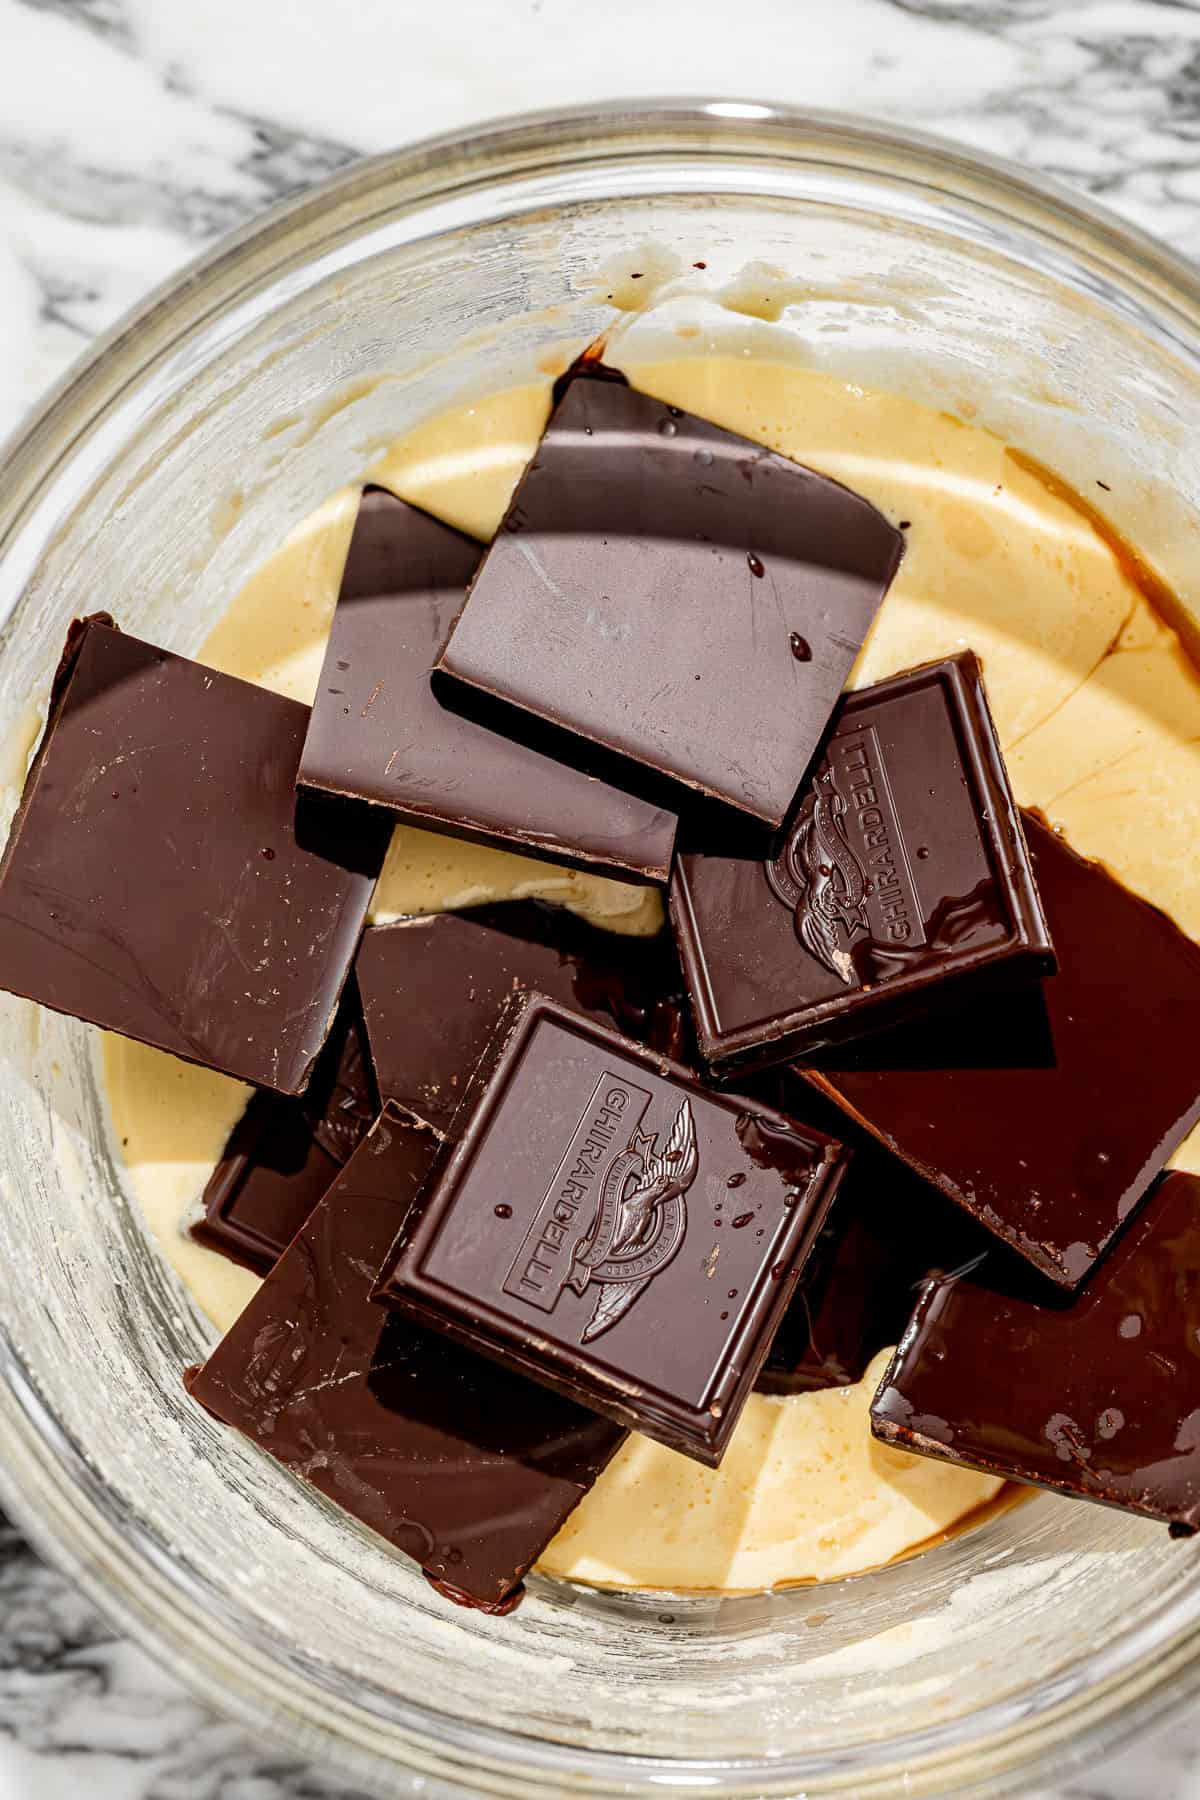
STEP 4: Melt chocolate and add vanilla. Turn the heat down to low and mix in one teaspoon vanilla extract and 8 ounces of chocolate until fully melted. It will turn into a thick, fudge-like consistency. Set aside to cool for a few minutes.
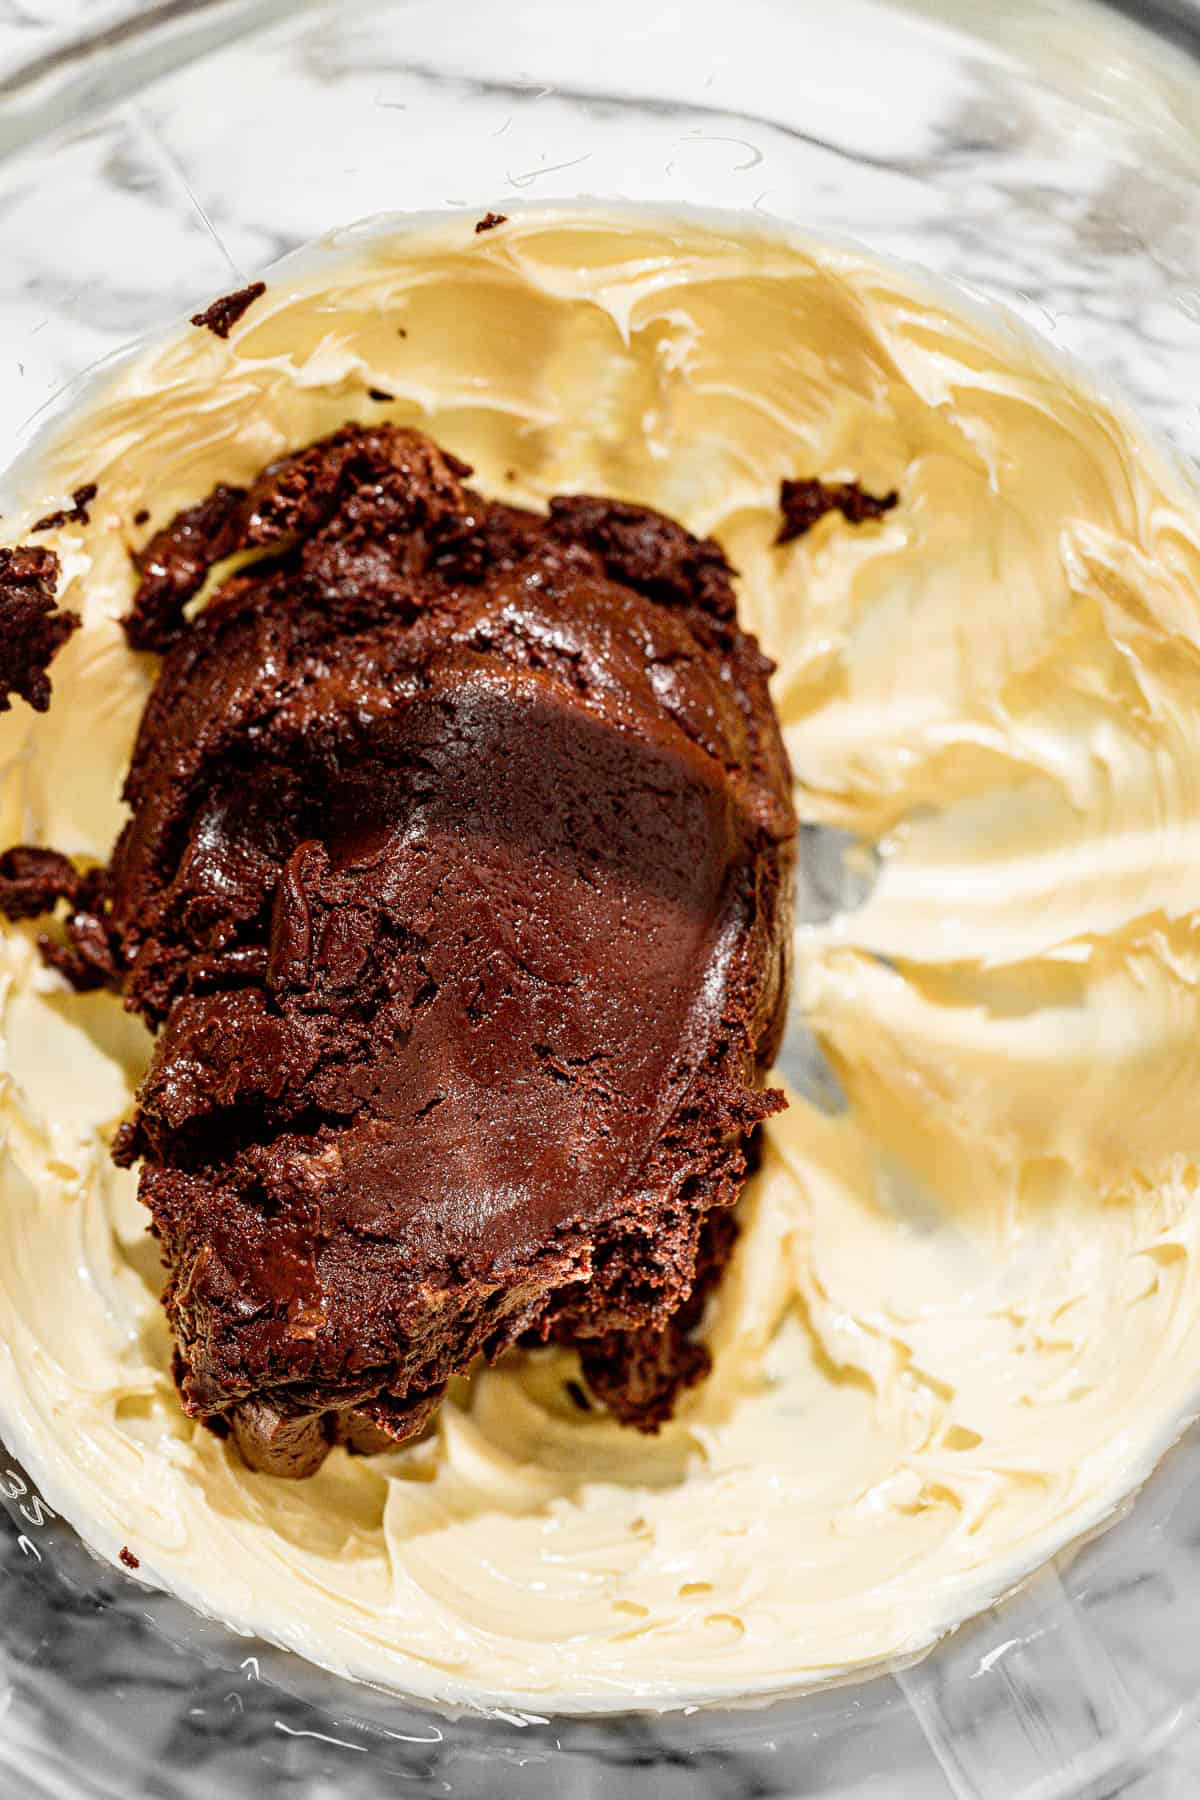
STEP 5: Cream. In the bowl of a stand mixer fitted with the paddle attachment, cream 8 tablespoons of butter on medium speed for 2-3 minutes until light and fluffy. Add in the egg yolk, chocolate mixture, then turn the mixer up to high speed for about 3 minutes until fluffy. Don’t worry if it starts to split, it will all come together once the meringue is added!
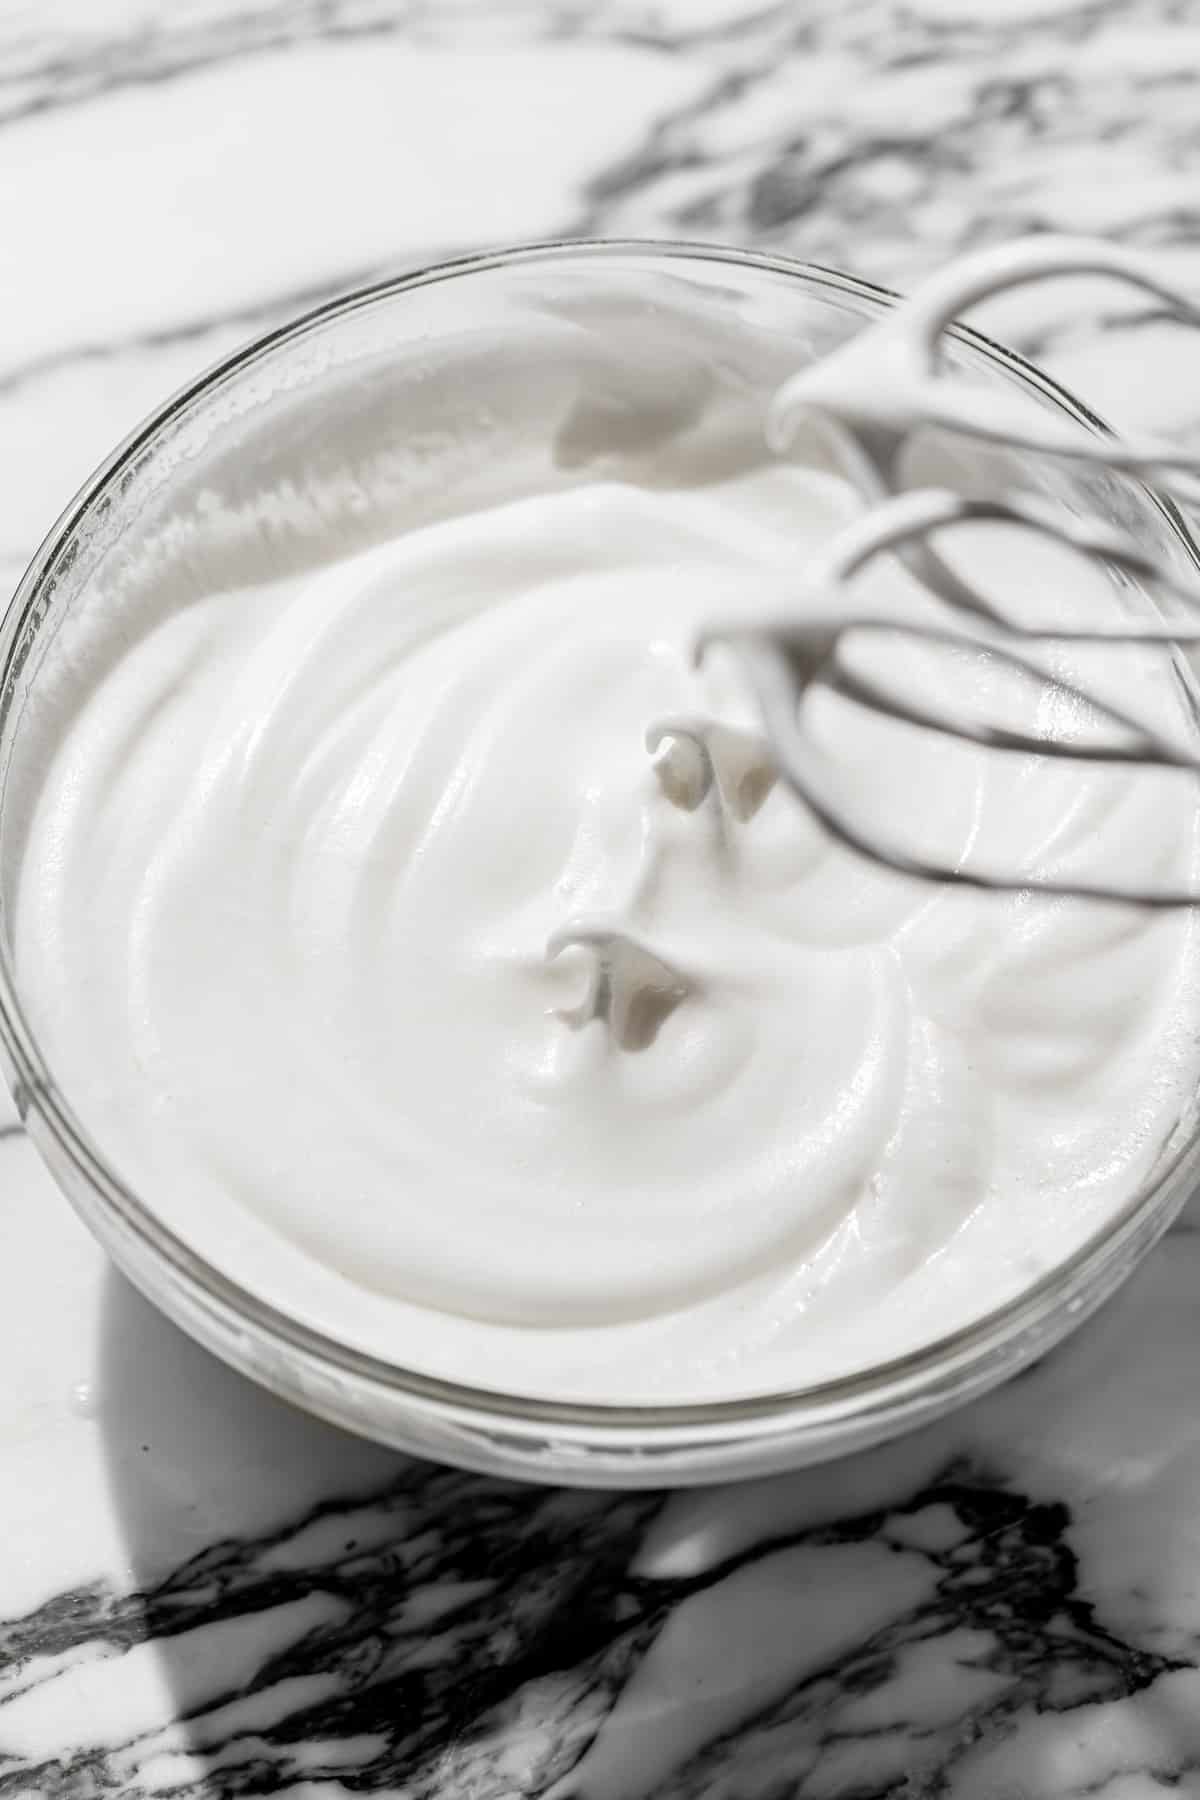
STEP 6: Make the meringue. In a separate heat safe bowl, whisk together the egg whites and remaining sugar. Place over a small pot of simmering water, whisking frequently until it reaches 160 F. Remove the bowl from heat and use an electric hand mixer to beat until stiff peaks form.
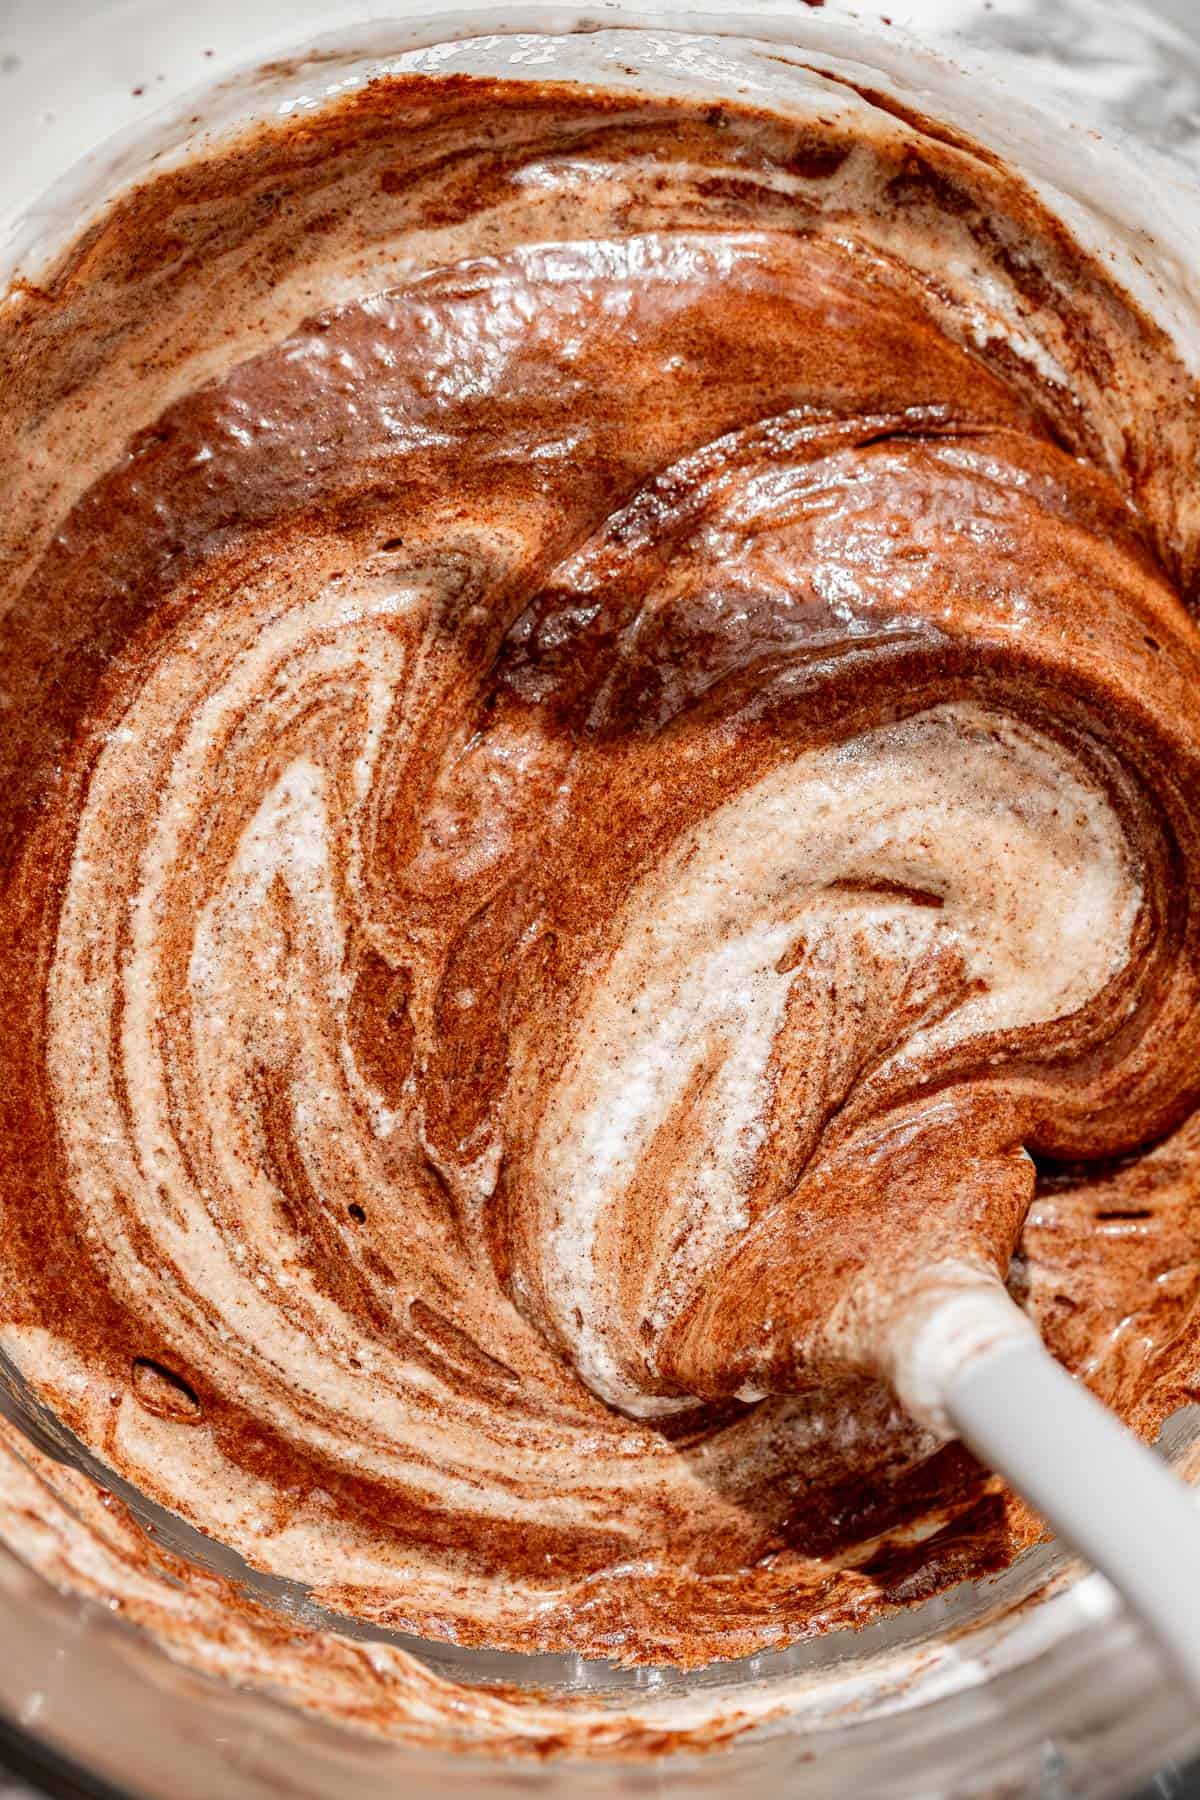
STEP 7: Fold. Gently fold the meringue into the into the chocolate mixture until no white streaks are left.
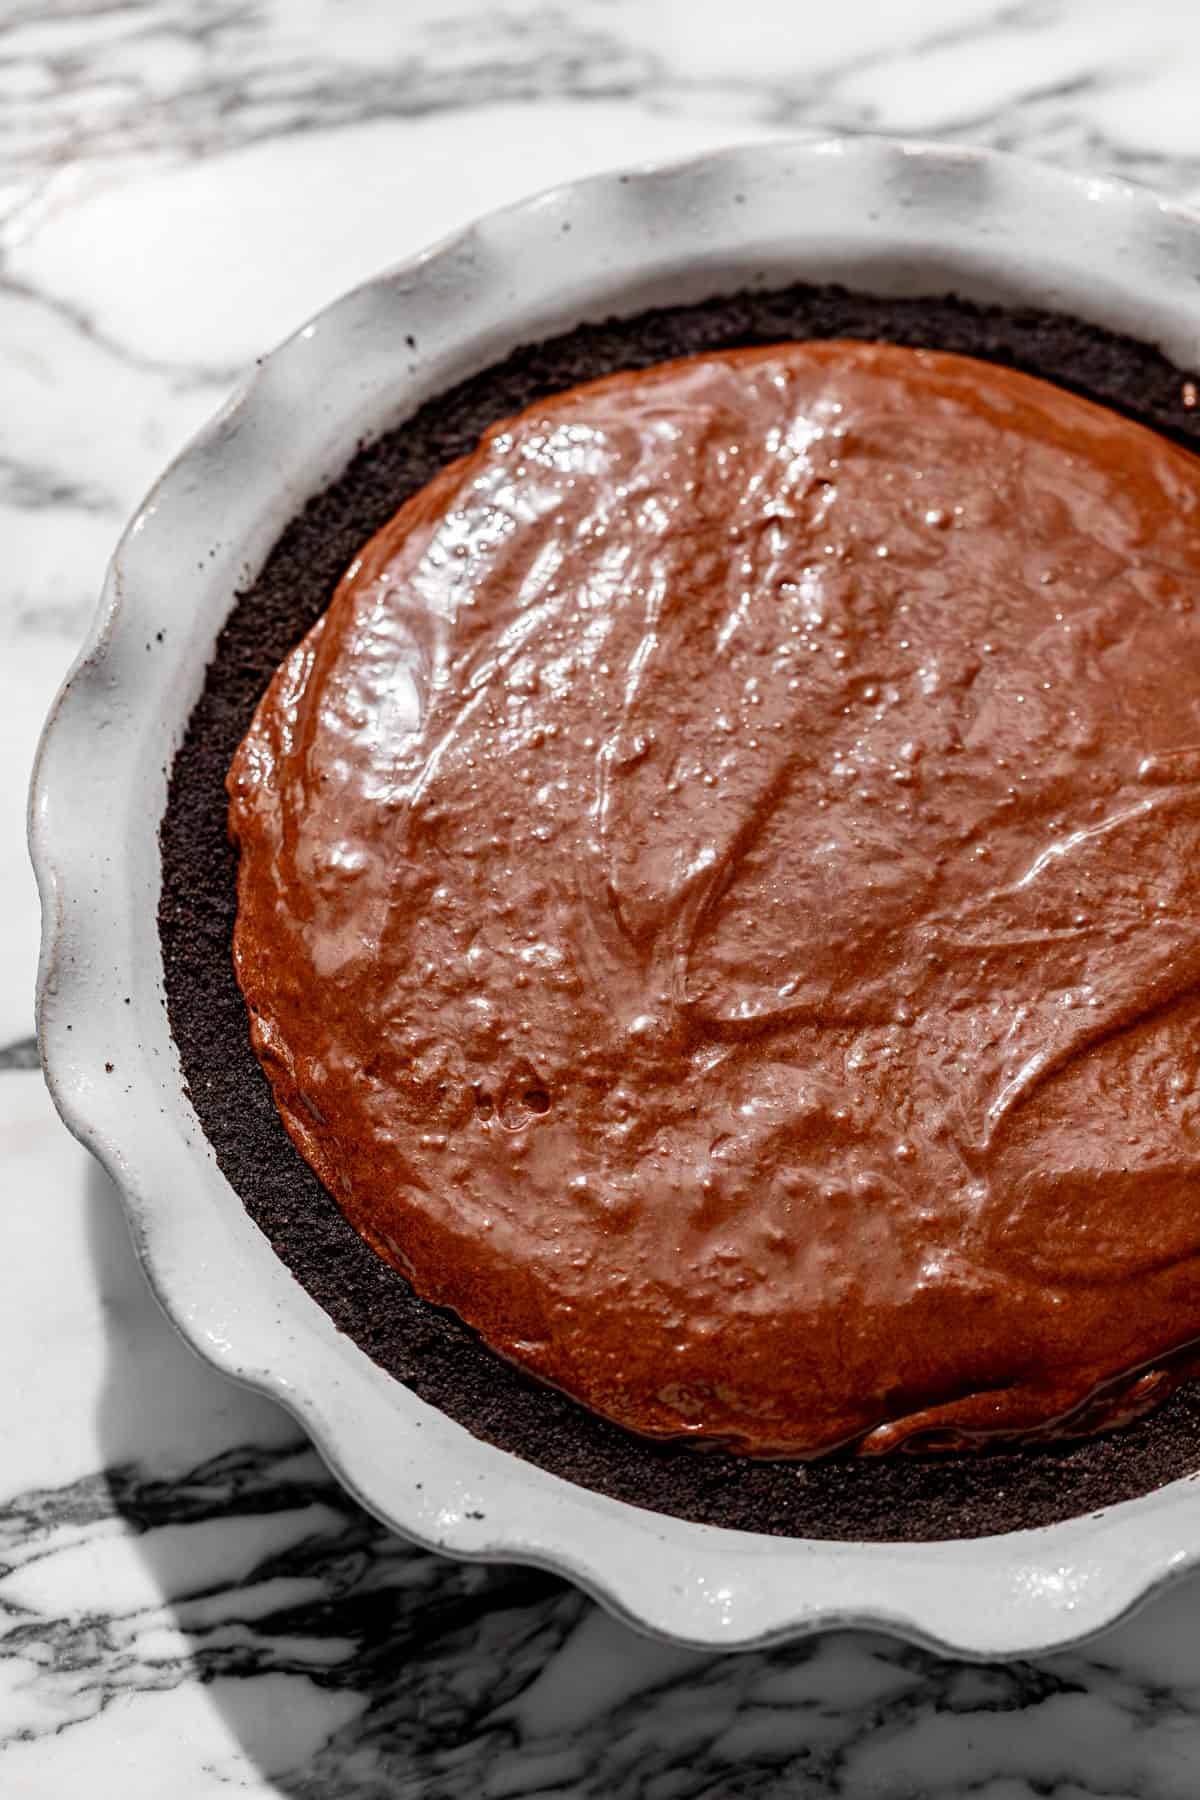
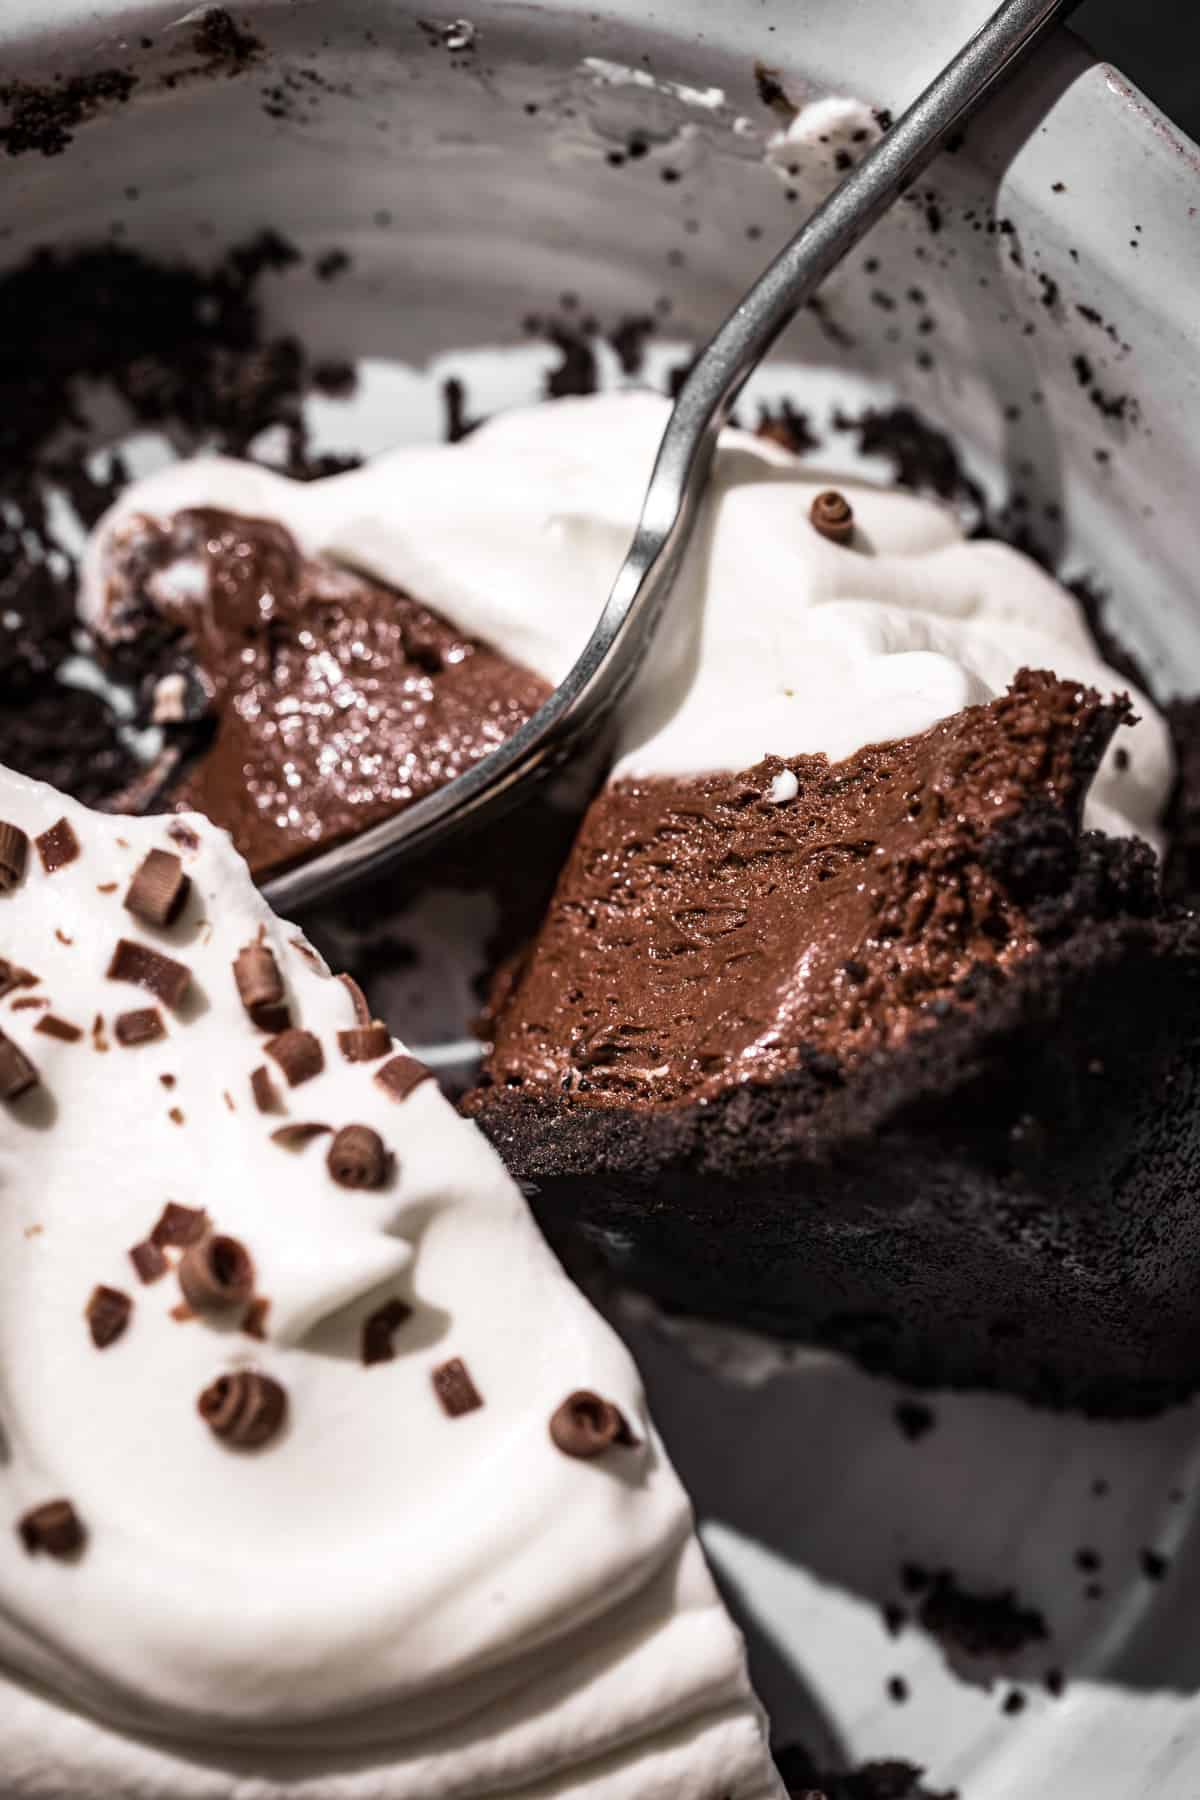
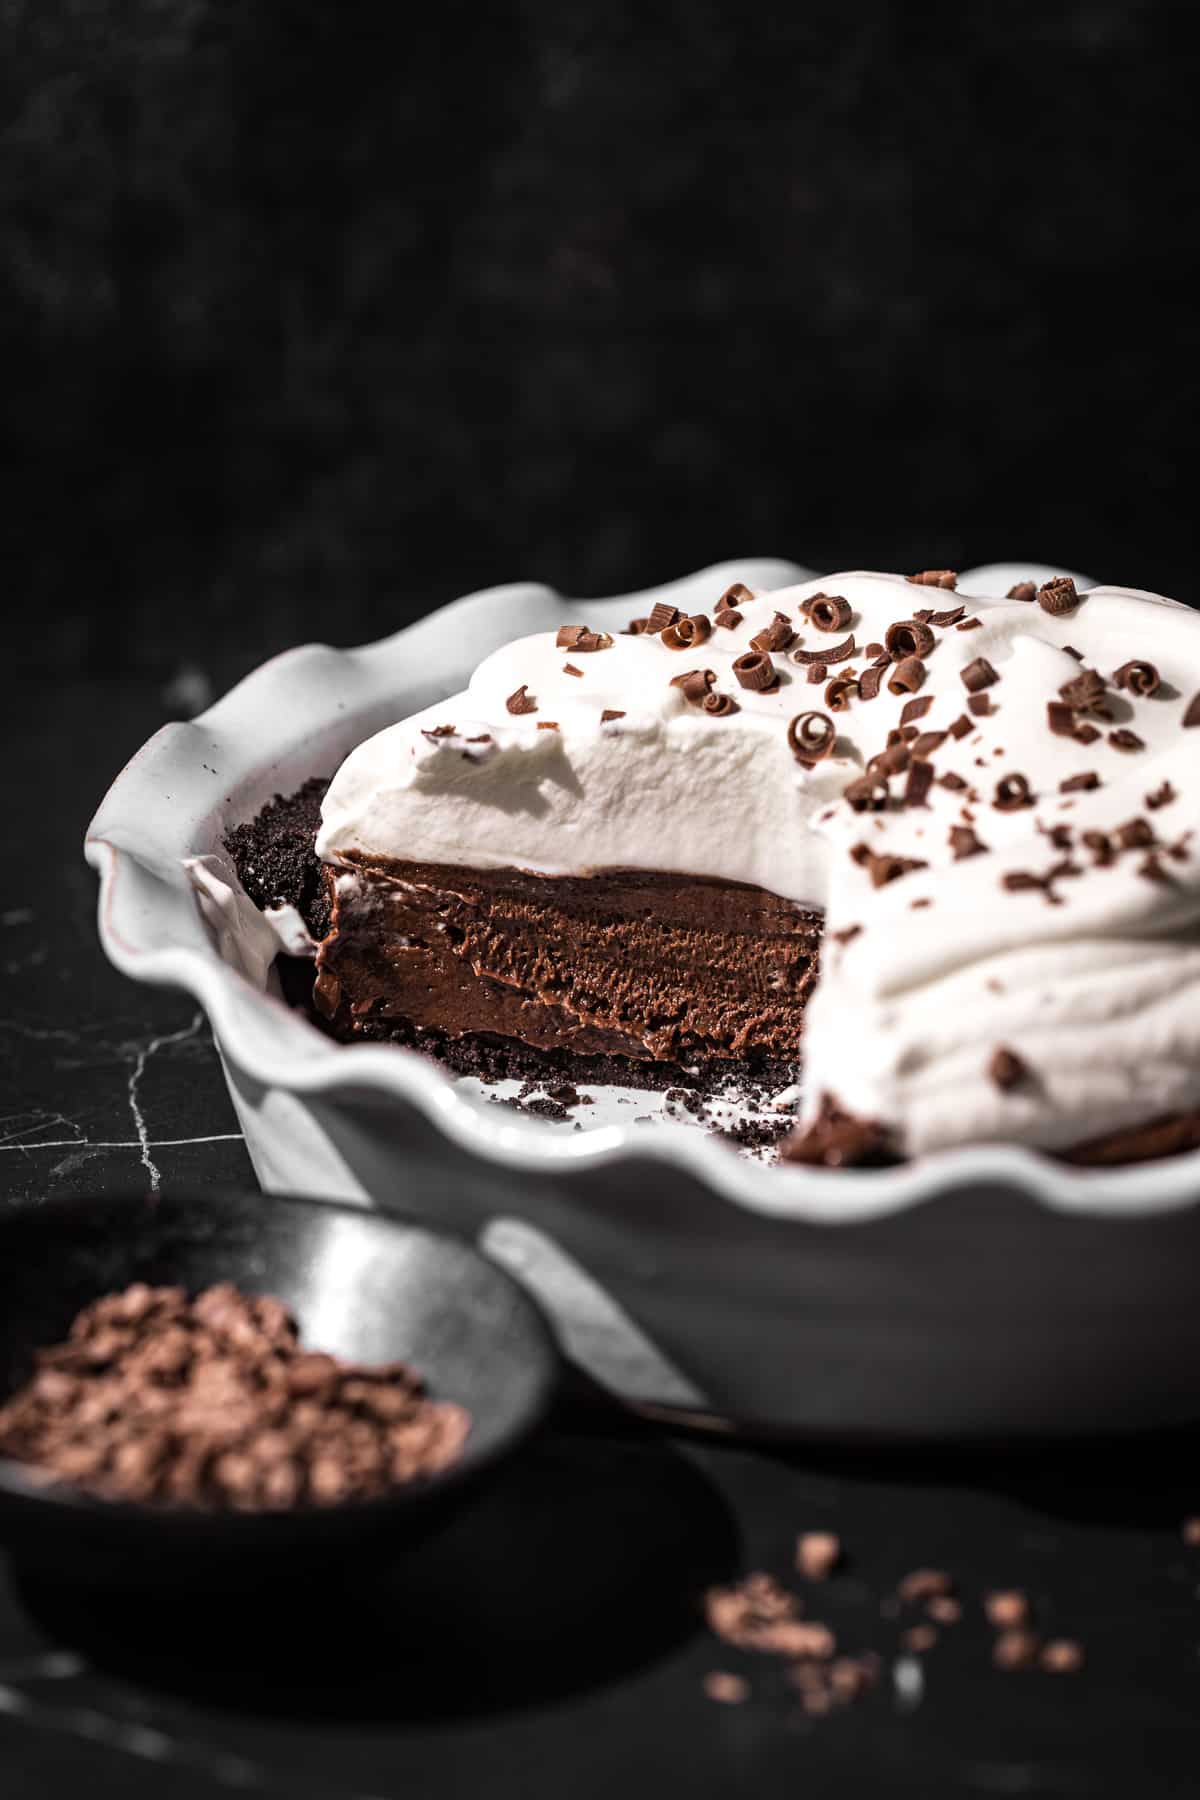
STEP 8: Pour and chill. Pour the chocolate mousse filling into the Oreo crust and smooth out the top with an offset spatula. Place in the fridge to chill for at least 3 hours or overnight.
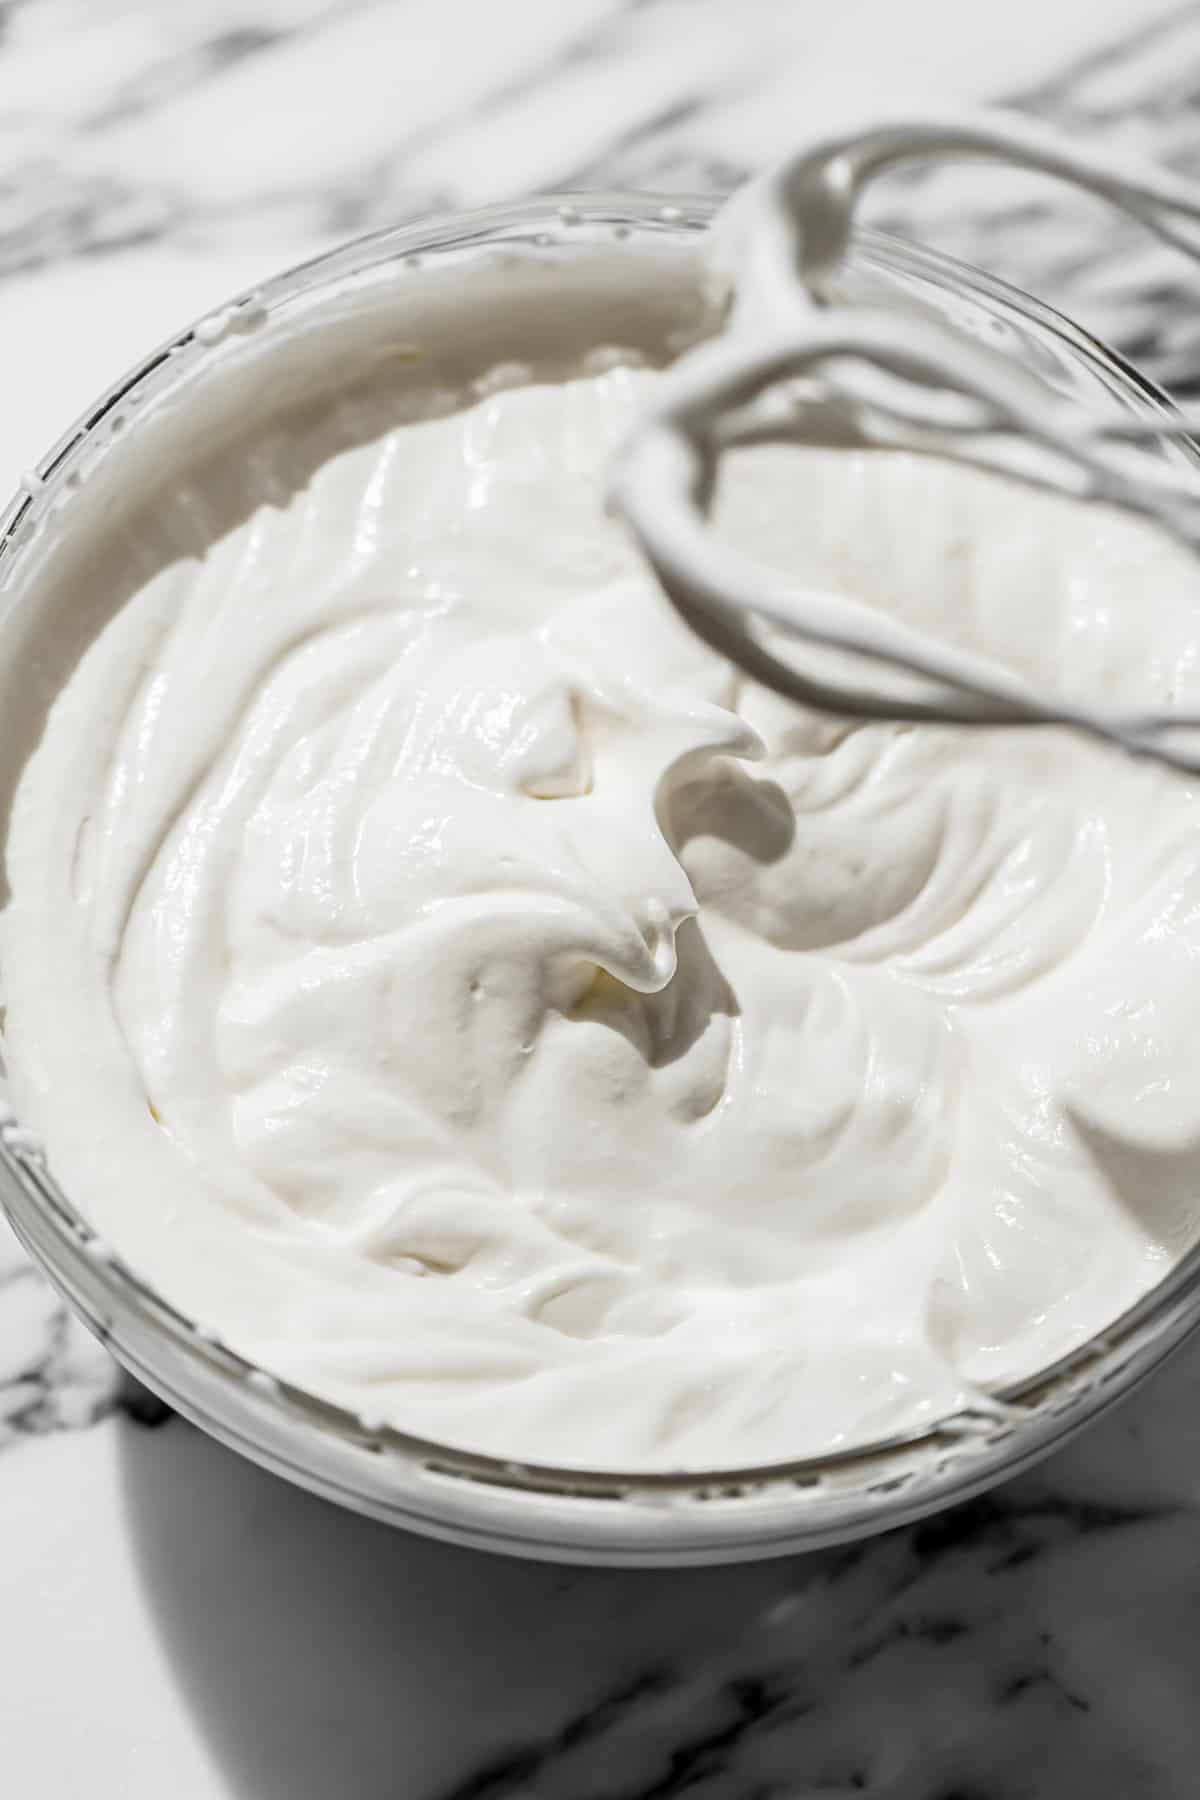
STEP 9: Make the whipped cream. Just before serving the pie, make the whipped cream. In a large measuring cup or bowl, add the cold heavy whipping cream and sugar. Use an electric mixer to whip the cream until stiff peaks form. Careful not to over-whip the cream, as it can quickly split and become grainy!
STEP 10: Top and serve. Top the pie with the whipped cream, and add chocolate shavings, if desired. Enjoy!
Expert Baking Tips
- If you don't have a food processor, crush the Oreos with a rolling pin. Place the Oreos in a double lined ziplock bag, and use a rolling pin to crush them into fine crumbs! Then pour them into a bowl, and stir in the melted butter.
- Separate the eggs with your hands. The best way to separate an egg and ensure the egg yolk doesn't break is to crack the egg into a shallow bowl, then pick up the egg yolk with your hands. The egg white will easily pull away from the yolk, which you can then place into another bowl.
- Don't over-whip the cream! Whip the cream to until it just reaches stiff peaks. Cream can split very quickly and become grainy.
- Assemble the pie just before serving. Whipped cream can liquify again, so I recommend waiting to whip the cream and assembling the pie until just before serving.
Recipe FAQs
Of course! But if you have the time, I encourage you try homemade. It's so much better than store-bought, and it is surprisingly easy to make!
If you over-mix the whipped cream, it can split and become grainy. Adding a few small spoons or a slow drizzle of heavy cream while slowly mixing should get it smooth again.
You can make the Oreo crust and the chocolate mousse filling a day ahead of serving–just store the assembled pie, covered, in the fridge. You don't have to make the whipped cream until immediately before serving!
Store leftover pie slices covered in the fridge for 2-3 days.
Baking in Grams
All of the recipes on this blog are carefully developed with gram measurements so you can easily recreate them in your own kitchen with success. Volume measurements are extremely inaccurate and leave room for significant errors. Not all measuring cups are made equally, so your one cup of flour will be different from my one cup of flour. By providing precise measurements in grams (aside from minor ingredients, which are given in tsp/tbsp), you can make these recipes accurately and with less cleanup! All you need is this kitchen scale.
If this still isn't enough to convince you, I have provided volume measurements in the recipe card. If you are interested in understanding the conversions, this is the best conversion chart.
But trust me, once you try baking in grams you'll never turn back!
Happy baking! x
Other pie and tart recipes to try
If you tried this recipe, I'd love to know how it turned out for you! Leave a star rating & review below and post a picture (or video!) on Instagram and tag me so I can see your bakes! Not ready to make this recipe yet? Click the heart button on the right of your screen to save it for later 🙂
📖 Recipe

No Bake Chocolate Mousse Pie
Ingredients
For the Oreo crust:
- 20 oreos
- 56 g (4 tablespoon) unsalted butter, melted
For the chocolate mousse filling:
- 4 large eggs, separated
- 133 g (⅔ cup) granulated sugar, divided
- 227 g (8 oz) bittersweet chocolate
- 1 teaspoon vanilla extract
- 113 g (8 tablespoon) unsalted butter, room temp
For the whipped cream:
- 340 g (1 ½ cups) heavy cream, cold
- 36 g (3 tablespoon) granulated sugar
Instructions
For the Oreo crust:
- In a food processor, add the Oreos and pulse until they become fine crumbs. Add the melted butter and mix until combined.
- Press the Oreo mixture into the bottom and sides of a 9” pie dish, packing it in with the back of a spoon or a small cup. Place in the freezer while you make the chocolate mousse filling.
For the chocolate mousse filling:
- In a medium bowl, whisk together the egg yolks and 66g (⅓ cup) sugar until it's pale in color and flows off of the whisk. Then, place over a small pot of simmering water, whisking frequently until it reaches 160 F.
- Turn the heat down to low and mix in the chocolate and vanilla until fully melted. It will turn into a thick, fudge-like consistency. Set aside to cool for a few minutes.
- In the bowl of a stand mixer fitted with the paddle attachment, cream the butter on medium speed for 2-3 minutes until light and fluffy.
- Add in the egg yolk, chocolate mixture, then turn the mixer up to high speed for about 3 minutes until fluffy. Don’t worry if it starts to split, it will all come together once the meringue is added!
- In a separate medium bowl, whisk together the egg whites and remaining sugar. Place over a small pot of simmering water, whisking frequently until it reaches 160 F. Remove the bowl from heat and use an electric hand mixer to beat until stiff peaks form.
- Gently fold the meringue into the into the chocolate mixture until no white streaks are left.
- Pour the chocolate mousse filling into the Oreo crust and smooth out the top with an offset spatula. Place in the fridge to chill for at least 3 hours or overnight.
For the whipped cream:
- Just before serving the pie, make the whipped cream.
- In a large measuring cup or bowl, add the cold heavy cream and sugar. Use an electric mixer to whip the cream until stiff peaks form. Careful not to over-whip the cream, as it can quickly split and become grainy!
- Top the pie with the whipped cream, and add chocolate shavings, if desired. Enjoy!
Notes
- If you don't have a food processor, crush the Oreos with a rolling pin. Place the Oreos in a double lined ziplock bag, and use a rolling pin to crush them into fine crumbs! Then pour them into a bowl, and stir in the melted butter.
- Separate the eggs with your hands. The best way to separate an egg and ensure the egg yolk doesn't break is to crack the egg into a shallow bowl, then pick up the egg yolk with your hands. The egg white will easily pull away from the yolk, which you can then place into another bowl.
- Don't over-whip the cream! Whip the cream to until it just reaches stiff peaks. Cream can split very quickly and become grainy.
- Assemble the pie just before serving. Whipped cream can liquify again, so I recommend waiting to whip the cream and assembling the pie until just before serving.
Comments
No Comments