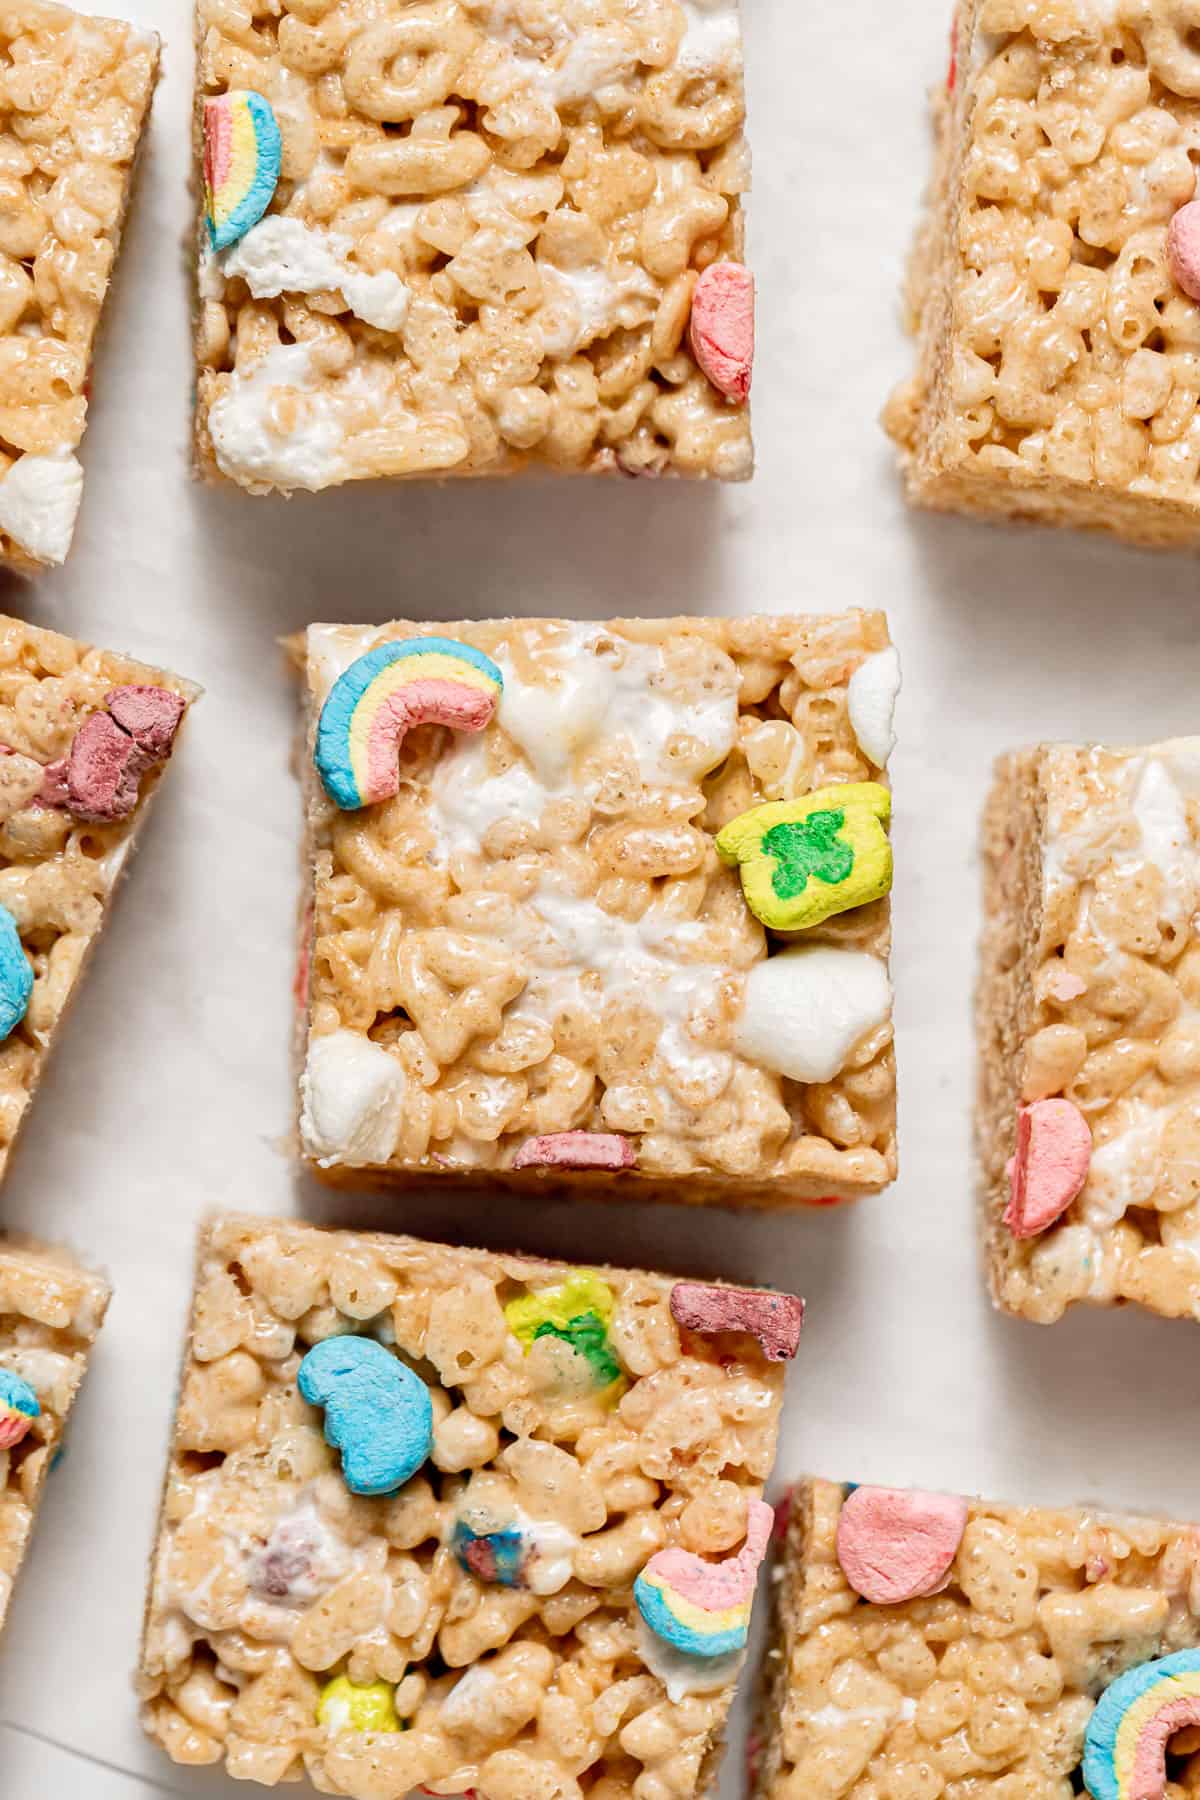
Make your day a little more magical with these lucky charms rice krispie treats! The combination of gooey marshmallows, lucky charms cereal, and rice krispies create an easy, yet delicious no bake dessert. They're a fun everyday baking project or even a festive recipe for St. Patrick's Day!
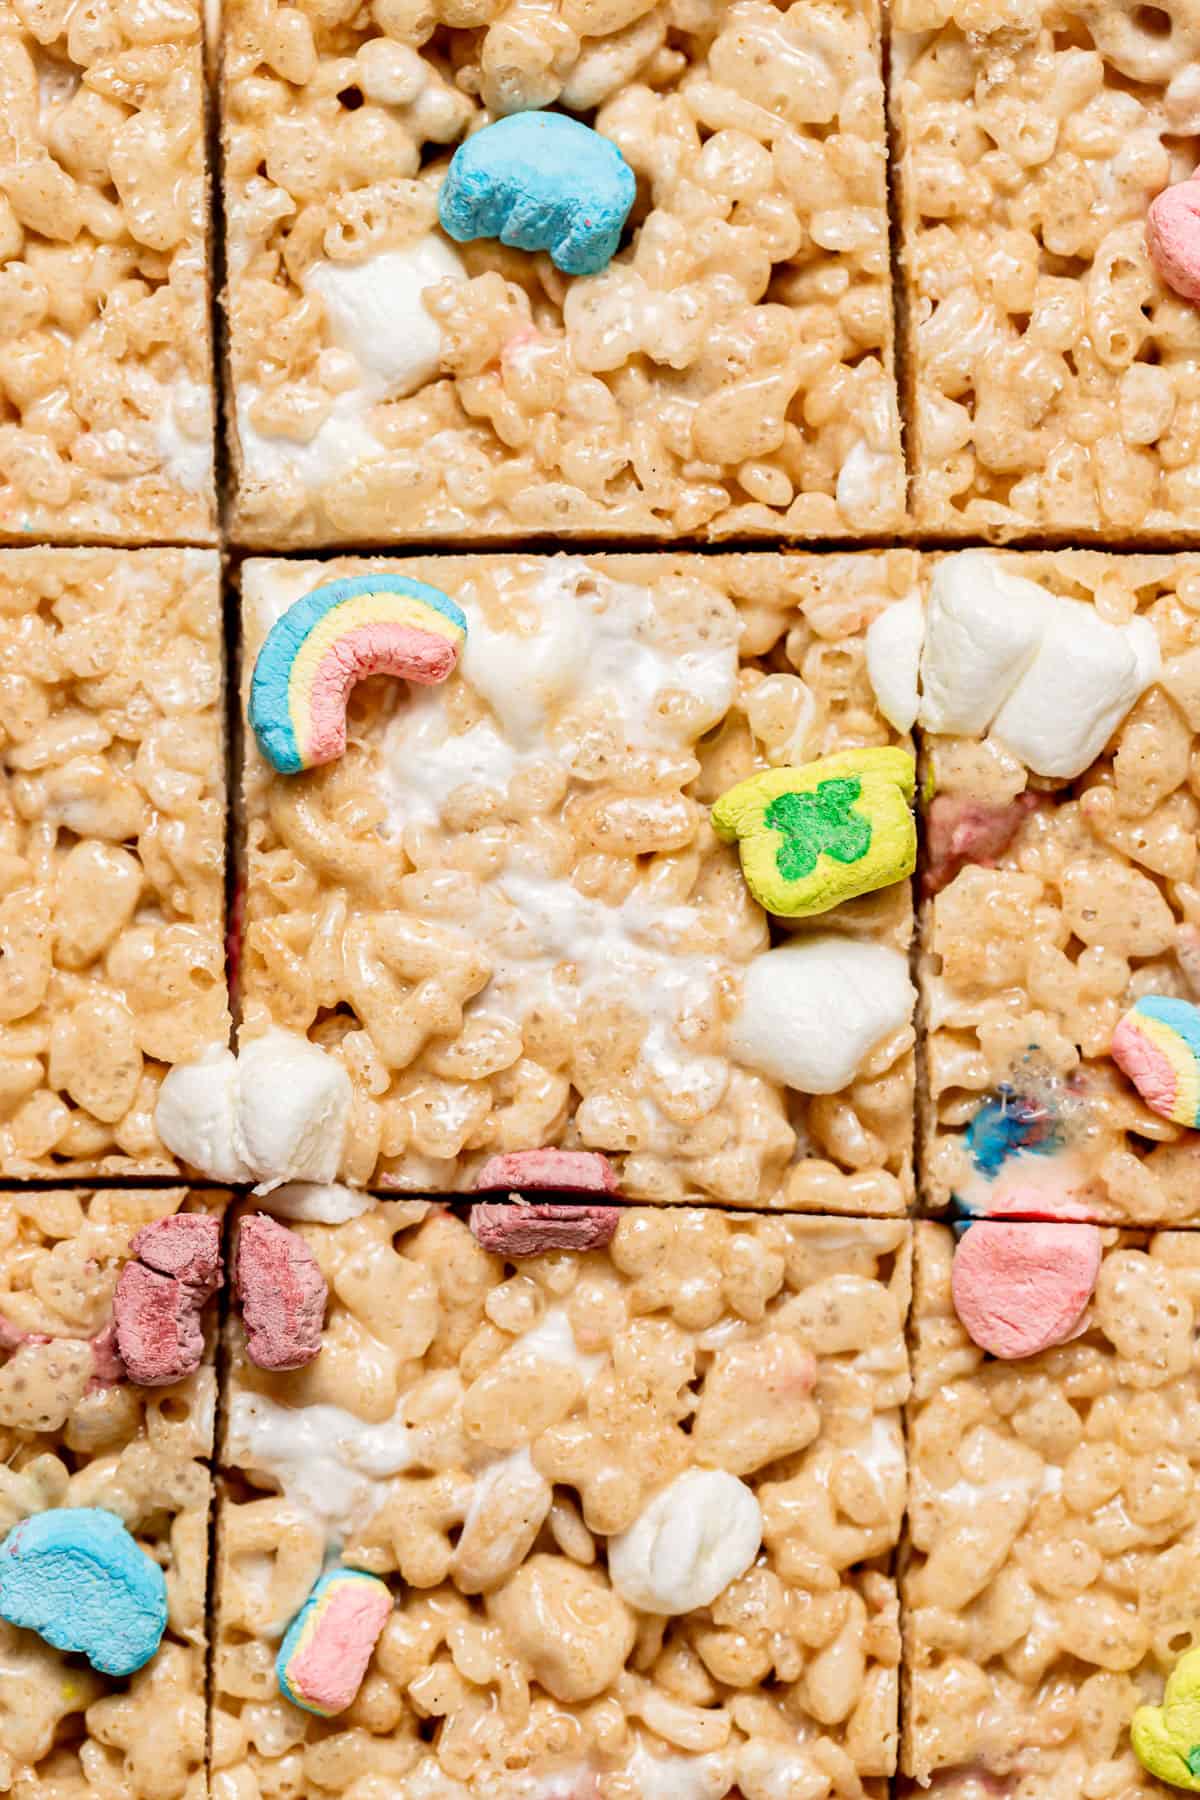
These lucky charms rice krispie treats are such a fun, nostalgic dessert to make this spring! They're filled with crisp rice cereal, gooey marshmallows, and the iconic lucky charms shapes that everyone knows and loves. Plus, they're made with only five ingredients and come together in just 30 minutes - without even turning on the oven! Make this festive spin on the classic rice krispie treat for your St. Patty's Day celebrations, as a baking project for the kids, or just for an easy, unique treat on a warm spring day.
For more spring recipes, try Deep Dish Coconut Cream Pie, Small Batch Lemon Bars, and Mini Carrot Cake with Brown Butter Cream Cheese Frosting.
Jump to Recipe
Why you'll love these lucky charms rice krispie treats
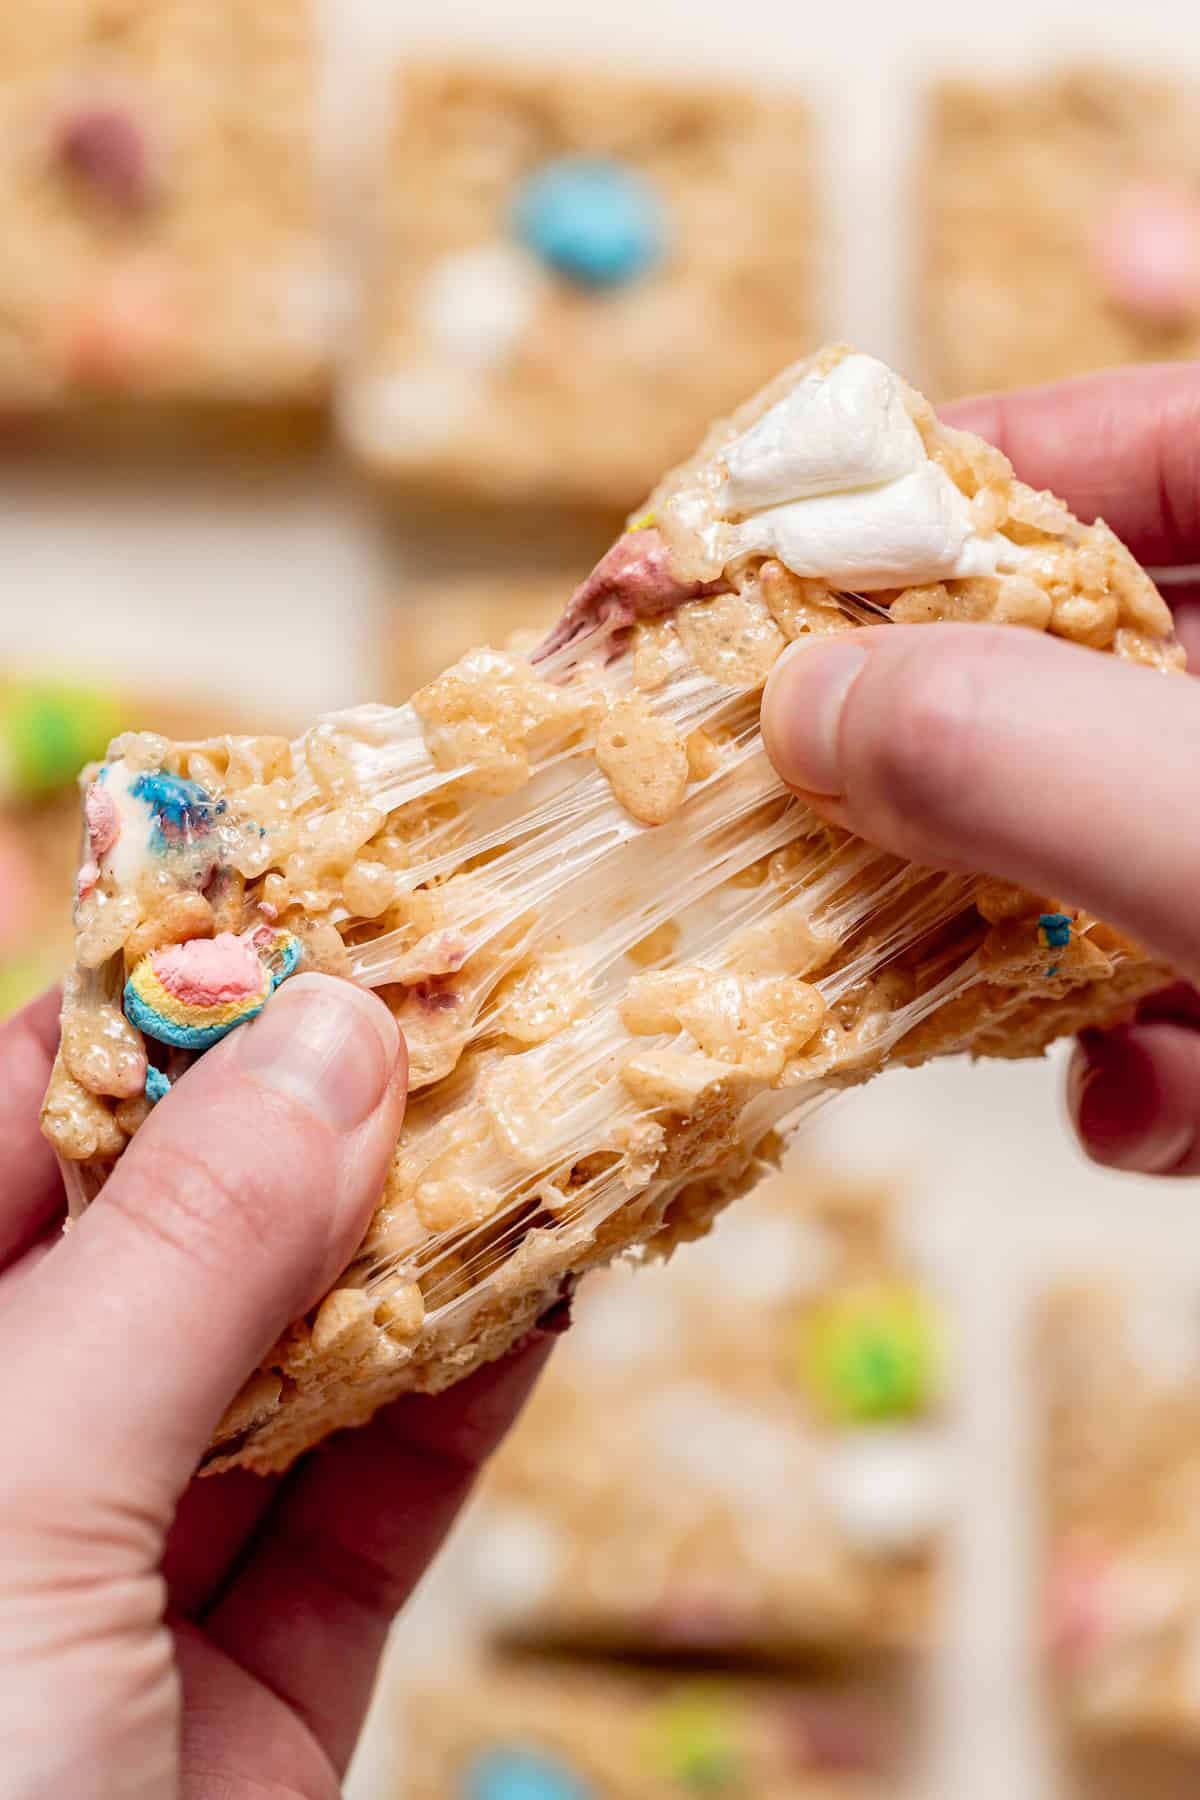
- Chewy & Gooey Texture: Melted, gooey marshmallows and nutty brown butter make these rice krispie treats super chewy, soft, and delicious!
- Fun, Festive Dessert: Whether you just love Lucky Charms or you're baking for St. Patrick's Day, these rice krispie treats are a fun and festive dessert to enjoy this spring!
- Easy No-Bake Recipe: This recipe only calls for one pot, one pan, and no bake time, making it an incredibly simple yet satisfying dessert!
Ingredient Notes
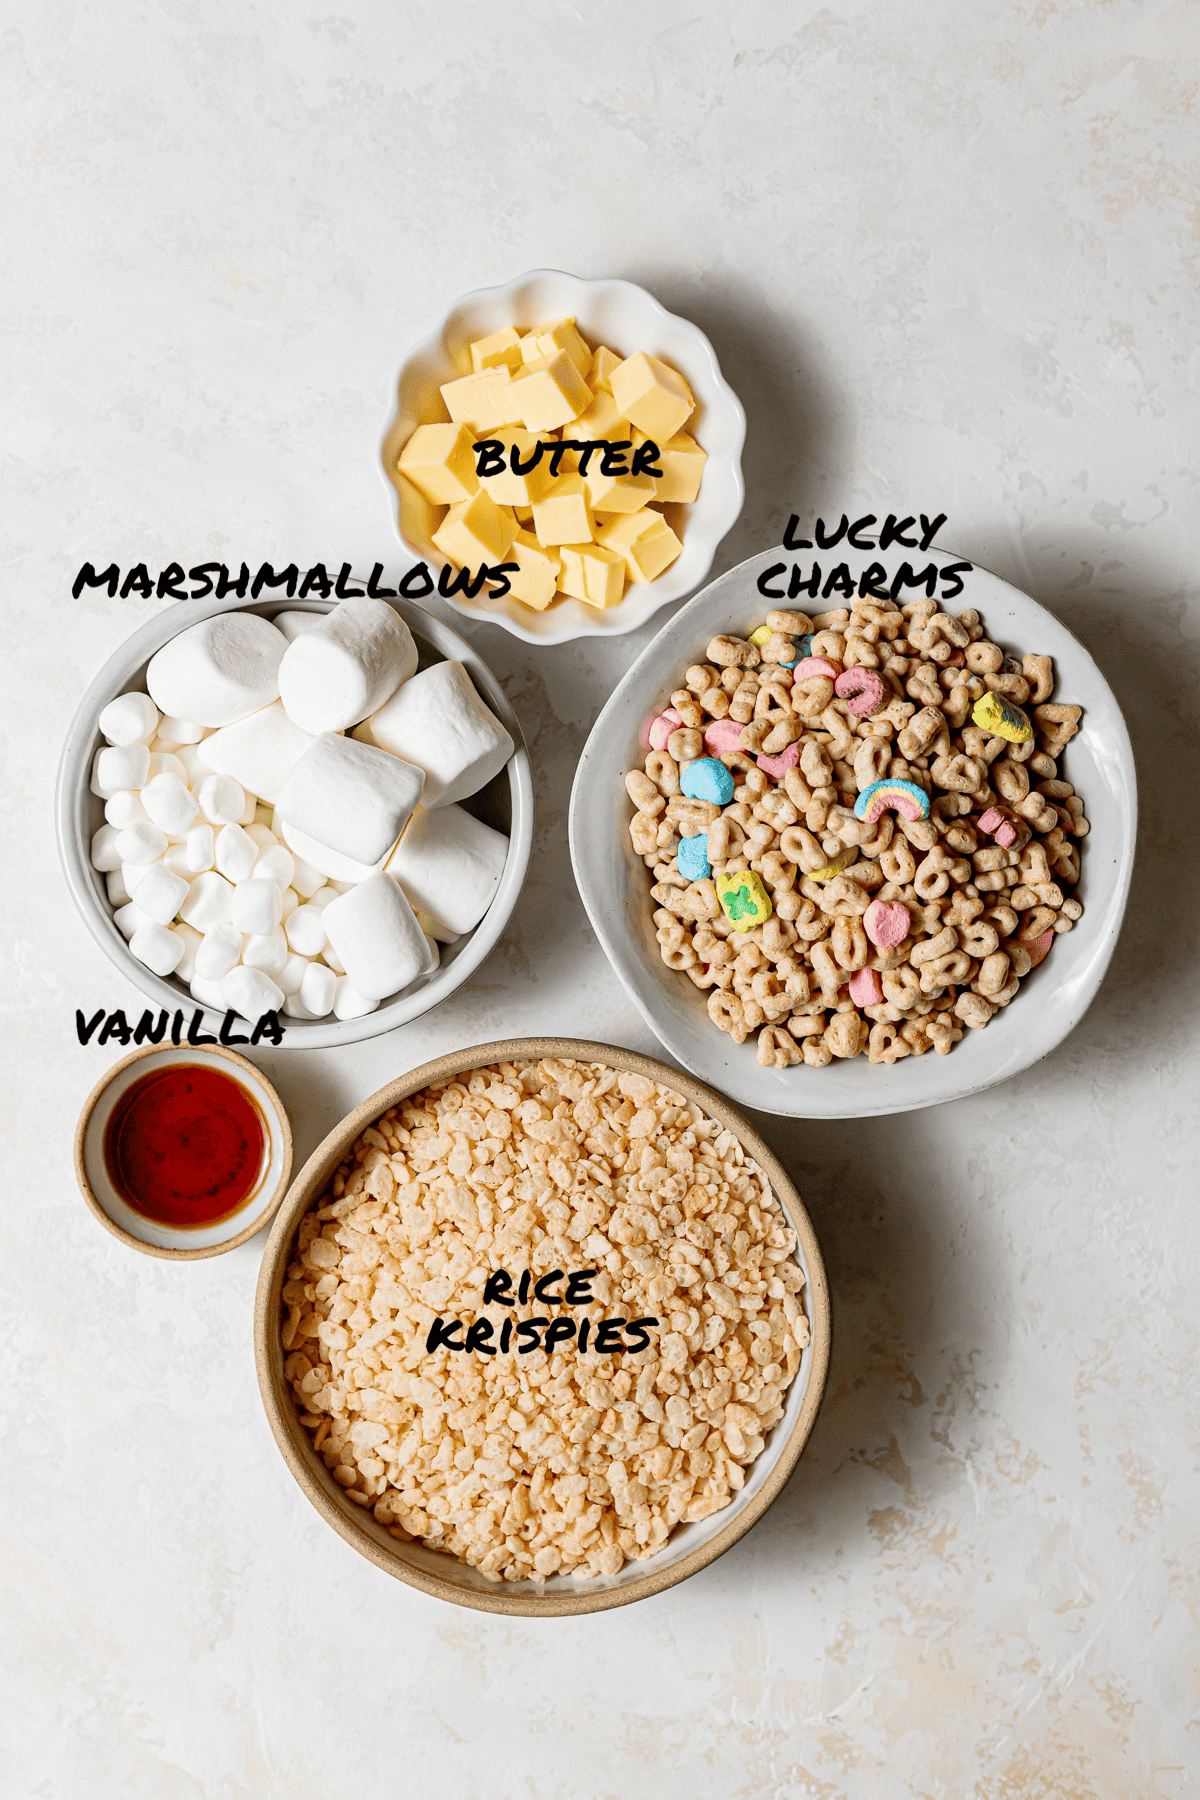
- Rice Krispies: Use your favorite brand of rice cereal for the base of these rice krispie treats.
- Lucky Charms: Be sure to save some of the decorative marshmallows for topping your rice krispies!
- Marshmallows: Use large marshmallows to melt and mini marshmallows to top!
- Unsalted Butter: Use high quality European-style butter for best overall flavor.
- Vanilla: Add a high quality vanilla extract for optimal flavor.
See recipe card for full information on ingredients and individual quantities.
Step by Step Instructions
Here are step by step photos and instructions on how to make this lucky charms rice krispie treats recipe! For the full ingredient list and method, see the recipe card at the end of this post.
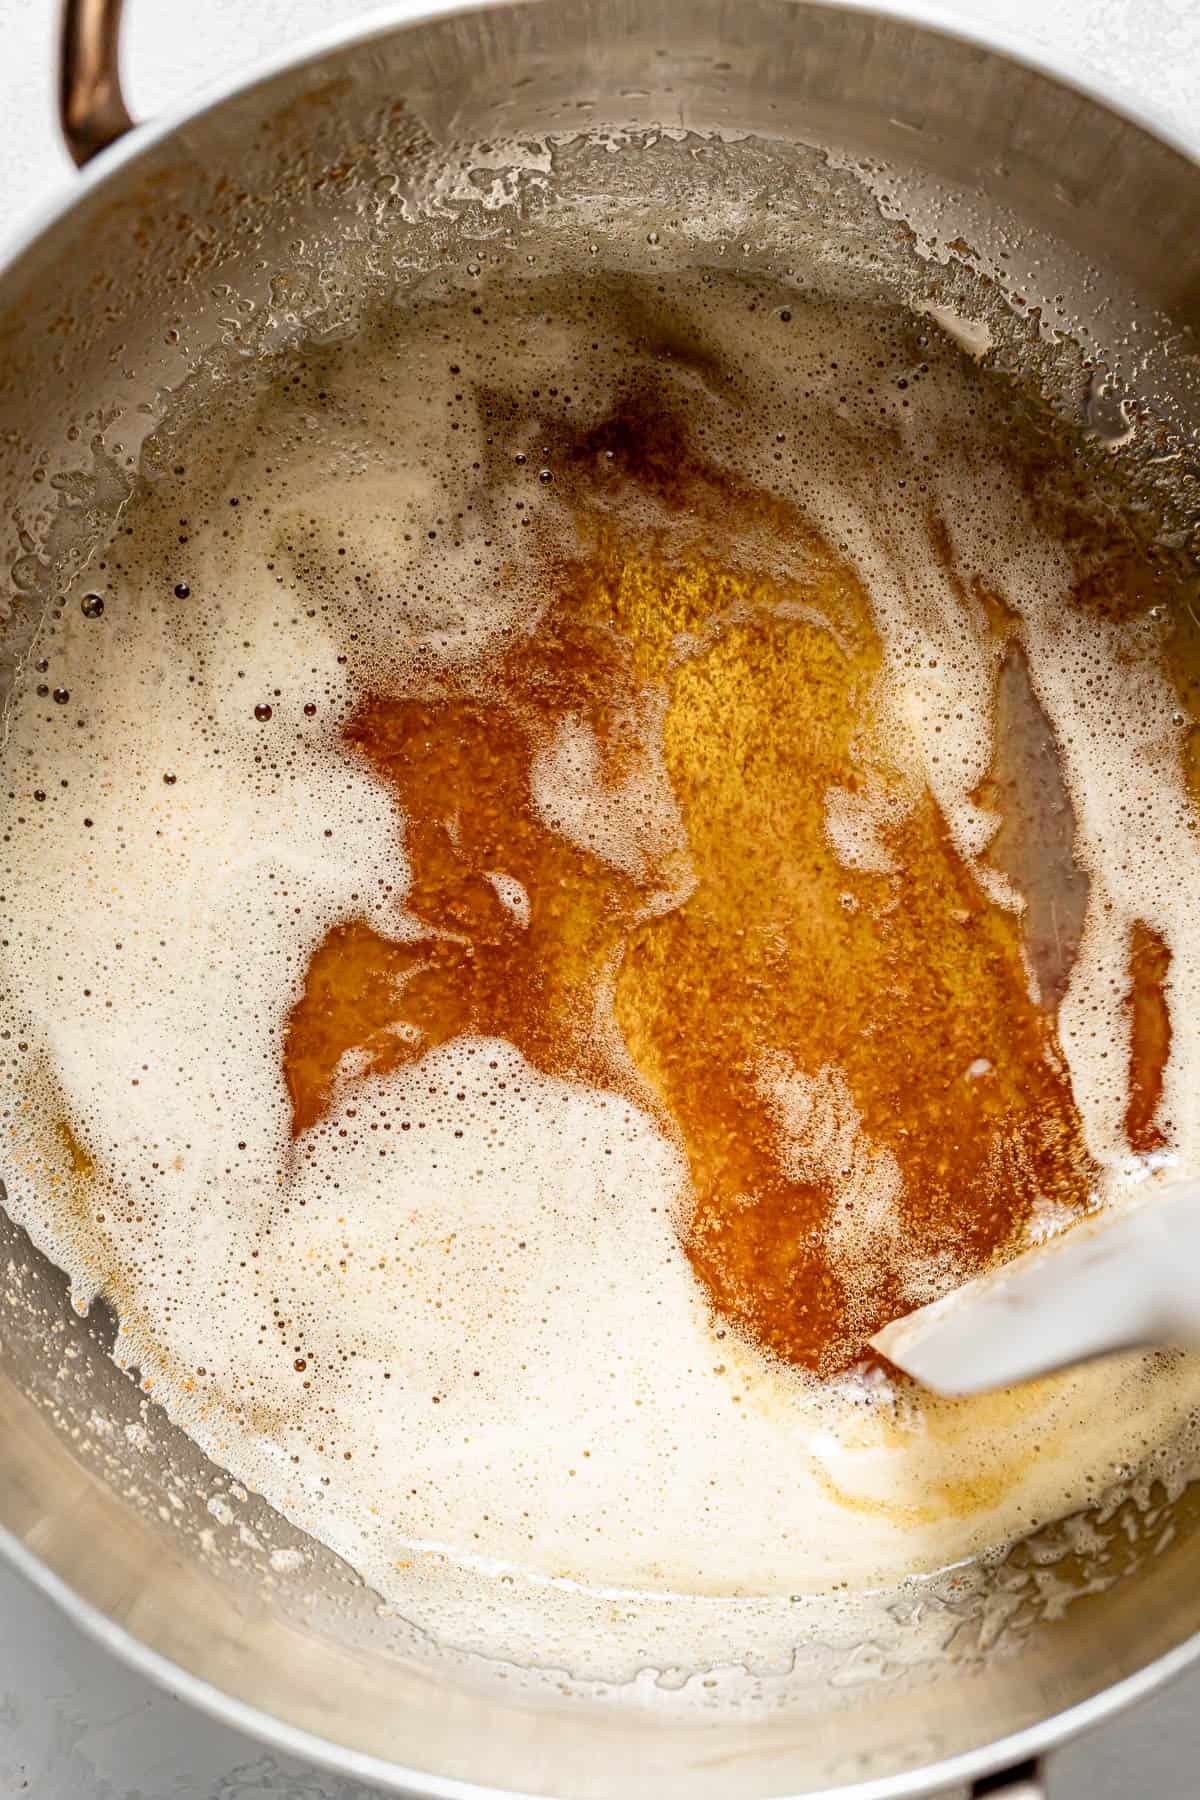
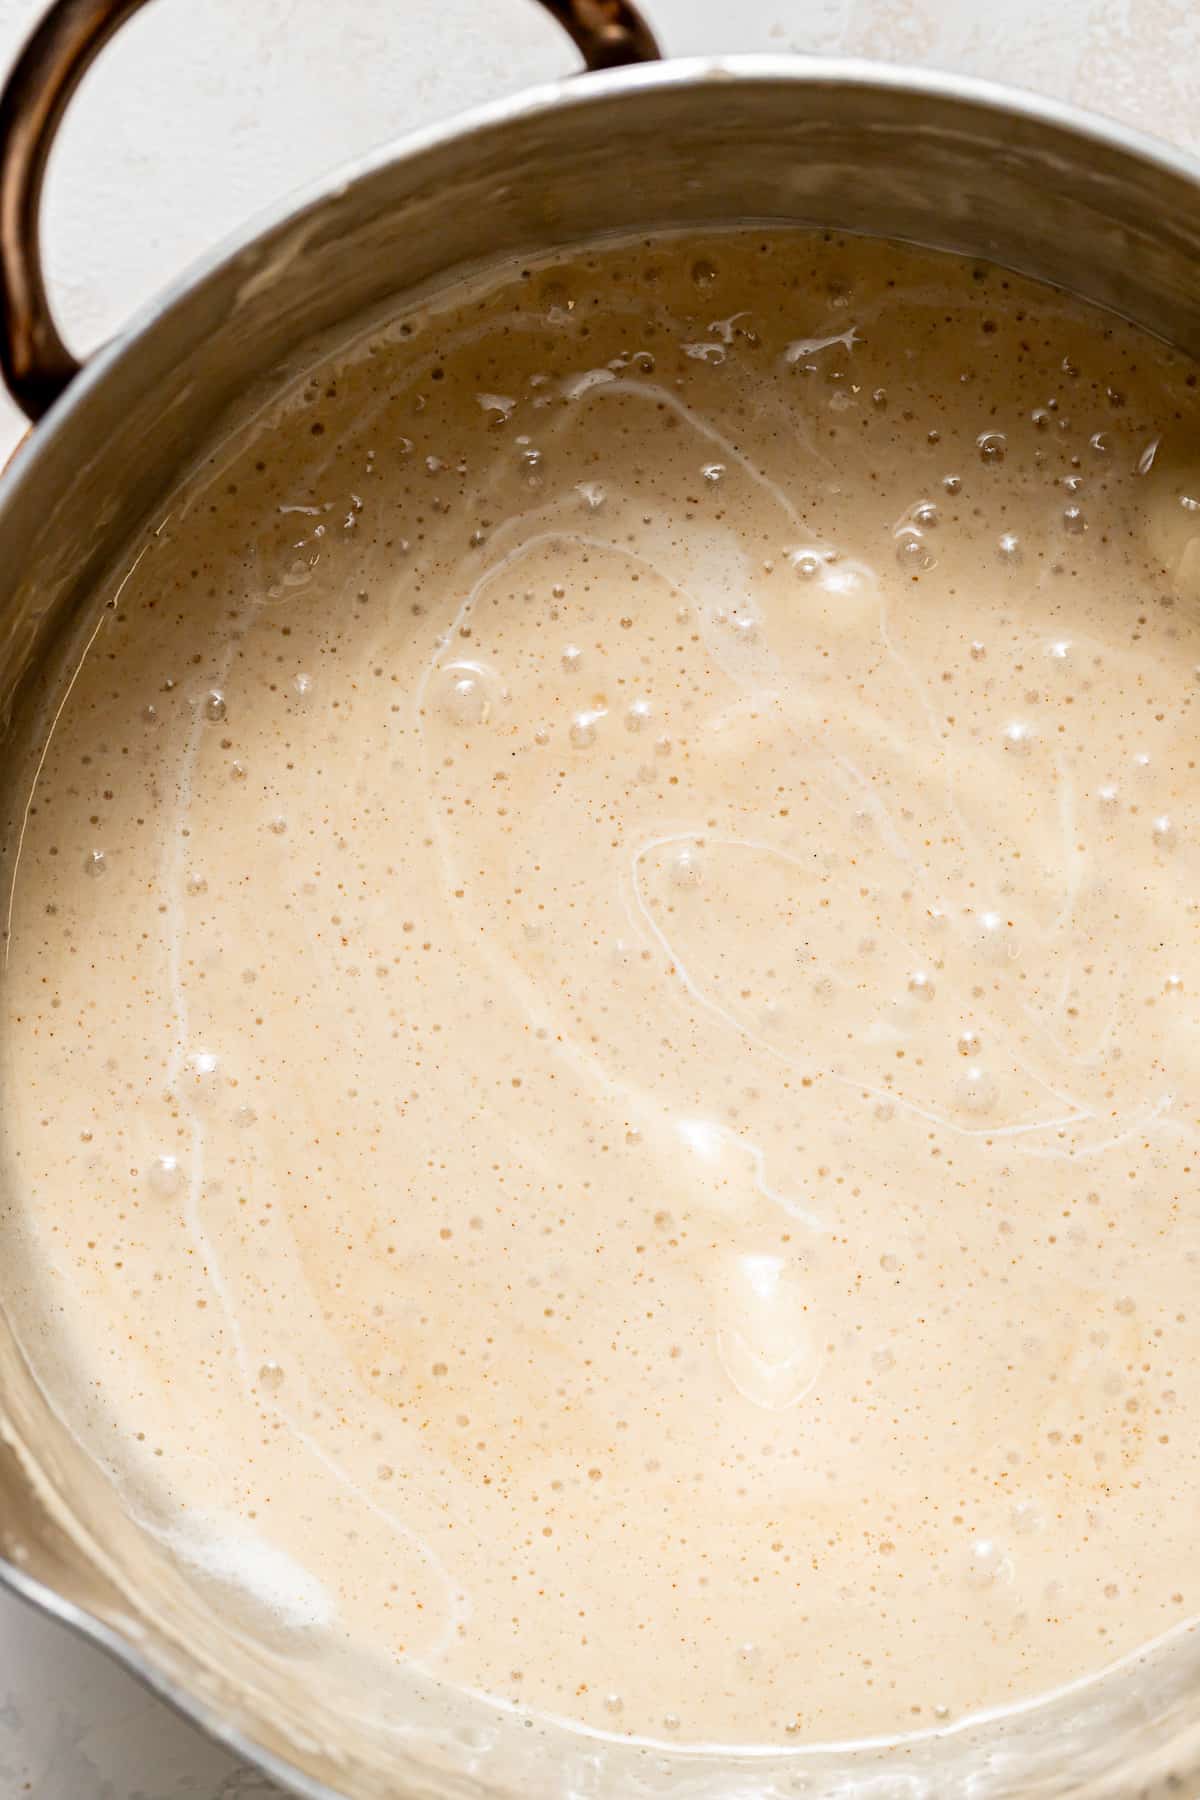
STEP 1: Brown the butter. In a large saucepan over medium heat, brown the butter. As the butter melts, stir it with a rubber spatula to encourage even cooking. Once the butter has fully melted, it will alternate between rapid large bubbles and gentle small foamy bubbles. The butter will be ready once it turns a dark golden color and the fat solids have darkened and settled at the bottom of the pan.
STEP 2: Add marshmallows and vanilla. Once the butter has browned, turn the heat down to low and add the 12 oz bag of marshmallows and vanilla. Stir frequently until fully melted, then remove from heat.
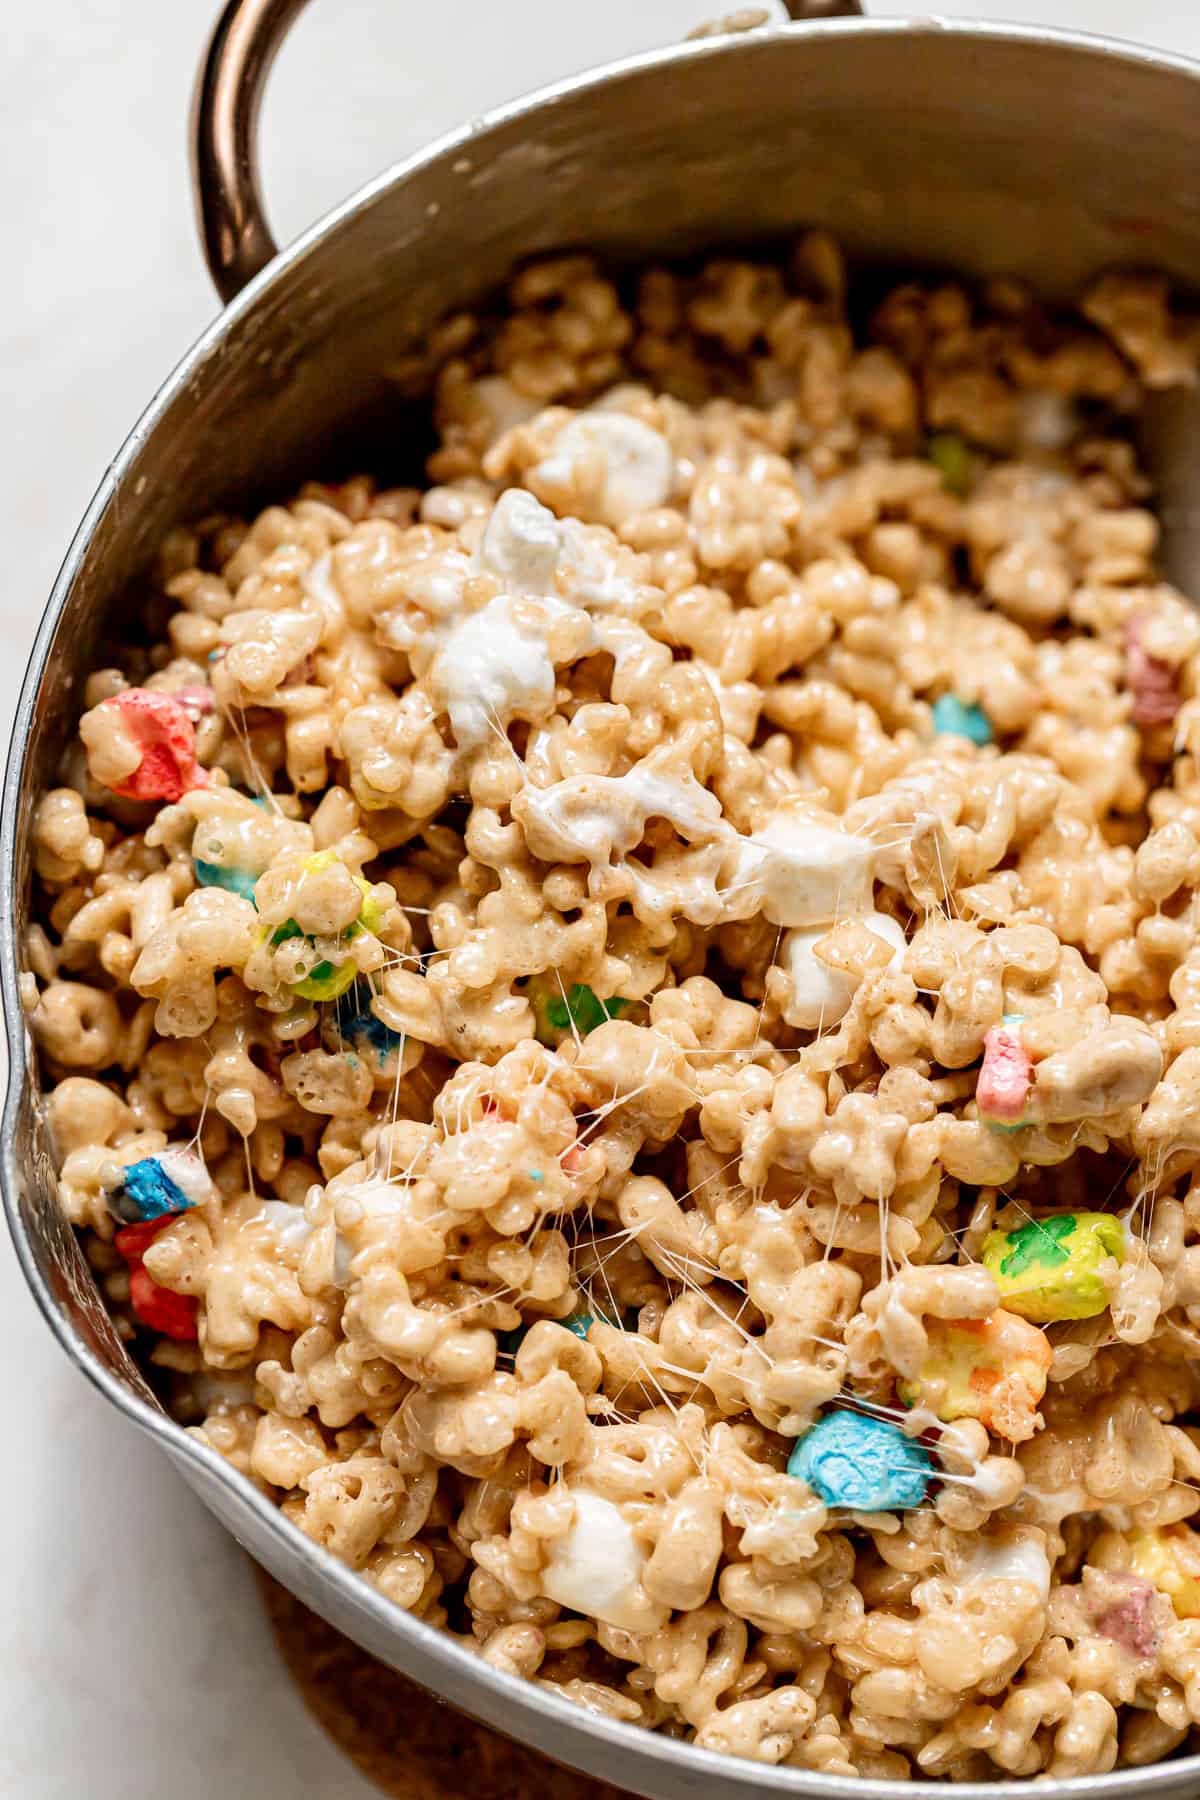
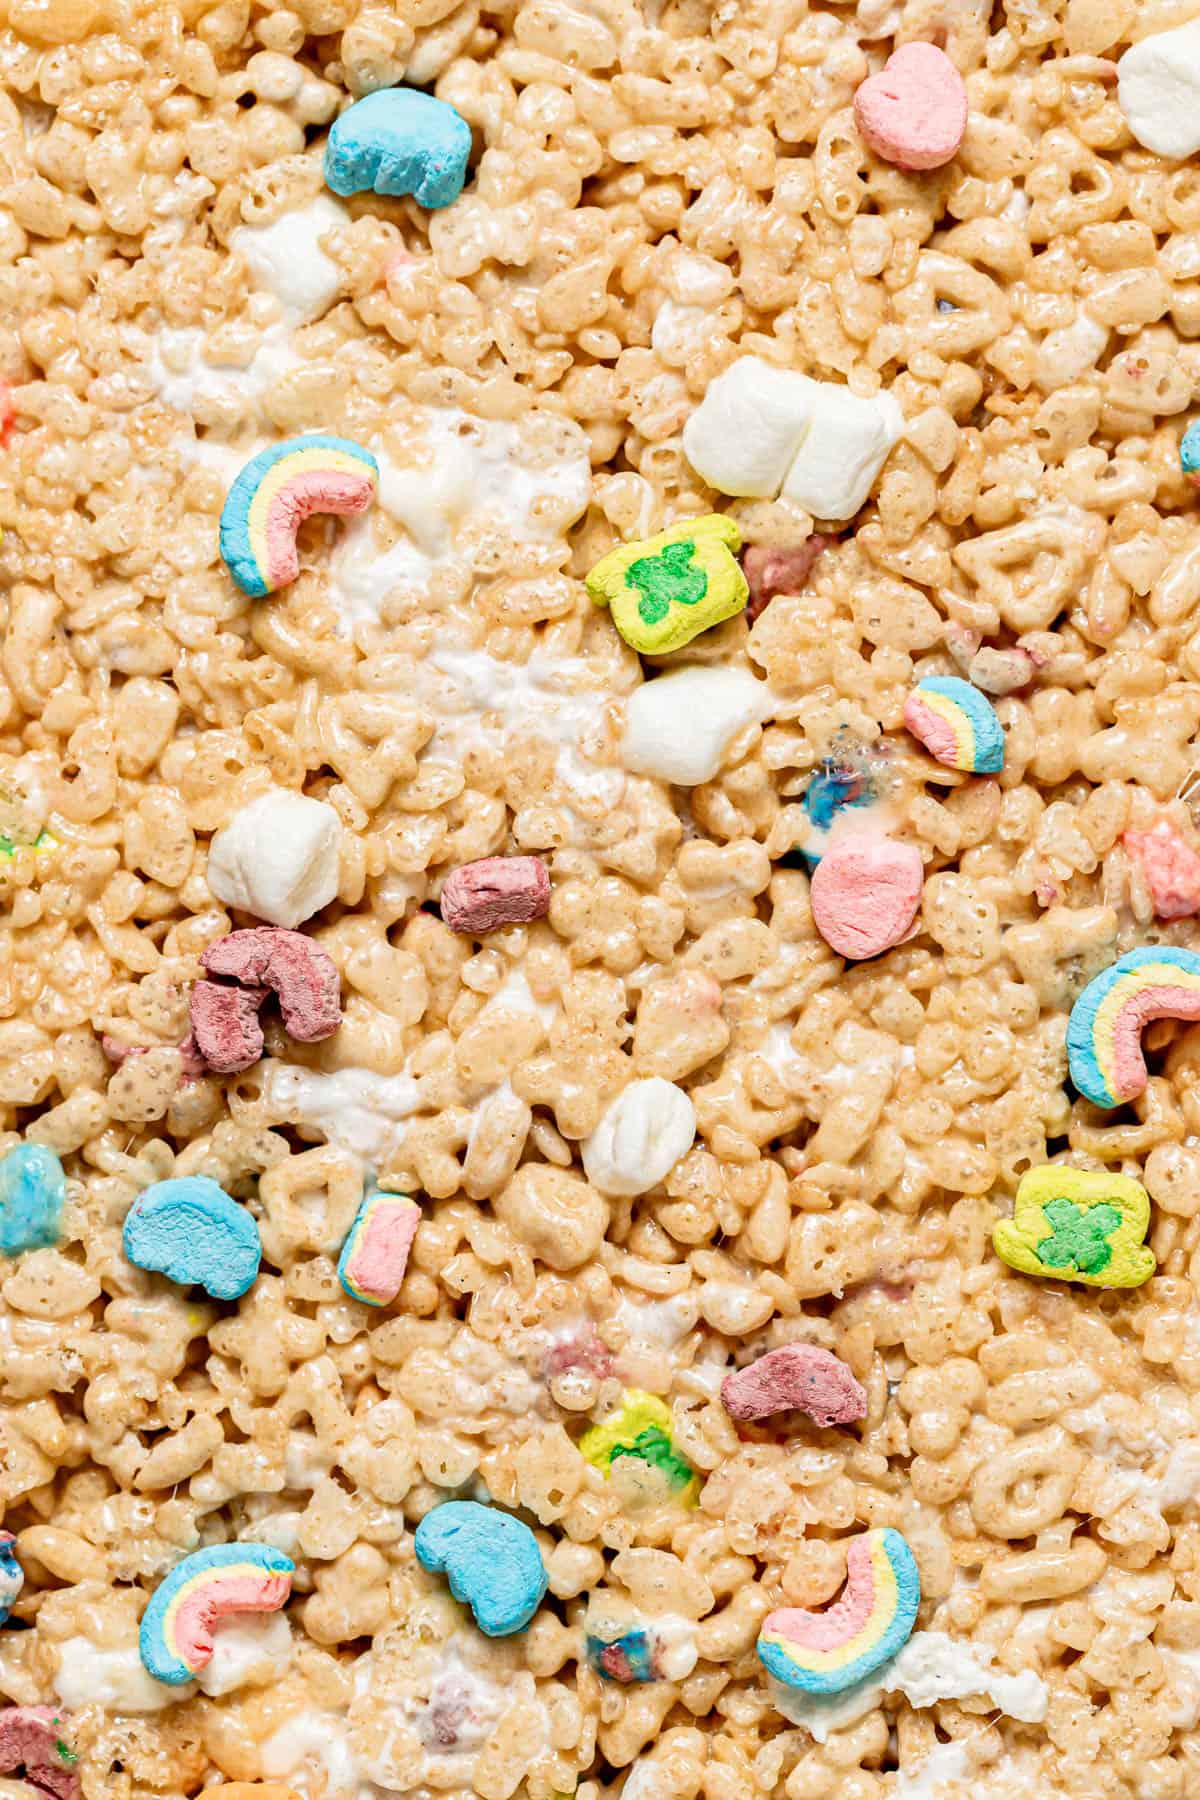
STEP 3: Fold in cereals. Immediately fold in the lucky charms and rice krispies cereals until nearly fully coated in the melted marshmallow. Lastly, mix in the reserved lucky charms marshmallows and additional mini marshmallows.
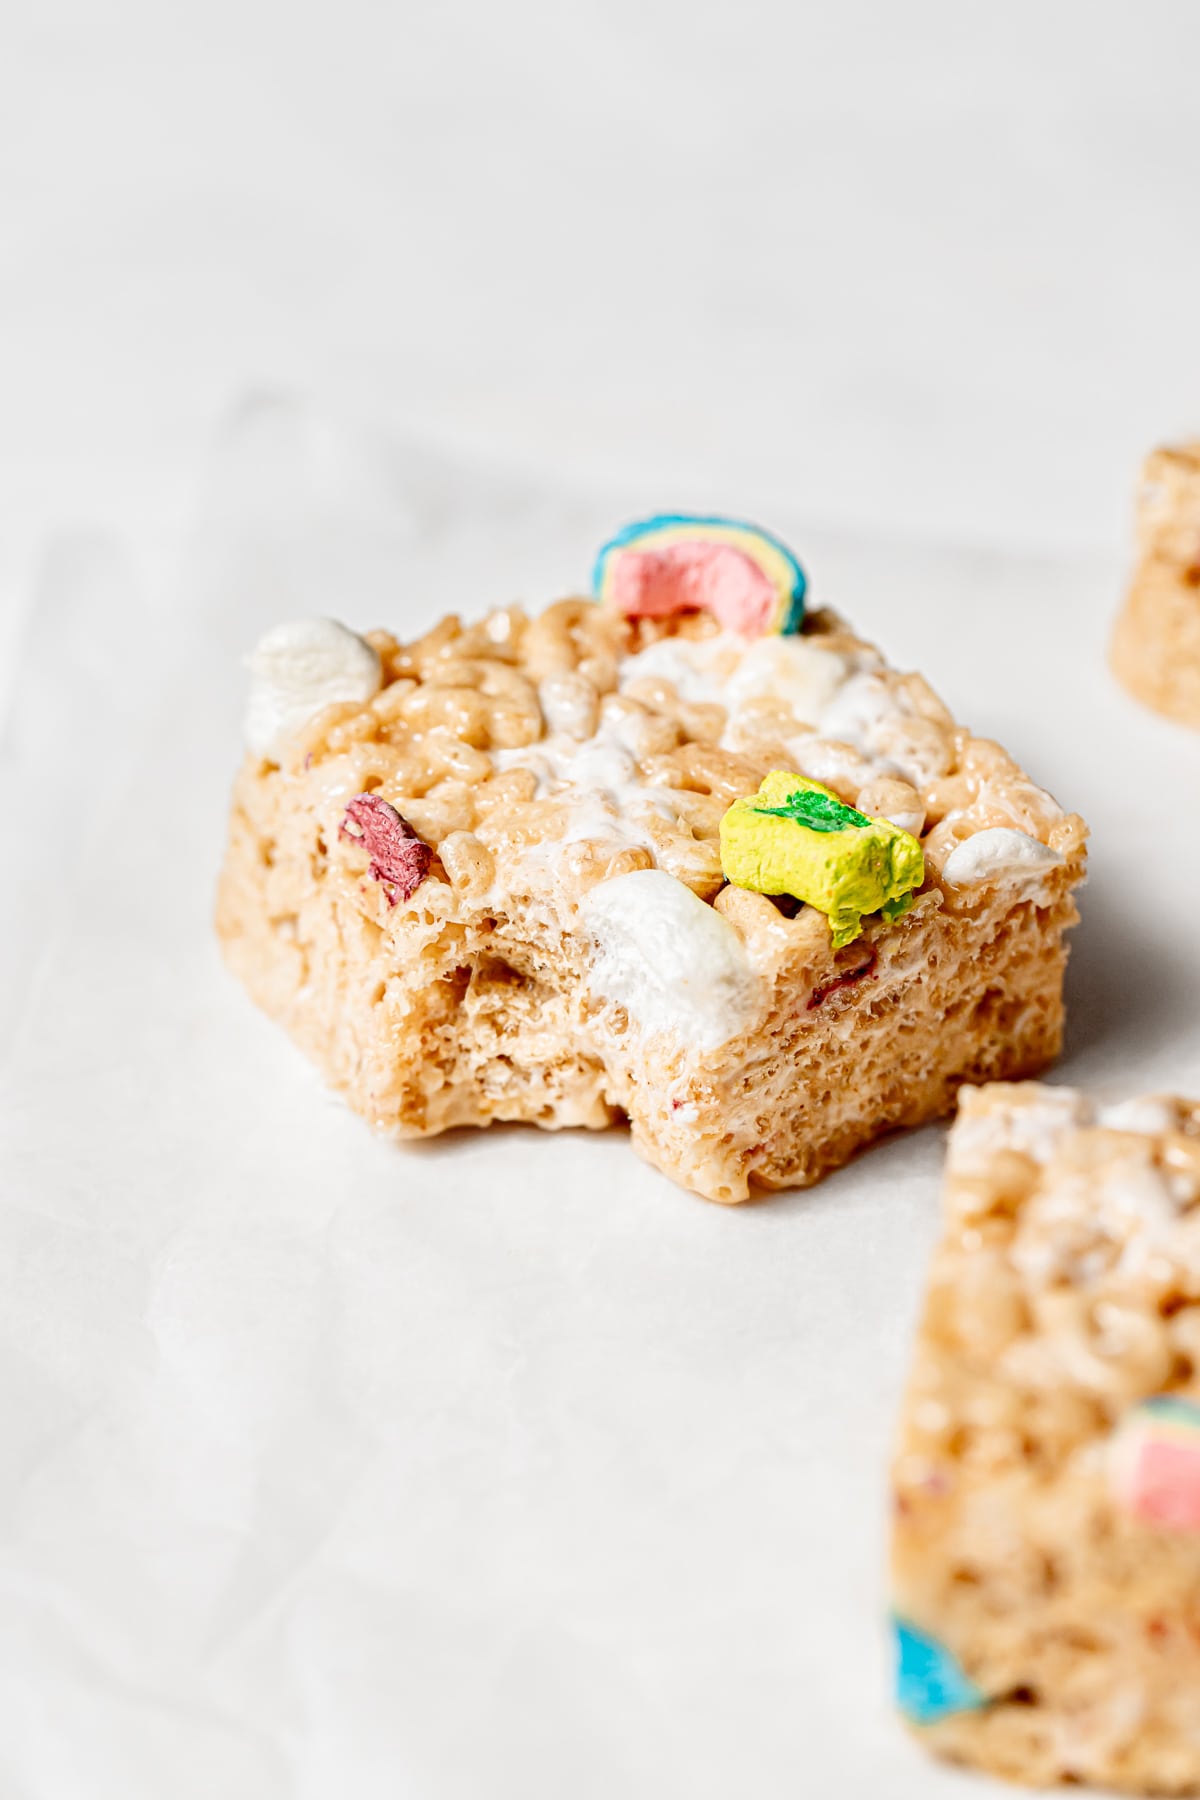
STEP 4: Pour in pan and chill. Moving quickly, pour the rice krispie treat mixture out of your large pot into the prepared pan or baking dish. Grease the bottom of a small measuring cup or spoon with butter and use to pack the mixture into an even layer. Top with additional lucky charms marshmallows, if desired. Cover the rice krispie treats and allow to set at room temperature for one hour or in the fridge for 20-30 minutes. Use a sharp knife greased with butter to cut the rice krispie treats into 16 squares, and enjoy!
Expert Baking Tips
- Line your pan with parchment paper and liberally grease it... with softened butter, cooking spray, or a neutral oil. This will ensure the rice krispie treats don't stick to the paper or pan!
- Move quickly. Once you have fully mixed in all of your add-ins, quickly transfer the mixture to the baking pan. If you wait too long, it becomes too sticky and difficult to work with.
- Use a small measuring cup or spoon... to flatten the rise krispie treats out into the square pan. Grease the bottom with softened butter to prevent it from sticking!
- Grease a sharp knife... to easily cut 16 clean squares.
Recipe FAQs
1. Line your pan with parchment paper and grease the parchment paper with nonstick cooking spray or a neutral oil. This will ensure the rice krispie treats don't stick to the paper or pan!
2. Once you have fully mixed in all of your add-ins, quickly transfer the mixture to the baking pan. If you wait too long, it becomes too sticky and difficult to work with.
3. Use a ⅓ measuring cup or small glass to flatten the rise krispie treats out into the square pan.
4. Allow them to set at room temperature for at least one hour before cutting.
5. Use a very sharp knife and grease it lightly for easy, clean cuts.
The best part about homemade rice krispie treats is that they are fully customizable so you can add all of your favorite add-ins! Use different colored candies, chocolates, or leave plain!
Store these lucky charms rice krispie treats in an airtight container at room temperature for about 1 week or in the freezer for up to 3 months.
Baking in Grams
All of the recipes on this blog are carefully developed with gram measurements so you can easily recreate them in your own kitchen with success. Volume measurements are extremely inaccurate and leave room for significant errors. Not all measuring cups are made equally, so your one cup of flour will be different from my one cup of flour. By providing precise measurements in grams (aside from minor ingredients, which are given in tsp/tbsp), you can make these recipes accurately and with less cleanup! All you need is this kitchen scale.
If this still isn't enough to convince you, I have provided volume measurements in the recipe card. If you are interested in understanding the conversions, this is the best conversion chart.
But trust me, once you try baking in grams you'll never turn back!
Happy baking! x
Other spring recipes to try
If you tried this recipe, I'd love to know how it turned out for you! Leave a star rating & review below and post a picture (or video!) on Instagram and tag me so I can see your bakes! Not ready to make this recipe yet? Click the heart button on the right of your screen to save it for later 🙂
📖 Recipe
Lucky Charms Rice Krispie Treats
Equipment
Ingredients
- 85 g (6 tablespoon) salted butter
- 12 oz (12 oz) marshmallows
- 1 tablespoon vanilla extract
- 108 g (3 cups) lucky charms cereal, separate marshmallows if desired
- 80 g (3 cups) rice krispies cereal
- 50 g (1 cup) mini marshmallows, optional
Instructions
- Line a 9-inch square pan with parchment paper and liberally grease with softened butter. Set aside.
- In a large saucepan over medium heat, brown the butter. As the butter melts, stir it with a rubber spatula to encourage even cooking. Once the butter has fully melted, it will alternate between rapid large bubbles and gentle small foamy bubbles. The butter will be ready once it turns a dark golden color and the fat solids have darkened and settled at the bottom of the pan.
- Once the butter has browned, turn the heat down to low and add the 12 oz bag of marshmallows and vanilla. Stir frequently until fully melted, then remove from heat.
- Immediately fold in the lucky charms and rice krispies cereals until nearly fully coated in the melted marshmallow. Lastly, mix in the reserved lucky charms marshmallows and additional mini marshmallows.
- Moving quickly, pour the rice krispie treat mixture into the prepared pan. Grease the bottom of a small measuring cup or spoon with butter and use to pack the mixture into an even layer. Top with additional lucky charms marshmallows, if desired.
- Cover the rice krispie treats and allow to set at room temperature for one hour or in the fridge for 20-30 minutes.
- Use a sharp knife greased with butter to cut the rice krispie treats into 16 squares, and enjoy!
Notes
- Line your pan with parchment paper and liberally grease it... with softened butter, cooking spray, or a neutral oil. This will ensure the rice krispie treats don't stick to the paper or pan!
- Move quickly. Once you have fully mixed in all of your add-ins, quickly transfer the mixture to the baking pan. If you wait too long, it becomes too sticky and difficult to work with.
- Use a small measuring cup or spoon... to flatten the rise krispie treats out into the square pan. Grease the bottom with softened butter to prevent it from sticking!
- Grease a sharp knife... to easily cut 16 clean squares.

Comments
No Comments