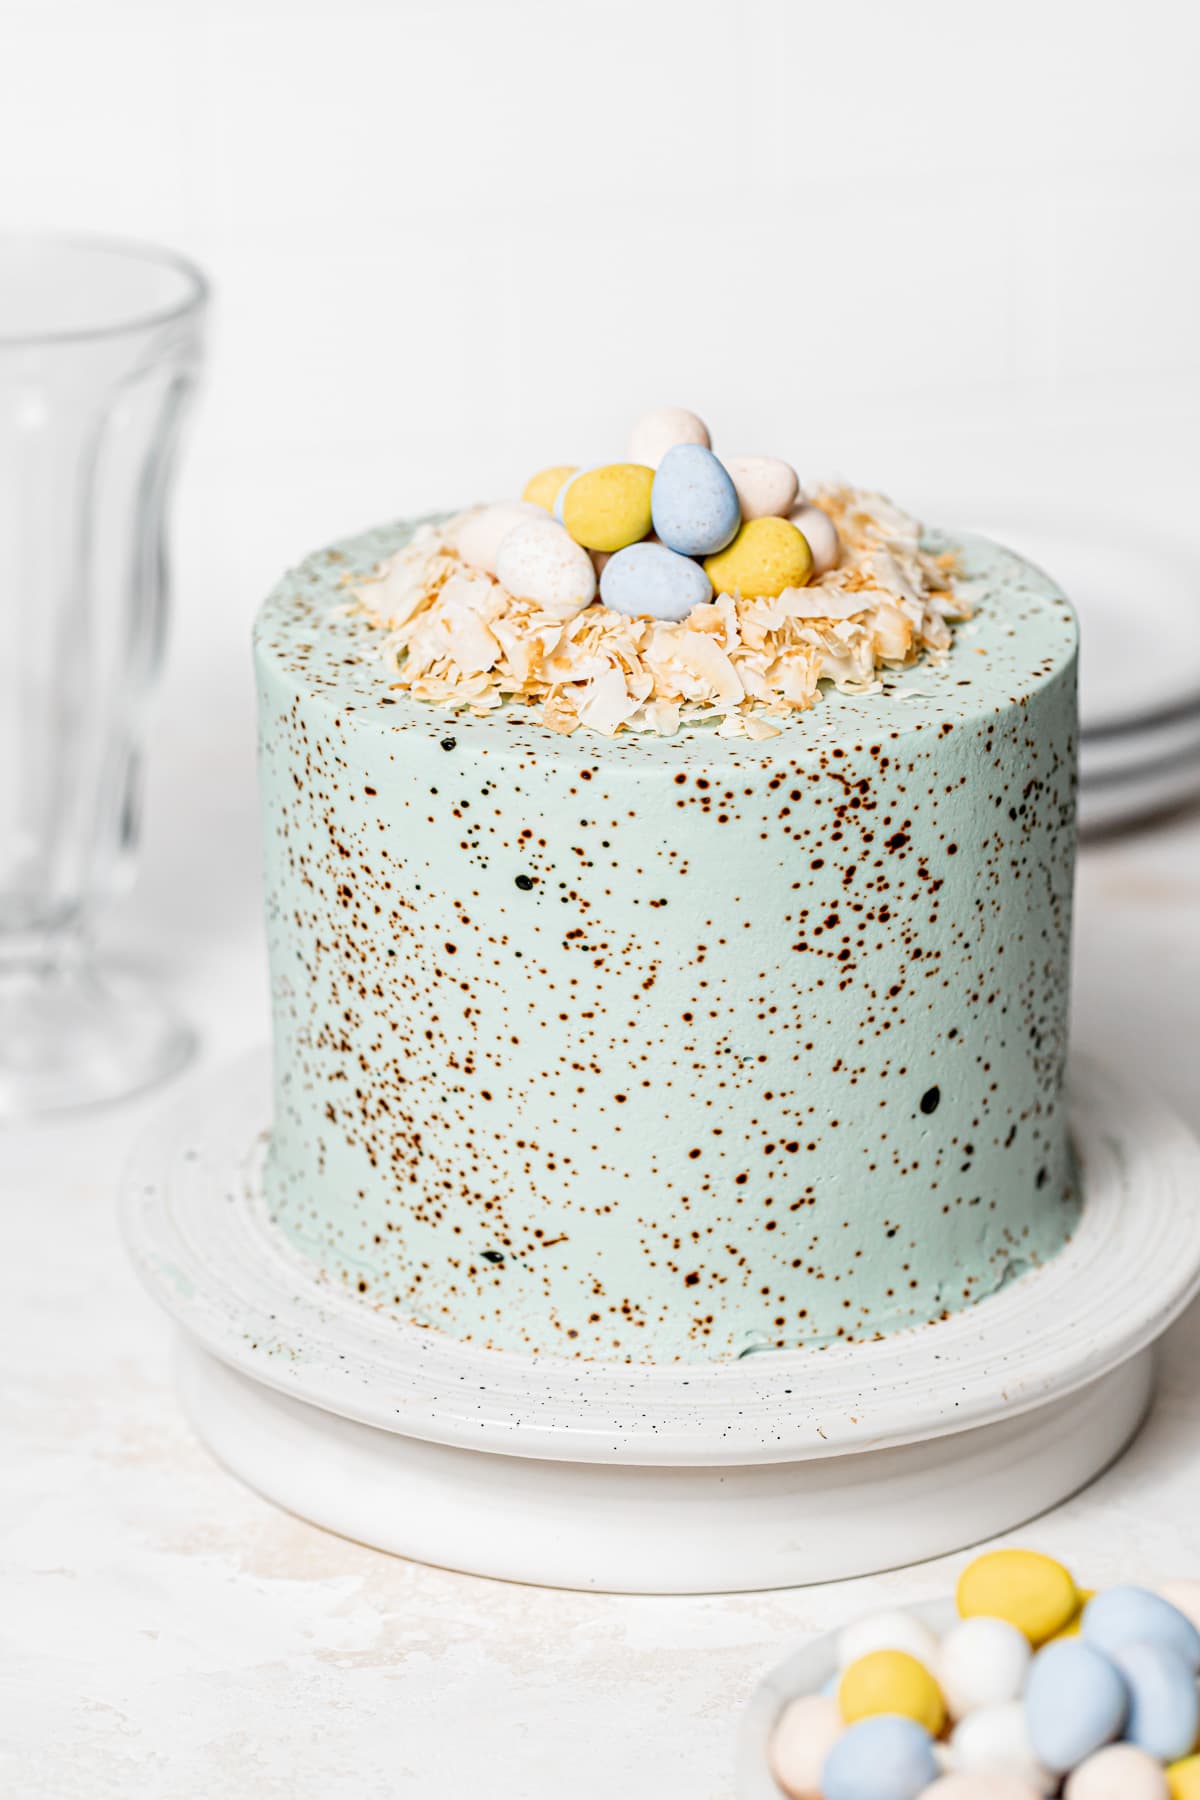
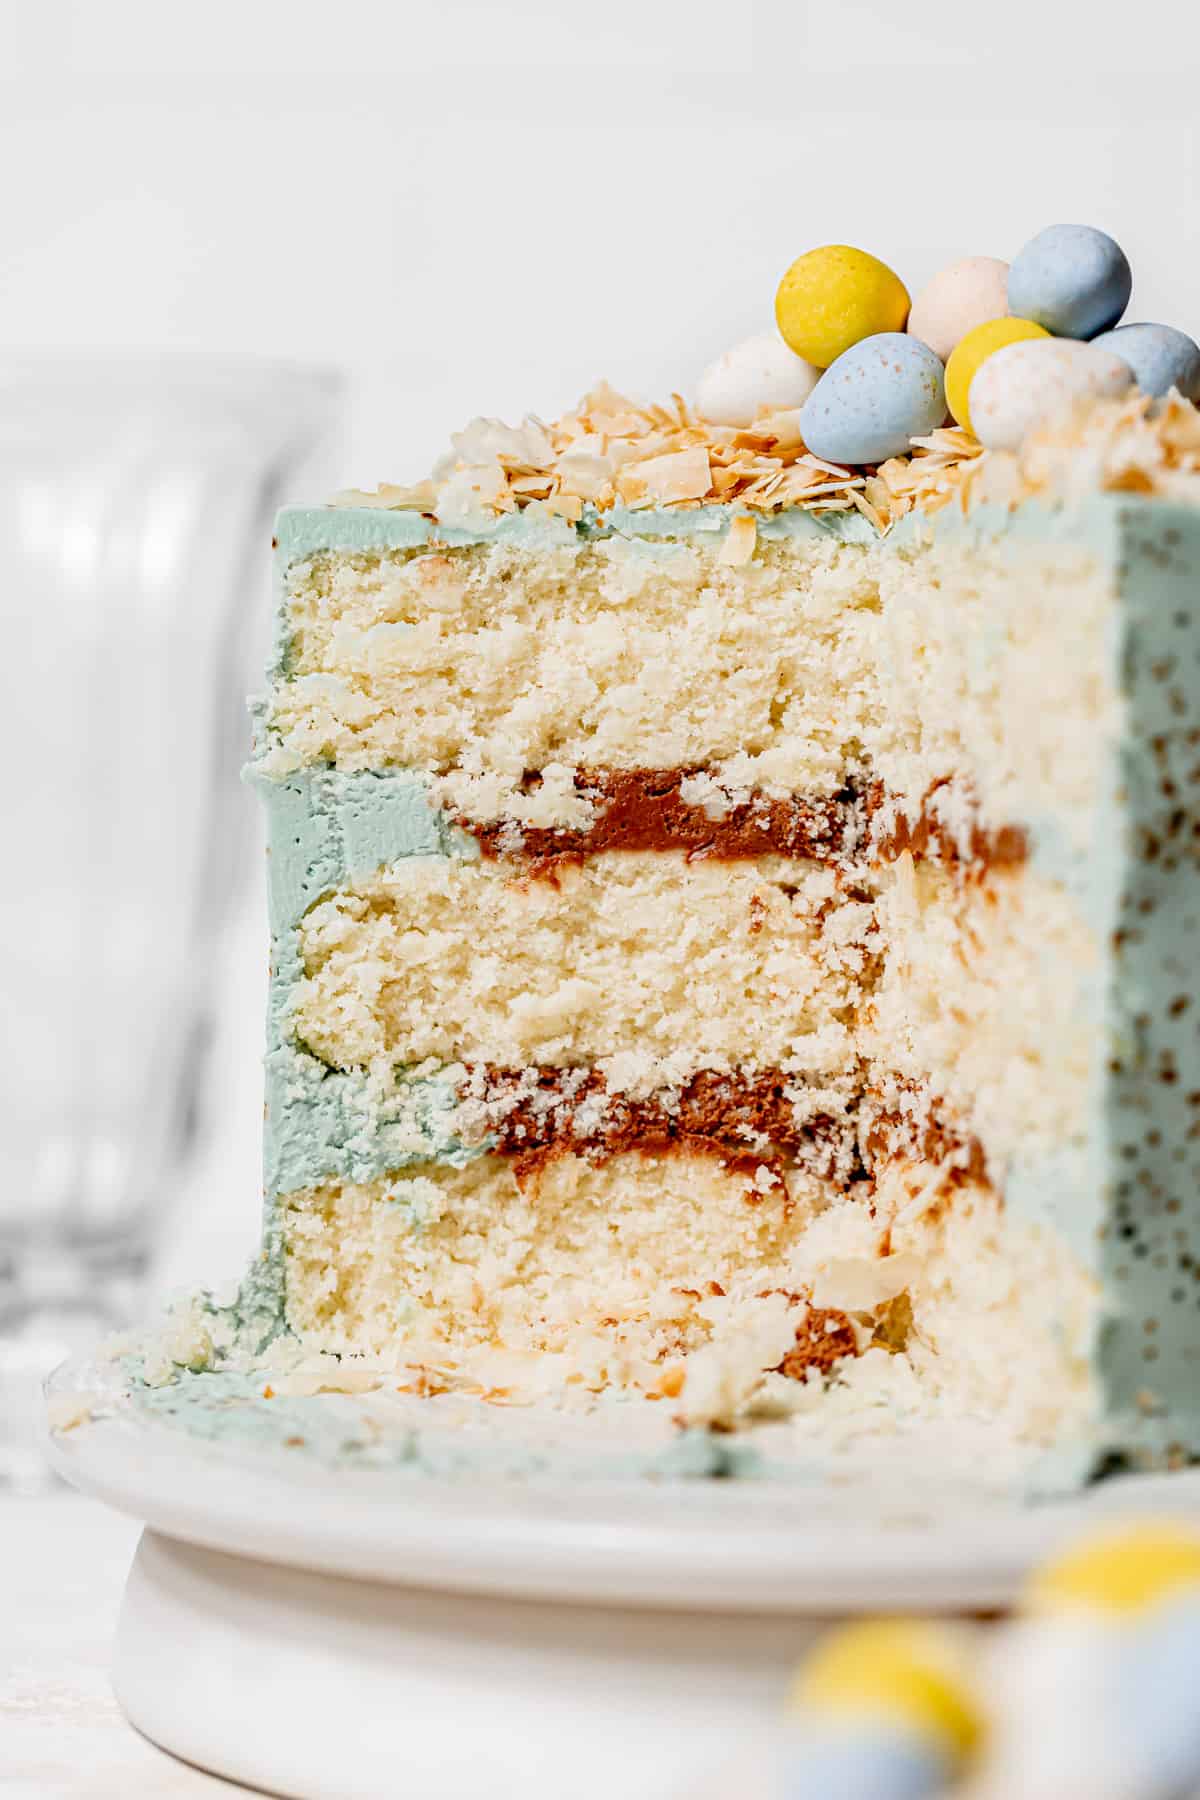
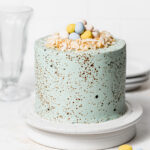
This robin's egg Easter cake features three layers of ultra moist coconut cake filled with a whipped milk chocolate ganache and decorated with a light blue cream cheese frosting. Speckled with spots (just like a robin's egg!), and topped with a coconut nest filled with mini chocolate candy eggs, this cake is a quintessential springtime dessert!
This post is sponsored by Truvia. All opinions are my own. Thank you for supporting the brands that make Sloane's Table possible!
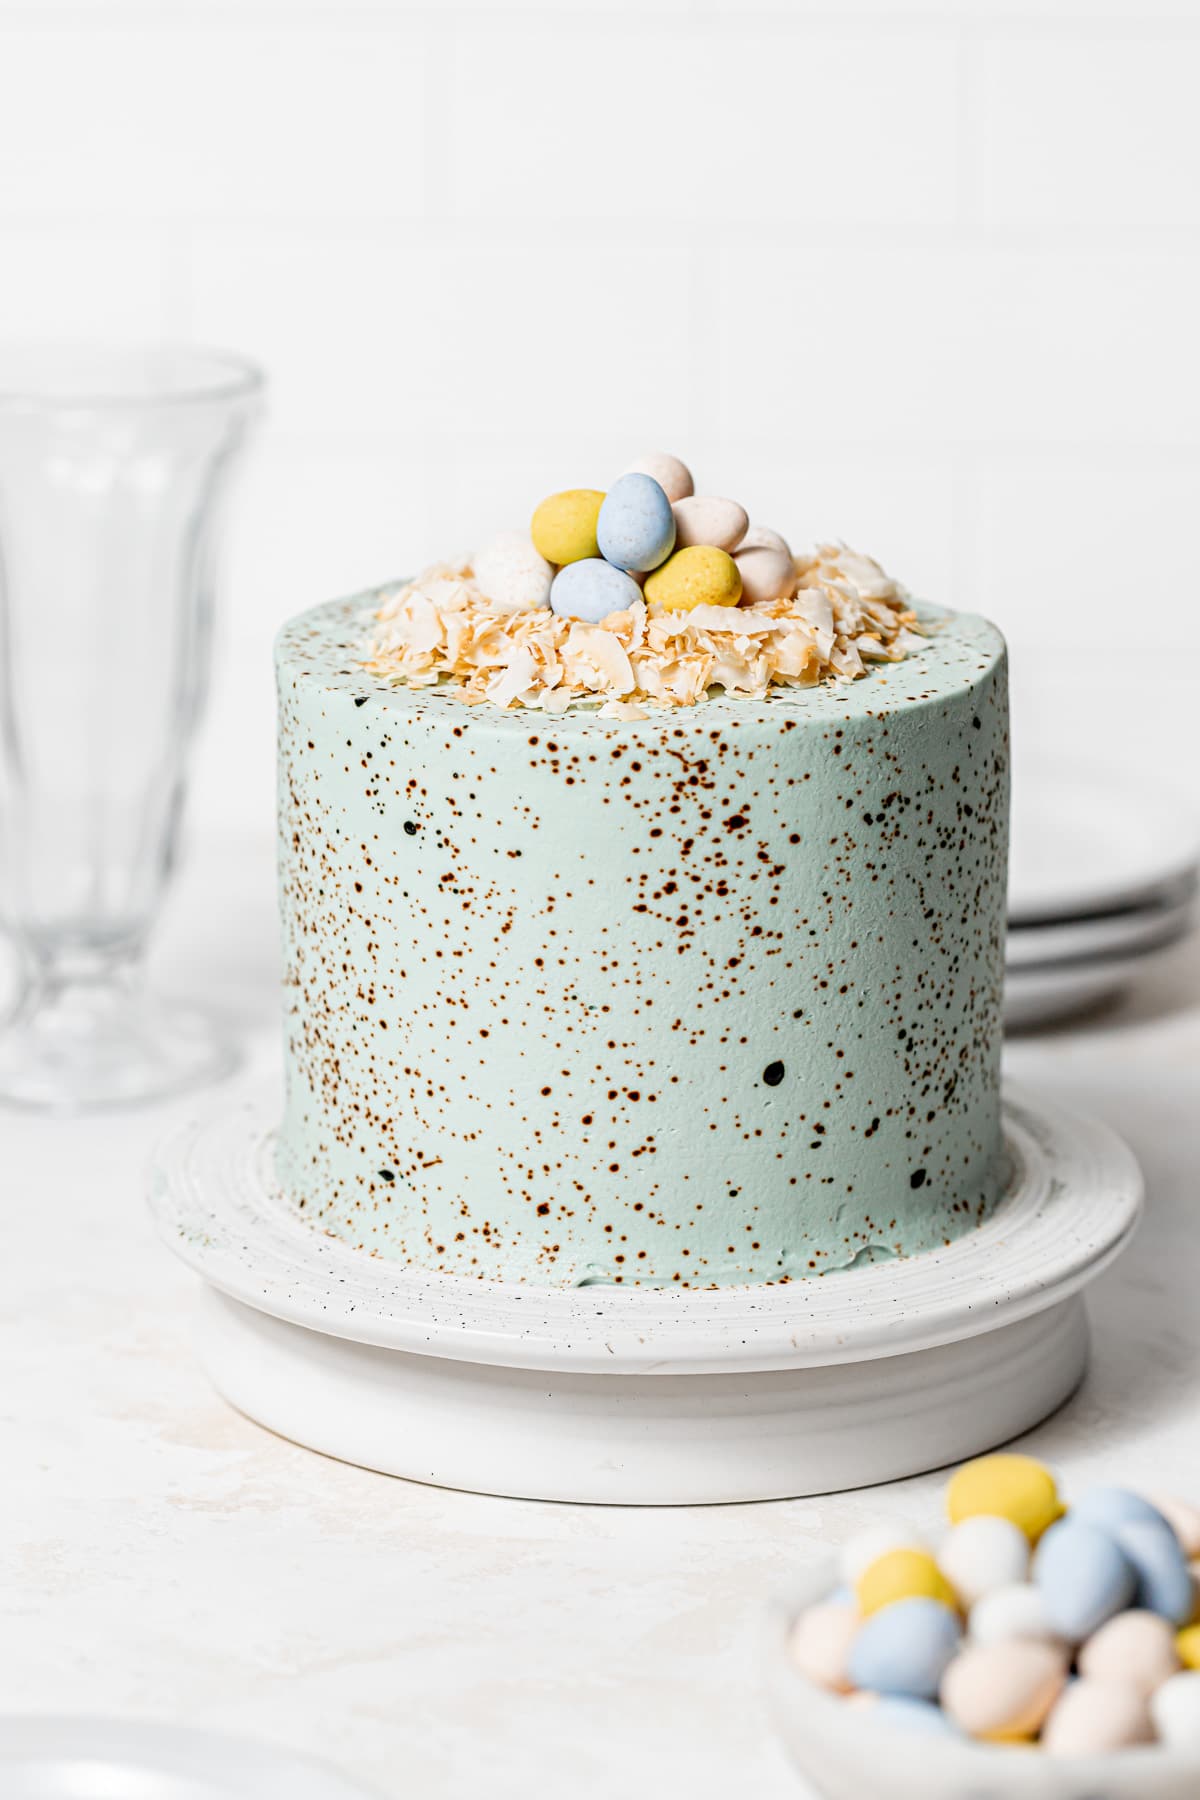
Everyone needs a showstopper of a dessert for Easter brunch or dinner, and this robin's egg Easter cake is a clear winner! Moist, fluffy coconut cake layers are topped with a rich, whipped milk chocolate ganache and sweet cream cheese frosting to make a delicious cake on its own - but with light blue frosting, brown speckles, and a coconut flake bird's nest with mini chocolate eggs on top, this cake will make a truly stunning, festive dessert to enjoy after Easter dinner!
For more Easter recipes, try Coconut Cupcakes with Coconut Cream Cheese Frosting, Small Batch Lemon Bars, Mini Carrot Cake, and Deep Dish Coconut Cream Pie.
Jump to Recipe
Why you'll love this robin's egg Easter cake
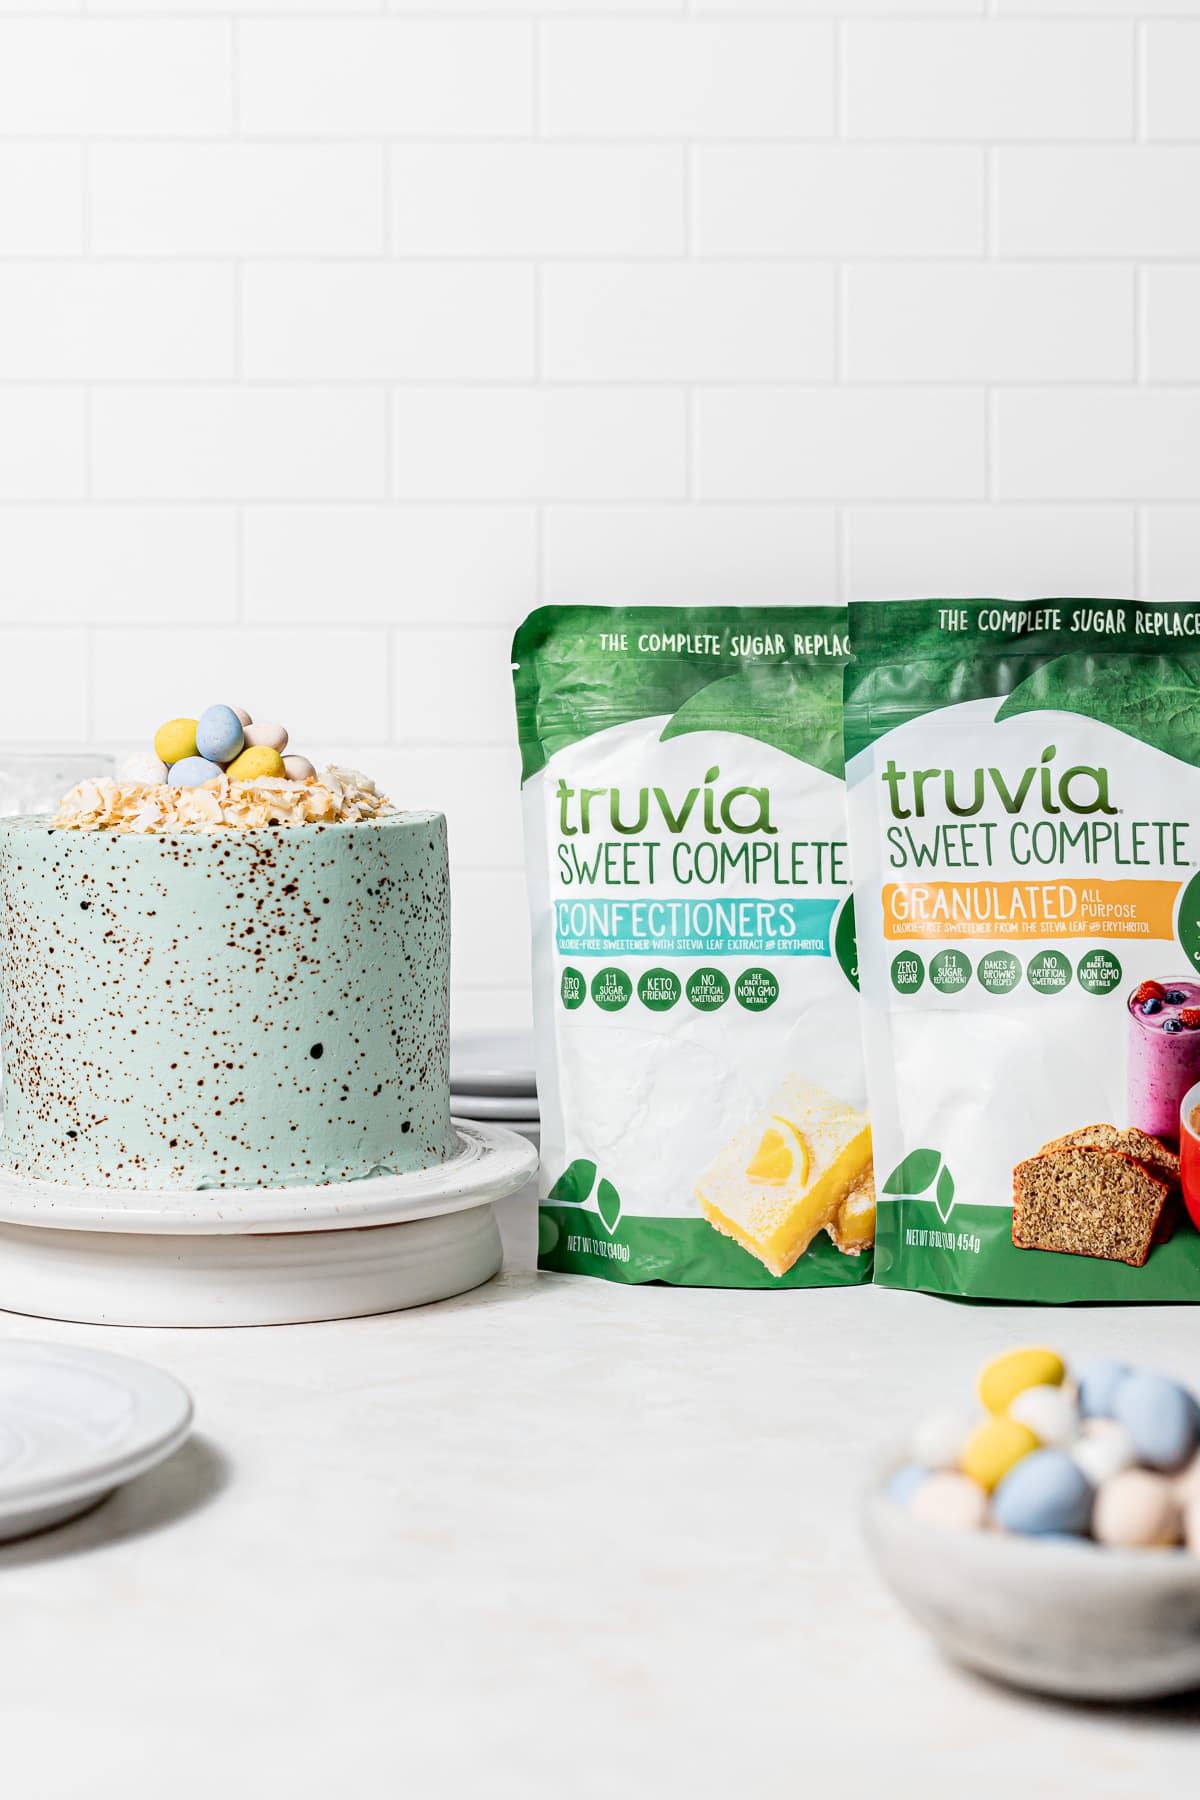
- Stevia Leaf Sweetener: Truvia Sweet Complete Granulated Sweetener and Truvia Sweet Complete Confectioners Sweetener are made from a blend of stevia leaf extract, chicory root fiber, and erythritol. They add sweetness to both the cake layers and the frosting naturally without adding calories, but bakes, sweetens, and measures cup-for-cup like traditional sugar.
- Incredibly Moist Coconut Cake: These coconut cake layers have an impossibly moist and fluffy texture with light & bright springtime flavor that's perfect for your Easter celebrations.
- Silky Cream Cheese Frosting: Everything is better with cream cheese frosting, and this cake is no exception. Add a touch of light blue food coloring to create a robin's egg look!
- Fun, Festive Easter Dessert: This festive Easter cake is decorated to look like a robin's egg, complete with a cute bird's nest made from toasted coconut flakes and mini chocolate Easter eggs on top!
Ingredient Notes
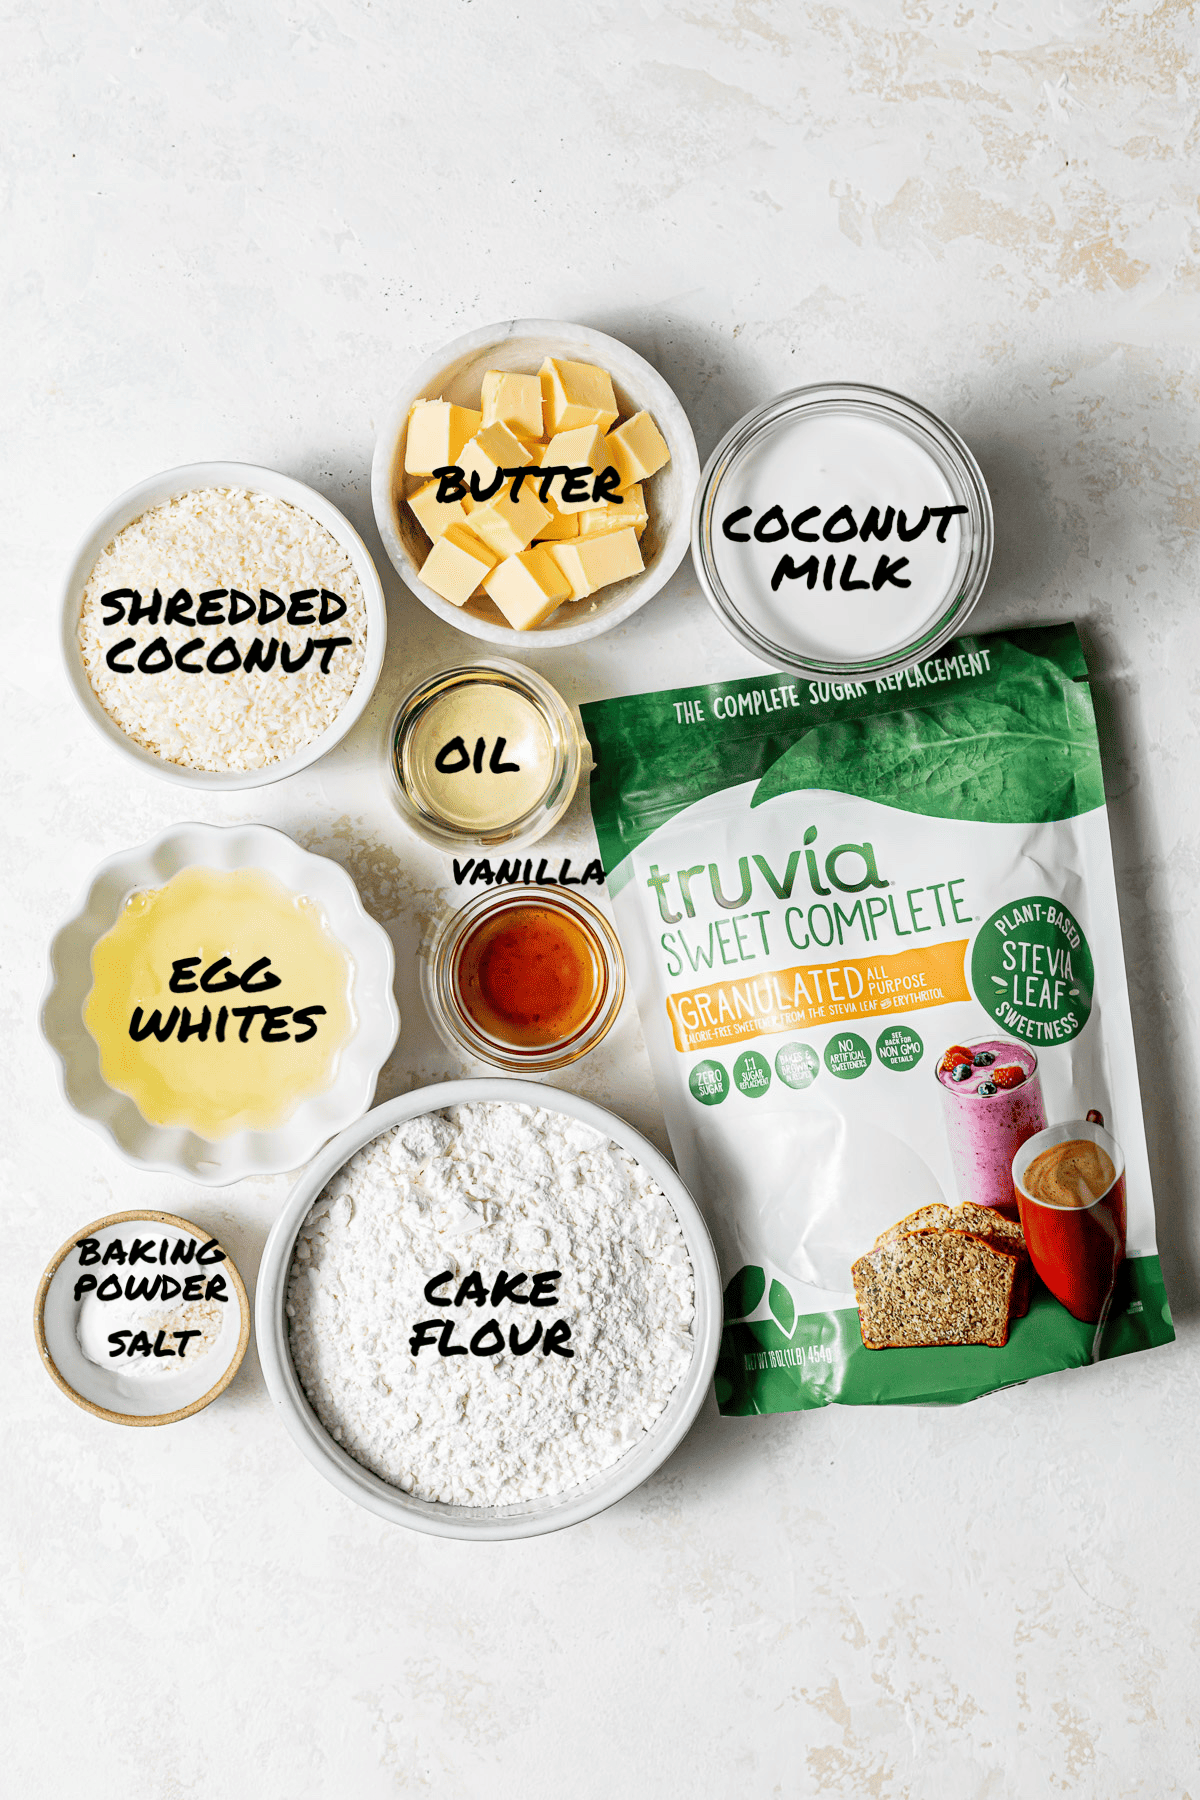
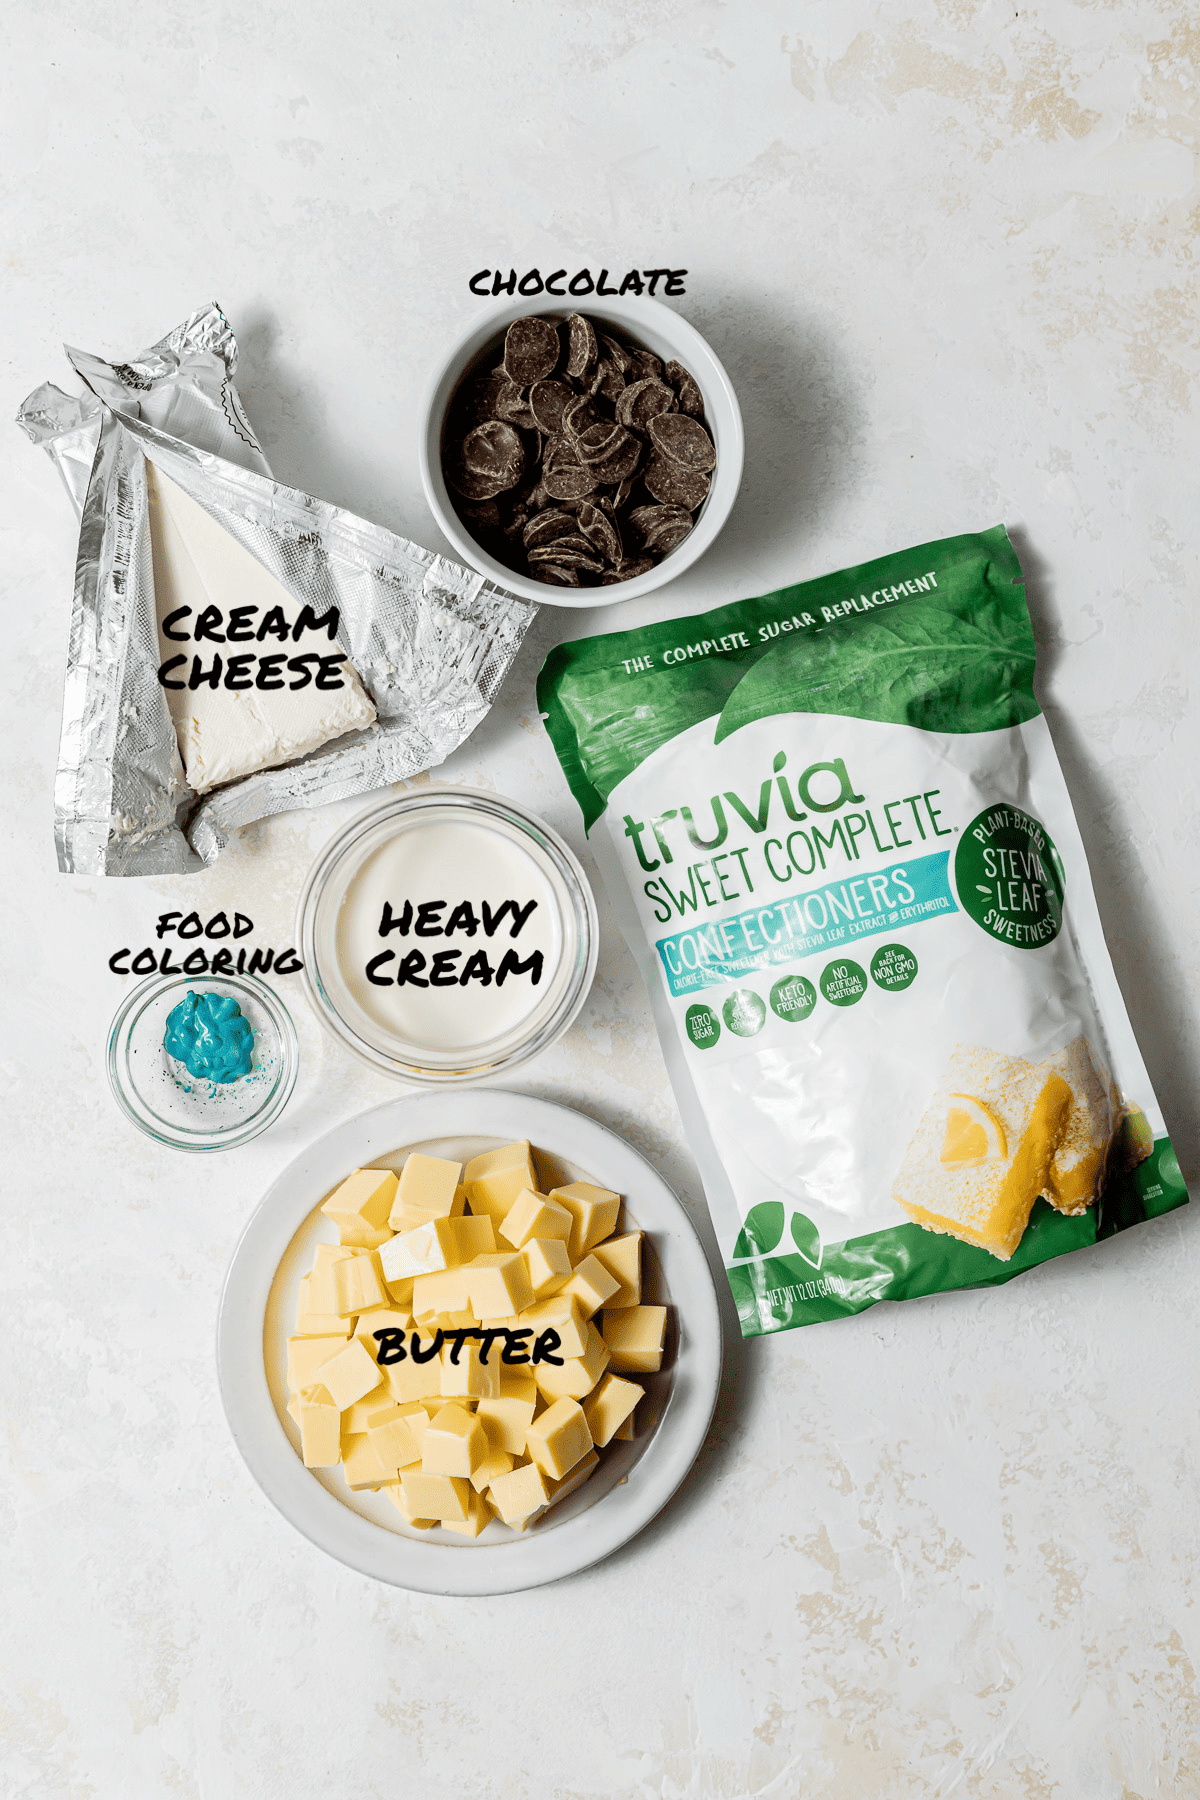
- Sweetener: Use Truvia Sweet Complete Granulated Sweetener for the cake batter and Truvia Sweet Complete Confectioners Sweetener for the frosting!
- Chocolate: Use a high quality milk chocolate for a unique flavor profile. Alternatively, you can use semi-sweet chocolate chips, or even dark chocolate chips.
- Coconut Milk: Canned coconut milk adds moisture, but it also adds to the coconut flavor!
- Coconut: Use unsweetened shredded coconut for the cake batter and coconut flakes for topping!
- Cream Cheese: Use full-fat cold block cream cheese for the frosting.
- Unsalted Butter: Use high quality European-style butter for best overall flavor.
- Oil: I recommend using an extra light tasting olive oil, but you can use any neutral oil such as coconut, canola, or vegetable oil.
- Cake Flour: Cake flour will make this cake perfectly soft, but if you're in a pinch you can use all-purpose flour.
- Eggs: Bring your eggs to room temperature quickly by placing them in a bowl of warm water for 10 minutes.
- Vanilla: Add a high quality vanilla extract for optimal flavor.
See recipe card for full information on ingredients and individual quantities.
Step by Step Instructions
Here are step by step photos and instructions on how to make this robin's egg Easter cake recipe! For the full ingredient list and method, see the recipe card at the end of this post.
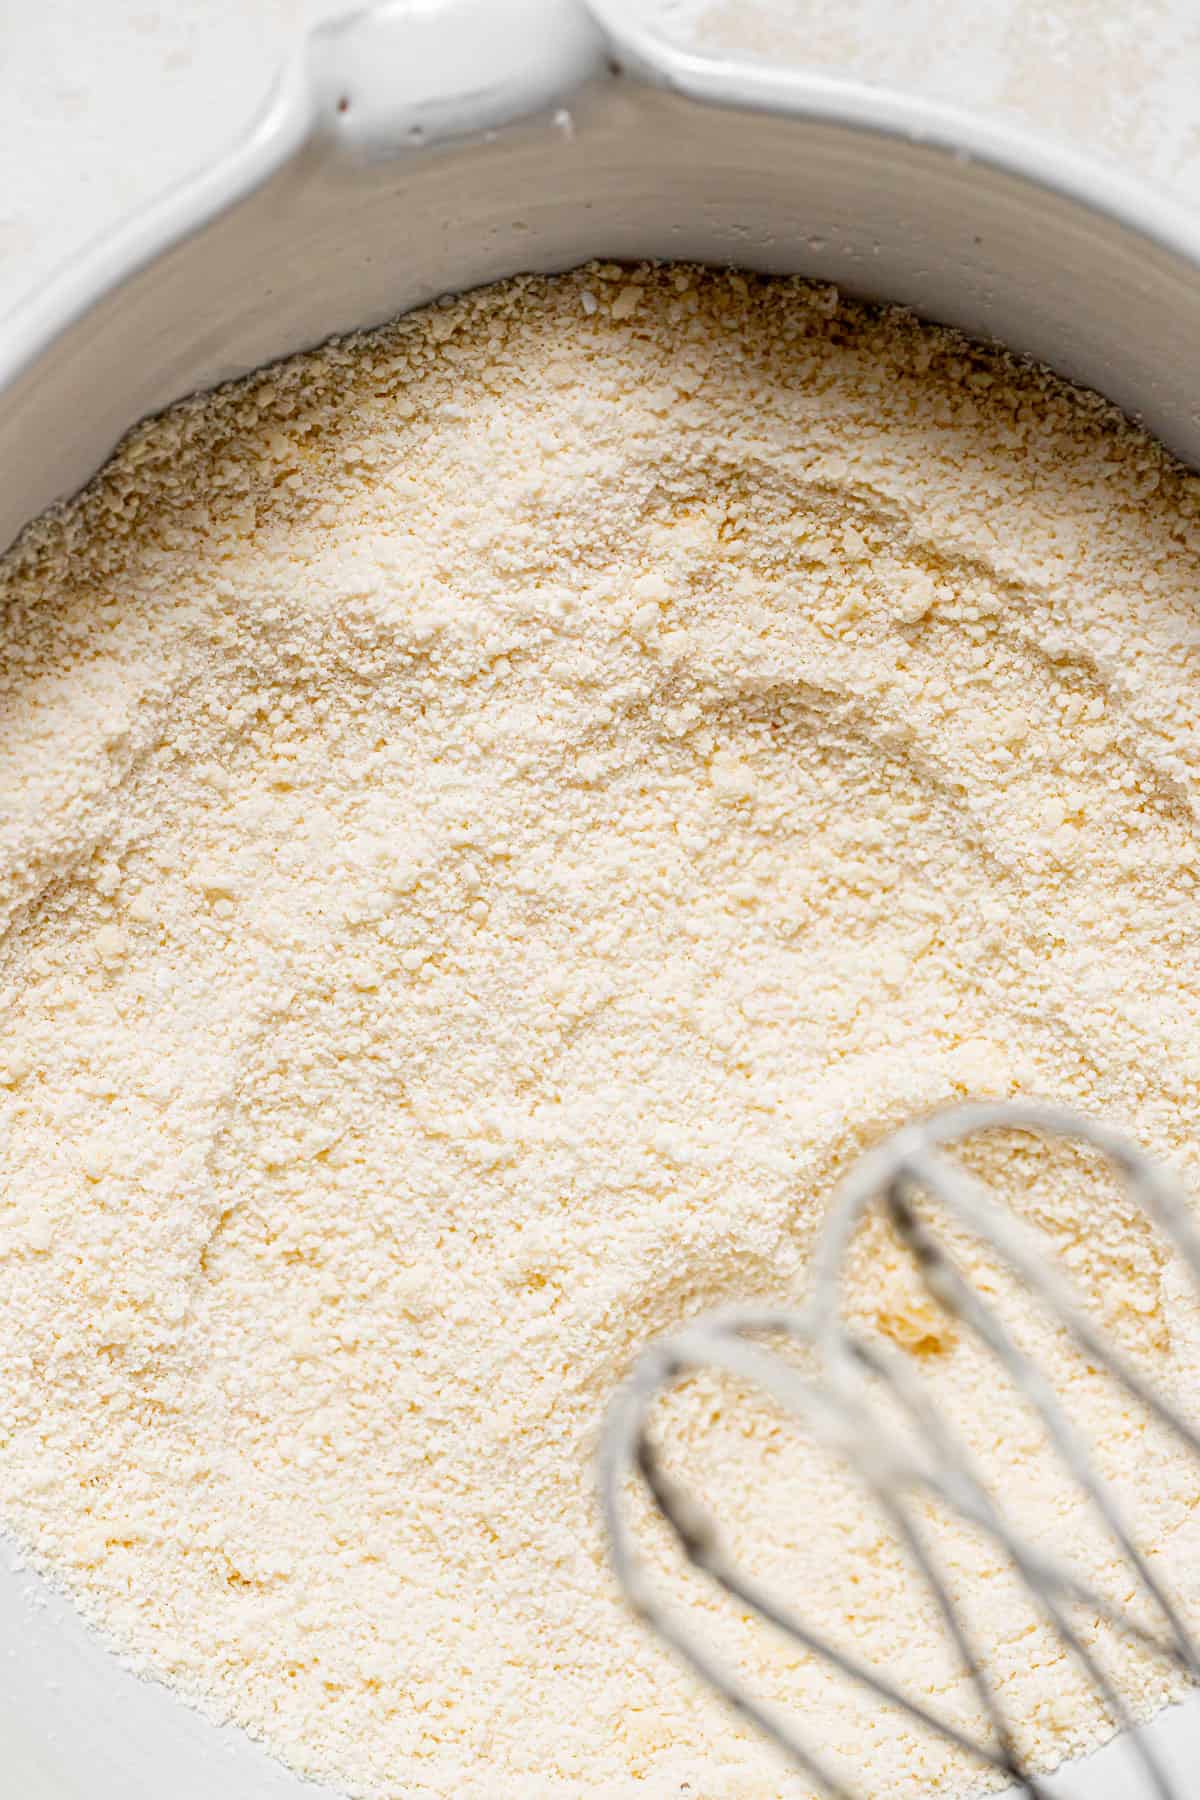
STEP 1: Mix dry ingredients. In the bowl of a stand mixer fitted with a paddle attachment, combine the flour, Truvia Sweet Complete Granulated All-Purpose Sweetener, baking powder, and salt. Cut up the butter into small cubes and add to the dry ingredients. Mix on low speed until it resembles wet sand.
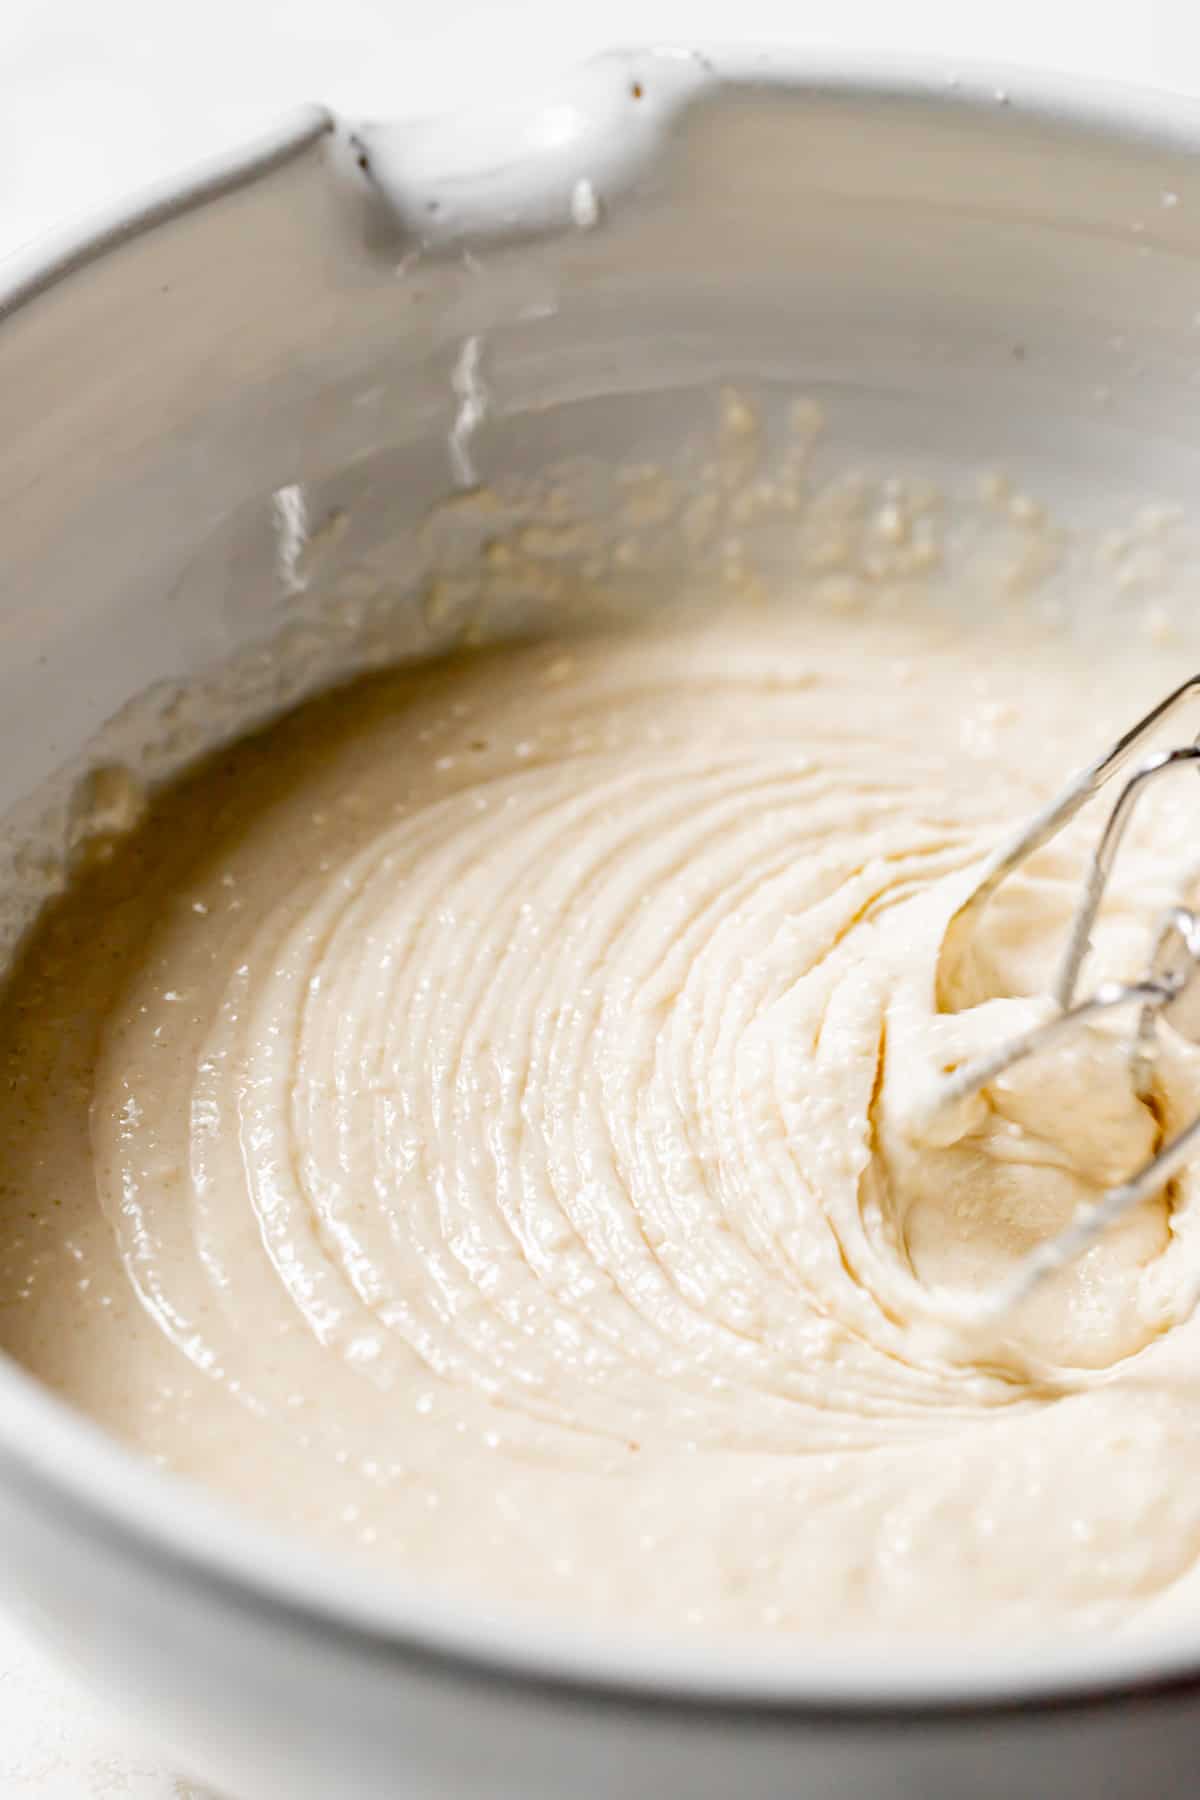
STEP 2: Add wet ingredients. Add the oil, coconut milk, vanilla, and coconut extract, and mix until just combined. Fold in the shredded coconut until evenly distributed.
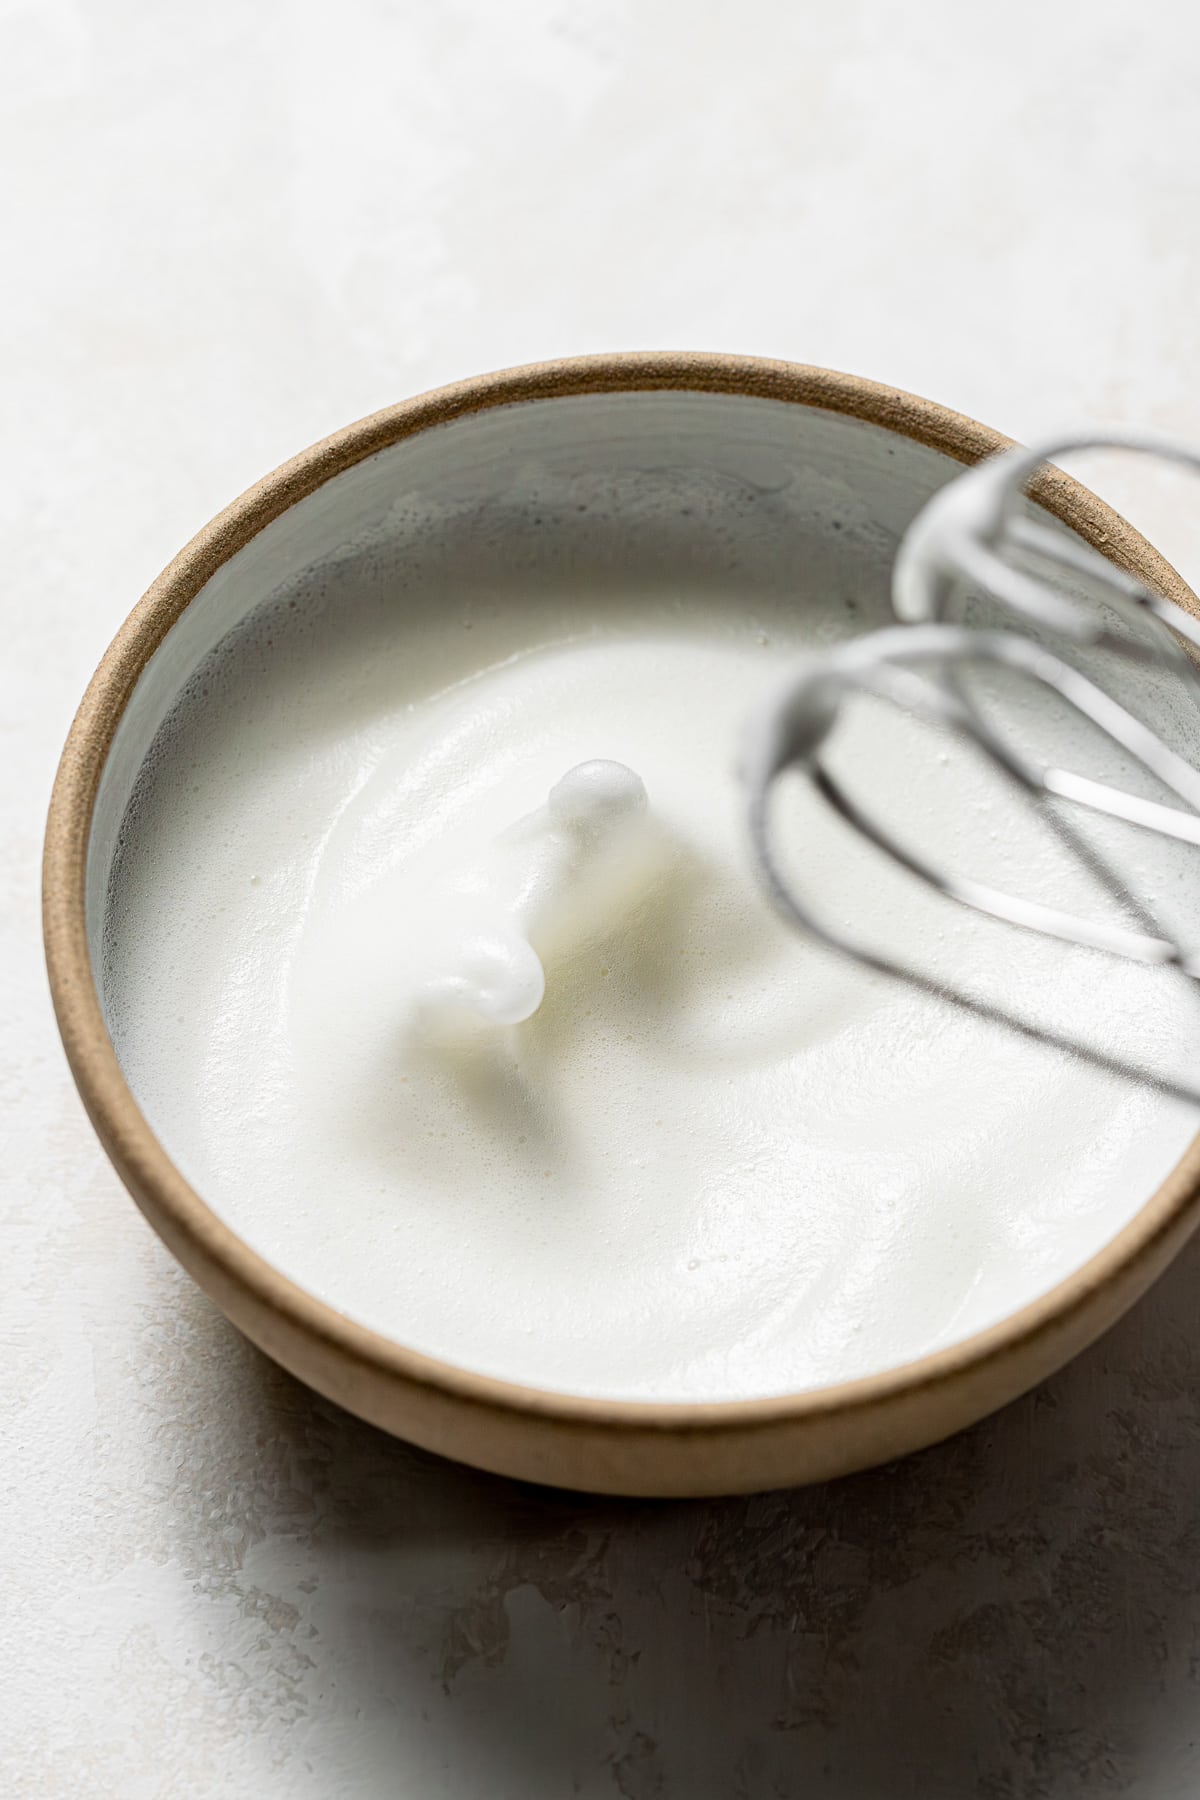
STEP 3: Whip egg whites. In a separate medium bowl, add the egg whites. Use an electric hand mixer to whip them until medium peaks form.
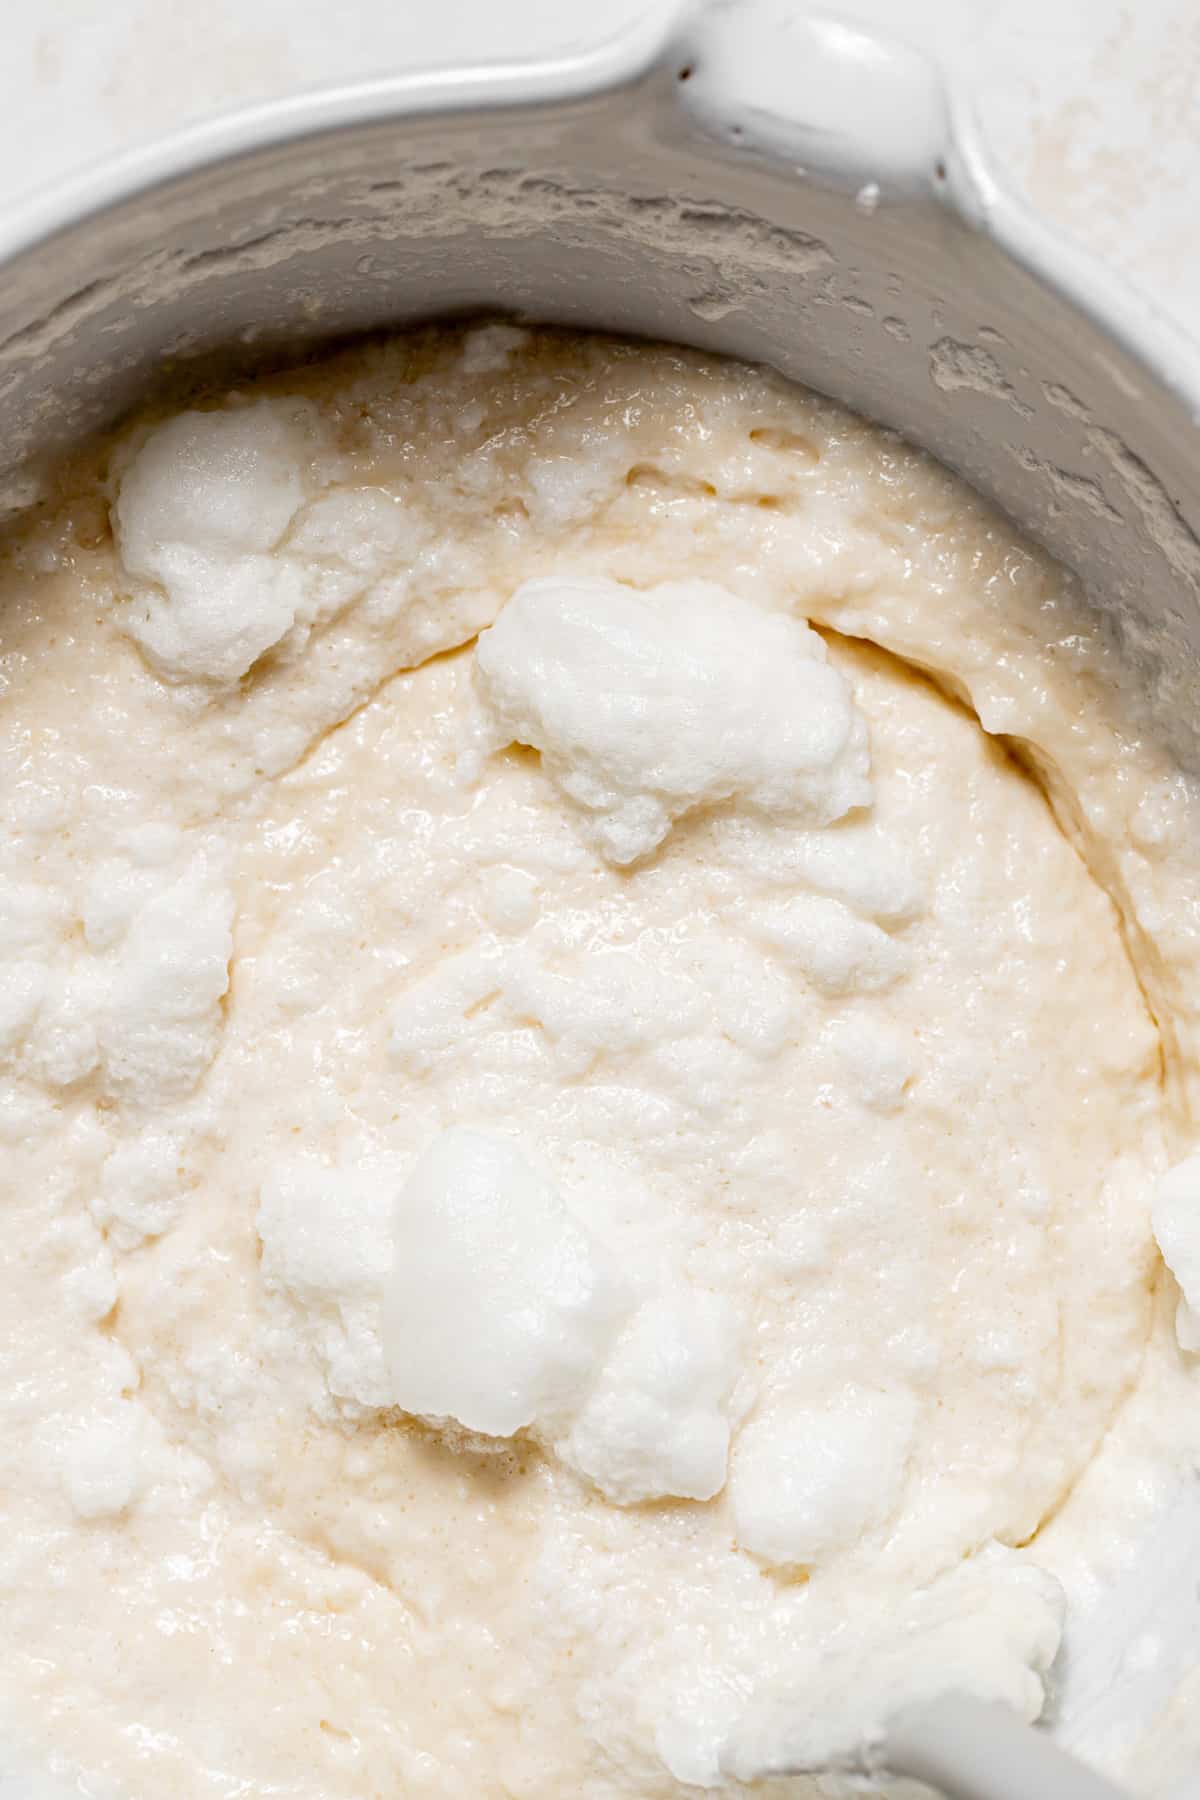
STEP 4: Fold in egg whites. Gently fold the whipped egg whites into the batter with a rubber spatula until just combined.
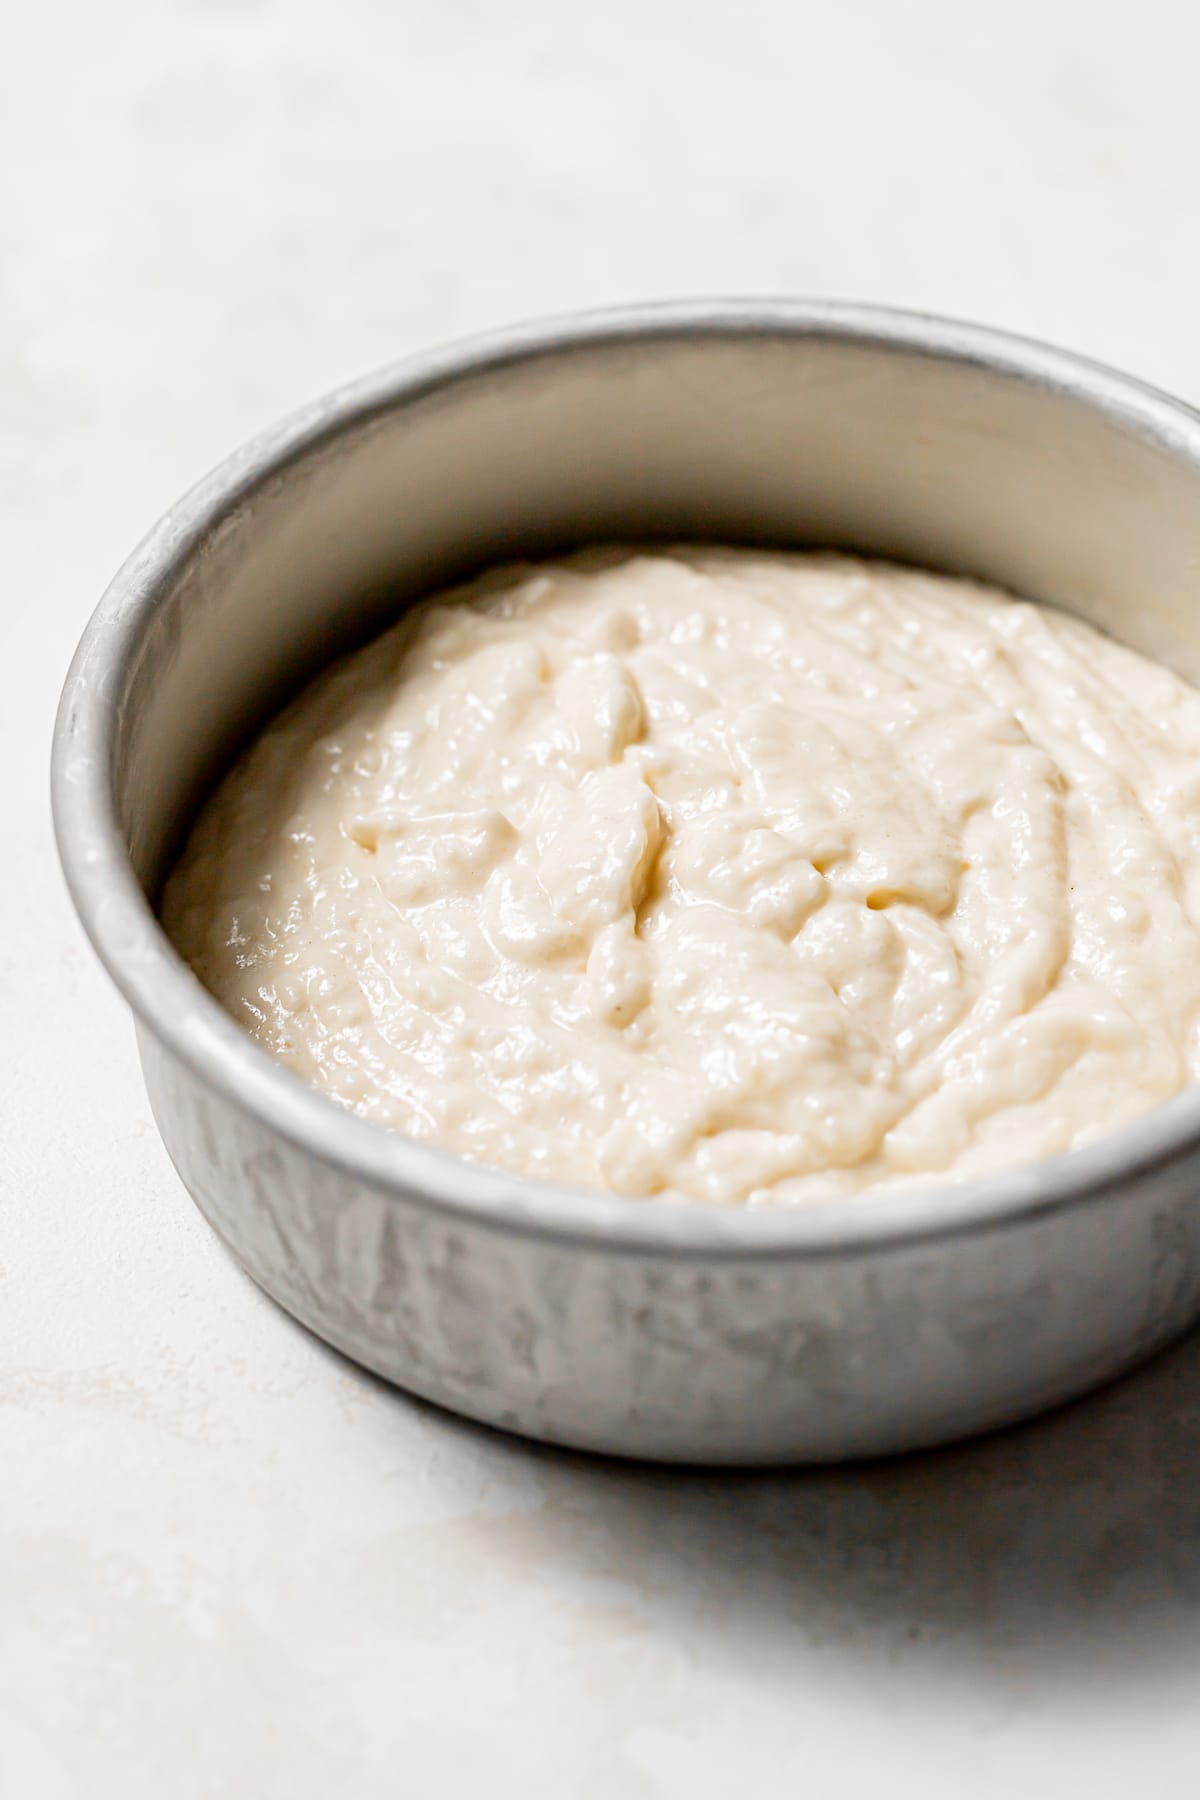
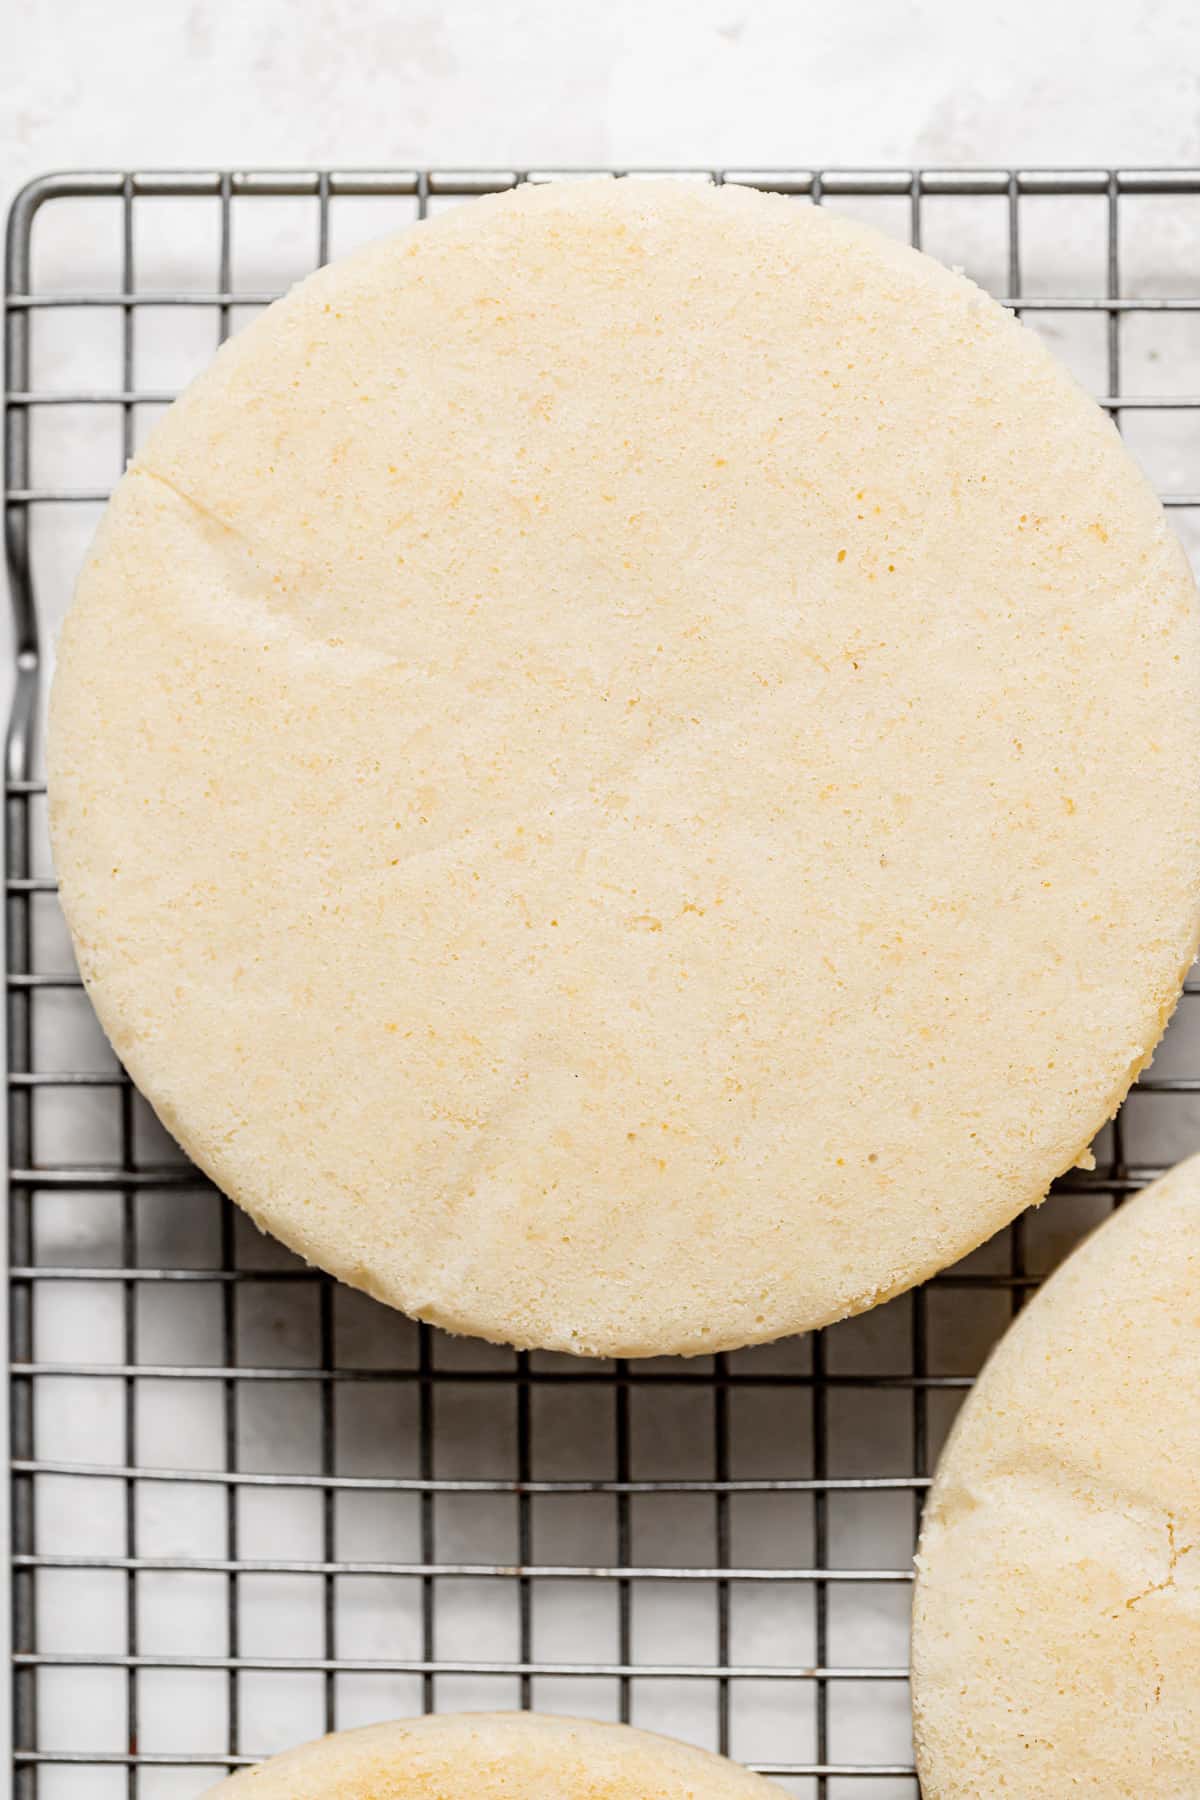
STEP 5: Divide batter. Divide the cake batter between the prepared pans.
STEP 6: Bake, cool, and freeze. Bake for about 22-25 minutes or until the cakes start to pull away from the sides of the pans. Immediately turn the cakes out onto a wire rack to cool completely. Once cool, wrap the cakes in plastic wrap and freeze until ready to decorate. (Frozen cake layers will be much easier to frost!)
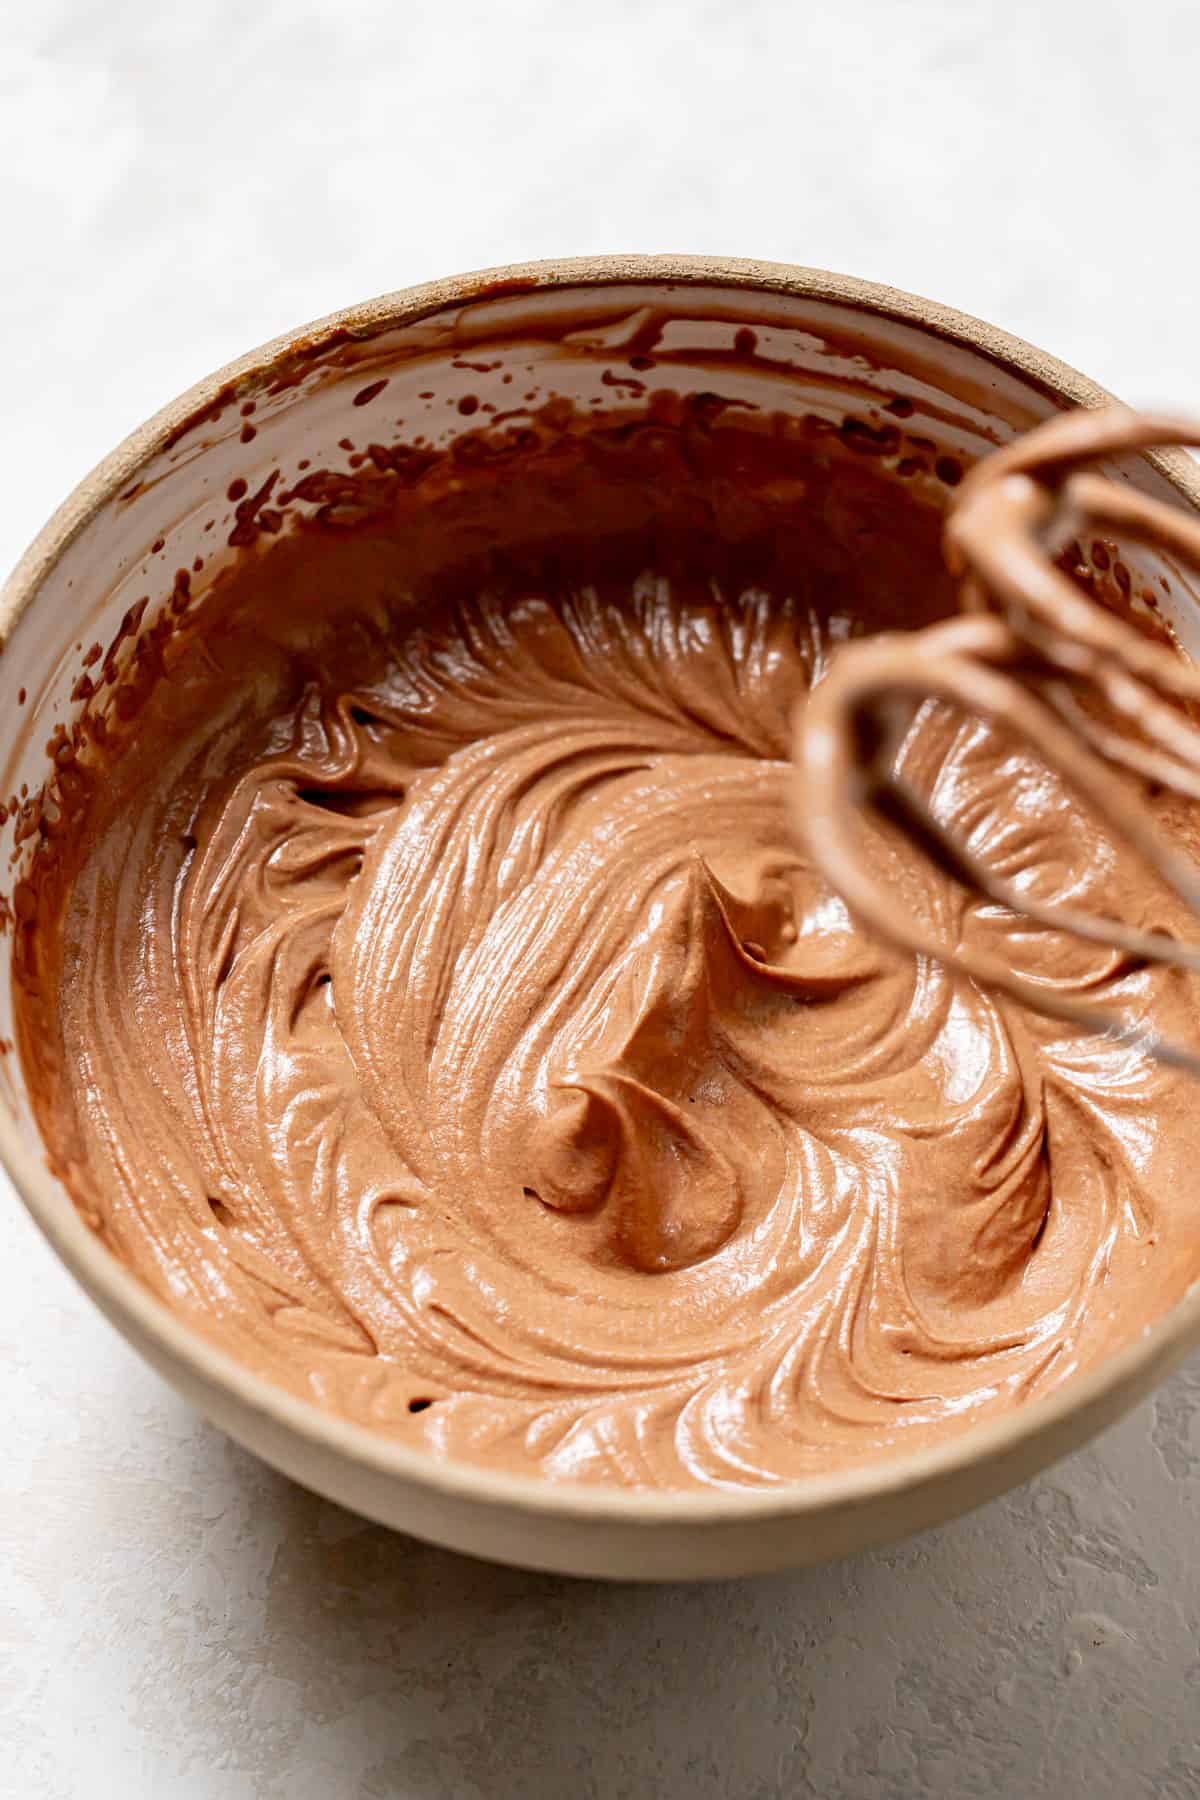
STEP 7: Make the whipped ganache. In a small saucepan, bring the heavy cream to a simmer or about 190 degrees F. Once simmering, remove from heat and add the chocolate. Use a small rubber spatula or spoon to gently stir until the chocolate has melted and the ganache is homogeneous. Pour the ganache into a medium bowl and place in the fridge for about 15 minutes, stirring every 5 minutes. The ganache needs to be about room temperature, not too hot, but not too cold. Use an electric hand mixer to whip the ganache to stiff peaks. Set aside.
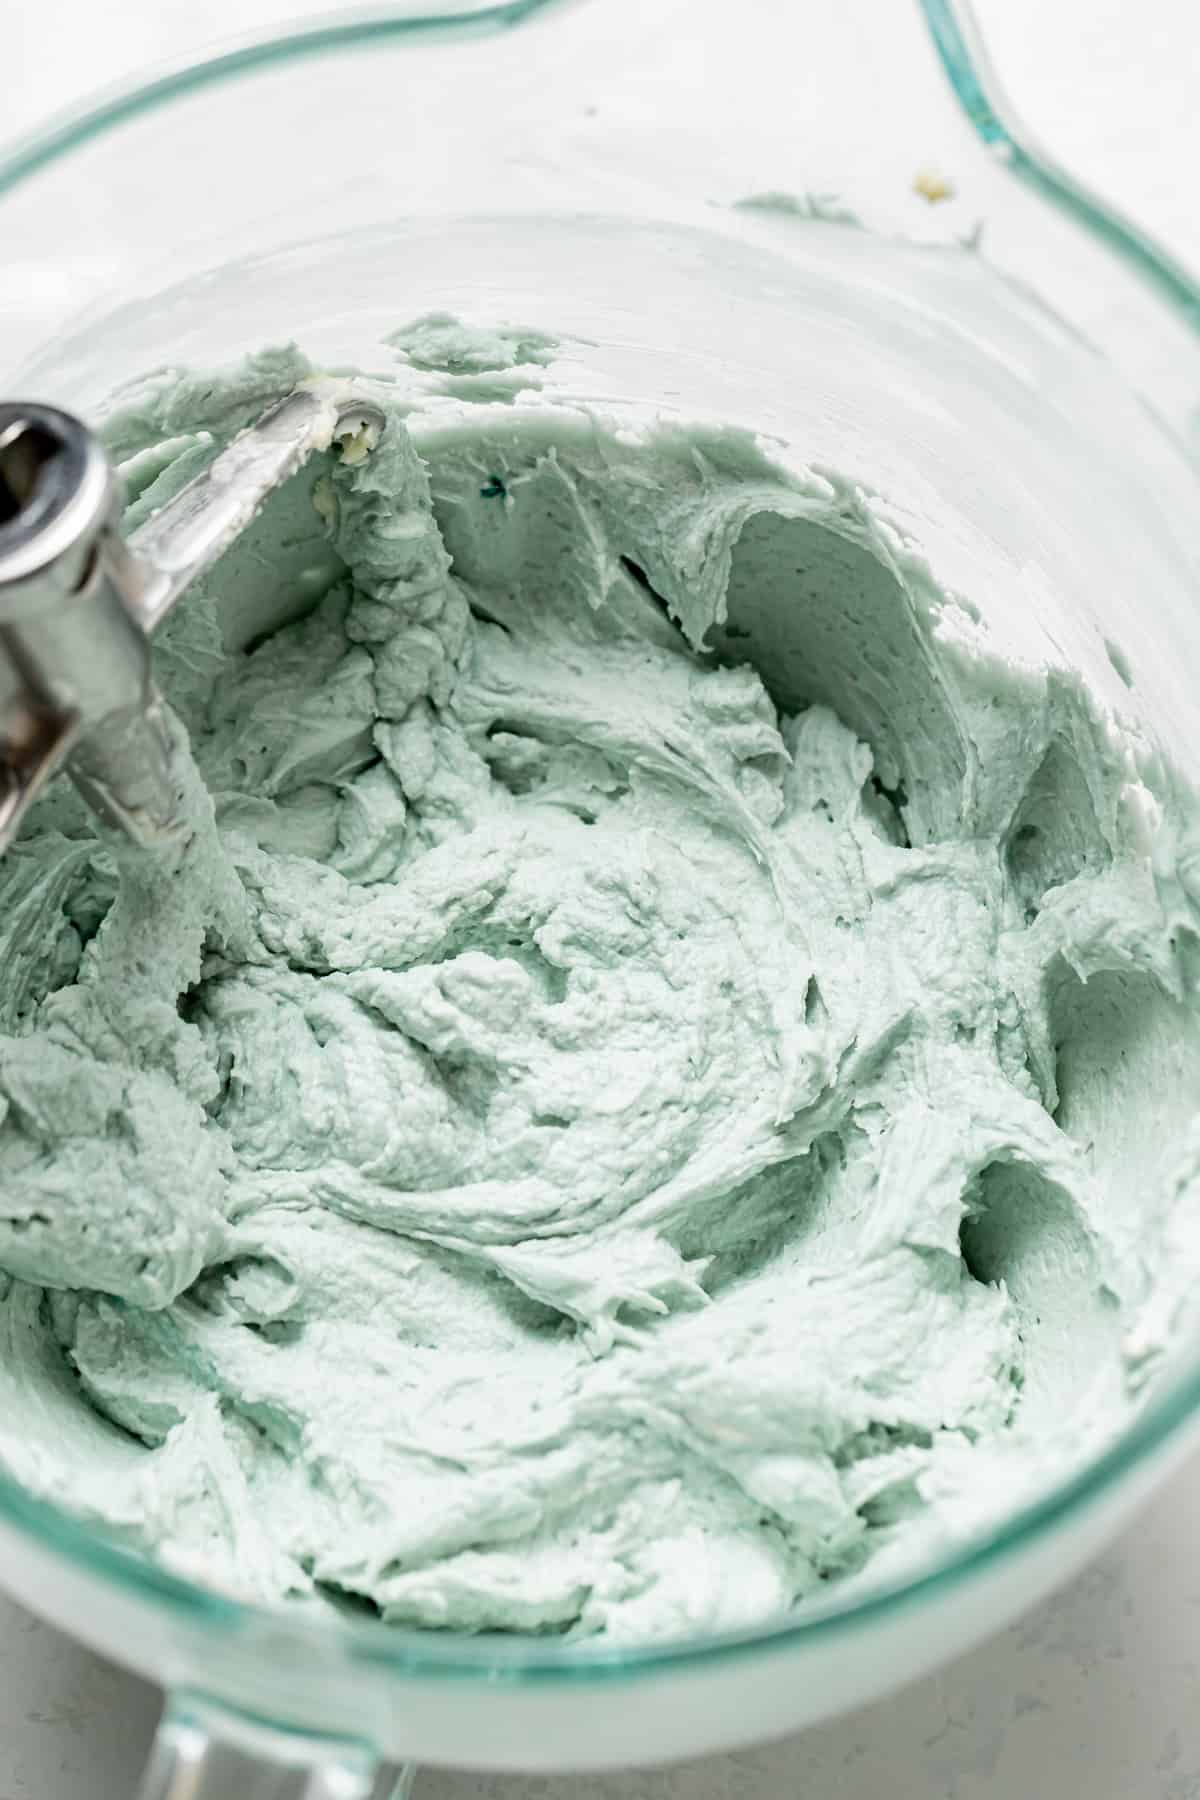
STEP 8: Make the cream cheese frosting. In the bowl of a stand mixer fitted with a paddle attachment, beat the butter, and cream cheese on high speed until smooth. Slowly add the Truvia Sweet Complete Confectioners Sweetener and mix on low speed until fully combined. Once all of the confectioner's sweetener is added, add a few drops of light blue food coloring gel and continue beating on low speed until no more lumps or pockets of air remain and the frosting is smooth.
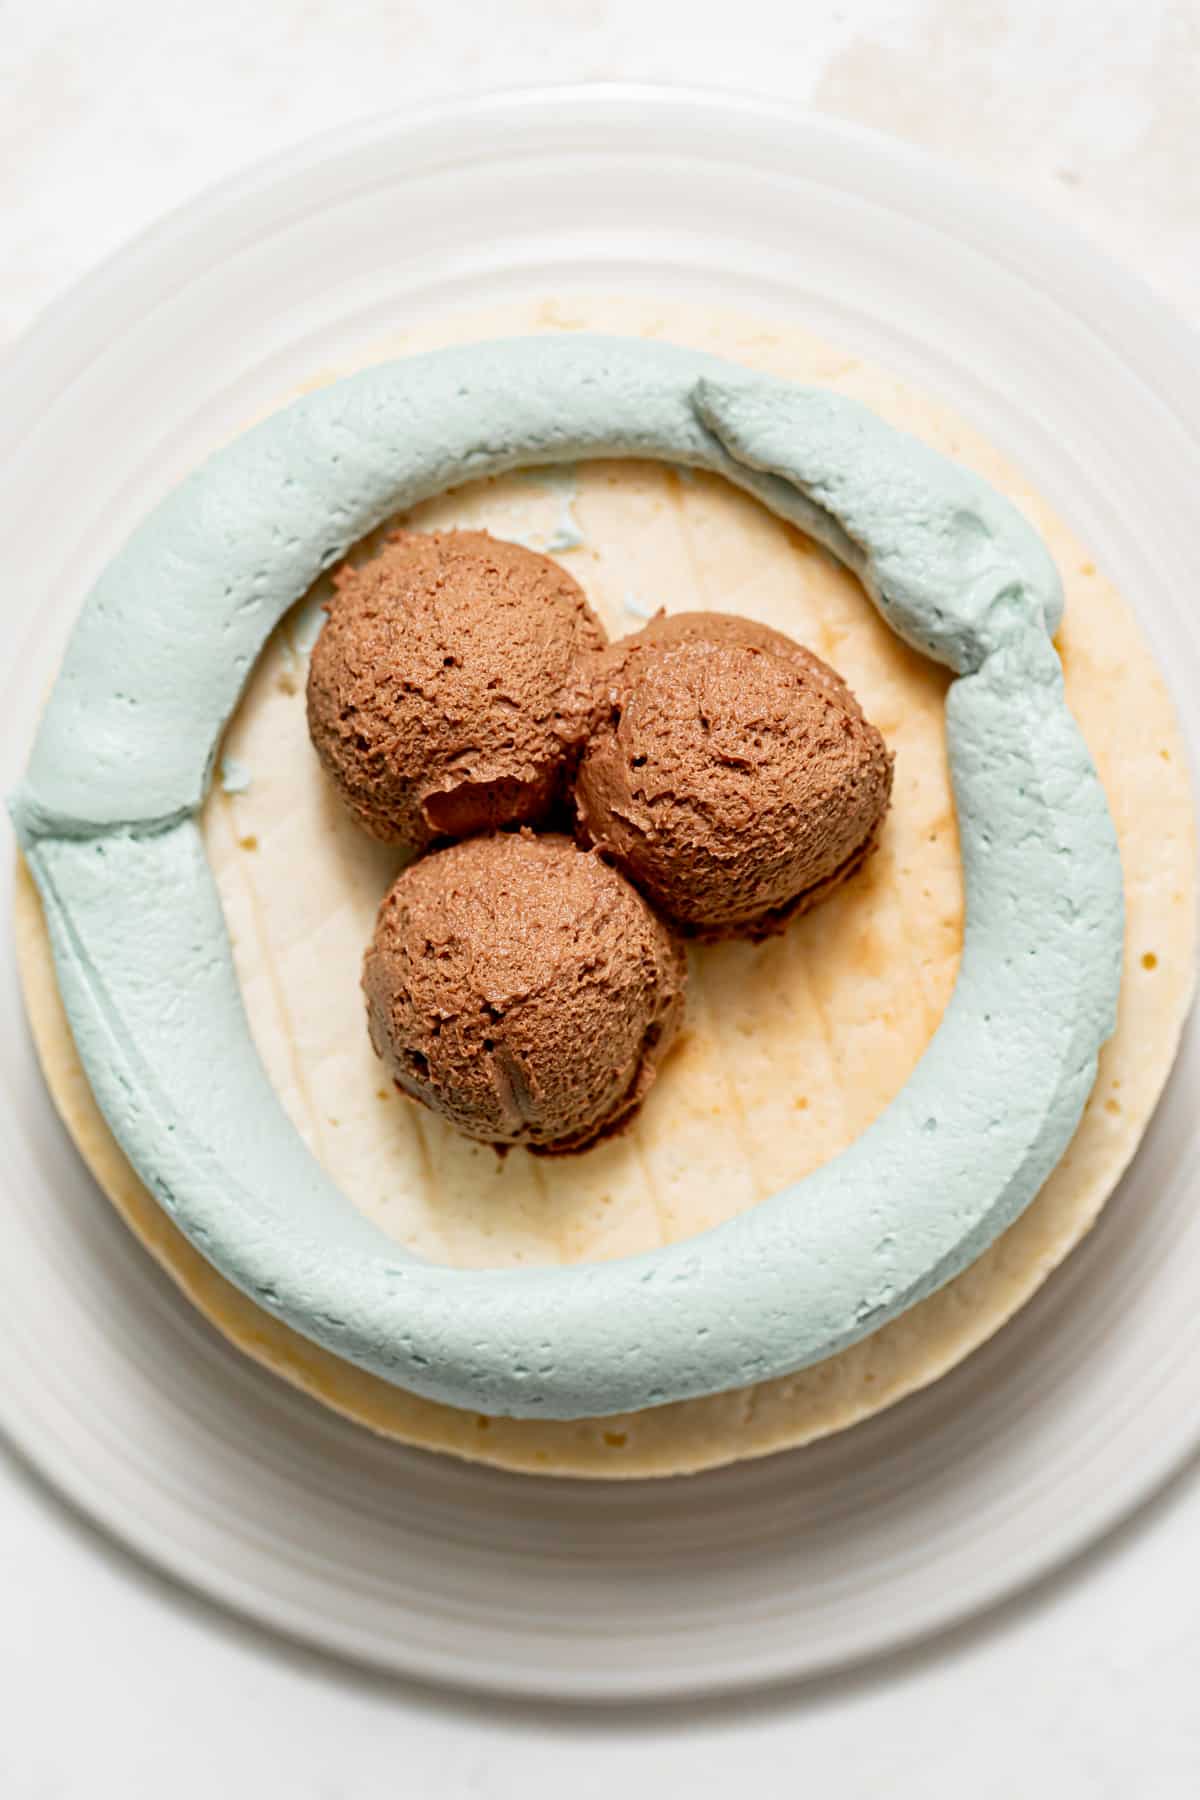
STEP 9: Assemble cake. Place the first cake layer on a cake stand. Pipe a dam of frosting around the edge of the cake. Fill the center with a few scoops of whipped chocolate ganache. Top with the second cake layer and repeat.
STEP 10: Decorate. Add the last cake layer and top with a few scoops of frosting. Use an offset spatula to smooth out the top, and spread the excess all over the sides. Continue frosting the cake until it's completely covered. To add robin's egg spots, dip a pastry brush in brown food coloring gel and carefully flick it all over the cake. Top the cake with toasted coconut flakes and mini chocolate candy eggs, and enjoy!
Expert Baking Tips
- Do not over-whip the egg whites. Whip the egg whites only to medium peaks. As you can see above, the peaks droop slightly - this is what you're looking for. Whipping them to stiff peaks will make the egg whites too dry, causing them to deflate as they're folded into the batter.
- Use cake strips to create flat cake layers. Soak these wilton cake strips in ice water before starting the cake batter. Just before baking, wrap the cake strips around the pan. The cold temperature on the outside of the cake will prevent the edges from baking faster than the center, resulting in an evenly baked flat cake.
- Freeze the cake layers before decorating. Since this is such a moist cake, I highly recommend freezing the cake layers for at least two hours before decorating.
- Use cold cream cheese & room temperature butter. In order to create a sturdy, pipeable cream cheese frosting, pay close attention to the temperature of the ingredients. Cold cream cheese will ensure it's thick enough, while room temperature butter will ensure all of the ingredients cream together properly.
- To create smooth sides when cake decorating... Run an offset spatula (or any cake decorating tool) under hot water, then wipe dry and use immediately to spread the frosting on the cake. The hot tool will help create smooth sides!
Recipe FAQs
Cake flour will make your cake ultra moist and fluffy, but if needed you can use all-purpose flour!
The reverse creaming method is the process of beating room temperature butter into the dry ingredients. The fat coats the flour and inhibits the gluten from developing. With this method, the cake is sure to bake up flat without becoming too golden around the edges or on top. In contrast, the creaming method involves beating the sugar and butter together, which adds a lot of extra air into the batter.
You can fill your bird's nest with anything you'd like, from fresh blueberries, to other Easter candy or treats, and more!
Yes, of course! Bake the batter in a cupcake pan for about 16-18 minutes. Top with blue colored cream cheese frosting, speckle with brown food coloring, and top with toasted coconut flakes & Cadbury mini eggs!
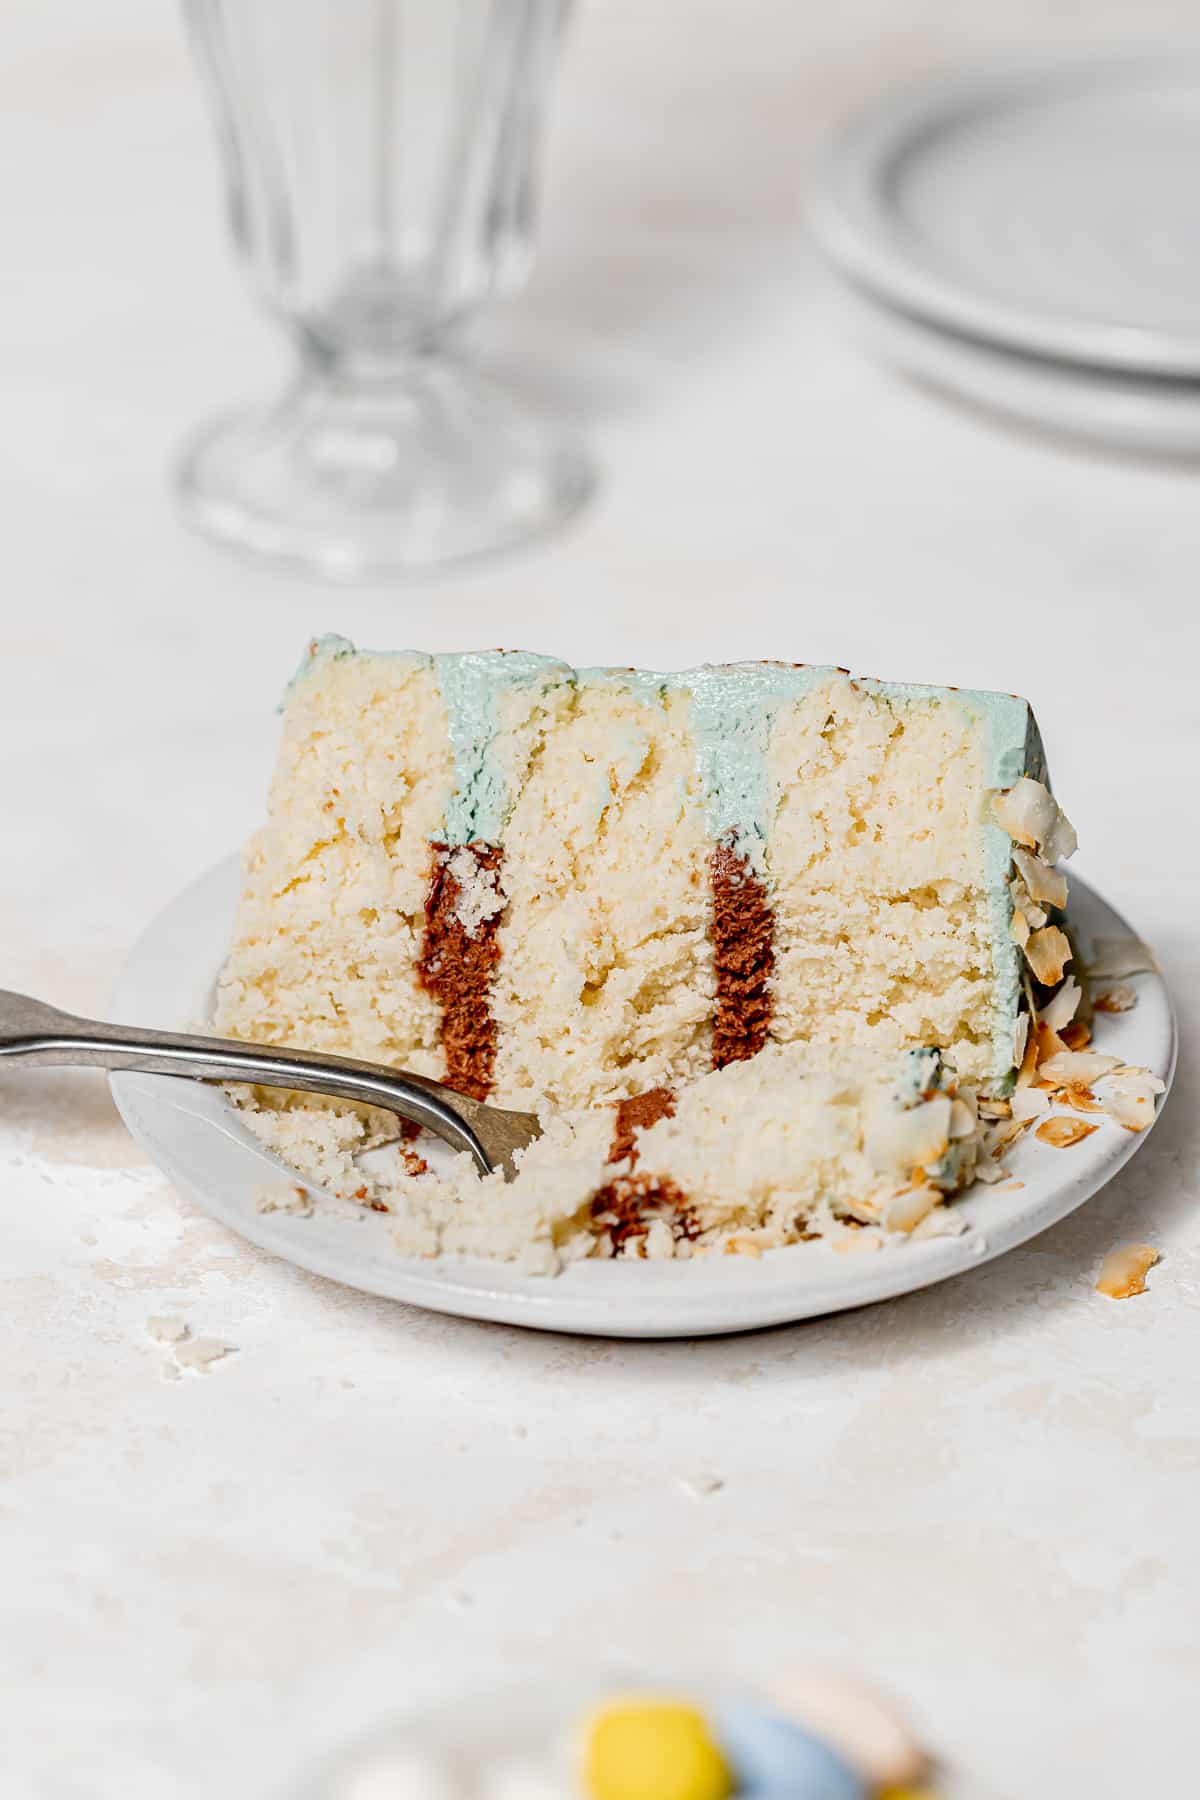
Store slices of this robin's egg Easter cake in an airtight container in the refrigerator for 3-5 days or wrap individual slices in plastic wrap and store in the freezer for up to 3 months.
Baking in Grams
All of the recipes on this blog are carefully developed with gram measurements so you can easily recreate them in your own kitchen with success. Volume measurements are extremely inaccurate and leave room for significant errors. Not all measuring cups are made equally, so your one cup of flour will be different from my one cup of flour. By providing precise measurements in grams (aside from minor ingredients, which are given in tsp/tbsp), you can make these recipes accurately and with less cleanup! All you need is this kitchen scale.
If this still isn't enough to convince you, I have provided volume measurements in the recipe card. If you are interested in understanding the conversions, this is the best conversion chart.
But trust me, once you try baking in grams you'll never turn back!
Happy baking! x
Other Easter recipes to try
If you tried this recipe, I'd love to know how it turned out for you! Leave a star rating & review below and post a picture (or video!) on Instagram and tag me so I can see your bakes! Not ready to make this recipe yet? Click the heart button on the right of your screen to save it for later 🙂
📖 Recipe
Robin's Egg Easter Cake
Equipment
Ingredients
For the coconut cake layers:
- 210 g (1 ¾ cups) cake flour
- 162 g (¾ cup + 1 tbsp) Truvia Sweet Complete Granulated Sweetener
- 2 teaspoon baking powder
- ½ teaspoon salt
- 76 g (5 ½ tablespoon) unsalted butter, room temp
- 50 g (¼ cup) neutral oil
- 227 g (1 cup) canned coconut milk
- 2 teaspoon vanilla extract
- 1 teaspoon coconut extract
- 80 g (1 cup) unsweetened shredded coconut
- 2 egg whites
For the whipped milk chocolate ganache:
- 150 g (⅔ cup) heavy cream,
- 85 g (3 oz) milk chocolate
For the cream cheese frosting:
- 227 g (16 tablespoon) unsalted butter, room temp
- 12 oz (1 ½ blocks) cream cheese, cold
- 340 g (3 cups) Truvia Sweet Complete Confectioners Sweetener
- wedgwood food coloring gel
- brown food coloring gel
Instructions
For the coconut cake layers:
- Preheat the oven to 350 degrees F. Grease and line three 6 inch cake pans with parchment paper.
- In the bowl of a stand mixer fitted with a paddle attachment, combine the flour, Truvia Sweet Complete Granulated Sweetener, baking powder, and salt.
- Cut up the butter into small cubes and add to the dry ingredients. Mix on low speed until it resembles wet sand.
- Add the oil, coconut milk, vanilla, and coconut extract, and mix until just combined.
- Fold in the shredded coconut until evenly distributed.
- In a separate medium bowl, add the egg whites. Use an electric hand mixer to whip them until medium peaks form.
- Gently fold the whipped egg whites into the batter with a rubber spatula until just combined.
- Divide the cake batter between the prepared pans.
- Bake for about 22-25 minutes or until the cakes start to pull away from the sides of the pans. Immediately turn the cakes out onto a wire rack to cool completely.
- Once cool, wrap the cakes in plastic wrap and freeze until ready to decorate. (Frozen cake layers will be much easier to frost!)
For the whipped milk chocolate ganache:
- In a small saucepan, bring the heavy cream to a simmer or about 190 degrees F. Once simmering, remove from heat and add the chocolate. Use a small rubber spatula or spoon to gently stir until the chocolate has melted and the ganache is homogeneous.
- Pour the ganache into a medium bowl and place in the fridge for about 15 minutes, stirring every 5 minutes. The ganache needs to be about room temperature, not too hot, but not too cold.
- Use an electric hand mixer to whip the ganache to stiff peaks. Set aside.
For the cream cheese frosting:
- In the bowl of a stand mixer fitted with a paddle attachment, beat the butter, and cream cheese on high speed until smooth.
- Slowly add the Truvia Sweet Complete Confectioner's Sweetener and mix on low speed until fully combined.
- Once all of the confectioner's sweetener is added, add a few drops of light blue food coloring gel and continue beating on low speed until no more lumps or pockets of air remain and the frosting is smooth.
For assembly:
- Place the first cake layer on a cake stand. Pipe a dam of frosting around the edge of the cake. Fill the center with a few scoops of whipped chocolate ganache.
- Top with the second cake layer and repeat.
- Add the last cake layer and top with a few scoops of frosting. Use an offset spatula to smooth out the top, and spread the excess all over the sides. Continue frosting the cake until it's completely covered.
- To add robin's egg spots, dip a pastry brush in brown food coloring gel and carefully flick it all over the cake.
- Top the cake with toasted coconut flakes and mini chocolate candy eggs, and enjoy!
Notes
- Do not over-whip the egg whites. Whip the egg whites only to medium peaks. As you can see above, the peaks droop slightly - this is what you're looking for. Whipping them to stiff peaks will make the egg whites too dry, causing them to deflate as they're folded into the batter.
- Use cake strips to create flat cake layers. Soak these wilton cake strips in ice water before starting the cake batter. Just before baking, wrap the cake strips around the pan. The cold temperature on the outside of the cake will prevent the edges from baking faster than the center, resulting in an evenly baked flat cake.
- Freeze the cake layers before decorating. Since this is such a moist cake, I highly recommend freezing the cake layers for at least two hours before decorating.
- Use cold cream cheese & room temperature butter. In order to create a sturdy, pipeable cream cheese frosting, pay close attention to the temperature of the ingredients. Cold cream cheese will ensure it's thick enough, while room temperature butter will ensure all of the ingredients cream together properly.
- To create smooth sides when cake decorating... Run an offset spatula (or any cake decorating tool) under hot water, then wipe dry and use immediately to spread the frosting on the cake. The hot tool will help create smooth sides!

Comments
No Comments