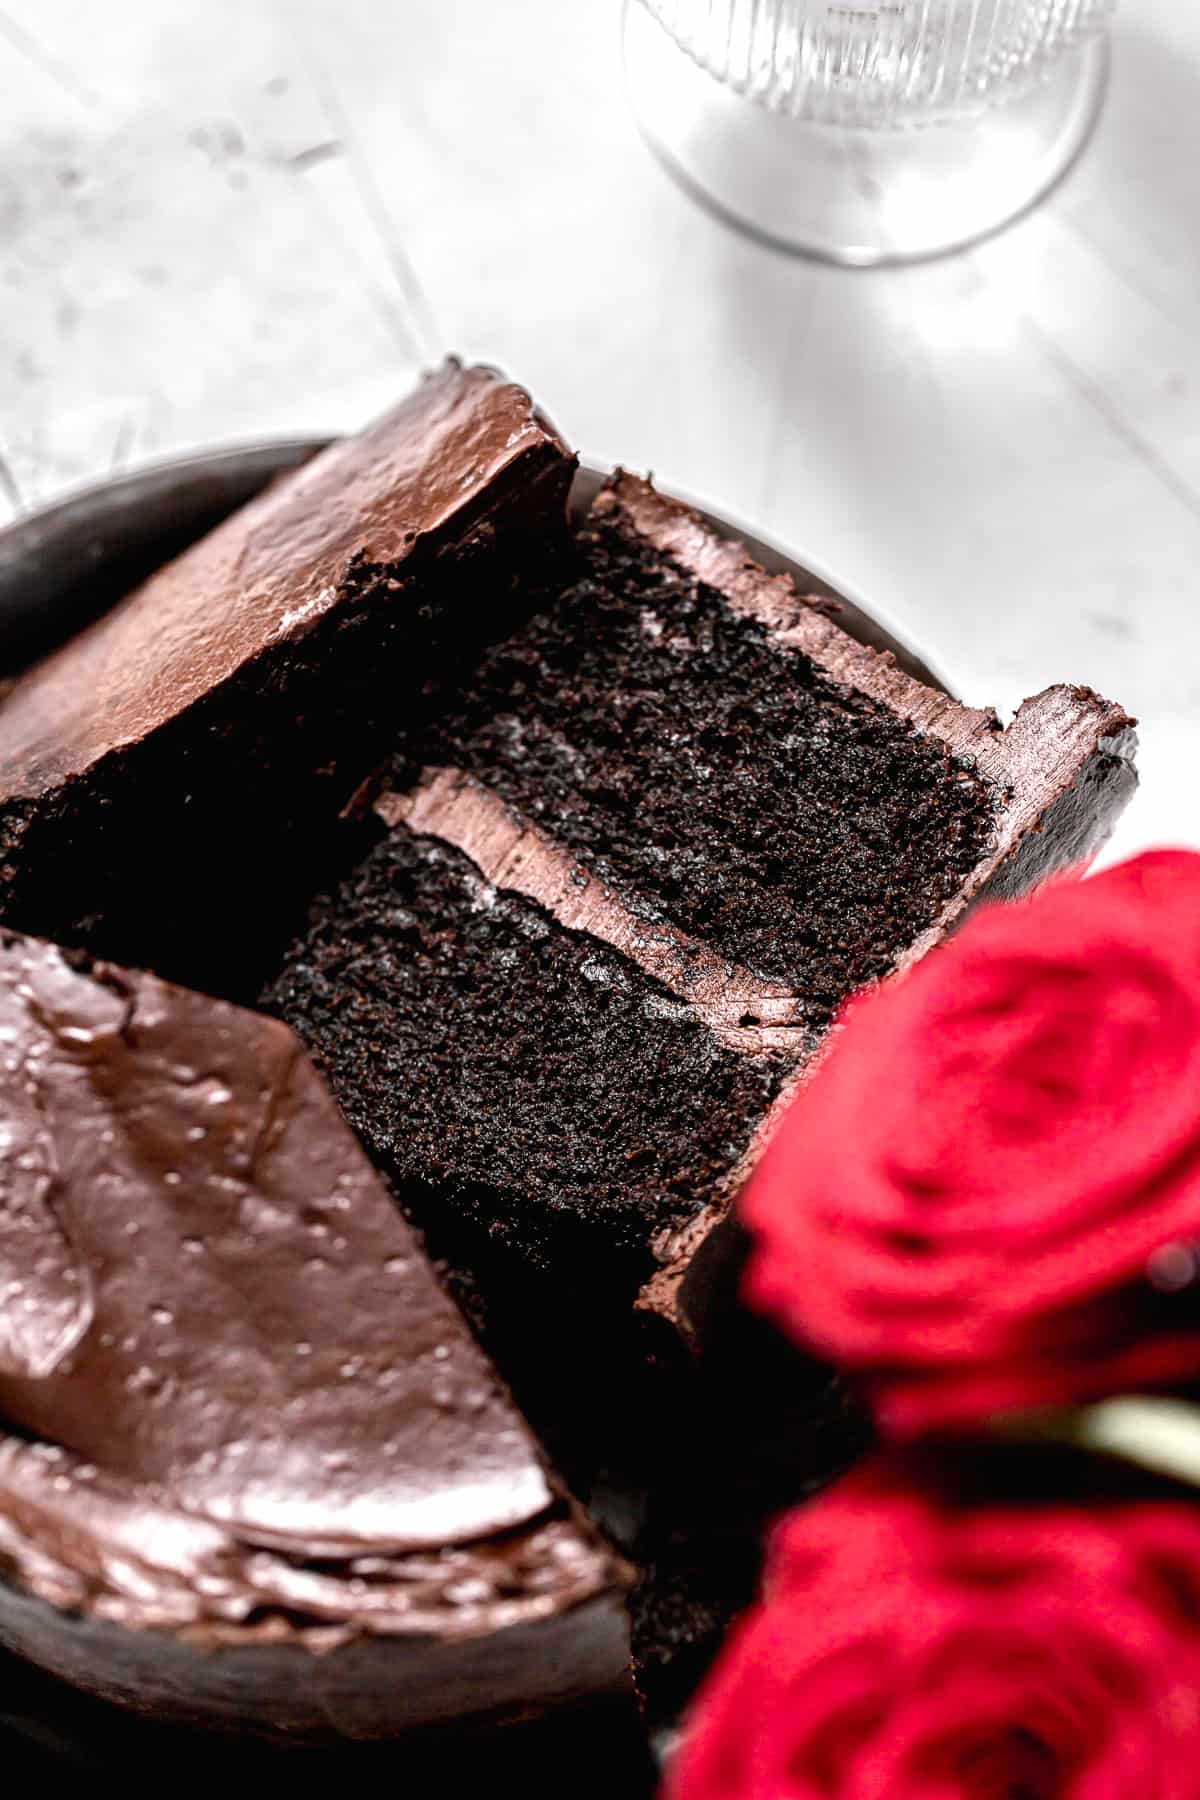
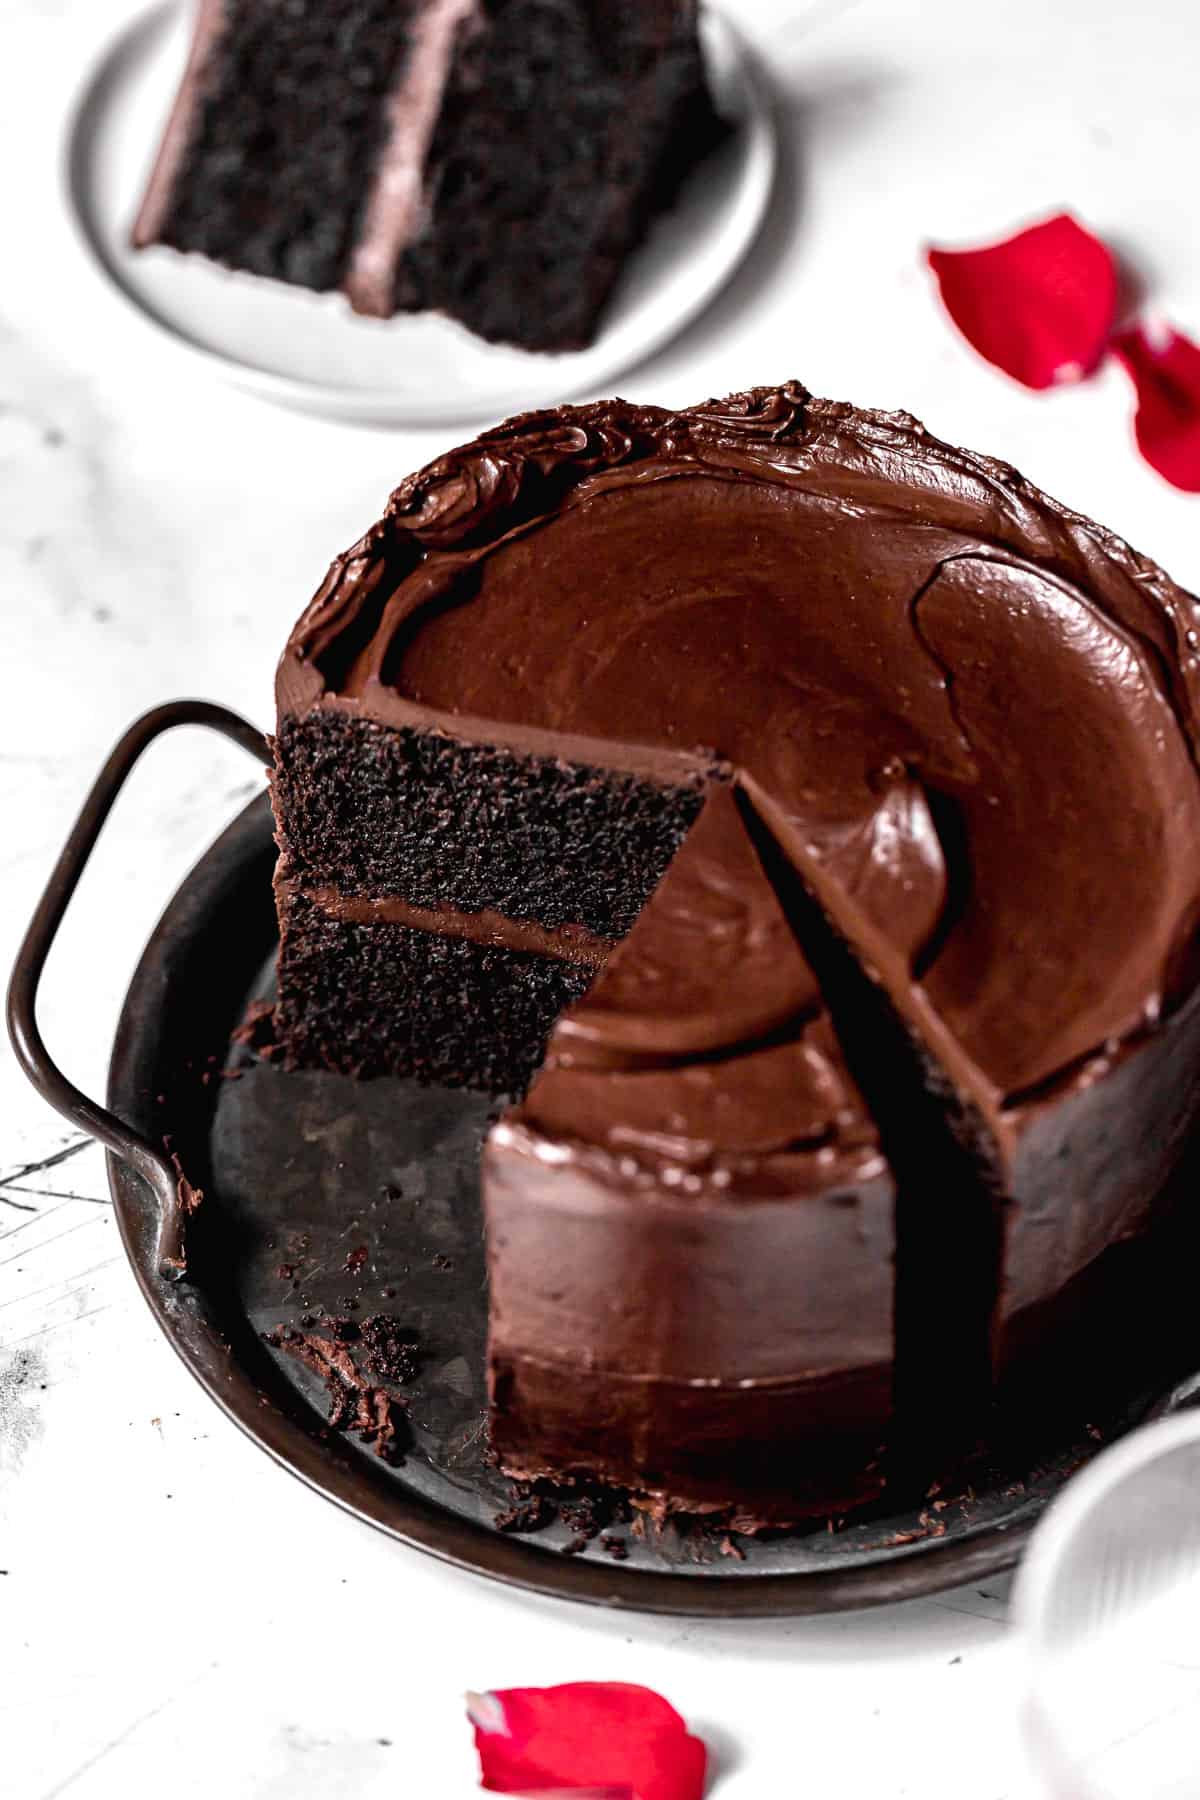
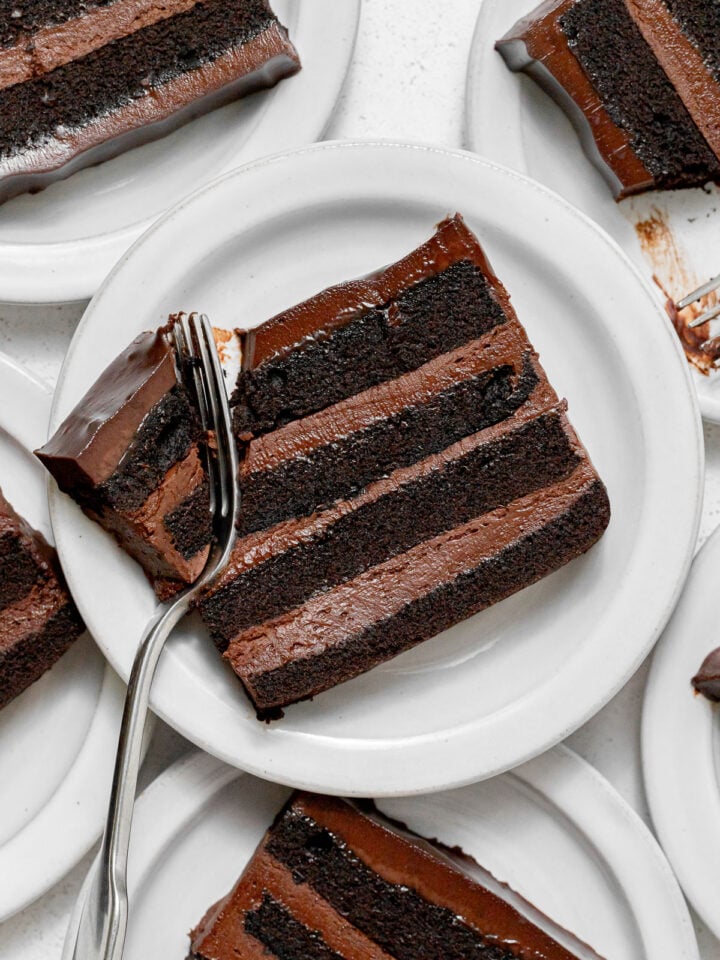
This chocolate fudge cake is made with two impossibly rich 6 inch layers and a swoon-worthy chocolate ganache fit for any special occasion.
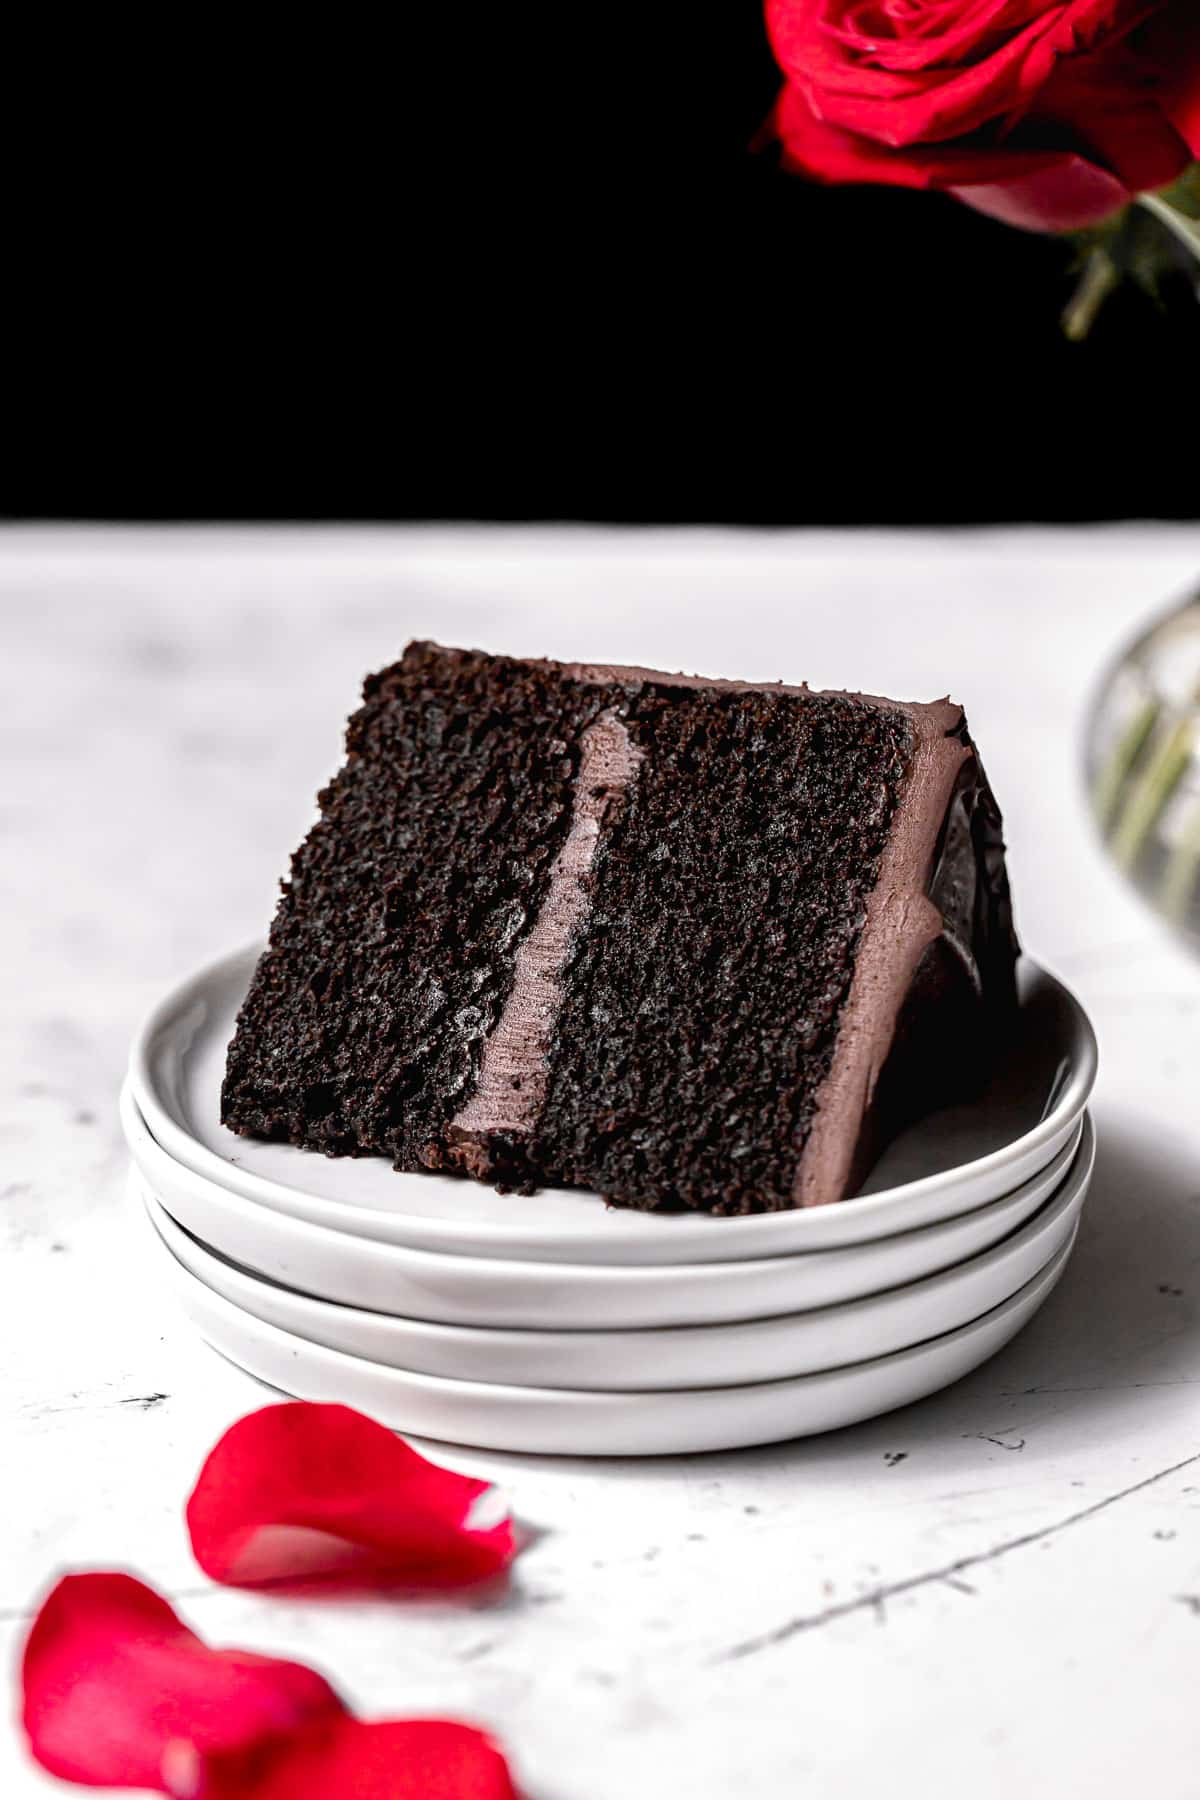
You know I perfected the vanilla cake awhile back, and now I have finally created the chocolate counterpart! This ultimate chocolate fudge cake is the perfect chocolate cake in my eyes.
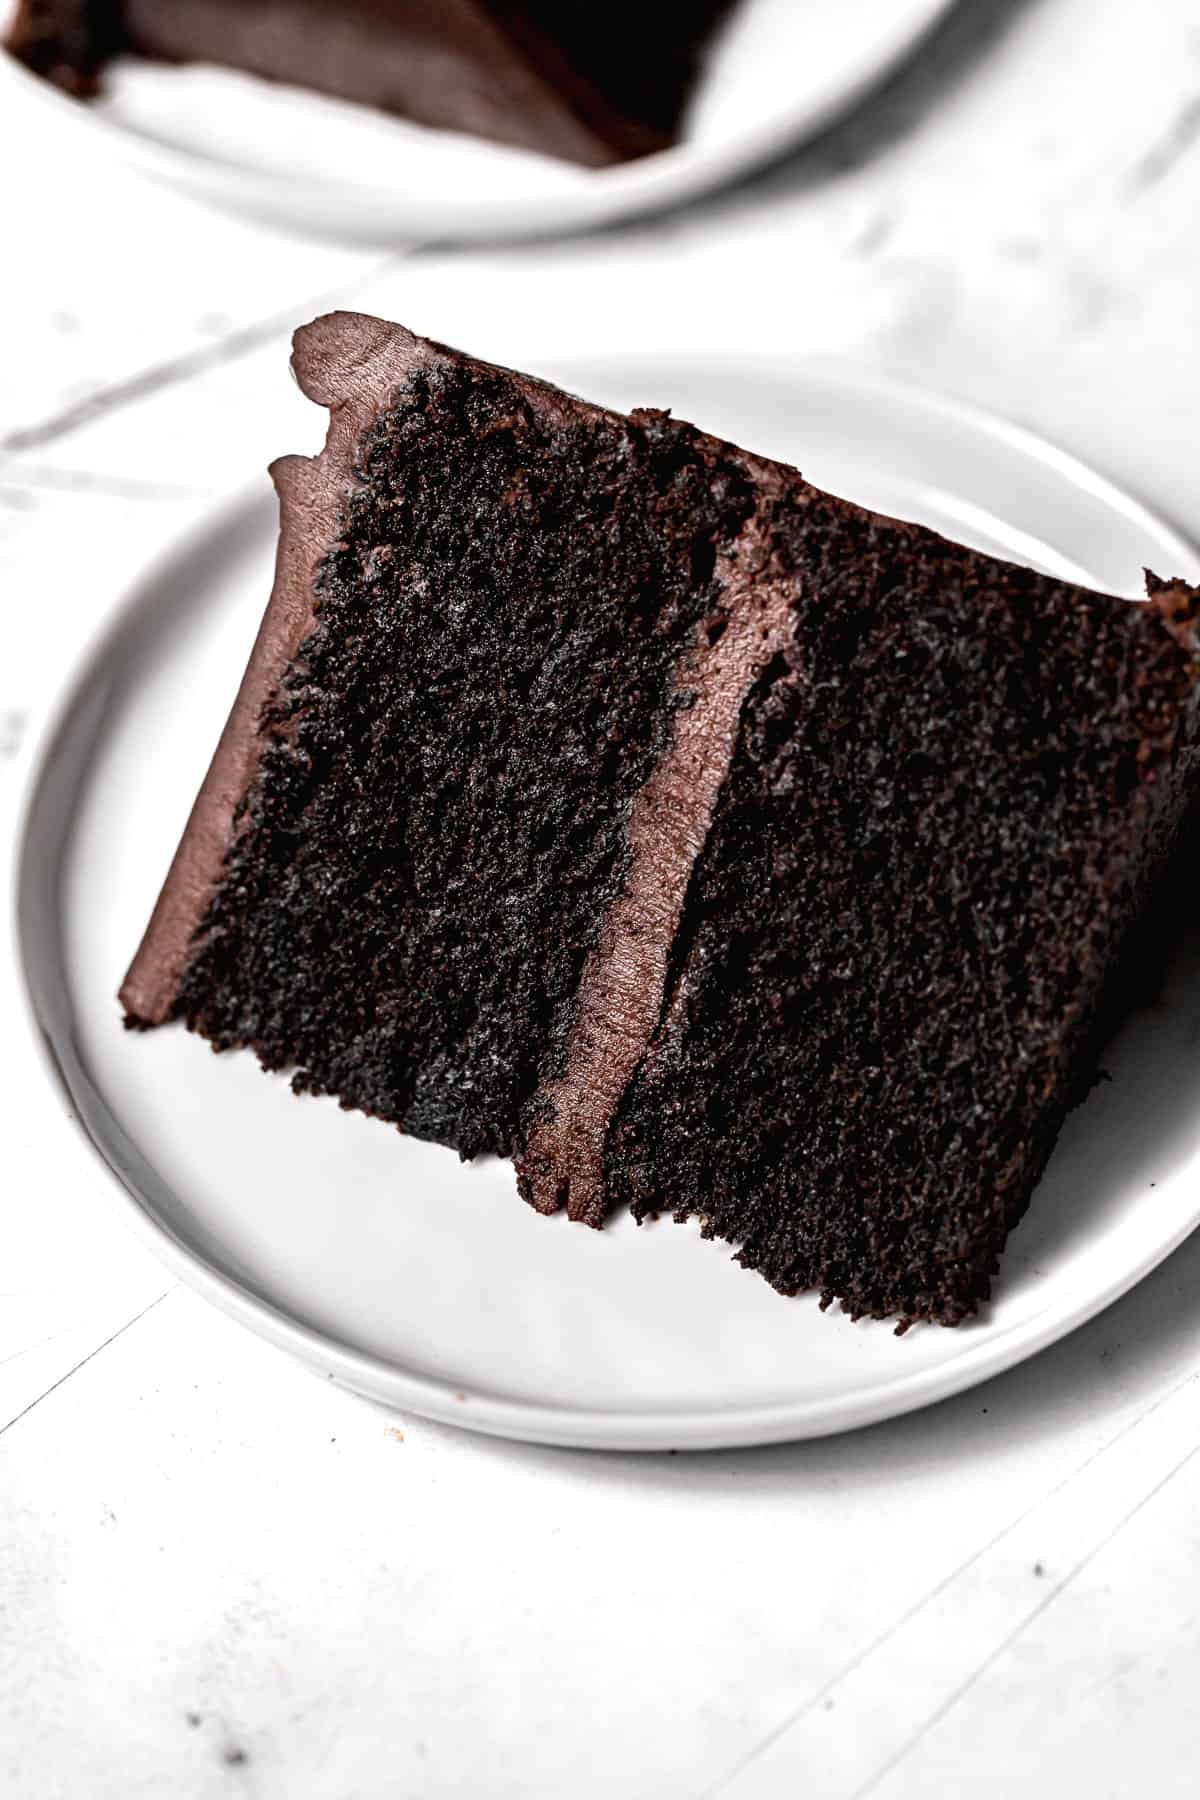
It checks off all of the boxes: pronounced chocolate flavor in the actual cake layers (not just the frosting!), made with a butter-oil combination so it stays moist for dayyyys without sacrificing flavor, smooth truffle-like ganache that's so rich, it's hard to take another bite, yet so smooth & chocolatey, it's hard not to eat the whole thing!
For more rich chocolate recipes, try Fudgy Mocha Brownie Cookies, Chocolate Sour Cream Pound Cake, Mini Flourless Chocolate Cake, and Olive Oil Brownies.
Jump to Recipe
Why you'll love this chocolate fudge cake
- Rich, Decadent Flavor: The combination of fudgy chocolate ganache with rich cake makes this dessert feel extra special.
- Fudgy, Moist Texture: Unlike most chocolate cake recipes, this recipe bakes up incredibly fudgy & moist with a pronounced chocolate flavor, an even, tight crumb, and a melt-in-your-mouth texture that is utterly irresistible.
- Small 6-inch Size: The small size of this cake makes it perfect for a small crowd! It serves about 8 small pieces.
Ingredient Notes
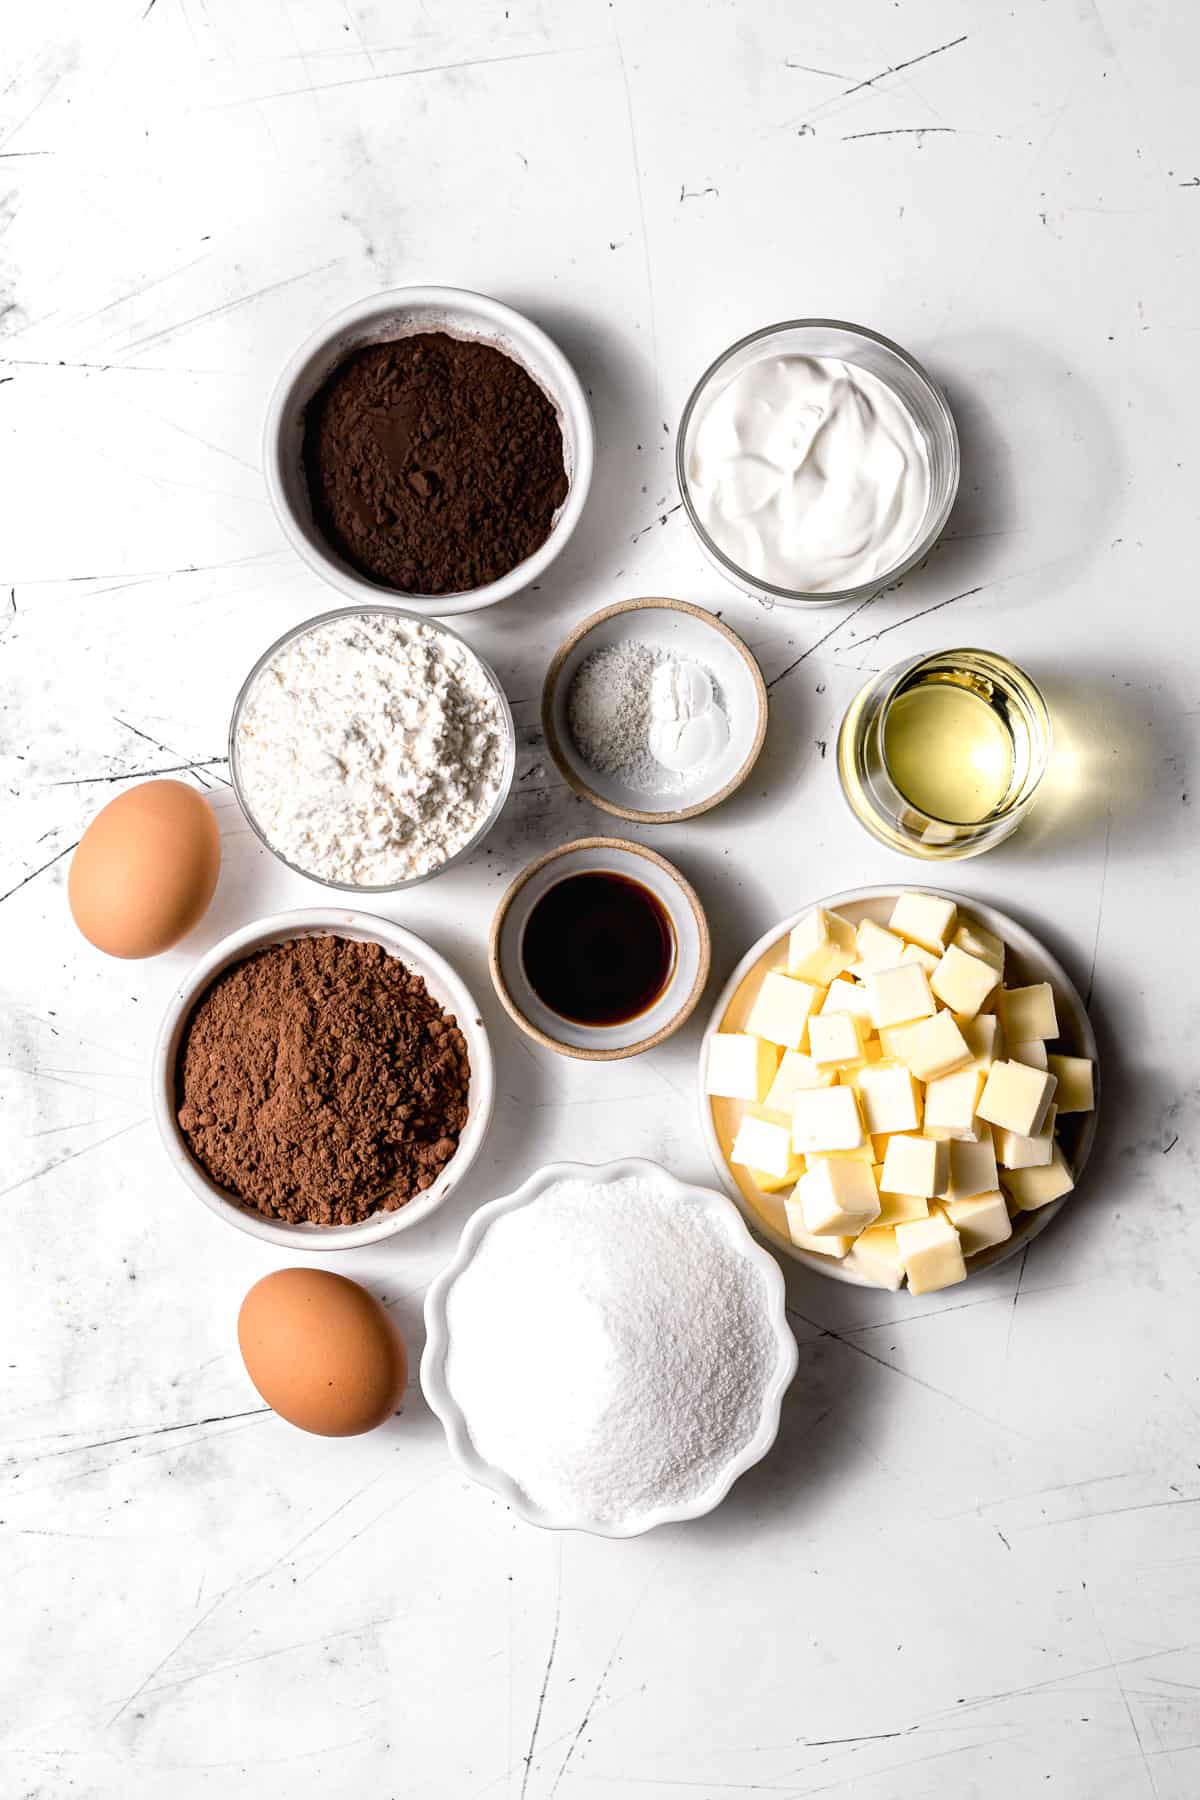
- Cake Flour: Cake flour makes this cake extra soft, but you can absolutely use regular all-purpose flour, or even GF 1:1 flour.
- Cocoa Powder: I used a combination of dutch process and black cocoa powders for an extra rich chocolate experience.
- Baking Powder: Be sure your baking powder is fresh by testing it some water.
- Butter: Use high-quality butter, such as European-style butter for best flavor.
- Sugar: I know there is A LOT of sugar in this cake, but do be tempted to reduce it. Sugar is used not only to sweeten the cake, but also for the structure and texture of the cake.
- Eggs: Be sure your eggs are at room temperature before adding them to the batter.
- Sour Cream: You can also use plain whole milk greek yogurt.
- Oil: I recommend using light-tasting extra virgin olive oil, but any neutral oil will work.
See recipe card for full information on ingredients and individual quantities.
Step by Step Instructions
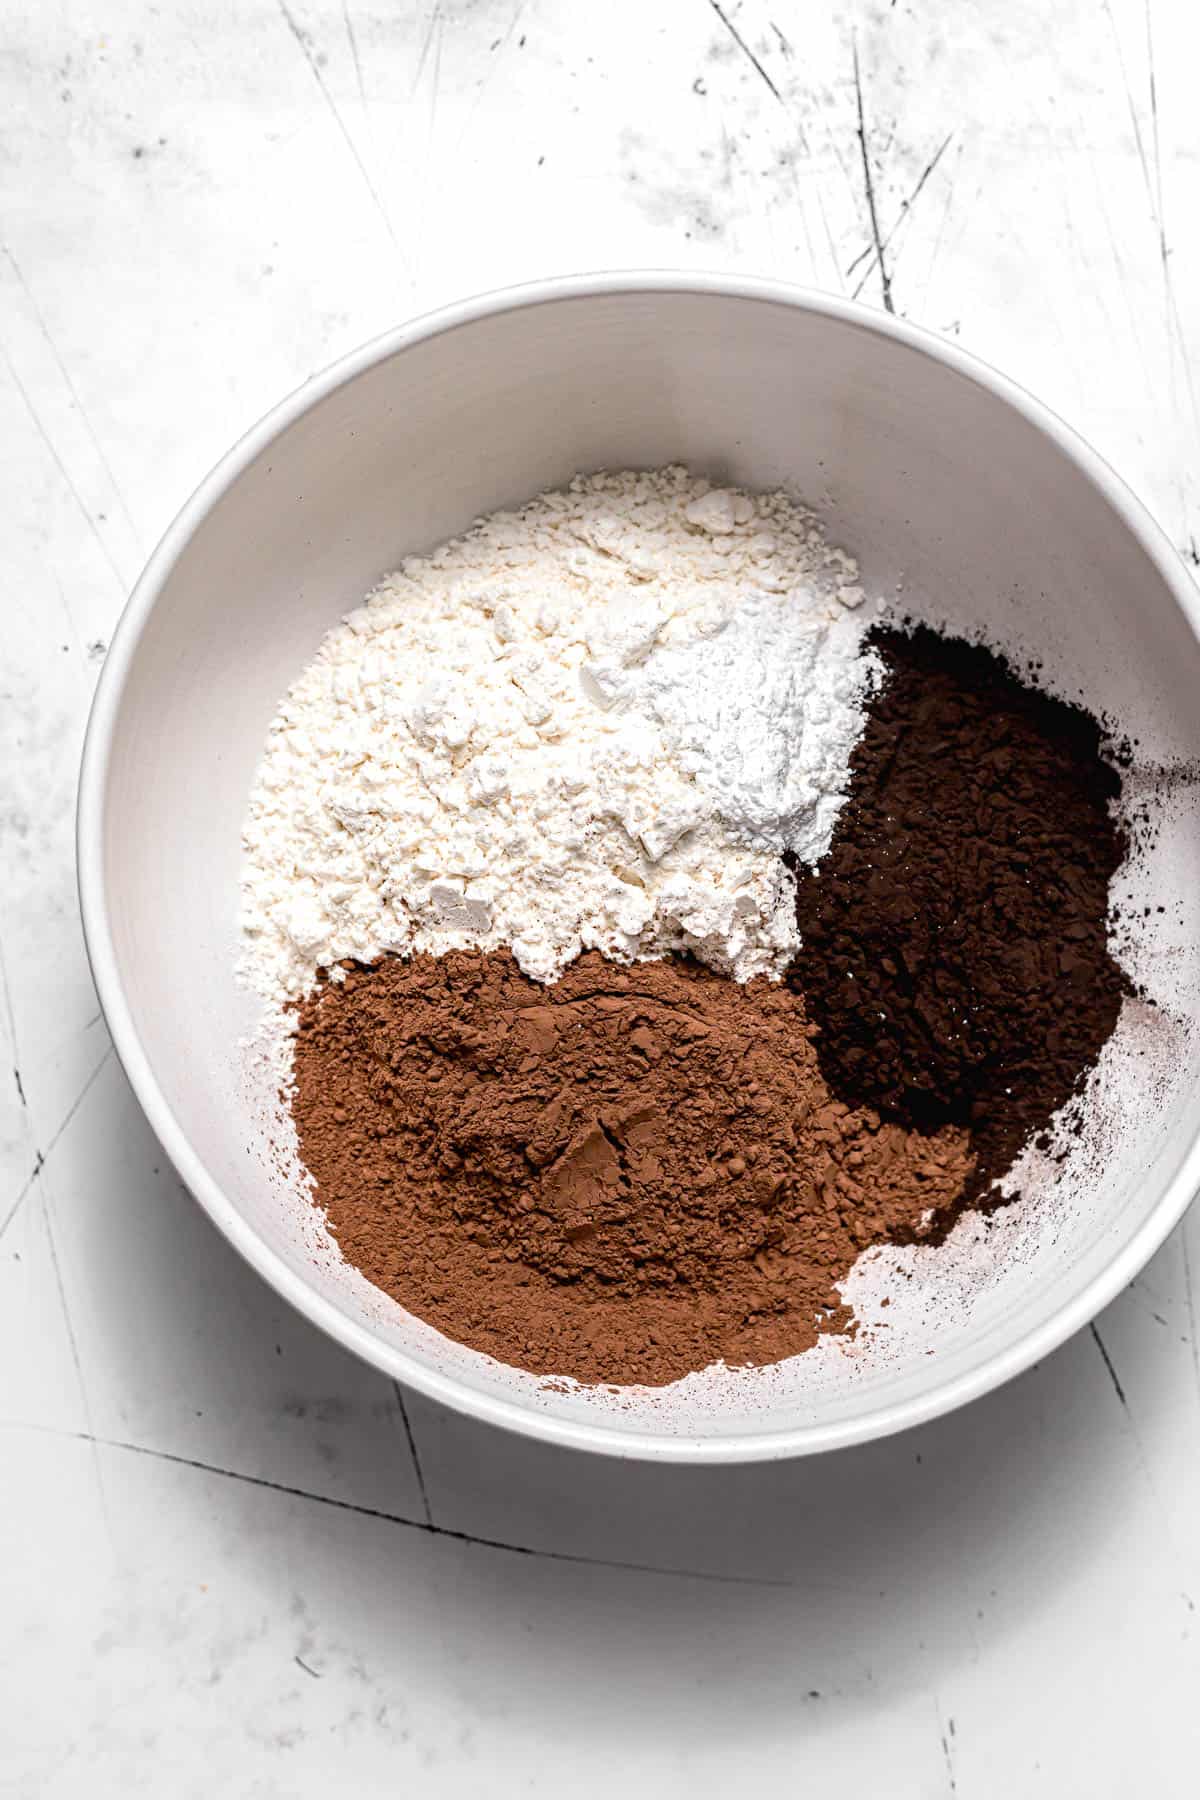
STEP 1: Combine dry ingredients. In a large bowl, whisk together the cake flour, cocoa powders, baking powder, and salt. Set aside.
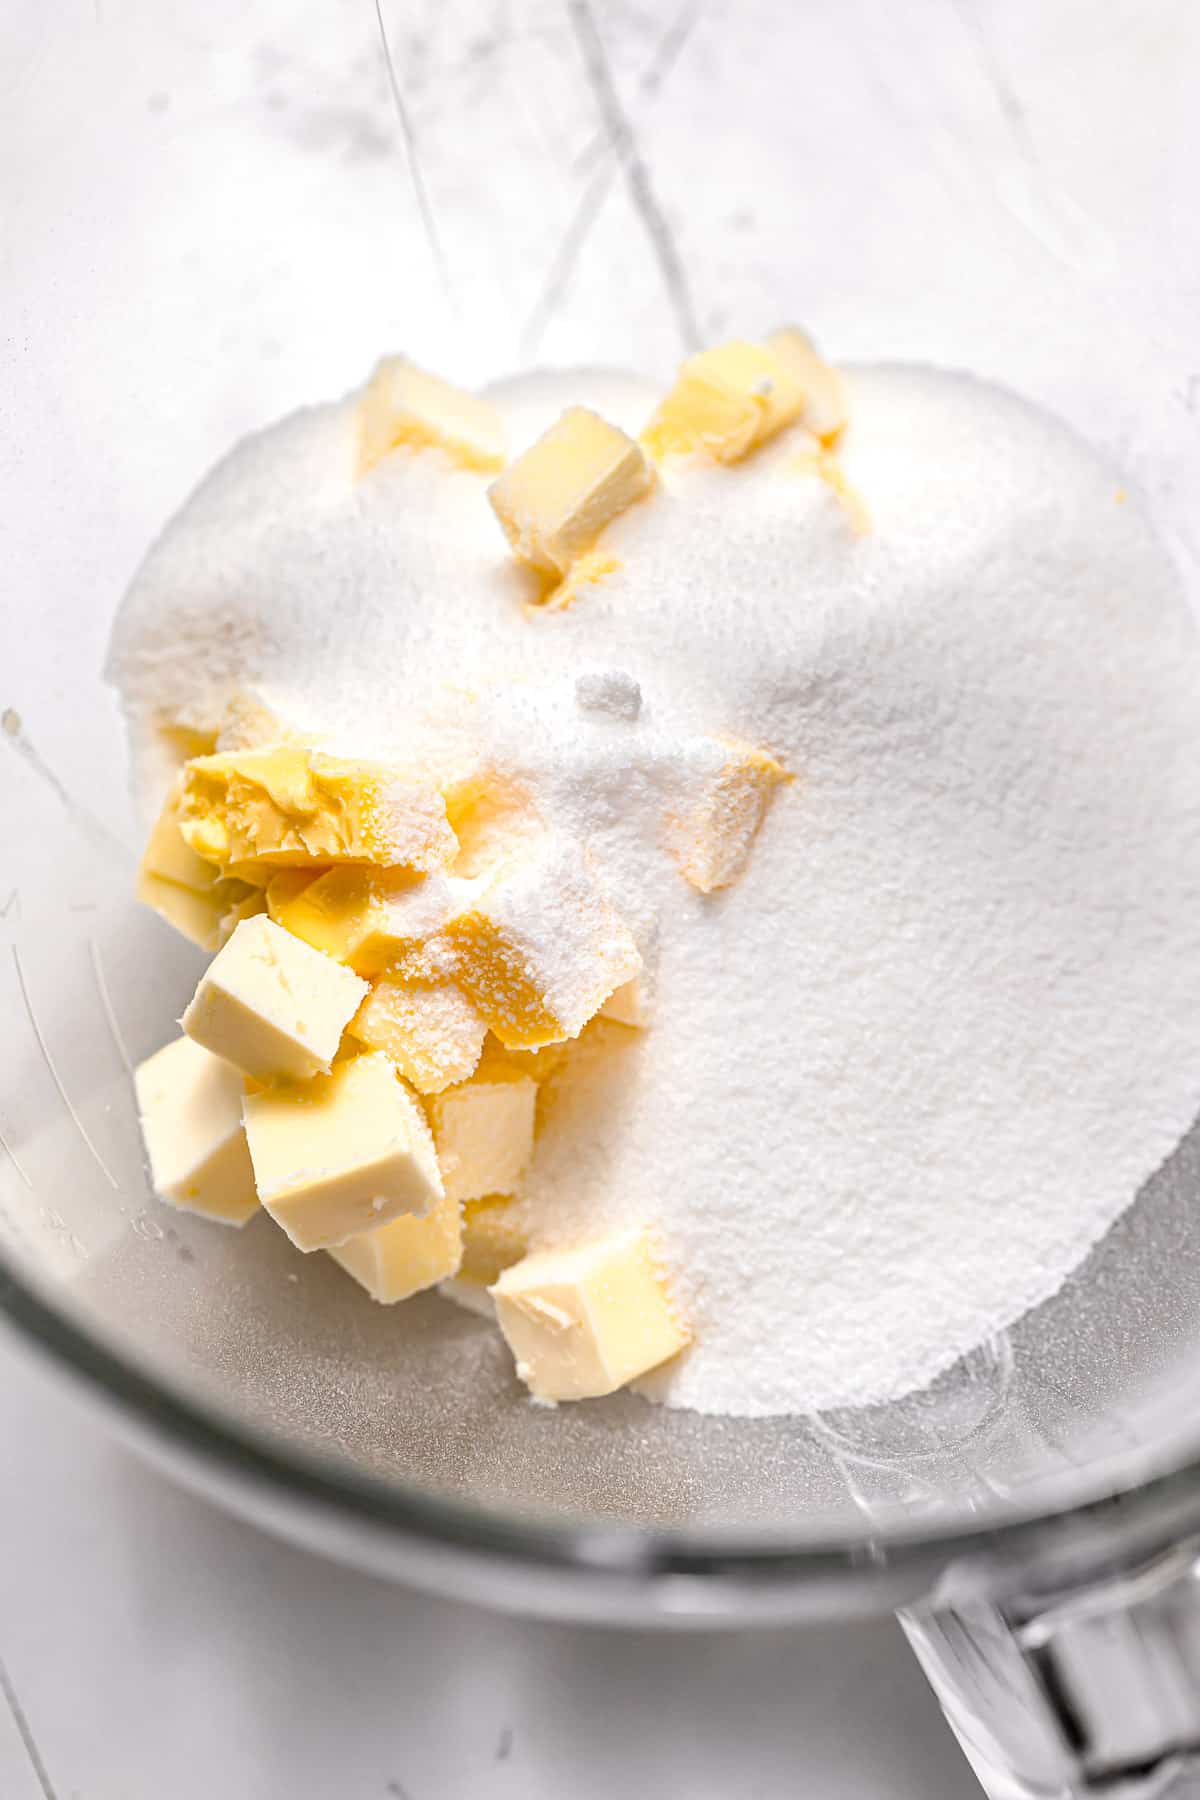
STEP 2: Cream butter & sugars. In the bowl of a stand mixer fitted with the paddle attachment, cream together the butter and sugar for 2-3 minutes until light & fluffy.
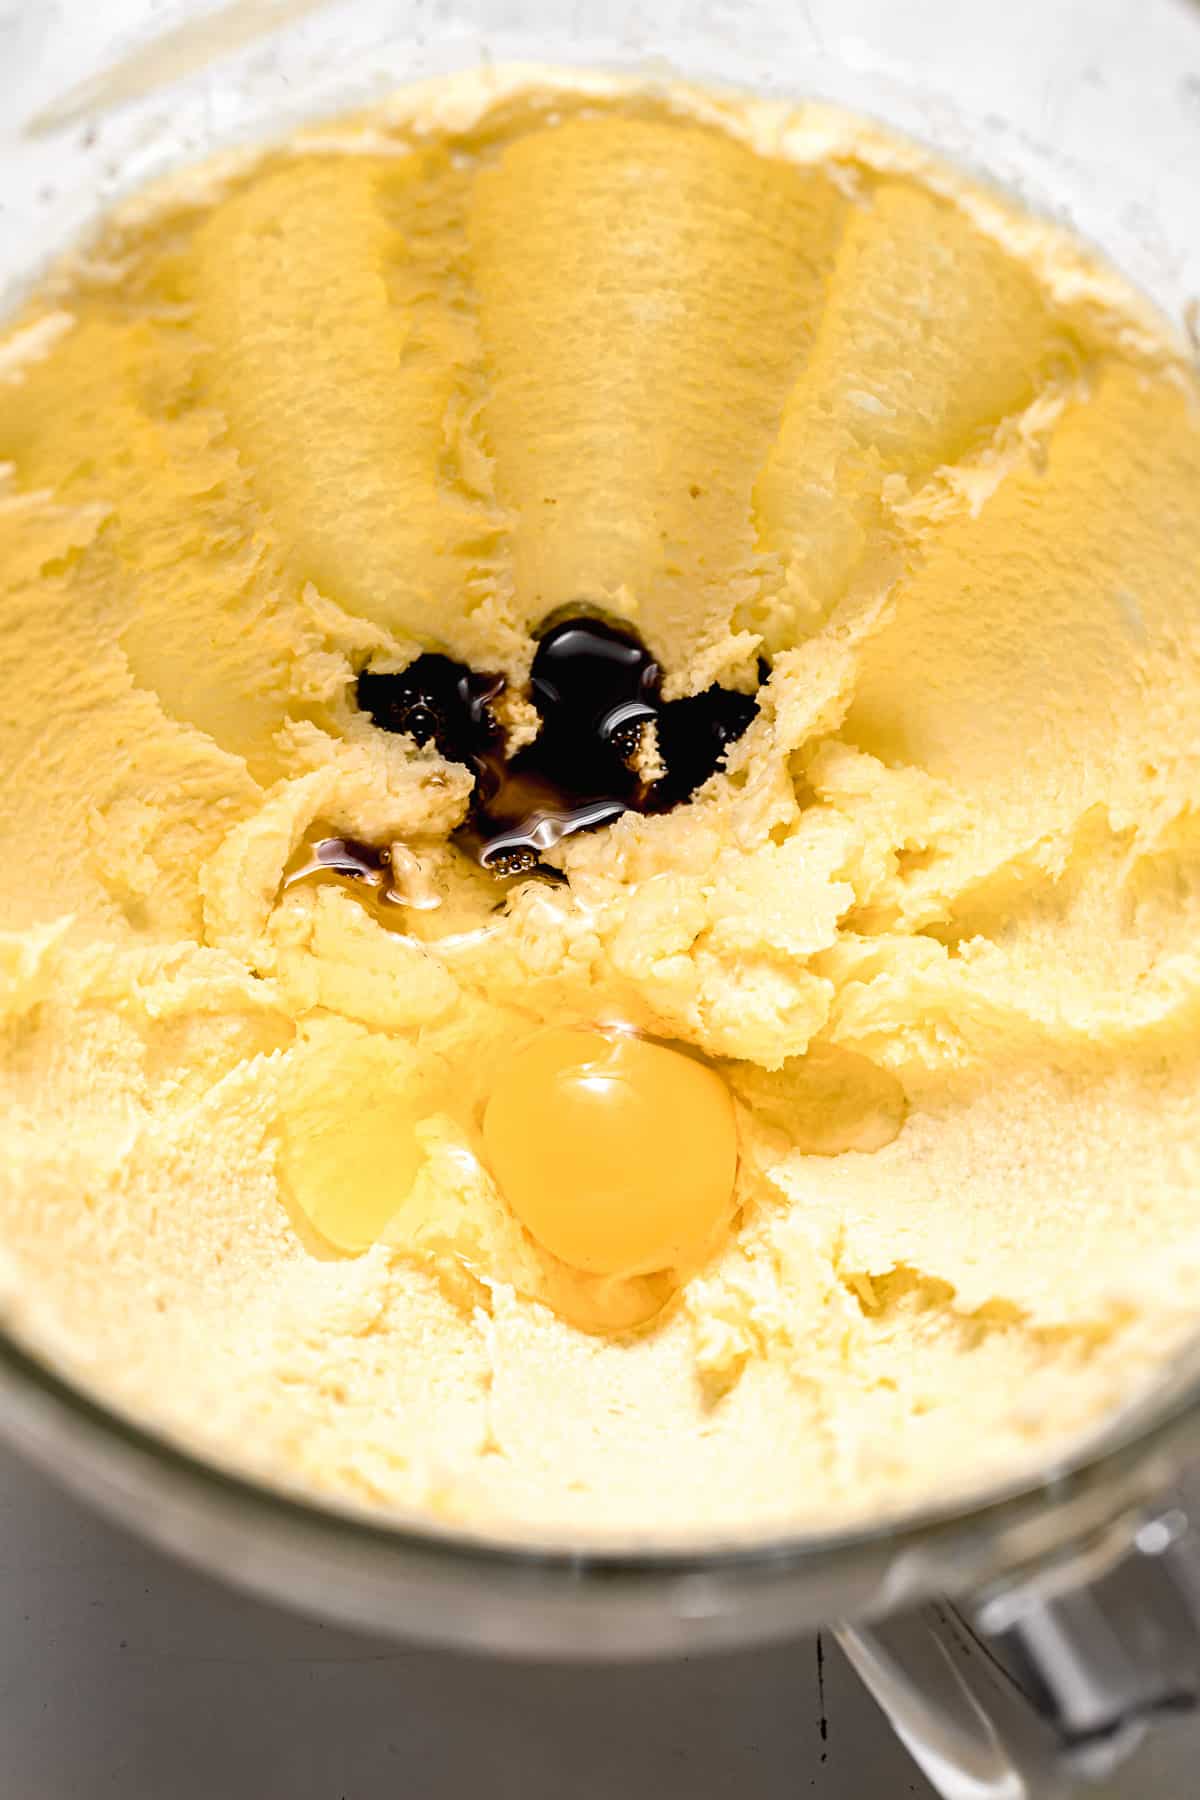
STEP 3: Mix in eggs & vanilla. Mixing on low speed, add the eggs one a time. Scrape down the bowl and mix in the vanilla.
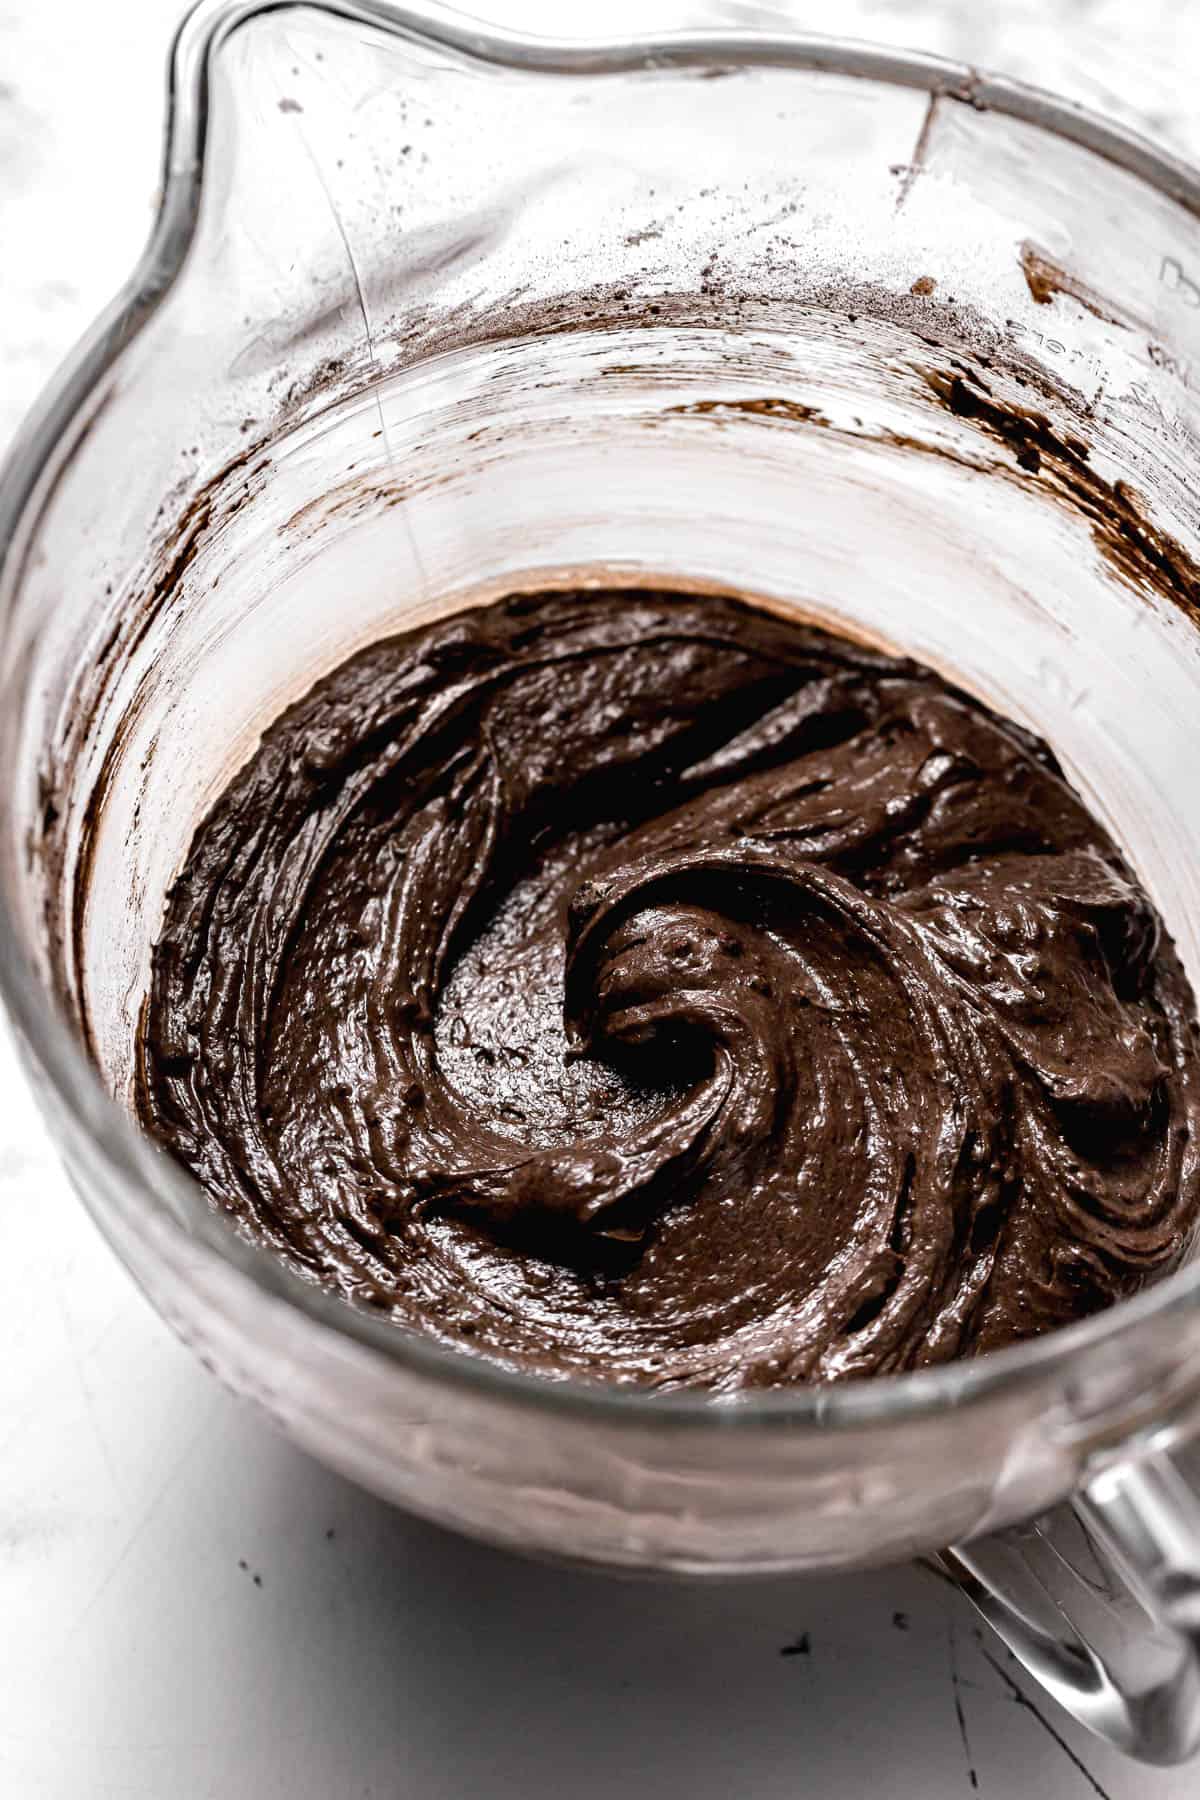
STEP 4: Alternate dry & wet ingredients. Add half of the dry ingredients and mix until just combined. Mix in the sour cream and oil. Add the rest of the dry ingredients and mix until just combined. Scrape down the bowl to ensure everything is evenly incorporated.
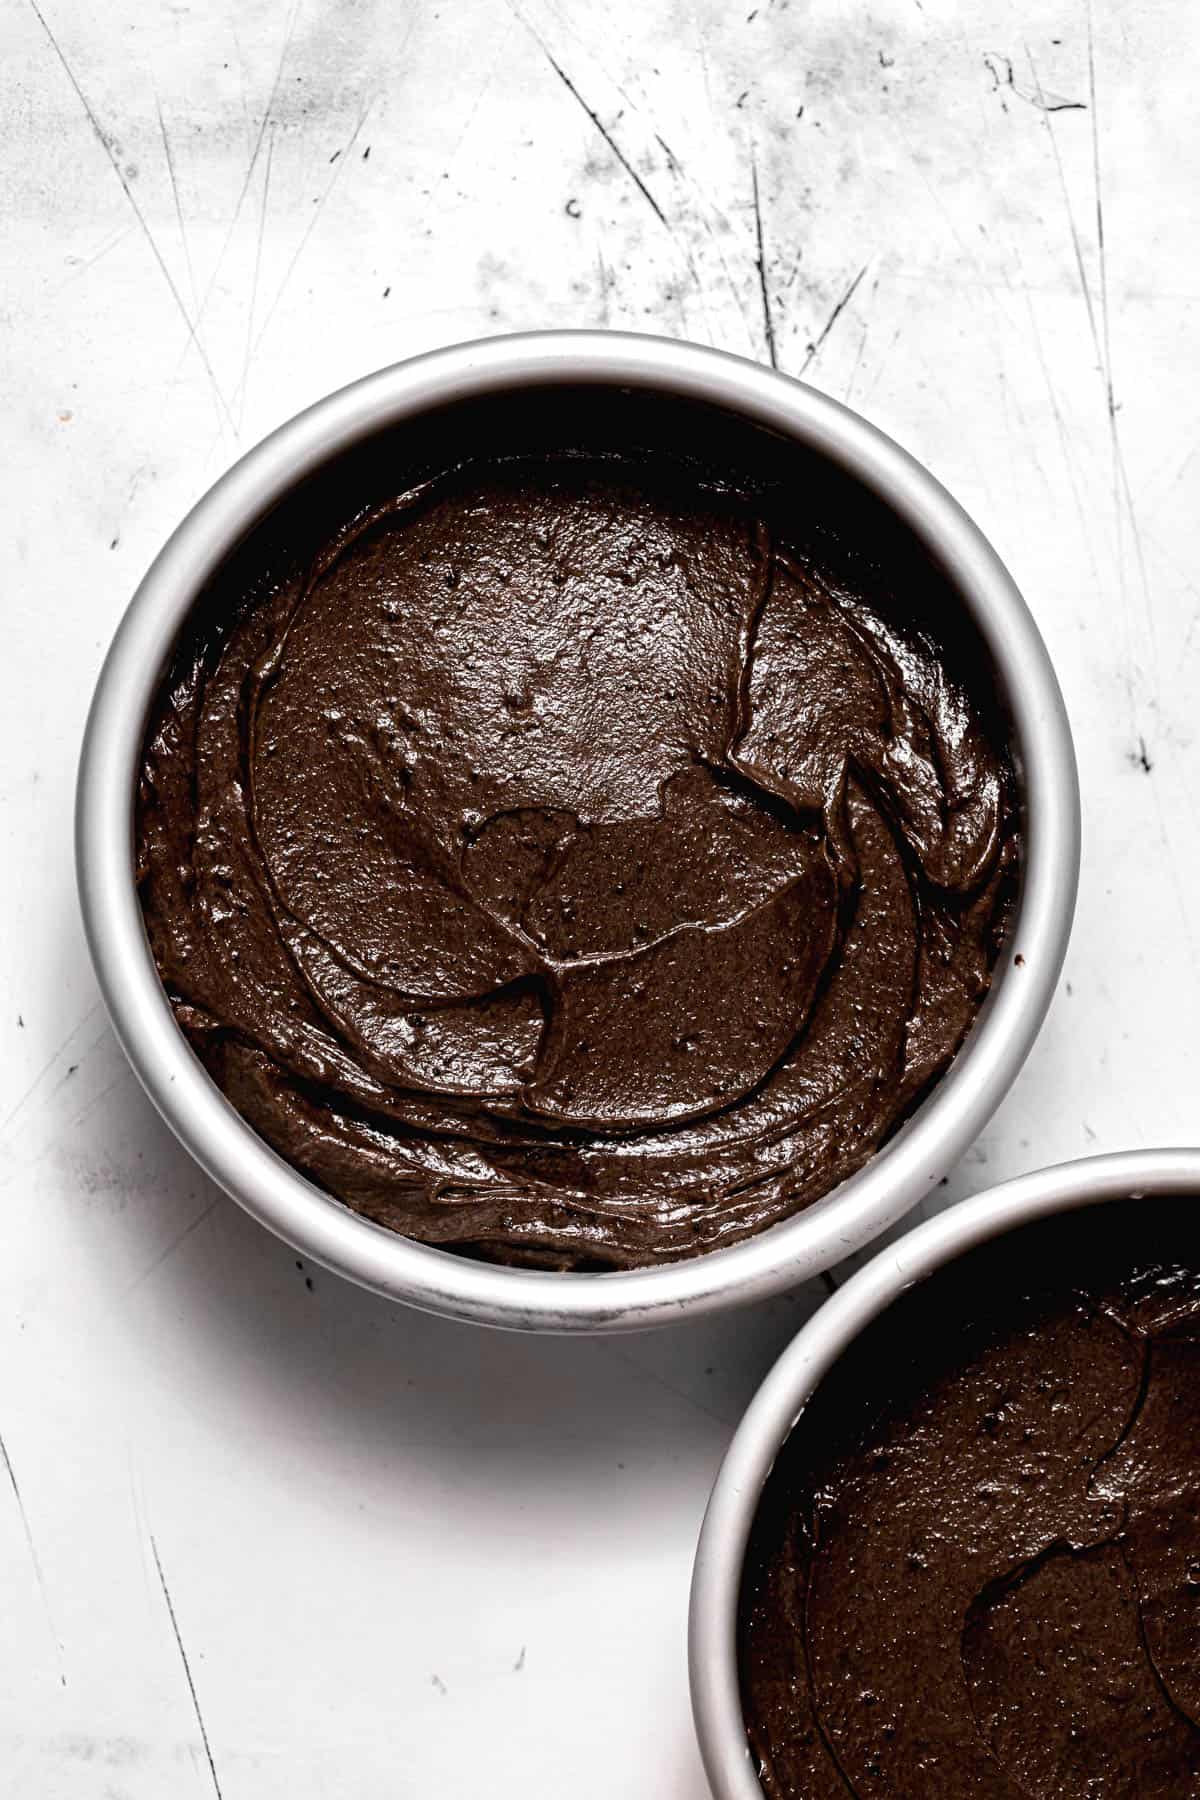
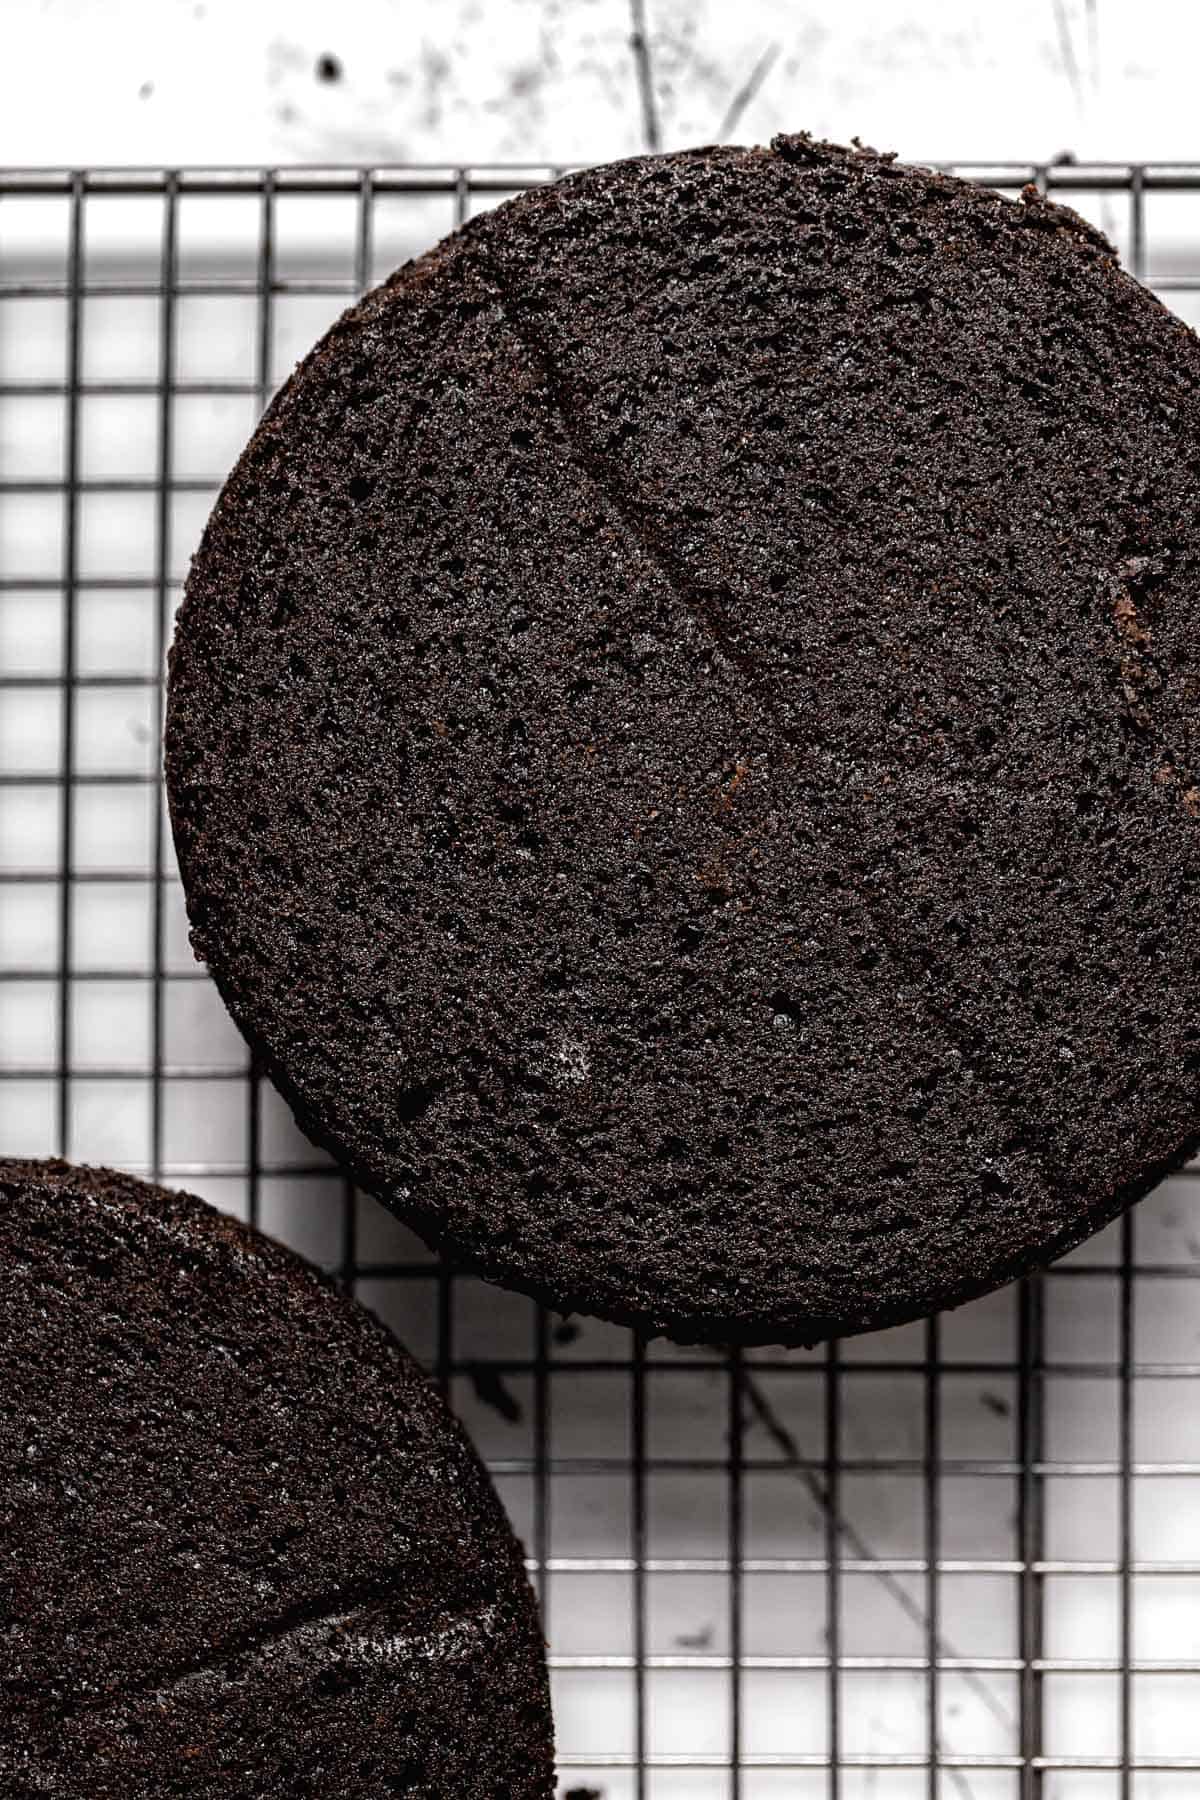
STEP 5: Bake. Divide the batter between the prepared cake pans and smooth out the tops with an offset spatula. Bake the cakes for about 35-40 minutes or until the edges begin to pull away form the sides of the pan and a toothpick inserted comes out clean.
STEP 6: Allow the cakes to cool. Turn the cakes out onto a wire rack to cool completely.
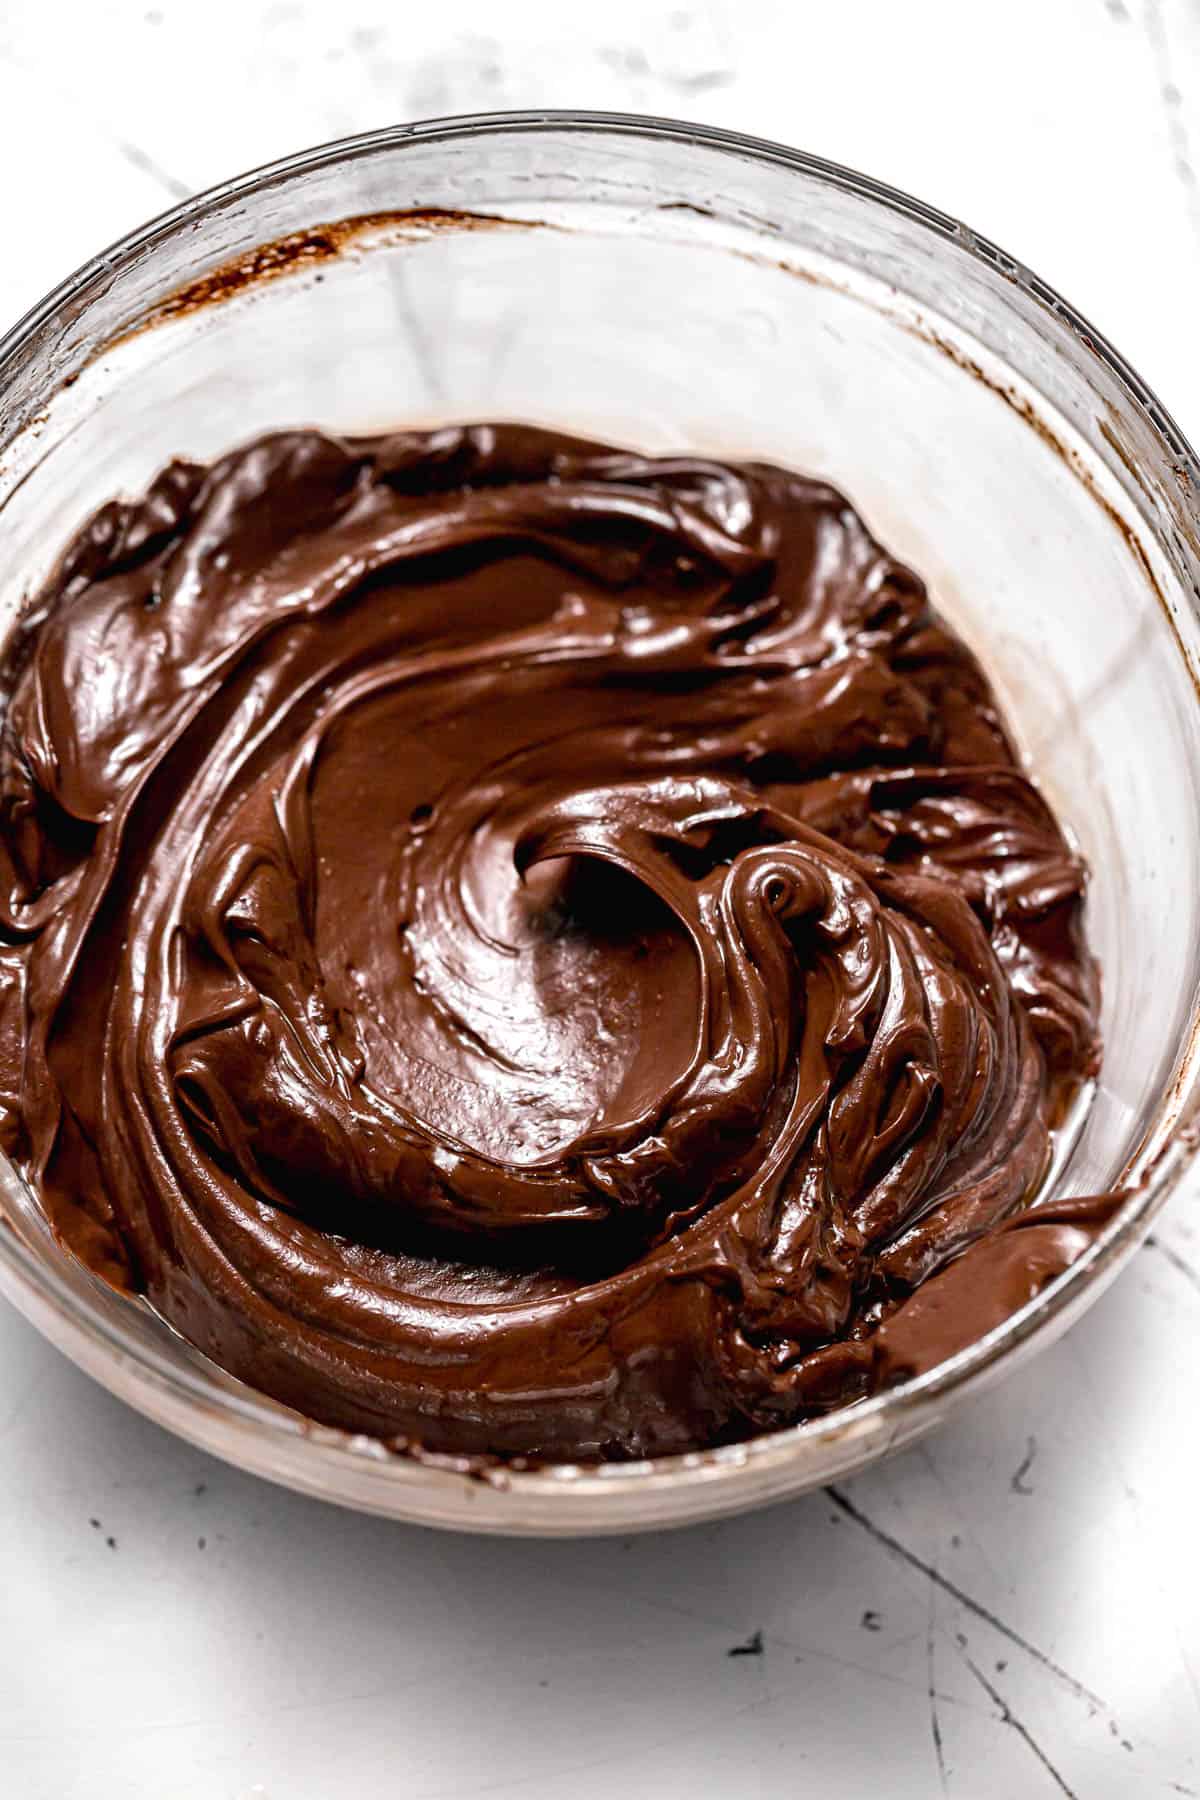
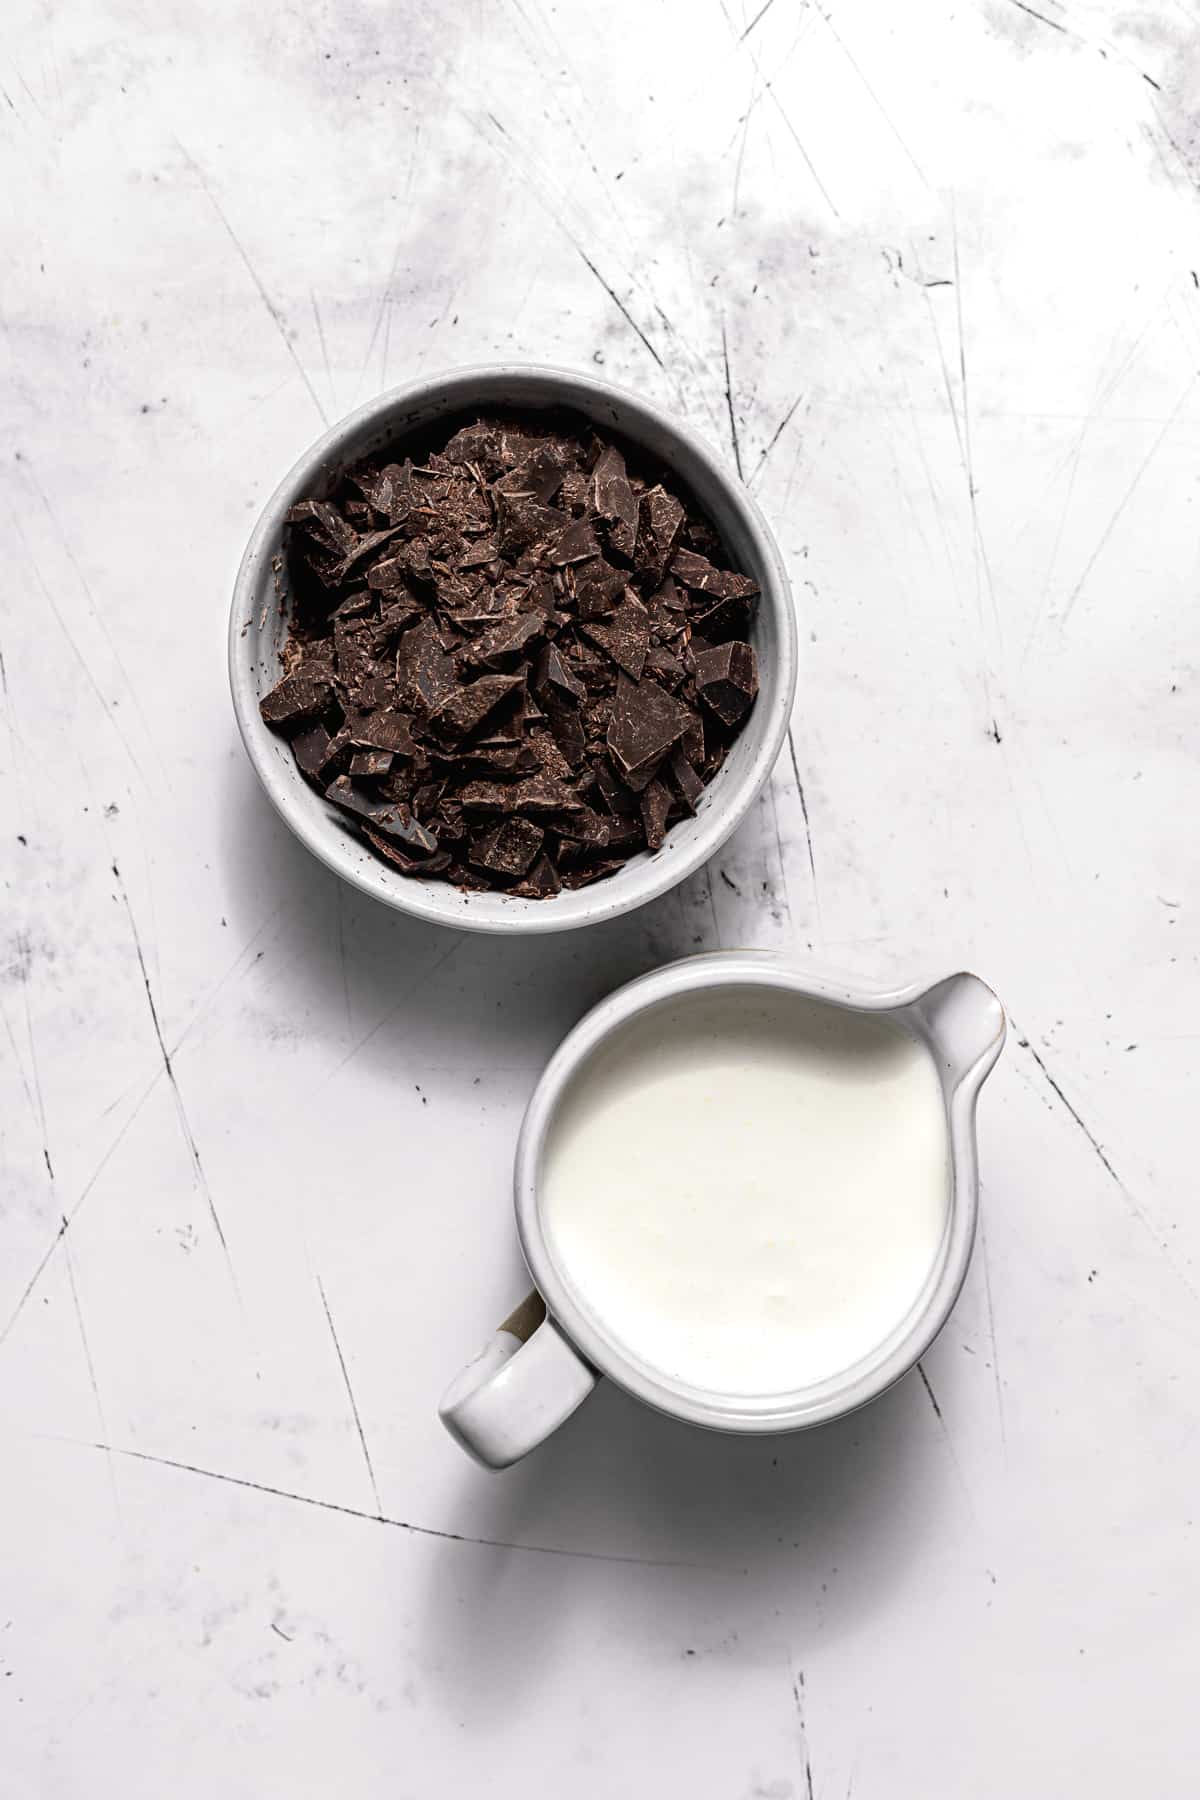
STEP 7: Make the ganache. In a small saucepan, heat the heavy cream over low heat and bring to a simmer or about 190 degrees F. Pour the hot heavy cream over the chocolate, place a plate on top of the bowl, and allow to sit for a couple minutes. Remove the plate and gently stir with a rubber spatula until the ganache is smooth. Alternatively, you can use an immersion blender. Cover the bowl and allow to sit for 1 hour (but no longer!) at room temperature to thicken.
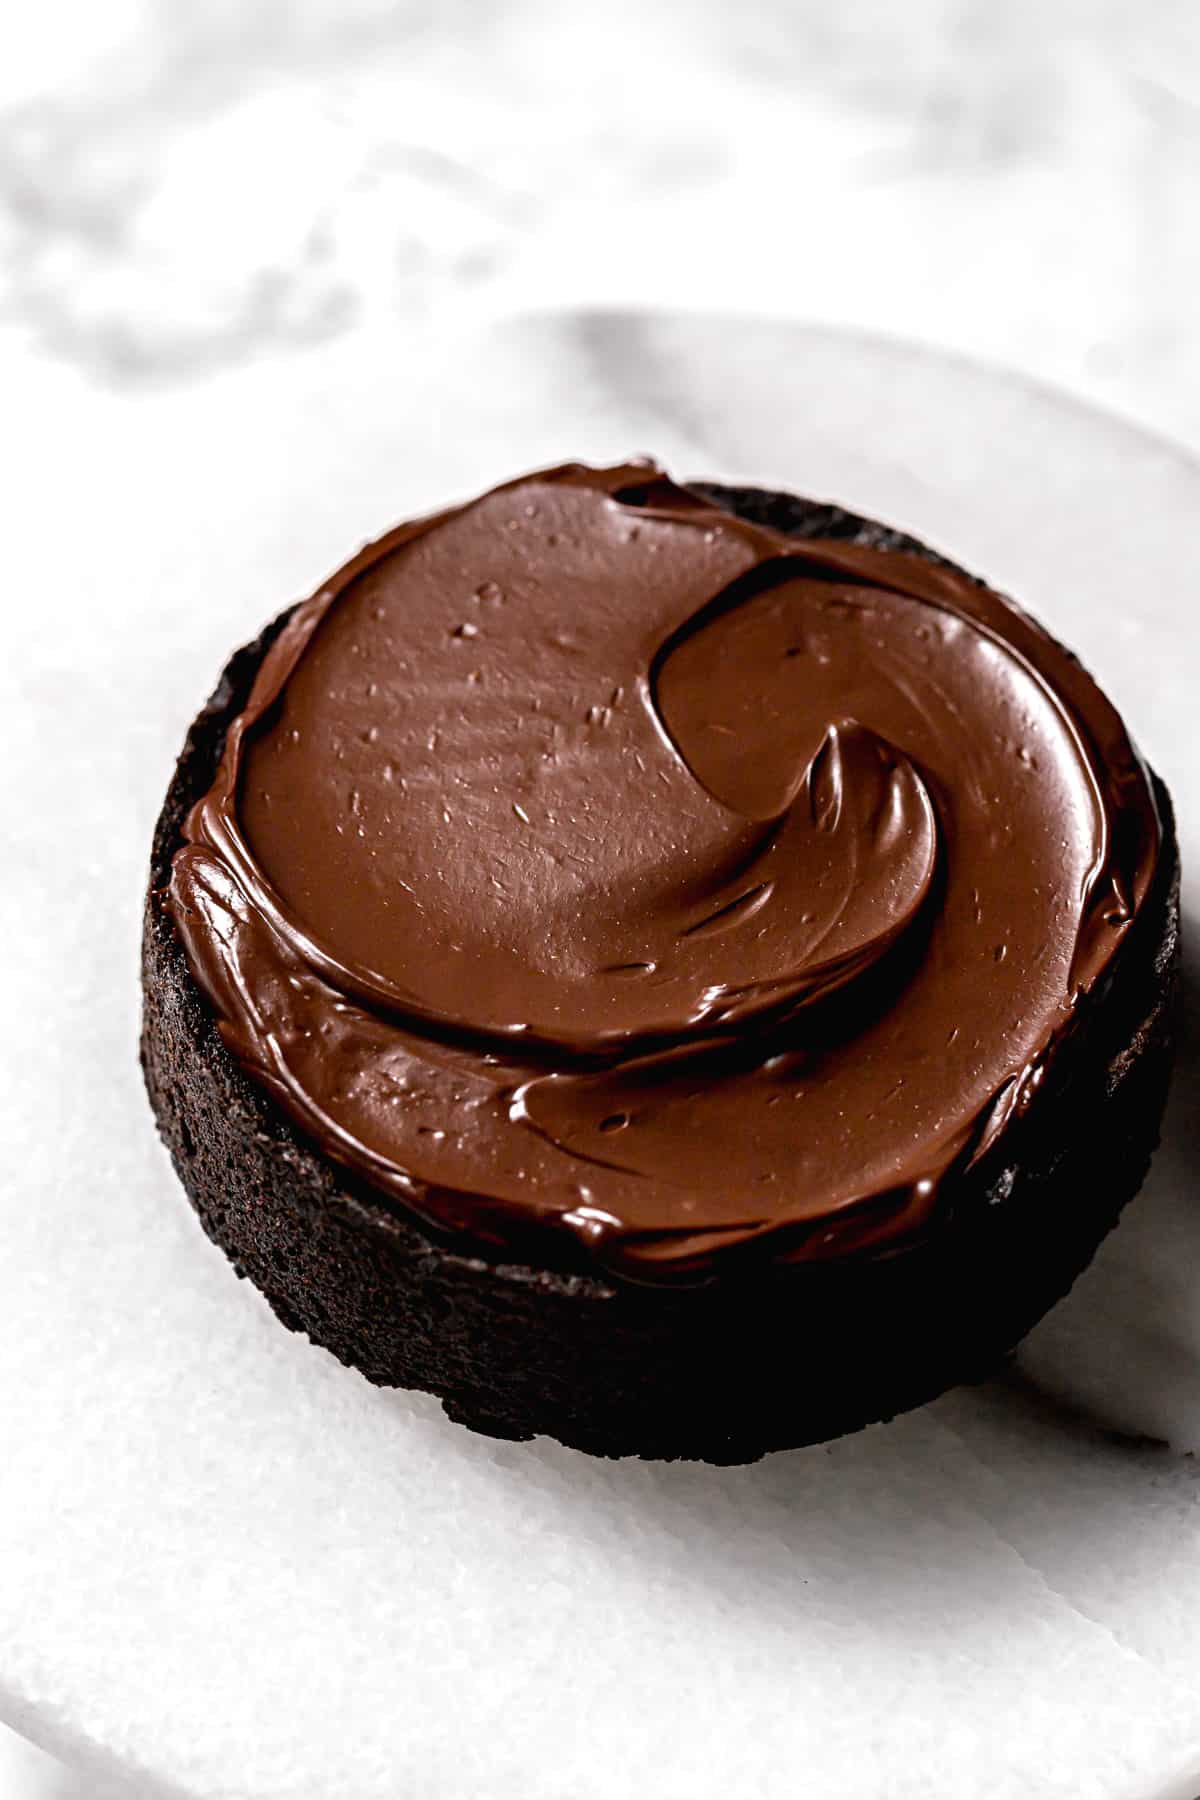
STEP 8: Assemble. Place the first cake layer on a cake stand or plate. Use a 3 tablespoon cookie scoop to add 3 scoops of ganache to the first layer. Use an offset spatula to spread into an even layer. Place in the fridge to chill for about 10 minutes. Place the second cake layer on top upside down. Add a few large dollops of ganache to the top of the cake, and use the offset spatula to smooth out the top, and spread the excess all over the sides. Continue decorating the cake as desired, and enjoy!
Expert Baking Tips
- Black cocoa powder substitute: If you do not have black cocoa powder, you can use an equal amount of dutch process cocoa powder, making it a total of 63g or ¾ cup.
- Make the cake layers ahead of time. This cake stays moist for dayyyys, so you can make ahead of time. Store at room temperature wrapped tightly and stored in an airtight container for 1-2 days or in the freezer for up to 3 months. If frozen, be sure to leave the cake layers out a room temperature overnight, then decorate the next day.
- Use an immersion blender to mix the ganache. It can be easy to over-mix ganache, resulting in a split, grainy texture. I recommend using an immersion blender, as it will mix it efficiently without aggravating it to the point that the milk solids separate.
- Allow the ganache to sit for one hour, but no longer! The ganache needs one hour to thicken up into a spreadable consistency, but any longer and it may be too thick to spread or even split and appear grainy.
Recipe FAQs
Yes! You can swap an equal amount of regular all-purpose flour or even gluten free 1:1 flour for the cake flour.
Dutch process cocoa powder is THE best cocoa powder for baking. Because it's neutralized with an alkalizing agent, it has a smoother flavor and creates the most fudgy and chocolatey baked goods! Black cocoa powder is similar to dutch process, but richer in flavor and darker in color. It is typically used in small amounts alongside another cocoa powder to enhance the color and flavor of the baked good. It smells like actual chocolate cake and is just magical to bake with!
Be wary of over-heating or over-mixing or the ganache might split. When ganache splits, the fat solids separate and it appears grainy. If this happens, sometimes it can be fixed by adding a splash of cold heavy cream or small amount of butter.
I highly recommend mixing the ganache with an immersion blender, as it mixes more efficiently without aggravating it to the point that the milk solids separate.
Storage Tips
Room Temperature: Press parchment or plastic wrap up against the exposed end of the cake, and cover with a cake dome or large bowl for 3-5 days.
Freezer: Cut the cake into individual slices, wrap each tightly in plastic wrap, and place in a freezer ziplock bag. Freeze for up to 3 months.
Baking in Grams
All of the recipes on this blog are carefully developed with gram measurements so you can easily recreate them in your own kitchen with success. Volume measurements are extremely inaccurate and leave room for significant errors. Not all measuring cups are made equally, so your one cup of flour will be different from my one cup of flour. By providing precise measurements in grams (aside from minor ingredients, which are given in tsp/tbsp), you can make these recipes accurately and with less cleanup! All you need is this kitchen scale.
If this still isn't enough to convince you, I have provided volume measurements in the recipe card. If you are interested in understanding the conversions, this is the best conversion chart.
But trust me, once you try baking in grams you'll never turn back!
Happy baking! x
Other cake & cupcake recipes to try
If you tried this recipe, I'd love to know how it turned out for you! Leave a star rating & review below and post a picture (or video!) on Instagram and tag me so I can see your bakes! Not ready to make this recipe yet? Click the heart button on the right of your screen to save it for later 🙂
📖 Recipe
Ultimate Chocolate Fudge Cake
Ingredients
For the chocolate cake:
- 120 g (1 cup) cake flour
- 42 g (½ cup) dutch process cocoa powder
- 21 g (¼ cup) black cocoa powder
- ¾ teaspoon baking powder
- 1 teaspoon kosher salt
- 198 g (14 tablespoon) unsalted butter, room temp
- 250 g (1 ¼ cups) granulated sugar
- 2 eggs, room temp
- 2 teaspoon vanilla extract
- 113 g (½ cup) sour cream, room temp
- 100 g (½ cup) extra light tasting olive oil
For the chocolate ganache:
- 340 g (12 oz) bittersweet chocolate
- 340 g (1 ½ cups) heavy cream
Instructions
For the chocolate cake:
- Preheat the oven to 325 degrees F and grease & line two 6 inch cake pans with parchment paper.
- In a large bowl, whisk together the cake flour, cocoa powders, baking powder, and salt. Set aside.
- In the bowl of a stand mixer fitted with the paddle attachment, cream together the butter and sugar for 2-3 minutes until light & fluffy.
- Mixing on low speed, add the eggs one a time. Scrape down the bowl and mix in the vanilla.
- Add half of the dry ingredients and mix until just combined.
- Mix in the sour cream and oil.
- Add the rest of the dry ingredients and mix until just combined. Scrape down the bowl to ensure everything is evenly incorporated.
- Divide the batter between the prepared cake pans and smooth out the tops with an offset spatula.
- Bake the cakes for about 35-40 minutes or until the edges begin to pull away form the sides of the pan and a toothpick inserted comes out clean.
- Turn the cakes out onto a wire rack to cool completely.
For the chocolate ganache:
- Chop the chocolate and add to a large bowl. Set aside.
- In a small saucepan, heat the heavy cream over low heat and bring to a simmer or about 190 degrees F.
- Pour the hot heavy cream over the chocolate, place a plate on top of the bowl, and allow to sit for a couple minutes.
- Remove the plate and gently stir with a rubber spatula until the ganache is smooth. Alternatively, you can use an immersion blender.
- Cover the bowl and allow to sit for 1 hour (but no longer!) at room temperature to thicken.
For assembly:
- Place the first cake layer on a cake stand or plate. Use a 3 tablespoon cookie scoop to add 3 scoops of ganache to the first layer. Use an offset spatula to spread into an even layer. Place in the fridge to chill for about 10 minutes.
- Place the second cake layer on top upside down. Add a few large dollops of ganache to the top of the cake, and use the offset spatula to smooth out the top, and spread the excess all over the sides. Continue decorating the cake as desired, and enjoy!
Notes
- Black cocoa powder substitute: If you do not have black cocoa powder, you can use an equal amount of dutch process cocoa powder, making it a total of 63g or ¾ cup.
- Make the cake layers ahead of time. This cake stays moist for dayyyys, so you can make ahead of time. Store at room temperature wrapped tightly and stored in an airtight container for 1-2 days or in the freezer for up to 3 months. If frozen, be sure to leave the cake layers out a room temperature overnight, then decorate the next day.
- Use an immersion blender to mix the ganache. It can be easy to over-mix ganache, resulting in a split, grainy texture. I recommend using an immersion blender, as it will mix it efficiently without aggravating it to the point that the milk solids separate.
- Allow the ganache to sit for one hour, but no longer! The ganache needs one hour to thicken up into a spreadable consistency, but any longer and it may be too thick to spread or even split and appear grainy.

Carly says
hi
could I make this in one extra tall 8 inch cake tin?
if so how long would I bake it for?
also do you think this would taste ok with fondant?
thank you
Sıtkı uğur says
In one word, magnificent