
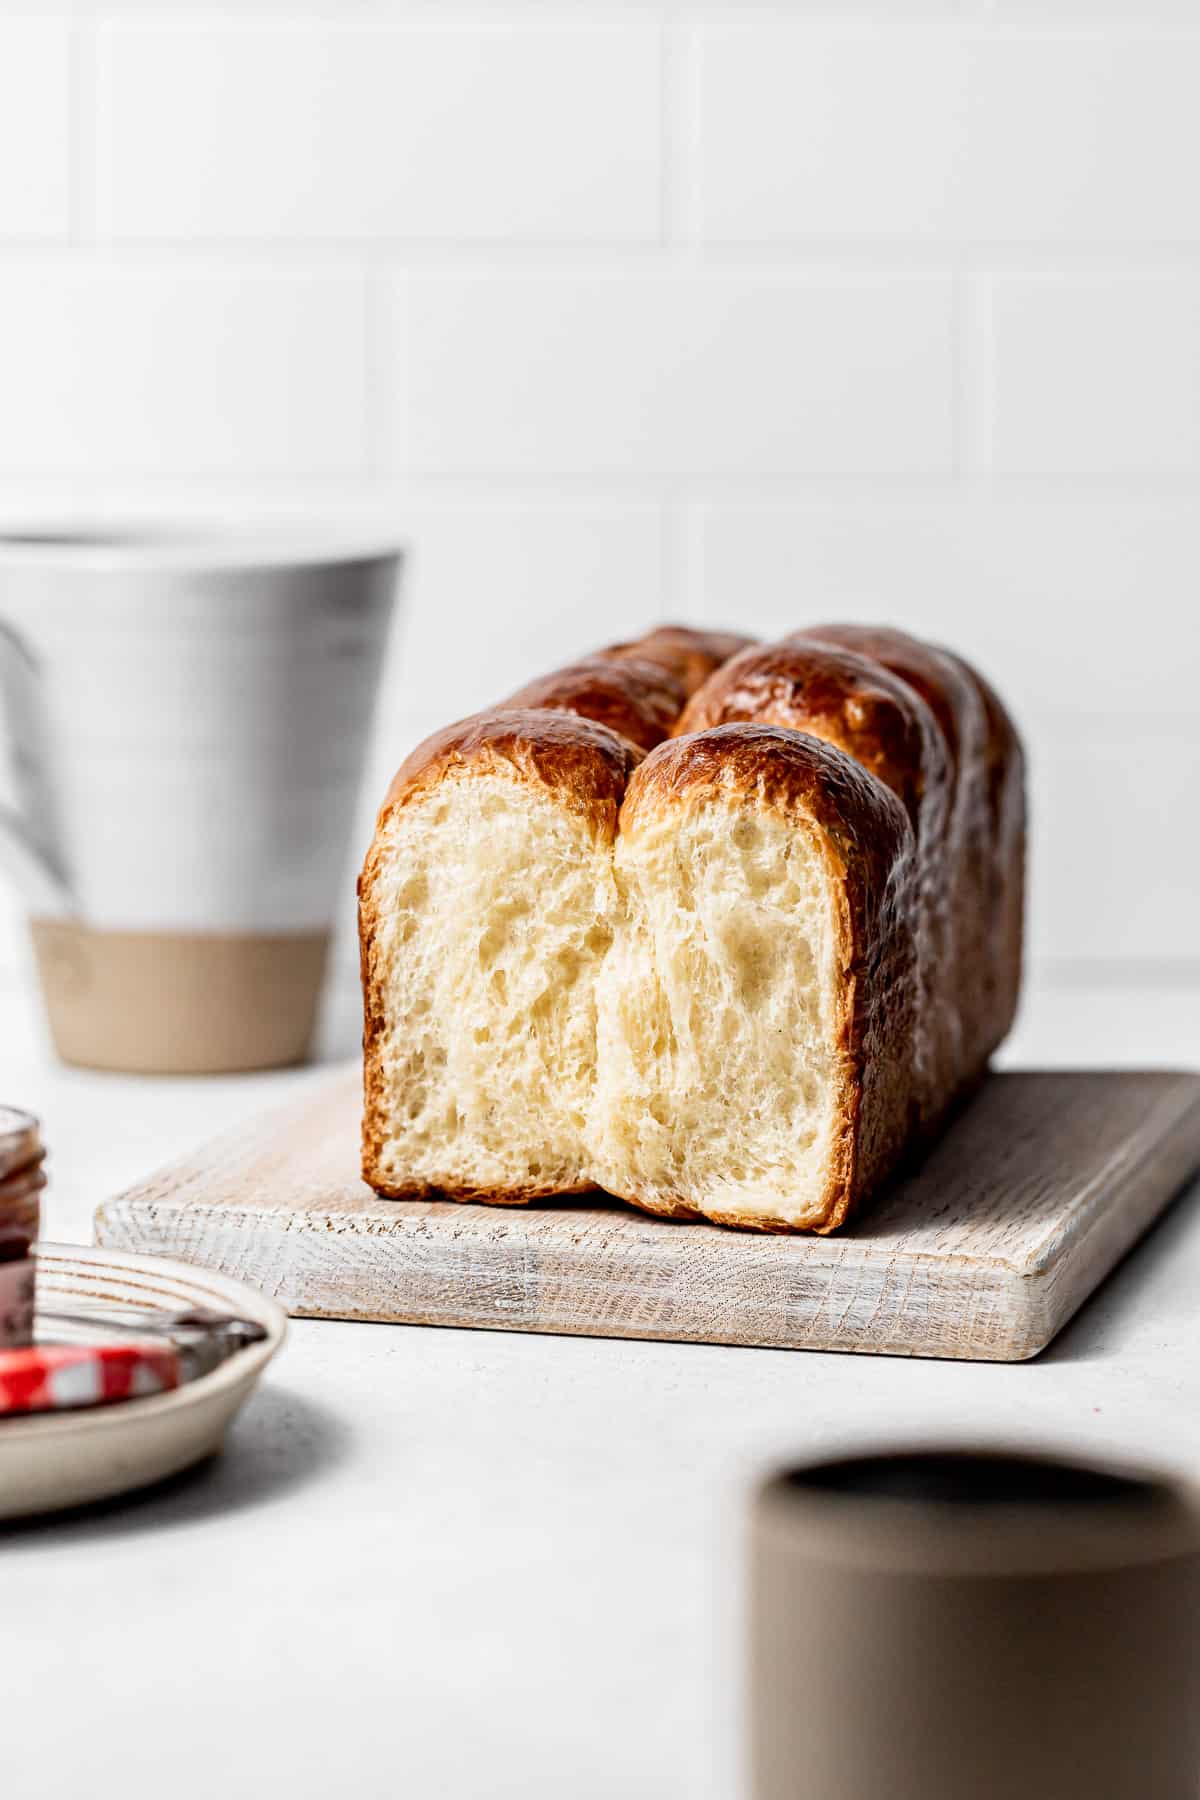
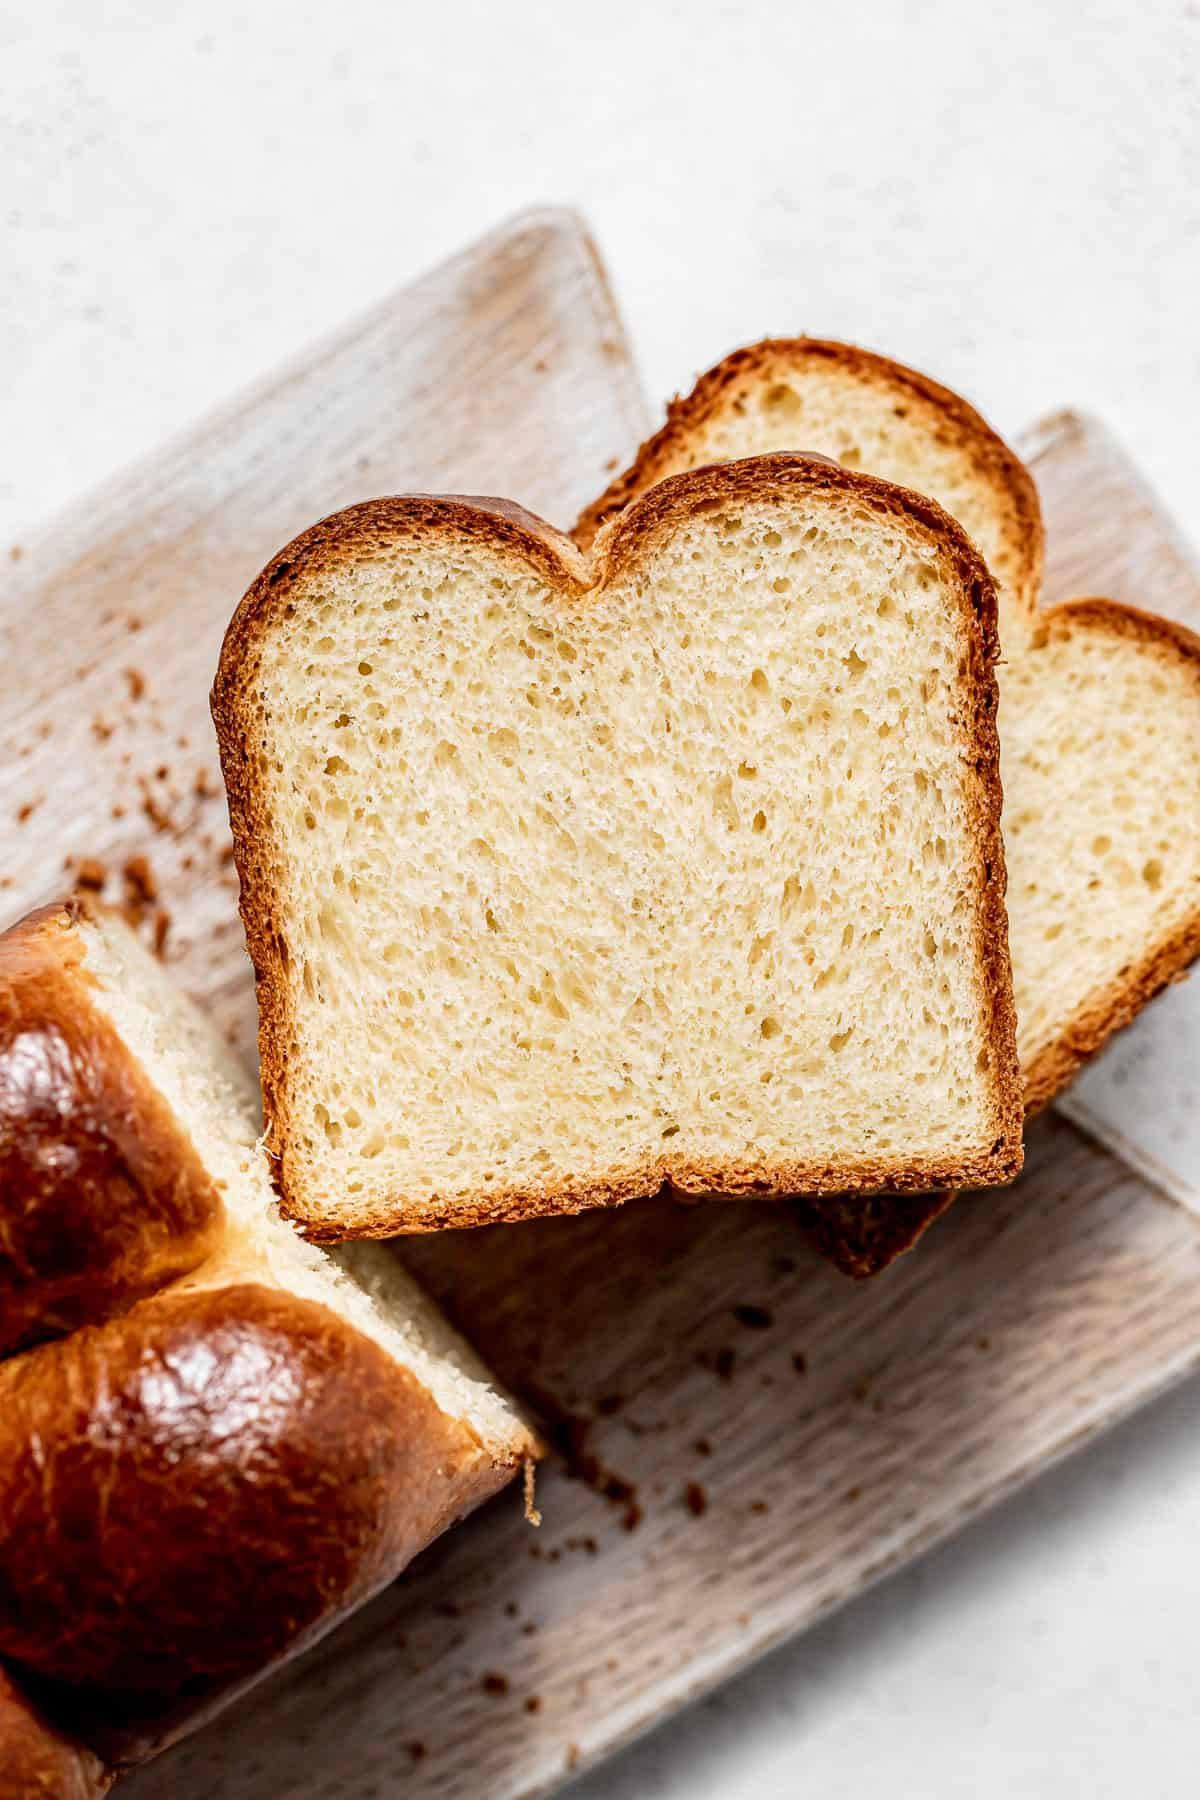
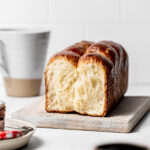
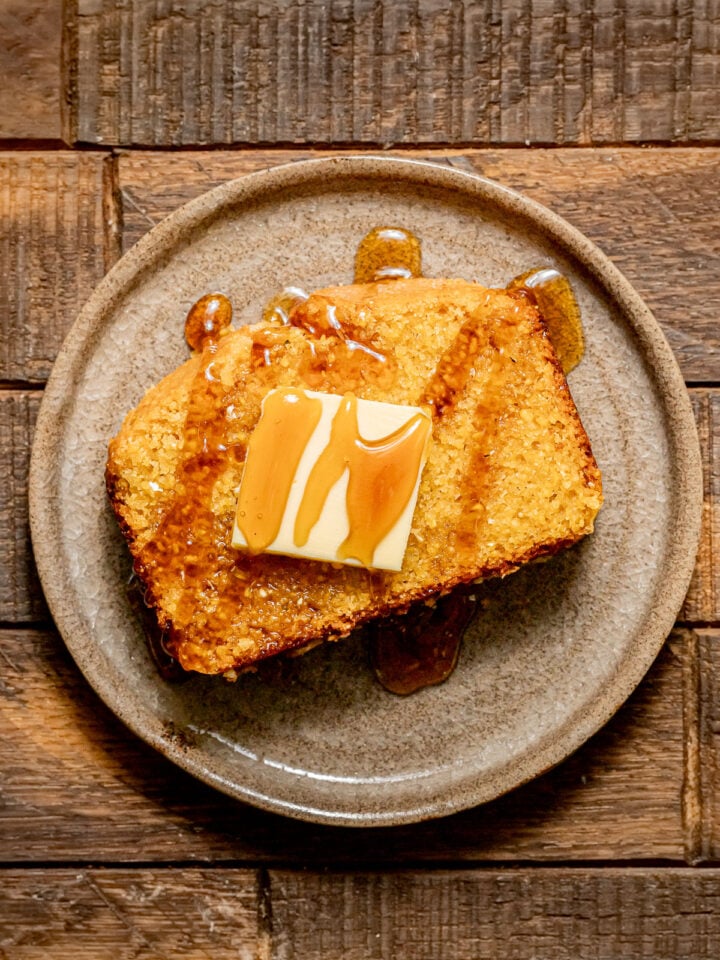
This overnight brioche bread recipe creates a pillowy soft loaf with an enriched buttery flavor. Enjoy toasted with butter & jam or turn it into french toast for a lavish brunch!
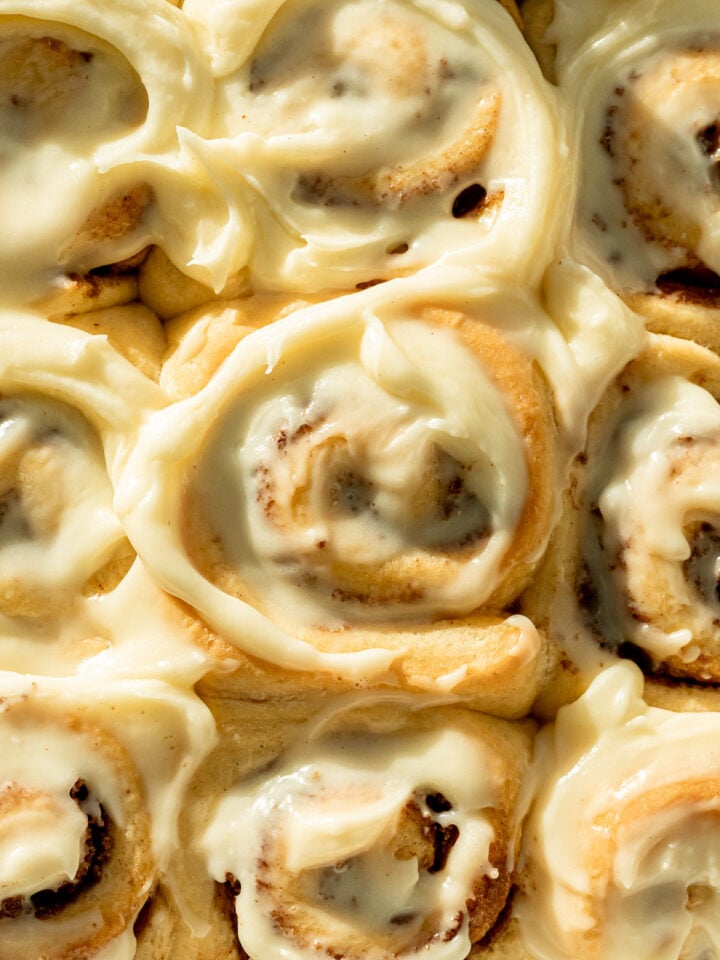
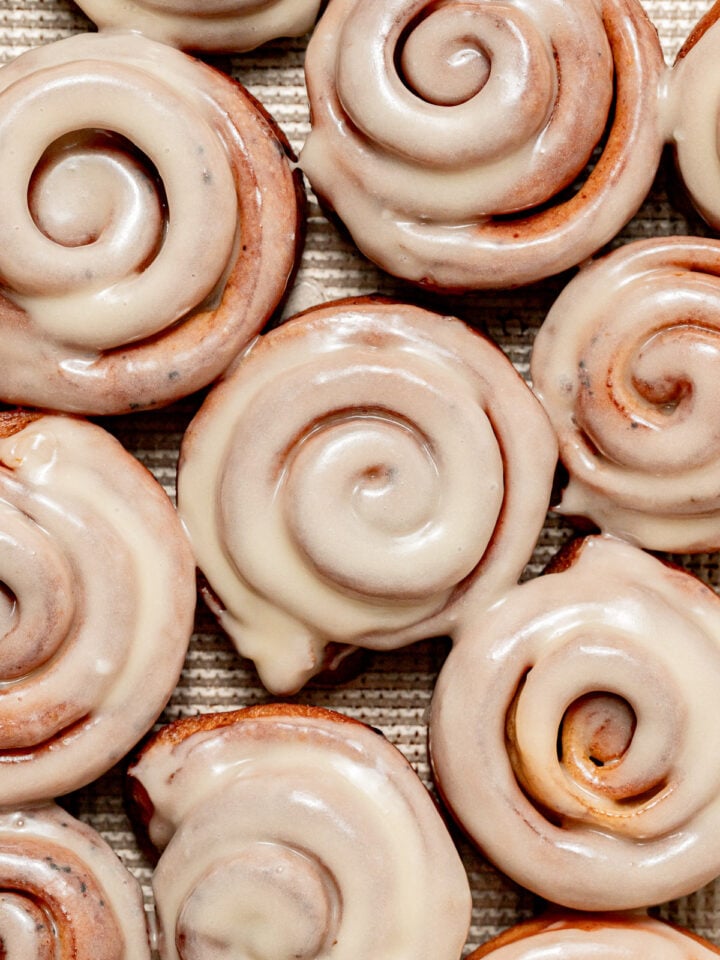
Homemade brioche bread is incredibly versatile, and enriched with milk, eggs, and butter to create its signature plush texture and subtly sweet, buttery flavor. Every baker should have a base brioche recipe on hand to create a wide range of bakes, including this brioche loaf, Brown Butter Cardamom Cinnamon Rolls, Chocolate Tahini Babka, and Nutella Star Bread.
The options are truly endless with this recipe, but you can't wrong with baking it up into a simple loaf and enjoying it as dinner rolls, toast with jam, or even as a sandwich!
Jump to Recipe
Why you'll love this brioche bread
- Overnight Proof: By letting the dough rise slowly in a cold environment, it not only develops more depth of flavor, but also gives you more flexibility with the timing of baking the loaf. Cold brioche dough is also much easier to work with! I recommend making the dough the night before, proofing overnight, and baking the loaf within 24 hours.
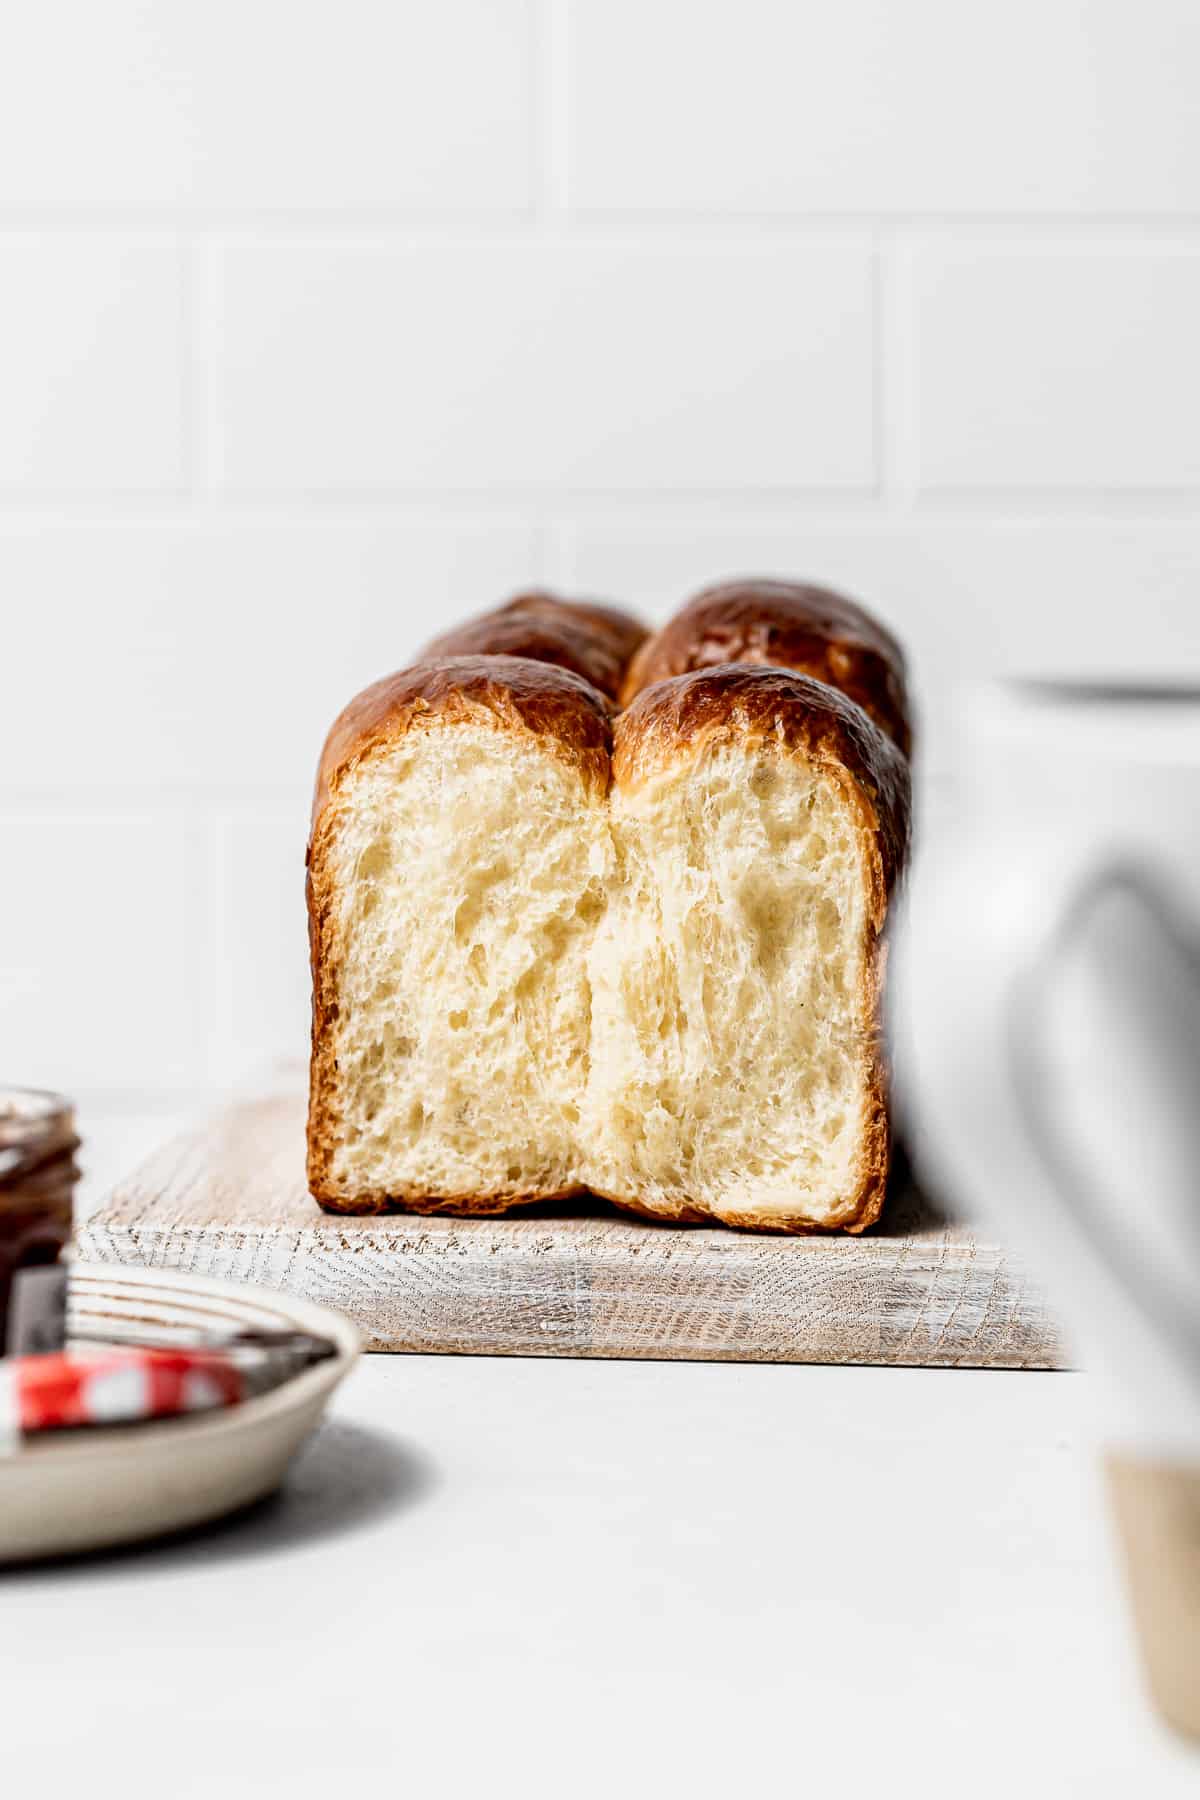
- Pillowy Texture & Buttery Flavor: As an enriched bread, this brioche loaf has a pillowy soft texture with a beautiful even, tender crumb. Its buttery, slightly sweet, and balanced yeasty taste makes it the perfect vessel for just about any application - sweet or savory!
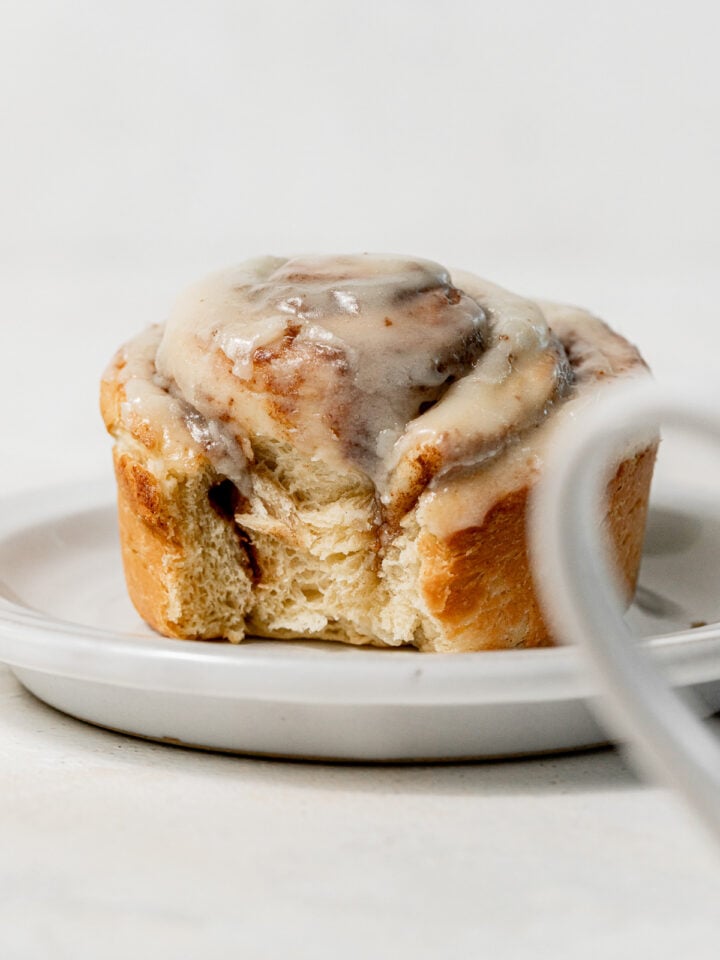
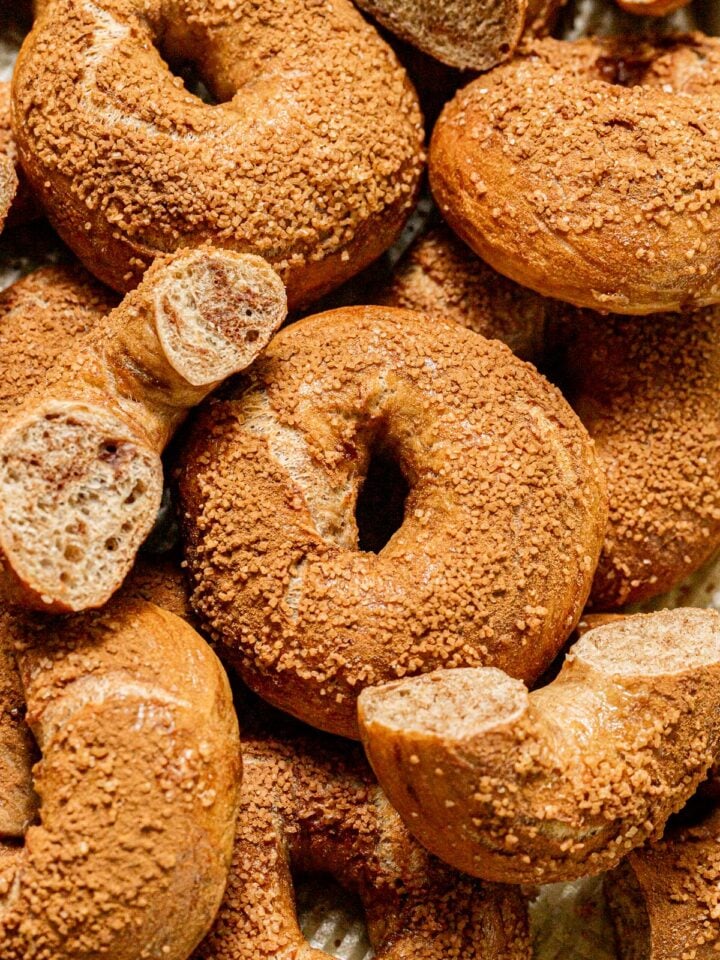
- Endless Versatility: This recipe can be made into so much more than a loaf! Use it to make cinnamon rolls, french toast, donuts, brioche buns, stuffing... the possibilities are endless.
Ingredient Notes
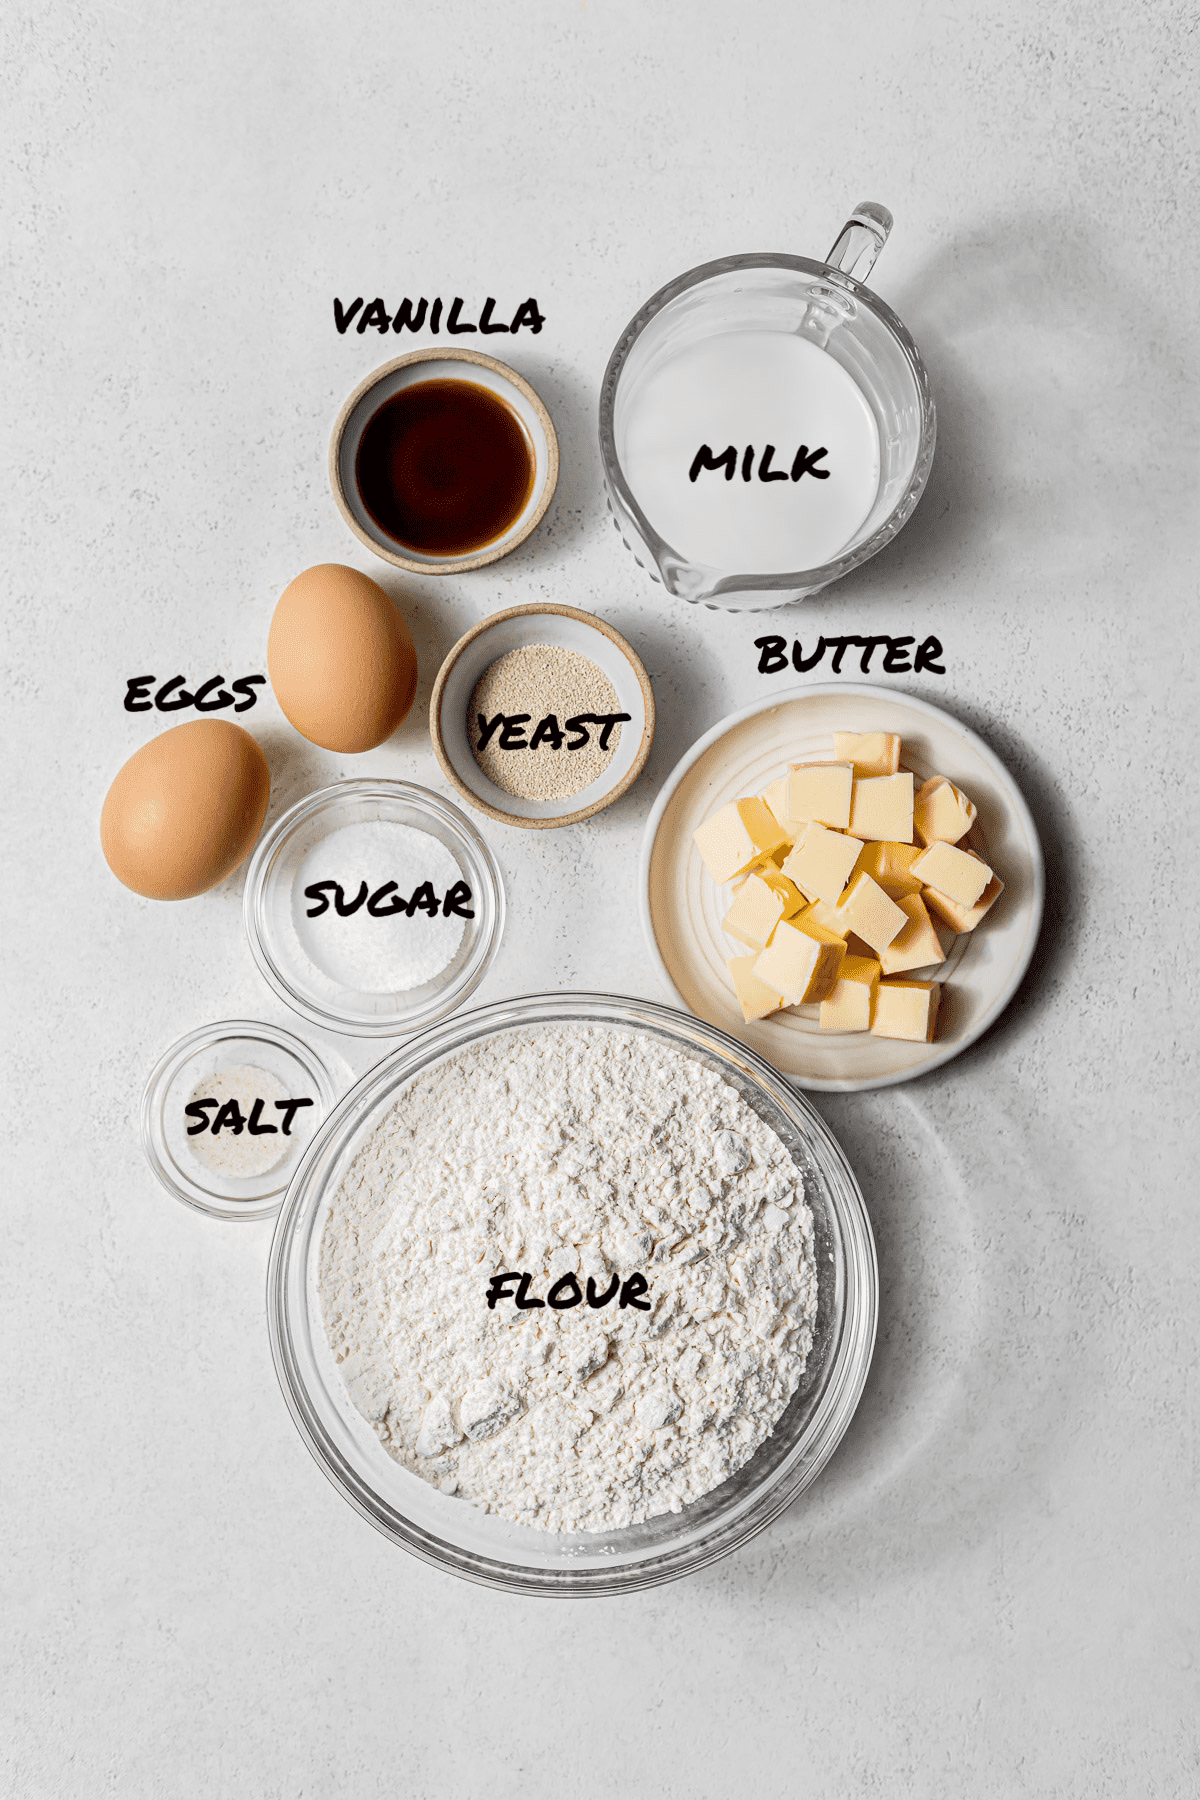
- Flour: Use unbleached all-purpose flour for the best flavor and proper gluten development.
- Salt: Add kosher or fine sea salt to the flour to enhance the flavors in the bread. Mix it into the flour rather than the salt to the milk, yeast mixture, or it may kill the yeast.
- Milk: Use whole milk for best flavor, and bring it to about 110 degrees F to help the yeast activate. Be careful not to make it too hot, or it can kill the yeast.
- Sugar: A small amount of granulated sugar is mixed in with the milk and yeast to help activate the yeast, as well as give the brioche a richer color on top as it bakes.
- Yeast: Feel free to use instant or active dry yeast.
- Eggs: Bring your eggs to room temperature quickly by placing them in a bowl of warm water for about 10 minutes.
- Vanilla: Add a touch of pure vanilla extract for a slightly sweeter bread. For a more savory bread, you can omit it.
- Butter: Use high quality European-style butter for optimum flavor and overall result. I recommend Kerrygold.
See recipe card for full information on ingredients and individual quantities.
Step by Step Instructions
Here are step by step photos and instructions on how to make this overnight brioche bread recipe! For the full ingredient list and method, see the recipe card at the end of this post.

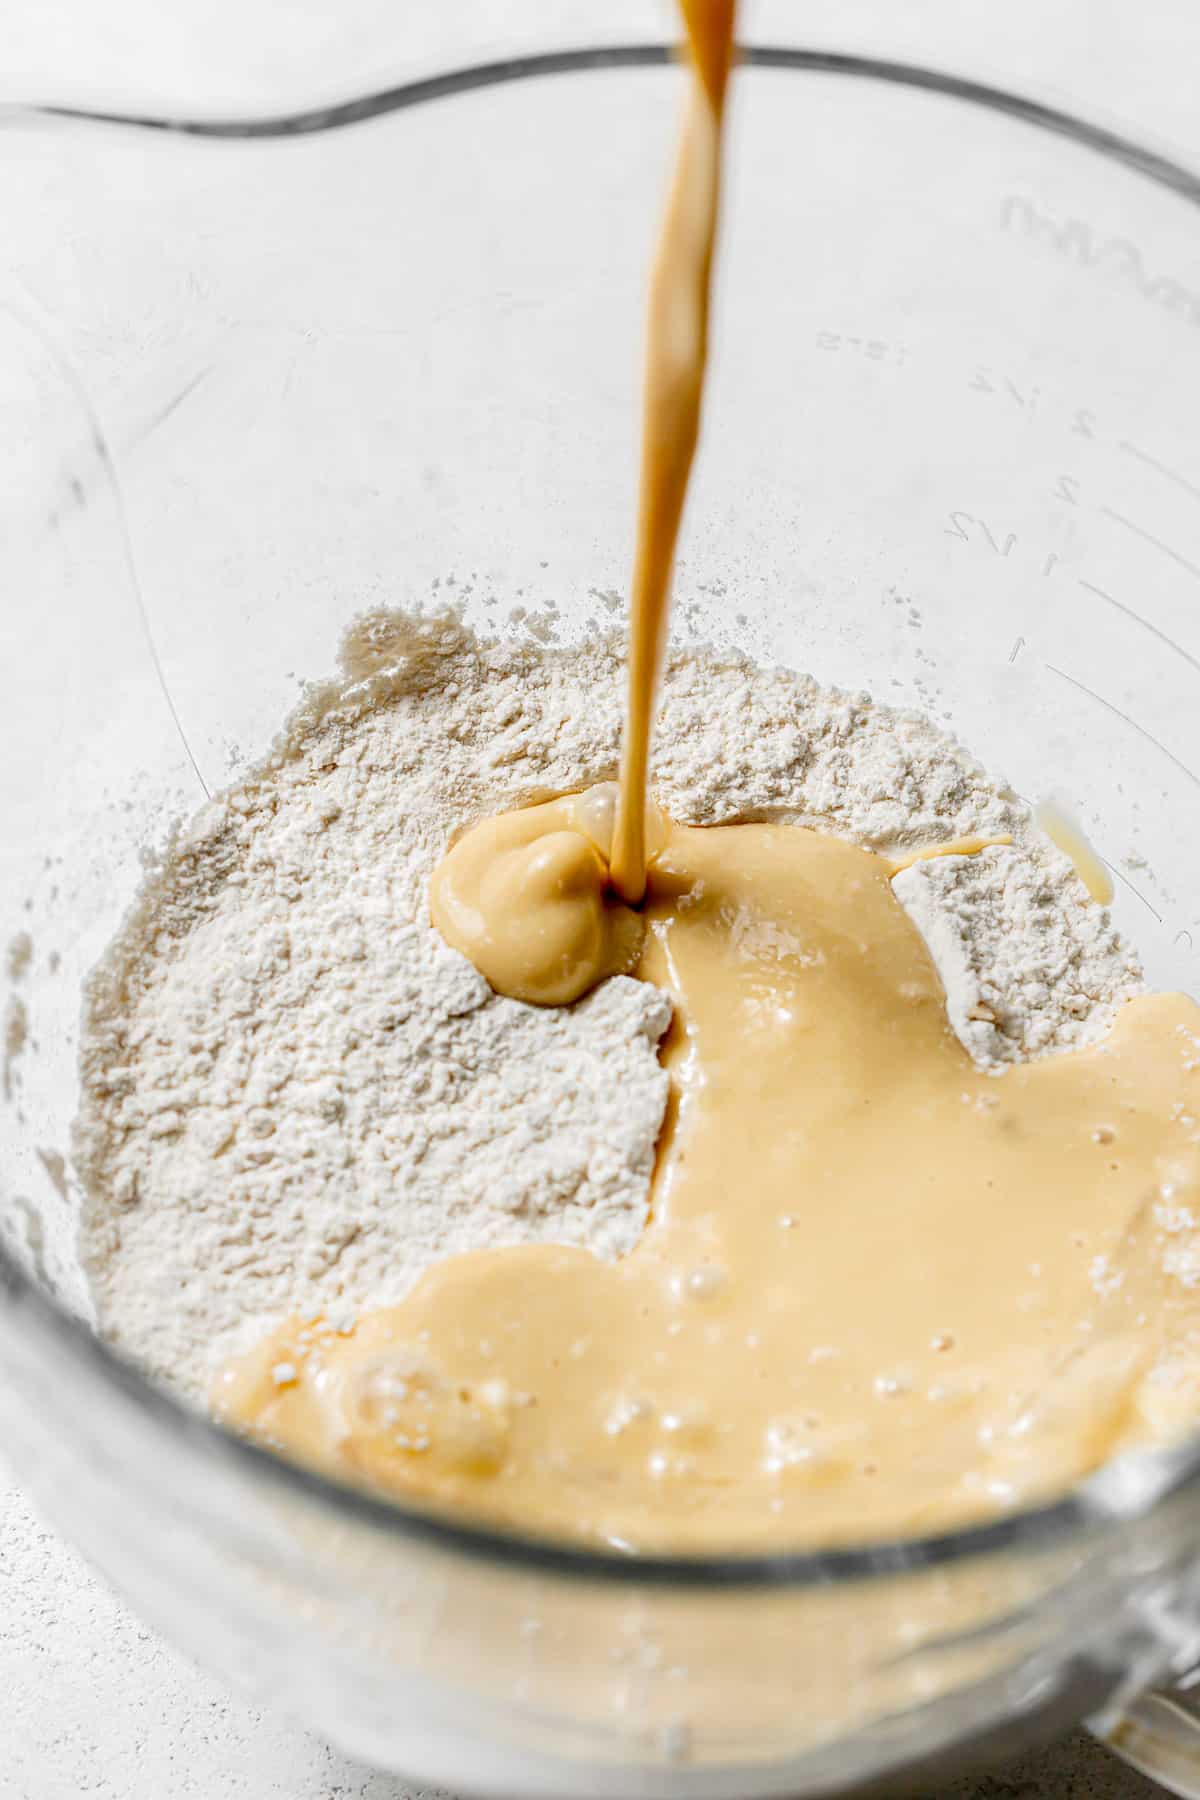
STEP 1: Activate the yeast; Mix in eggs & vanilla. In a glass measuring cup, heat the milk to 110 degrees F and stir in the sugar and yeast. If using active dry yeast, allow to sit for 15 minutes for the yeast to activate. If using instant yeast, simply move on to the next step. Mix the eggs and vanilla into the milk yeast mixture.
STEP 2: Add wet ingredients to dry. In the bowl of a stand mixer fitted with a dough hook attachment, mix the flour and salt together. Pour the wet ingredients into the flour and mix on low-medium speed for about 3 minutes, or until it forms a ball around the hook.

STEP 3: Mix in the butter. Add in a few pieces of butter at a time, allowing them to fully incorporate before adding more. Once all of the butter is incorporated, turn the mixer up to medium-high speed and mix for 8-12 minutes. The dough will eventually pull away from the sides of the bowl and have a silky smooth texture with minimal stickiness.
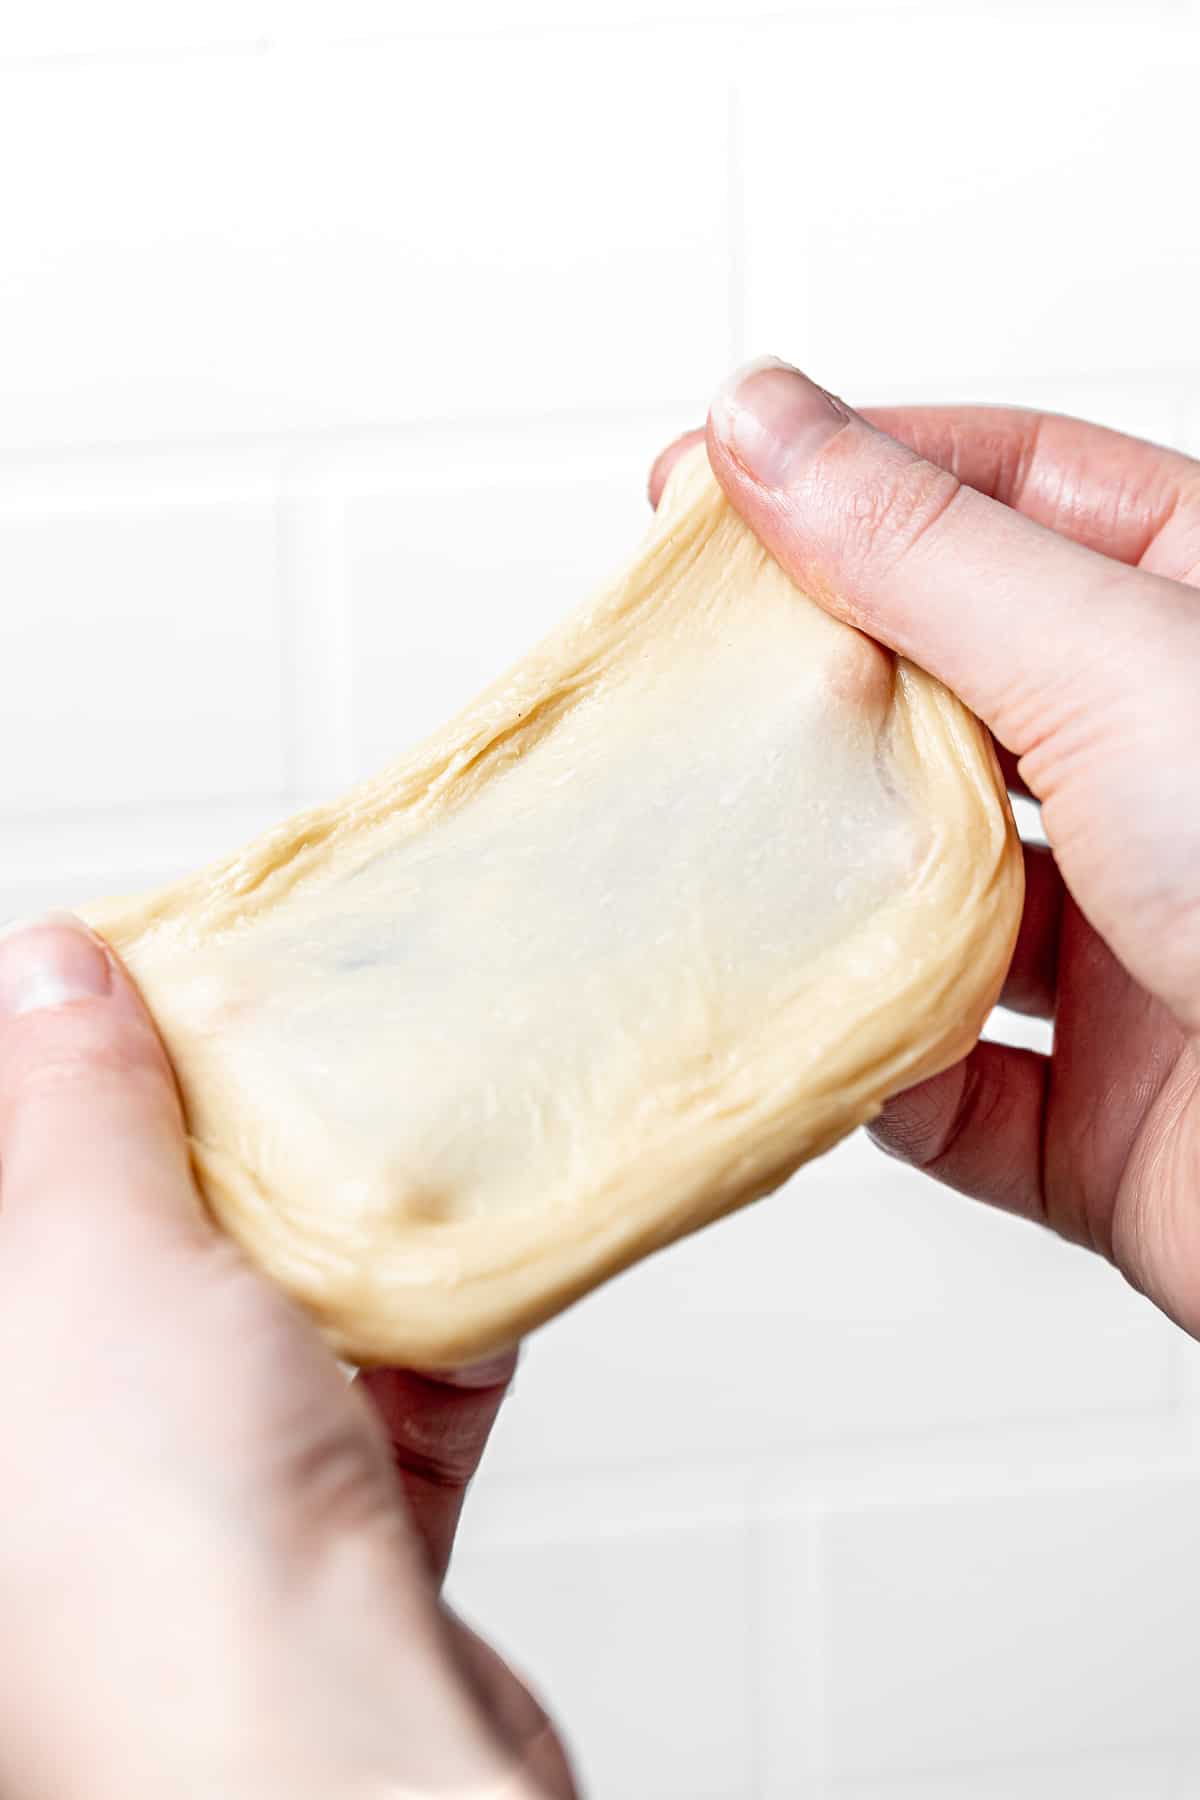
STEP 4: Perform windowpane test. To check if the dough is ready, tear off a small piece and carefully spread it out to see if you can see the light through it without it tearing. If it tears, mix for another minute or two and check again.
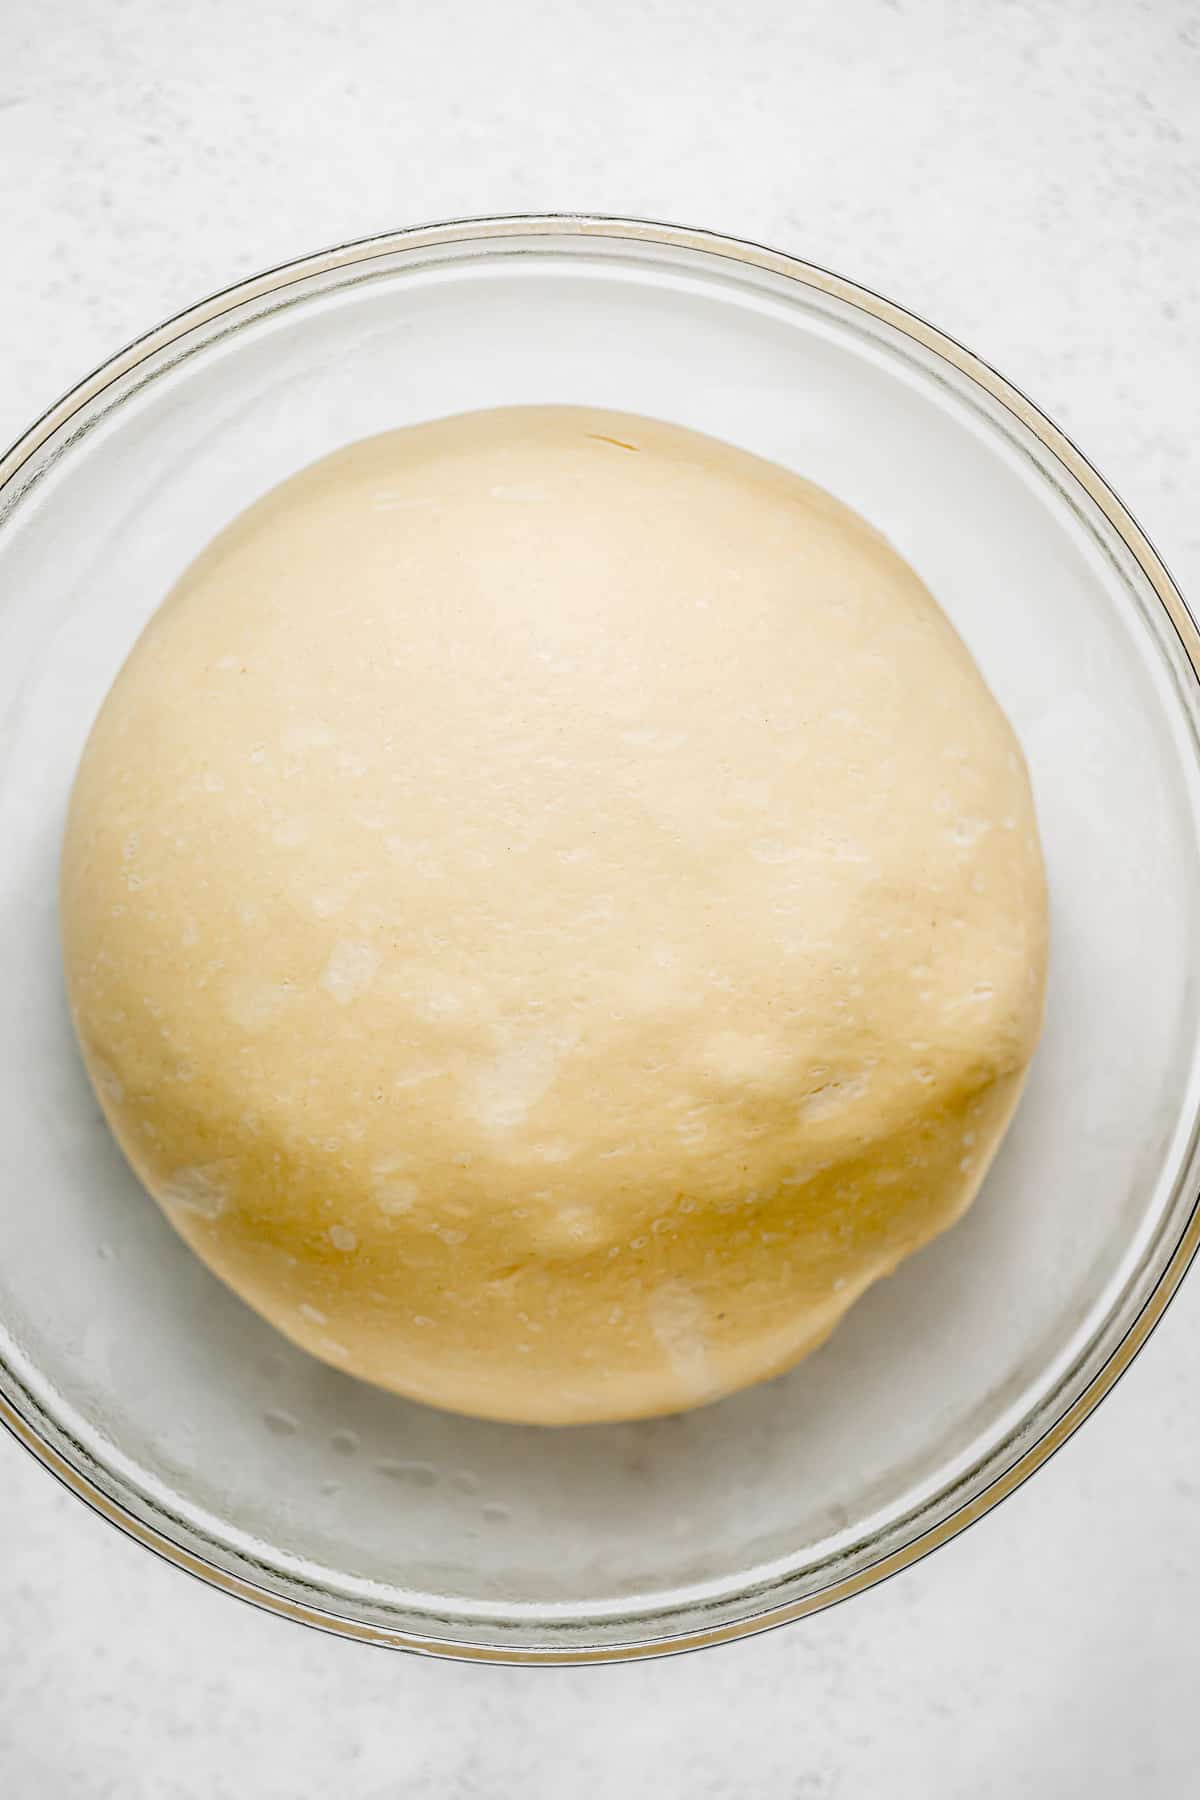
STEP 5: Proof overnight. Once the dough is ready, transfer it to a lightly greased bowl, cover with plastic wrap, and allow to proof overnight in the fridge. Alternatively, you can let the dough rise in a warm place for about 1 hour or until doubled in size.
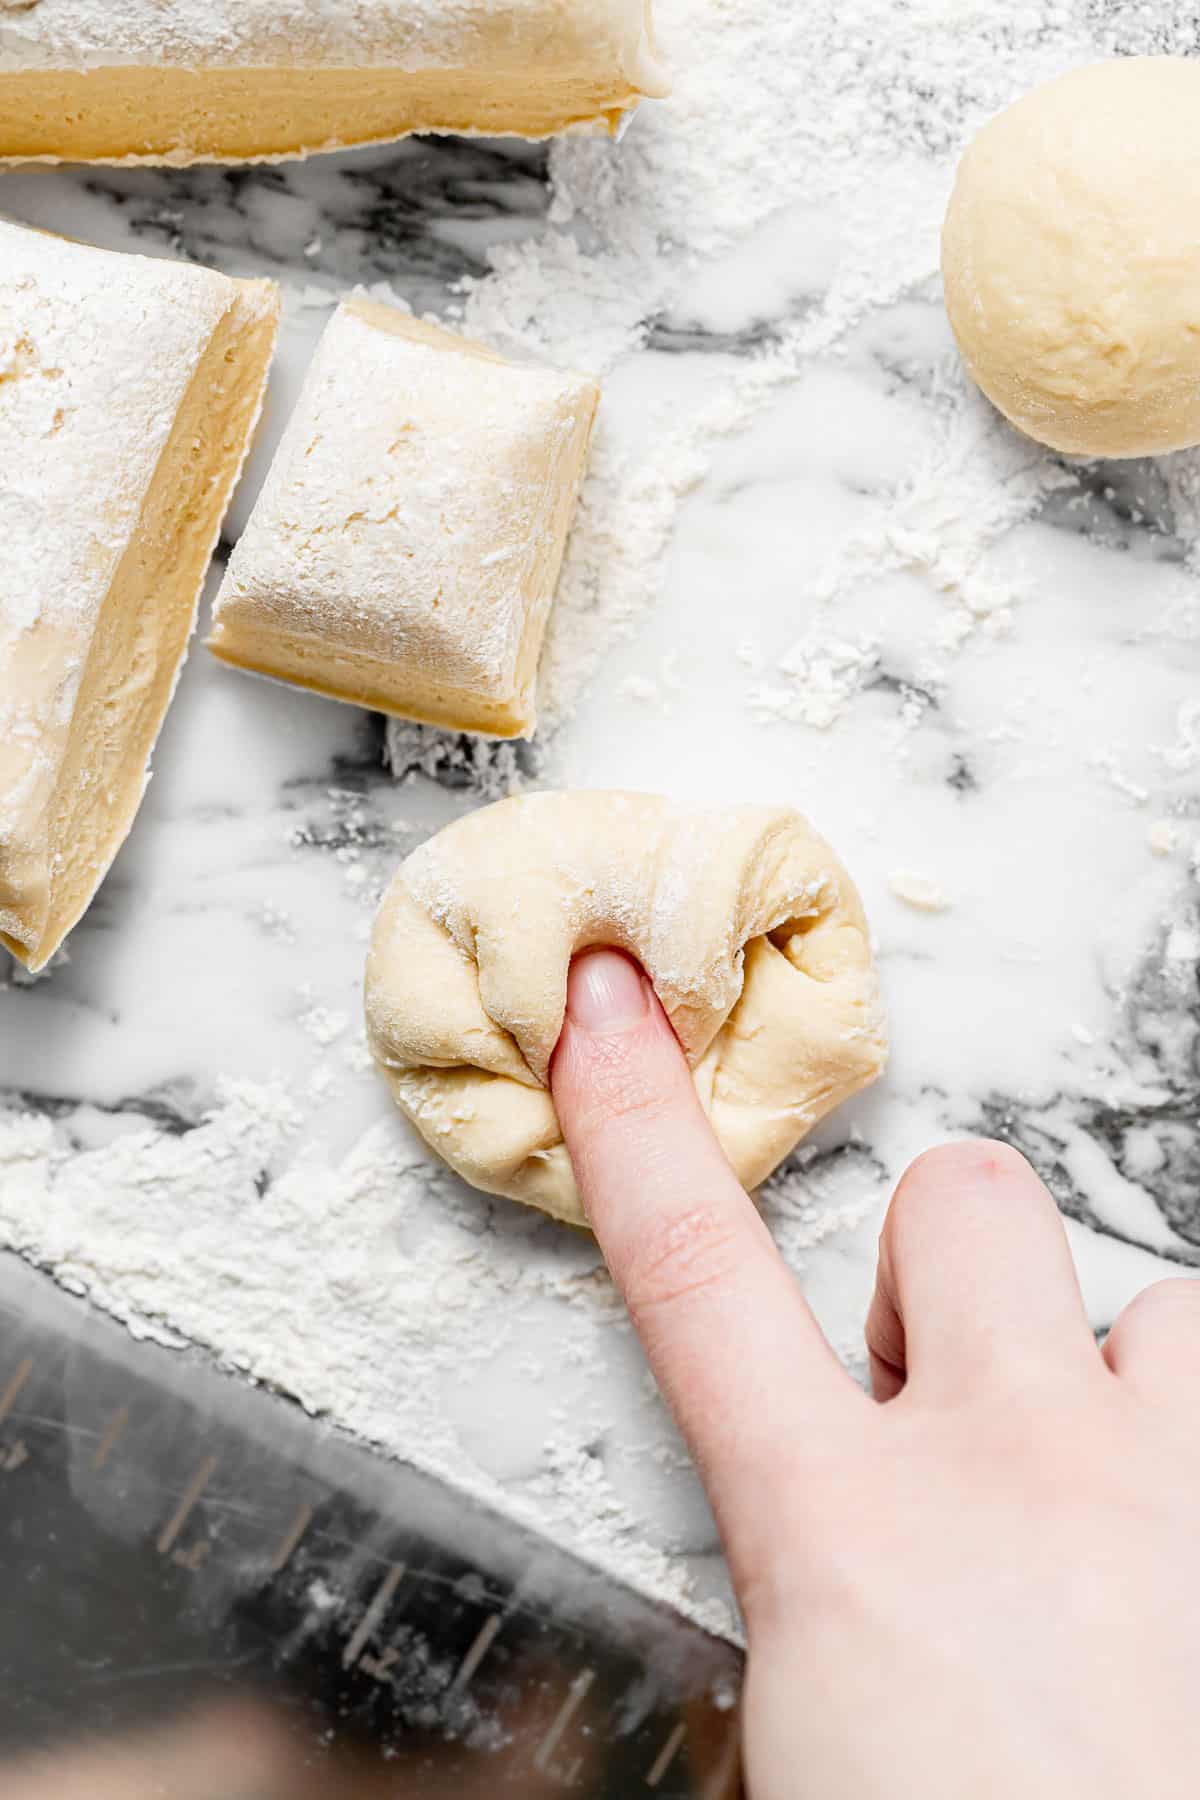
STEP 6: Divide the dough. On a lightly floured surface, divide the proofed dough into eight equal pieces, weighing about 65g each (you'll have a little extra). On a non-floured surface, flatten each piece, then bring the edges over and press into the middle.
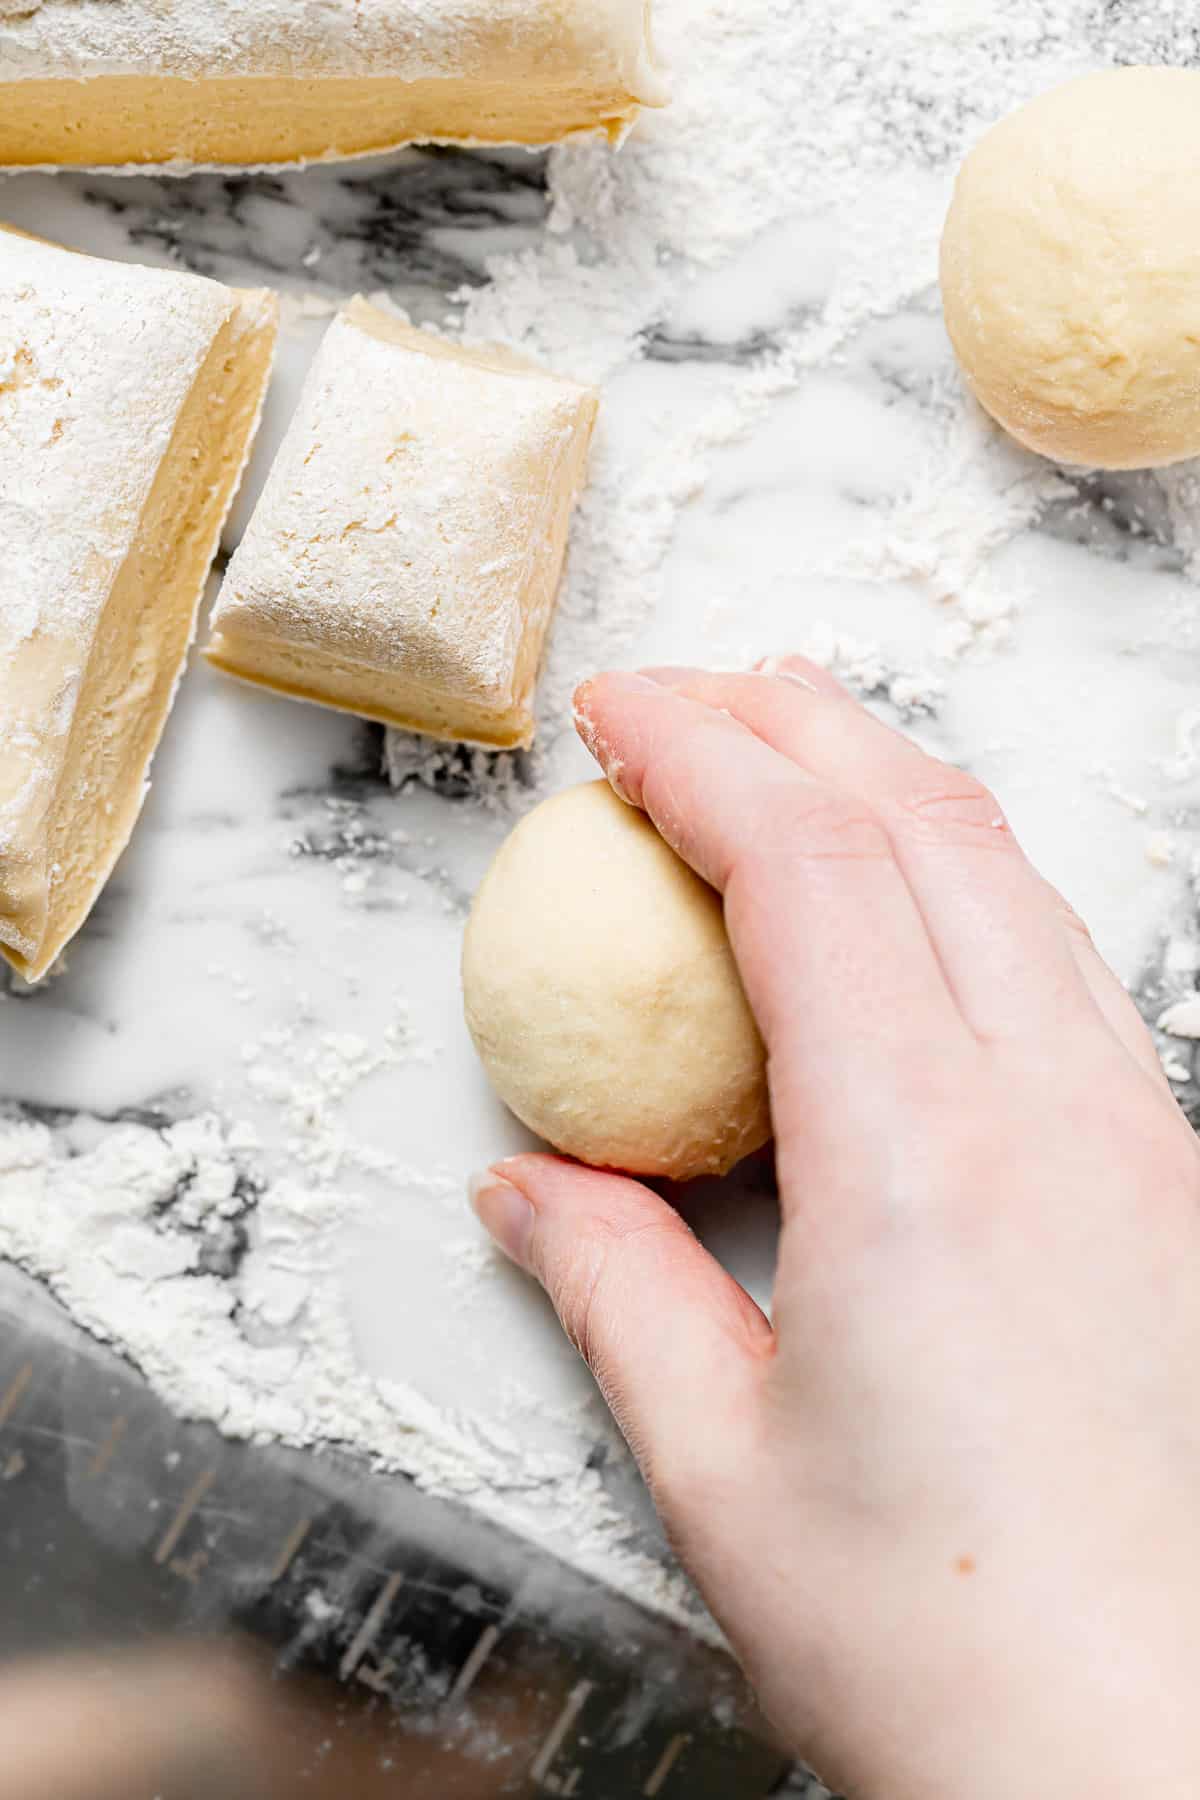
STEP 7: Shape the dough. Turn the dough over and roll into a smooth ball. You can bake the extra dough in a small loaf pan, if desired.
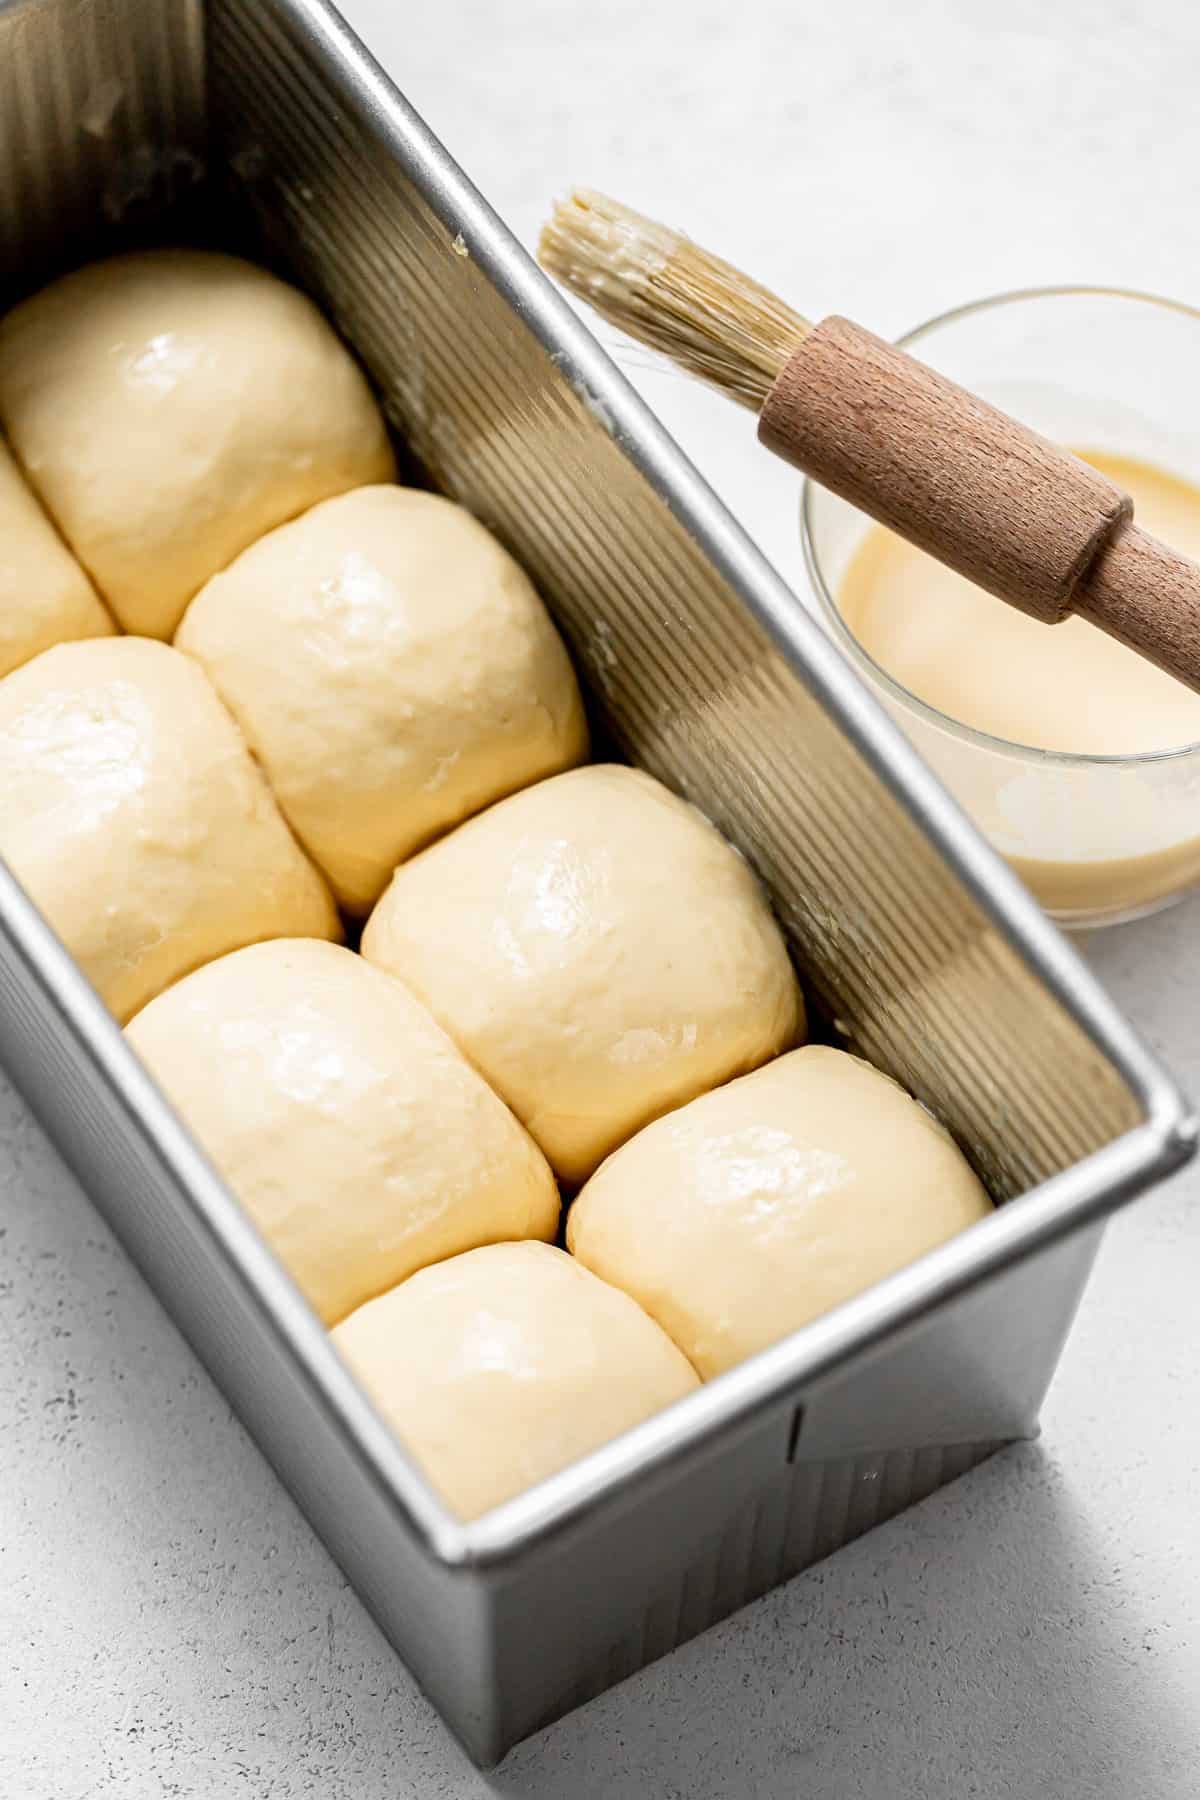
STEP 8: Proof & bake. Arrange the dough balls into four rows of two in a non-greased pullman or loaf pan. Brush with an egg wash, then cover and proof at room temperature for about 1 hour, or until doubled in size. To test if the dough is properly proofed, press it with a finger. If the indentation springs back slowly it's ready to be baked. If it springs back quickly it needs more time; if it doesn't spring back at all, then it's over-proofed, and should be baked as soon as possible.
Brush the dough with the egg wash again, then bake at 400 degrees F for 15 minutes or until evenly golden brown, then turn the oven down to 350 degrees F, and bake for another 30 minutes until deeply golden. Tent with aluminum foil towards the end, if needed.
Allow the brioche loaf to cool completely in the pan.
Expert Baking Tips
- Proof the dough overnight: I recommend allowing your brioche dough to rise slowly overnight in the fridge. Cold dough is so much nicer to work with! But you can also let it proof at room temperature for one hour and make the brioche bread immediately.
- Bake the dough within 24 hours: To find that sweet spot between properly proofed with a developed flavor and over-fermented, I recommend giving the dough at least 5 hours to rise in the fridge, but no more than 24 hours.
- Brush the dough with an egg wash: To give the brioche loaf a deep golden, shiny crust, brush the dough with an egg wash made from one egg mixed with two tablespoons of heavy cream or milk.
- Bake the loaf in a pullman pan: For a very tall loaf with sharp corners, bake the brioche in a pullman pan! This pan is similar to a 9x5 loaf pan but slightly longer, and has straight sides, rather than sloped sides. It creates that classic store-bought sliced bread look, which is of course necessary for an epic sandwich or stuffed french toast.
Recipe FAQs
Using a stand mixer with the dough hook, mix the wet and dry ingredients on low-medium speed for a few minutes until it forms a ball around the hook.
2. Slowly begin incorporating the room temperature butter as it mixes on medium speed. It is very important to use room temperature butter in order for it to incorporate properly.
3. Once all of the butter is incorporated, turn the speed up to high and mix for about 8 minutes or until the dough passes the windowpane test.
The windowpane test is used to tell when the brioche has developed enough gluten. To check if the dough is ready, tear off a small piece and carefully spread it out to see if you can see the light through it without it tearing. If it tears, mix for another minute and check again.
No, the sugar is essential to activating the yeast and giving the brioche a golden color as it bakes. Only a small amount of sugar is added, so it gives the bread only a very slight sweetness. You can omit the vanilla, if desired.
Storage Tips
This brioche loaf is best the day it is baked, however it can be stored at room temperature or in the freezer.
Room Temperature: Store the loaf in an airtight container for 1-2 days. This is a great option if you plan to make french toast or stuffing.
Freezer: Cut the loaf into individual slices and store in a freezer ziplock bag for up to 3 months.
Baking in Grams
All of the recipes on this blog are carefully developed with gram measurements so you can easily recreate them in your own kitchen with success. Volume measurements are extremely inaccurate and leave room for significant errors. Not all measuring cups are made equally, so your one cup of flour will be different from my one cup of flour. By providing precise measurements in grams (aside from minor ingredients, which are given in tsp/tbsp), you can make these recipes accurately and with less cleanup! All you need is this kitchen scale.
If this still isn't enough to convince you, I have provided volume measurements in the recipe card. If you are interested in understanding the conversions, this is the best conversion chart.
But trust me, once you try baking in grams you'll never turn back!
Happy baking! x
Other brioche recipes to try

If you tried this recipe, I'd love to know how it turned out for you! Leave a star rating & review below and post a picture (or video!) on Instagram and tag me so I can see your bakes! Not ready to make this recipe yet? Click the heart button on the right of your screen to save it for later 🙂
📖 Recipe
Overnight Brioche Bread Recipe
Ingredients
- 113 g (½ cup) whole milk, warmed to 110 degrees F
- 20 g (1 ½ tablespoon) granulated sugar
- 7 g (2 ¼ teaspoon) instant or active dry yeast
- 2 large eggs, room temp
- 1 teaspoon vanilla extract
- 300 g (2 ½ cups) all-purpose flour
- ½ teaspoon fine sea salt
- 85 g (6 tablespoon) unsalted butter , room temp
- Egg wash, 1 egg + 2 tablespoon heavy cream
Instructions
- In a glass measuring cup, heat the milk to 110 degrees F and stir in the sugar and yeast. If using active dry yeast, allow to sit for 15 minutes for the yeast to activate. If using instant yeast, simply move on to the next step.
- Mix the eggs and vanilla into the milk yeast mixture.
- In the bowl of a stand mixer fitted with a dough hook, mix the flour and salt together.
- Pour the wet ingredients into the flour and mix on low-medium speed for about 3 minutes, or until it forms a ball around the hook.
- Add in a few pieces of butter at a time, allowing them to fully incorporate before adding more.
- Once all of the butter is incorporated, turn the mixer up to medium-high speed and mix for 8-12 minutes. To check if the dough is ready, tear off a small piece and carefully spread it out to see if you can see the light through it without it tearing. If it tears, mix for another minute or two and check again.
- Once the dough is ready, transfer it to a lightly greased bowl, cover, and allow to proof overnight in the fridge. Alternatively, you can let the dough rise in a warm place for about 1 hour or until doubled in size.
- Once proofed, divide the dough into eight 65g pieces (you'll have a little extra). On a non-floured surface, flatten each piece, then bring the edges over and press into the middle. Turn the dough over and roll into a smooth ball. You can bake the extra dough in a small loaf pan, if desired.
- Arrange the dough balls into four rows of two in a non-greased pullman or loaf pan. Brush with an egg wash, then cover and proof at room temperature for about 1 hour, or until doubled in size and the dough springs back slowly when pressed with a finger.
- Towards the end of the proof time, preheat the oven to 400 degrees F.
- Brush the dough with the egg wash again, then bake for 15 minutes or until evenly golden, then turn the oven down to 350 degrees F, and bake for another 30 minutes until deeply golden.
- Allow the brioche loaf to cool completely in the pan.
Notes
-
- Proof the dough overnight: I recommend allowing your brioche dough to rise slowly overnight in the fridge. Cold dough is so much nicer to work with! But you can also let it proof at room temperature for one hour and make the brioche bread immediately.
- Bake the dough within 24 hours: To find that sweet spot between properly proofed with a developed flavor and over-fermented, I recommend giving the dough at least 5 hours to rise in the fridge, but no more than 24 hours.
- Brush the dough with an egg wash: To give the brioche loaf a deep golden, shiny crust, brush the dough with an egg wash made from one egg mixed with two tablespoons of heavy cream or milk.
- Bake the loaf in a pullman pan: For a very tall loaf with sharp corners, bake the brioche in a pullman pan! This pan is similar to a 9x5 loaf pan but slightly longer, and has straight sides, rather than sloped sides. It creates that classic store-bought sliced bread look, which is of course necessary for an epic sandwich or stuffed french toast.


Jamie says
1000/10 it is TRULY AMAZING!!!!! The BEST brioche recipe I have ever found, and I’m a seasoned bread baker!! I loved every minute of the process. The measurements are truly impeccable. I’m waiting for the loaf to cook so I can devour it!!!! The only change I made was using bread flour and cold milk. 1000/10, will definitely make again!!!!!
N A says
Can I replace some of the all purpose flour with white whole wheat flour? If so, please advise by what’ % and also how to adjust hydration? Thank you
Sloane says
Hi! I have not tested this recipe with white whole wheat flour, and honestly I wouldn't recommend it. In my opinion, whole wheat flour would defeat the goal of making an enriched bread, which is to achieve a light, fluffy, melt-in-your-mouth texture. If you're looking for a heartier bread, I would recommend finding a recipe that's specifically developed with whole wheat flour.
N A says
Thank you for your response. I am just looking to incorporate a bit more fiber into my diet and was wondering if I could replace some APF. I like your recipe as is, it’s delicious, thank you