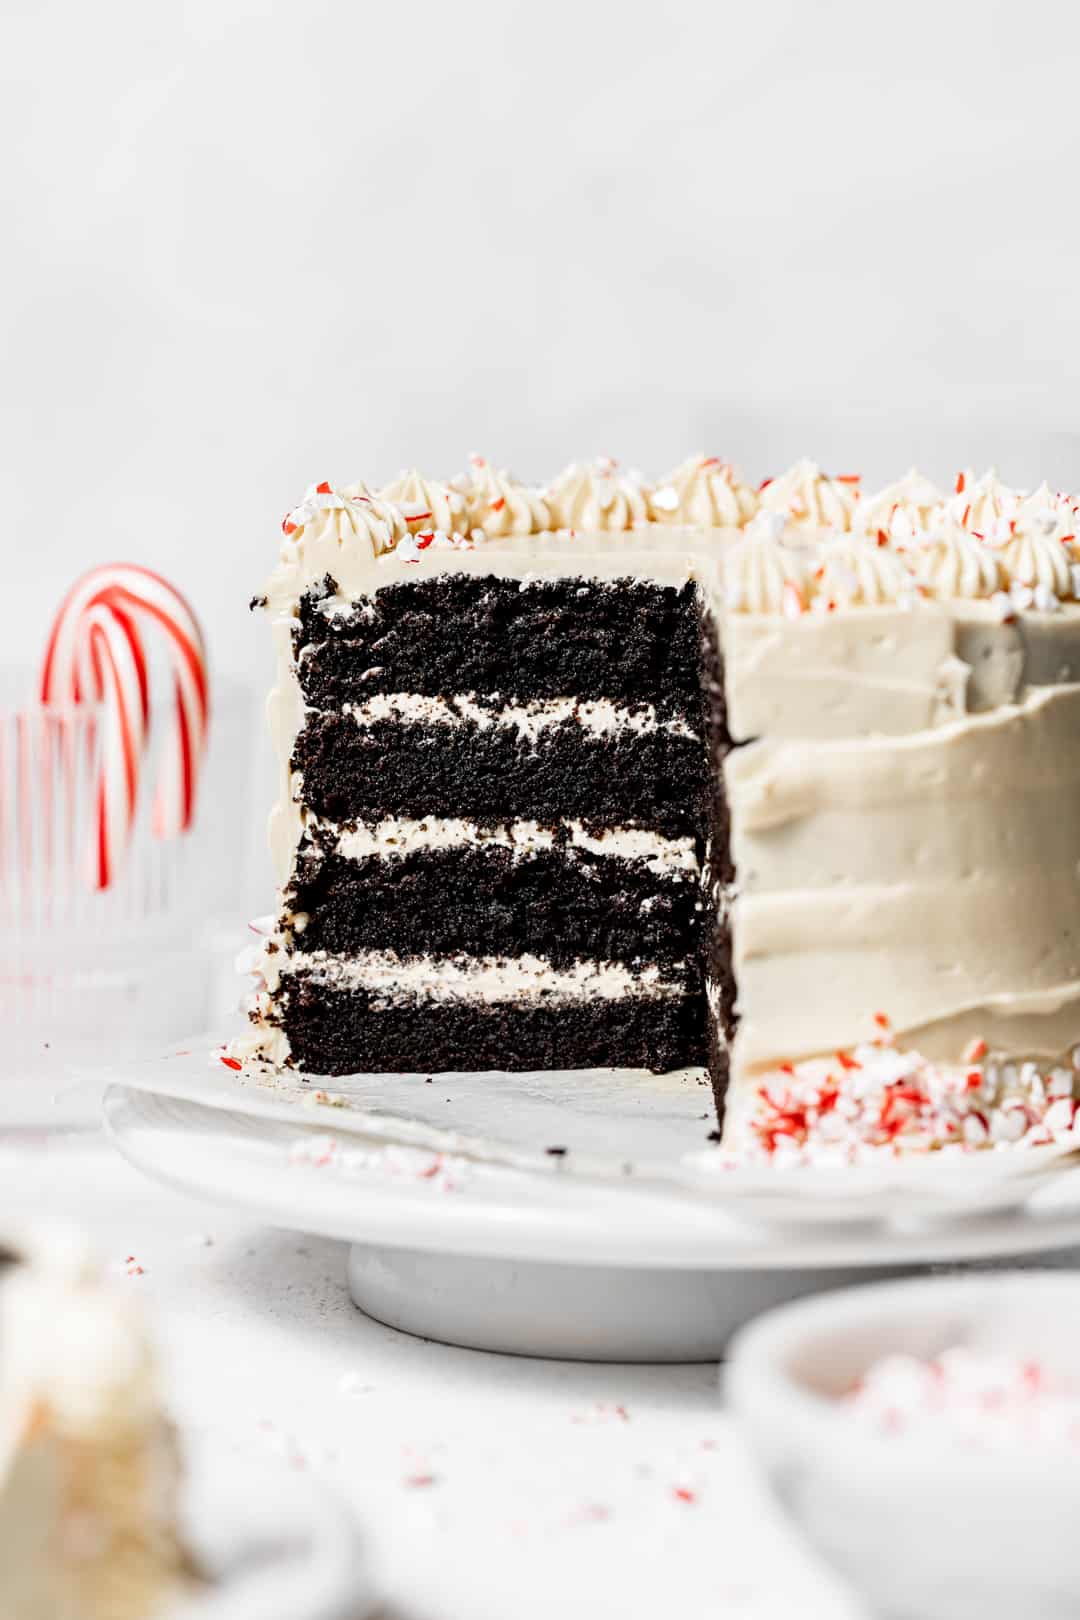
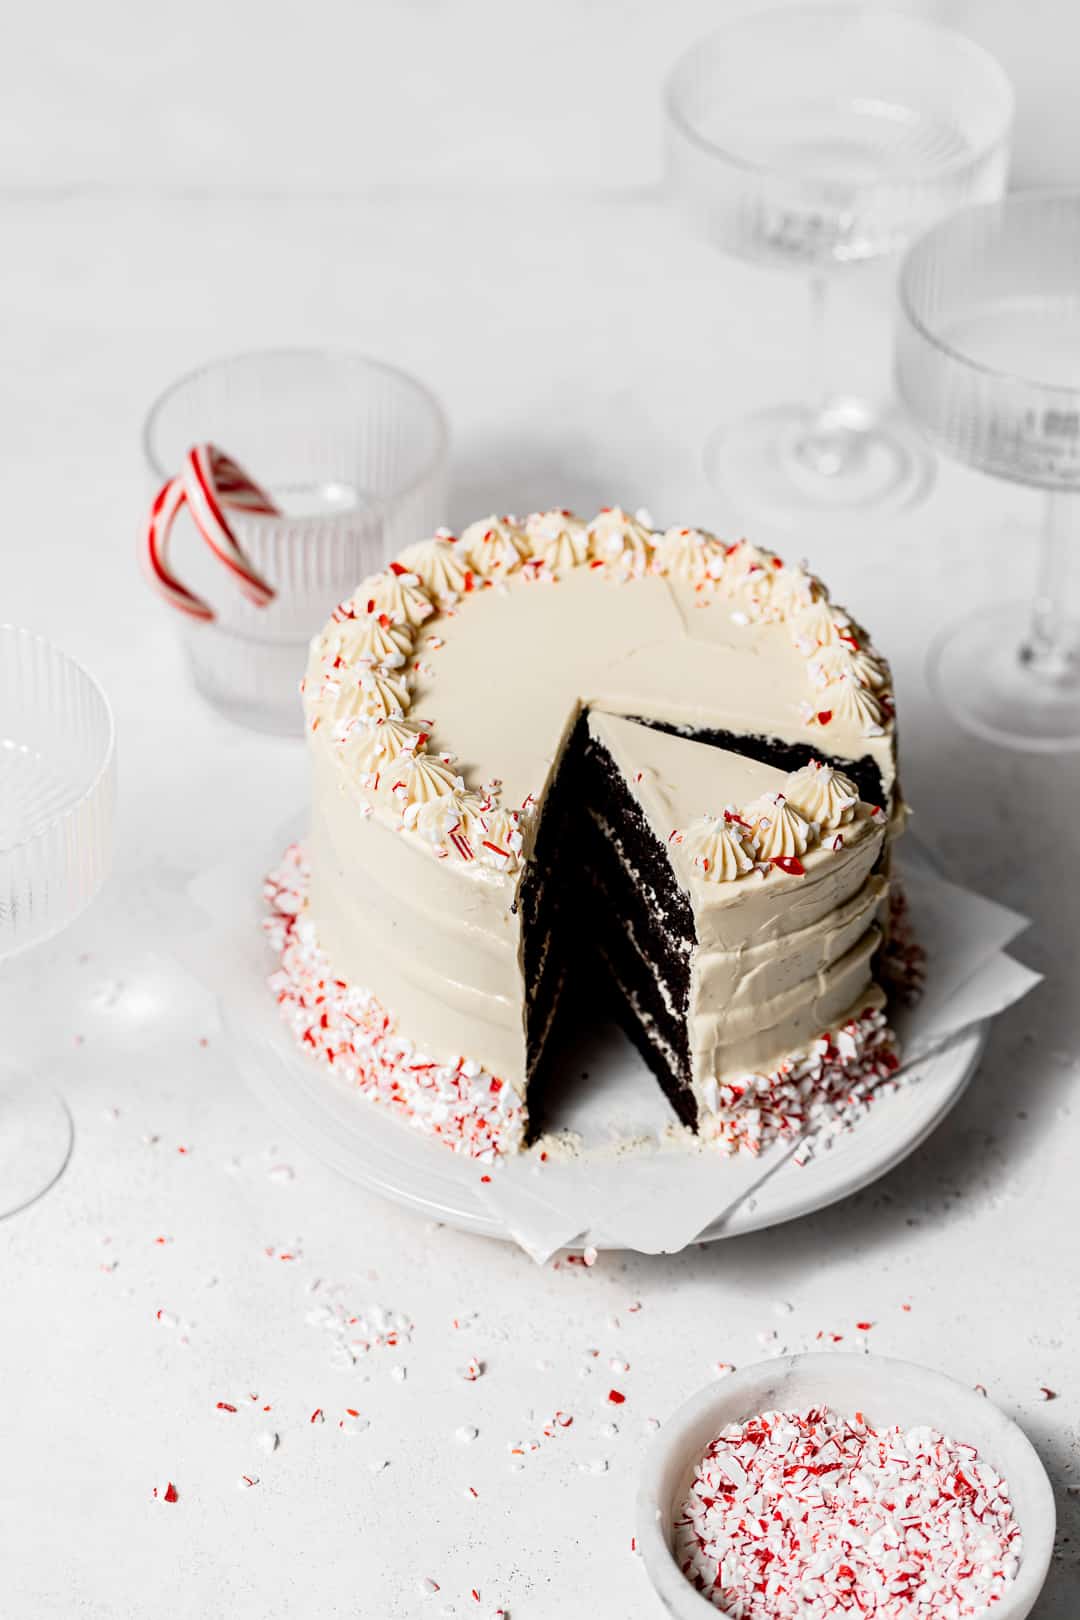
Impress your friends & family at a holiday party with this chocolate peppermint cake! Four layers of rich chocolate peppermint cake are enveloped in a silky white chocolate French buttercream, which is a buttery frosting with just the right amount of sweetness. Top it all off with some crushed candy cane for some extra festive flare!
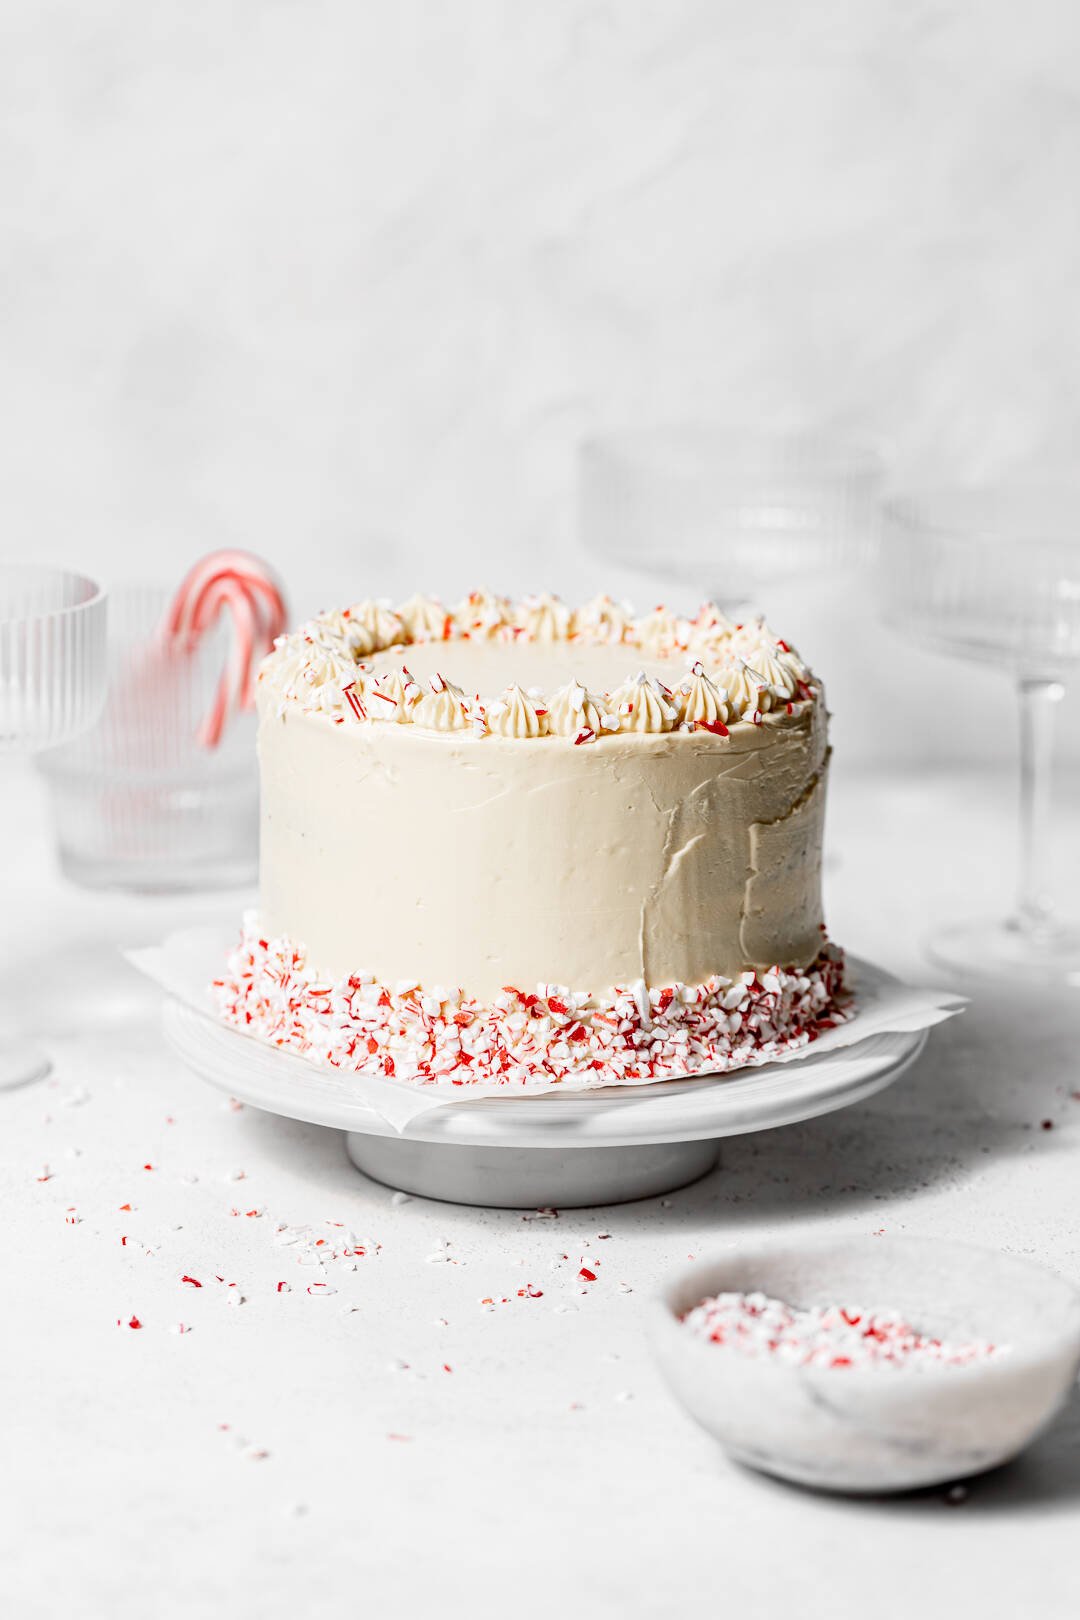
This sweet and simple chocolate peppermint cake is a must-bake this holiday season! Each cake layer is filled with rich chocolate and bright peppermint flavors, and paired with the silky smooth white chocolate frosting, it makes a delightfully festive Christmas treat. Share it with your loved ones after your holiday feasts, or save it to indulge in after your guests have gone home - I won't tell if you won't!
For more holiday layer cake recipes, try Maple Eggnog Crepe Cake, Cranberry Orange Cake, Brown Sugar Chai Cake, and Gingerbread Cake with Cream Cheese Frosting.
Jump to Recipe
Why you'll love this chocolate peppermint cake
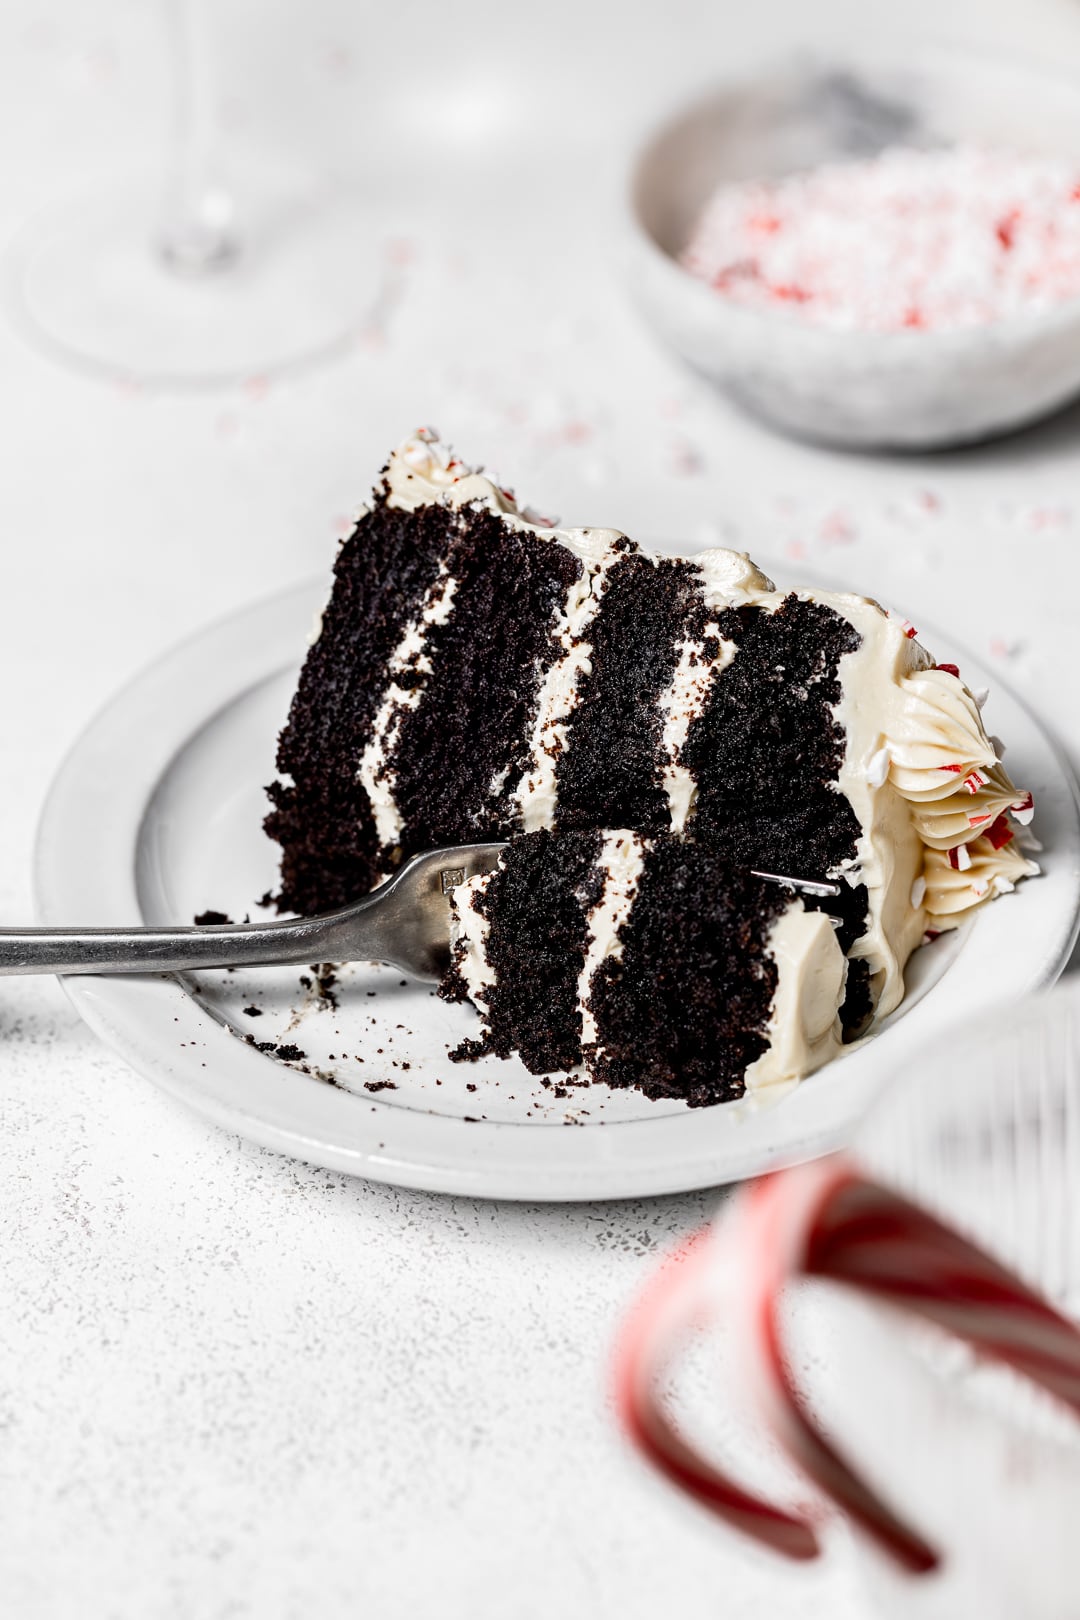
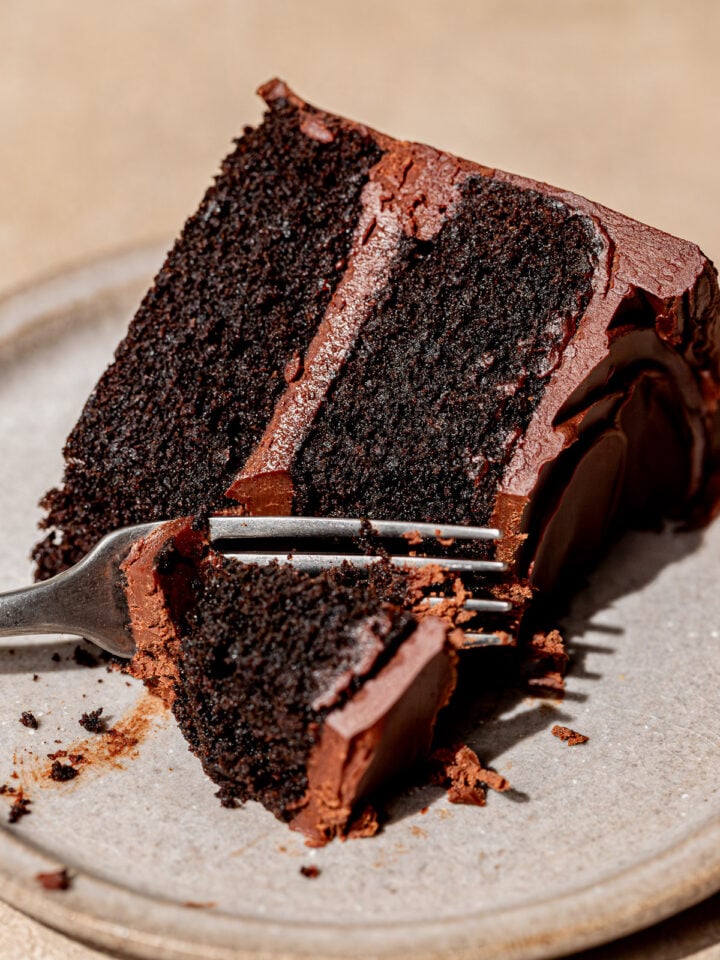
- Fudgy, Moist Texture: Unlike most chocolate cake recipes, this recipe bakes up incredibly fudgy & moist with a pronounced chocolate flavor, an even, tight crumb, and a melt-in-your-mouth texture that is utterly irresistible.
- Holiday Chocolate Peppermint Flavor: One taste of the chocolate and peppermint flavor combination immediately evokes the joy of the holiday season.
- Creamy French Buttercream: French buttercream is made with a base of egg yolks, making it super creamy and almost custard-like. Paired with melted white chocolate, it's the ultimate rich, flavorful topping for this festive cake!
Ingredient Notes
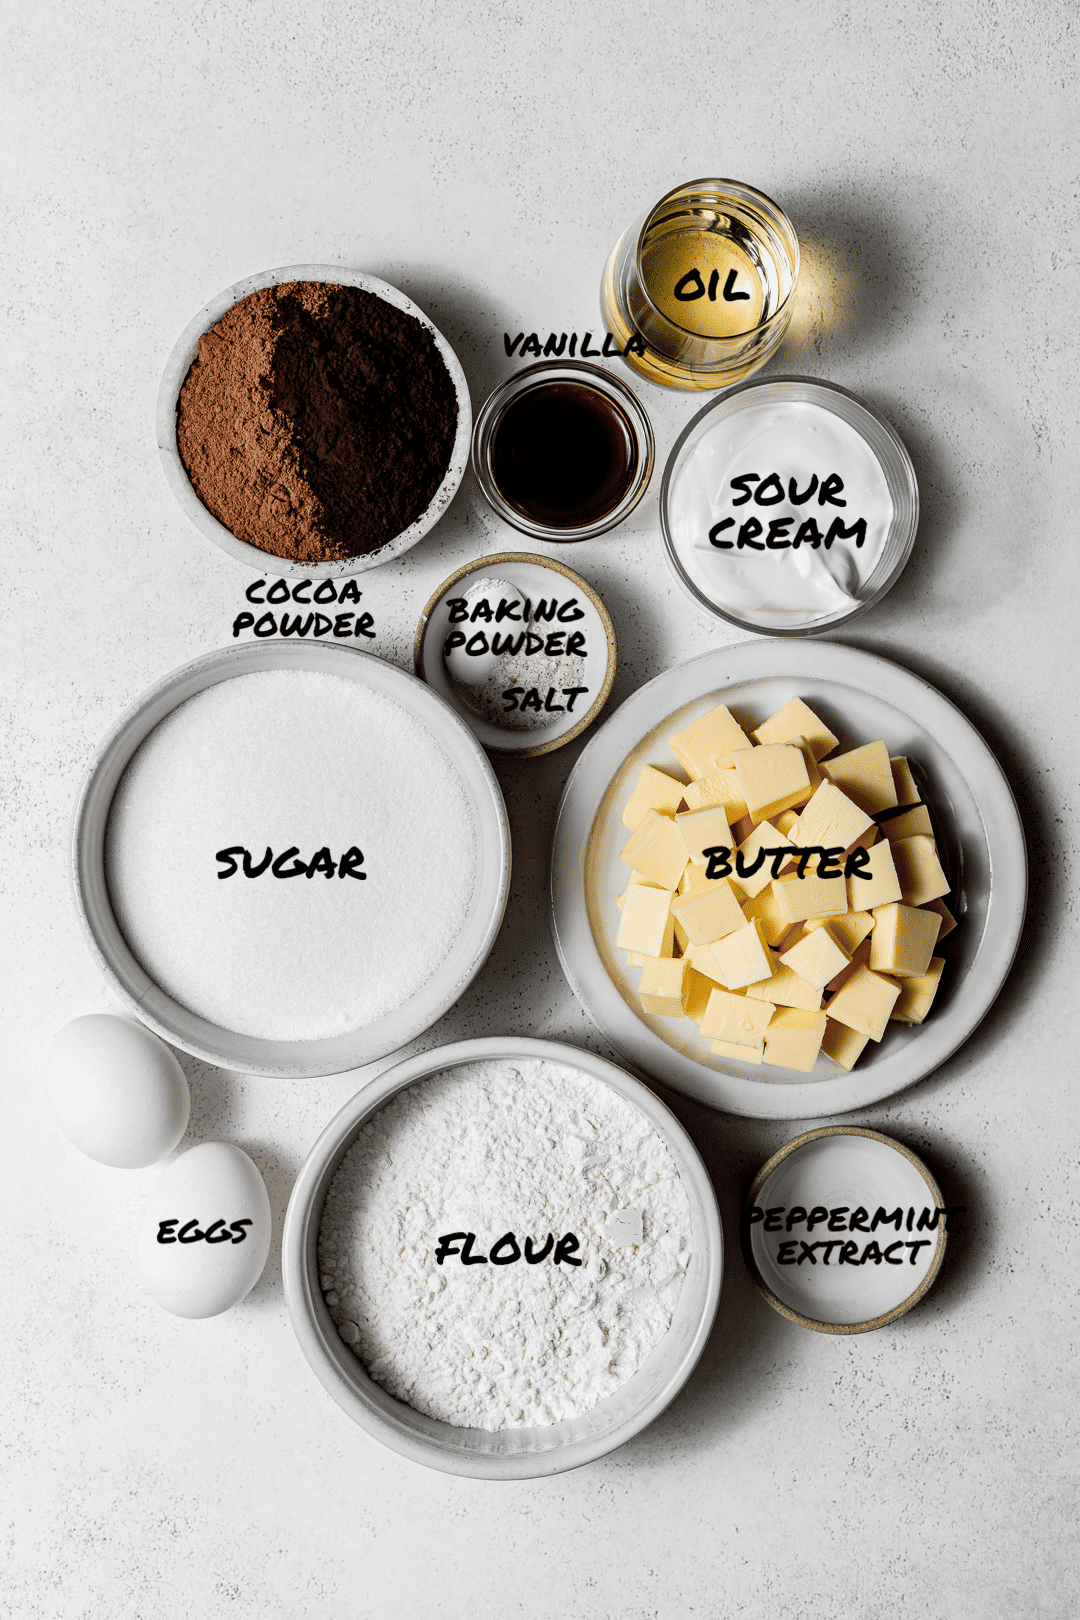
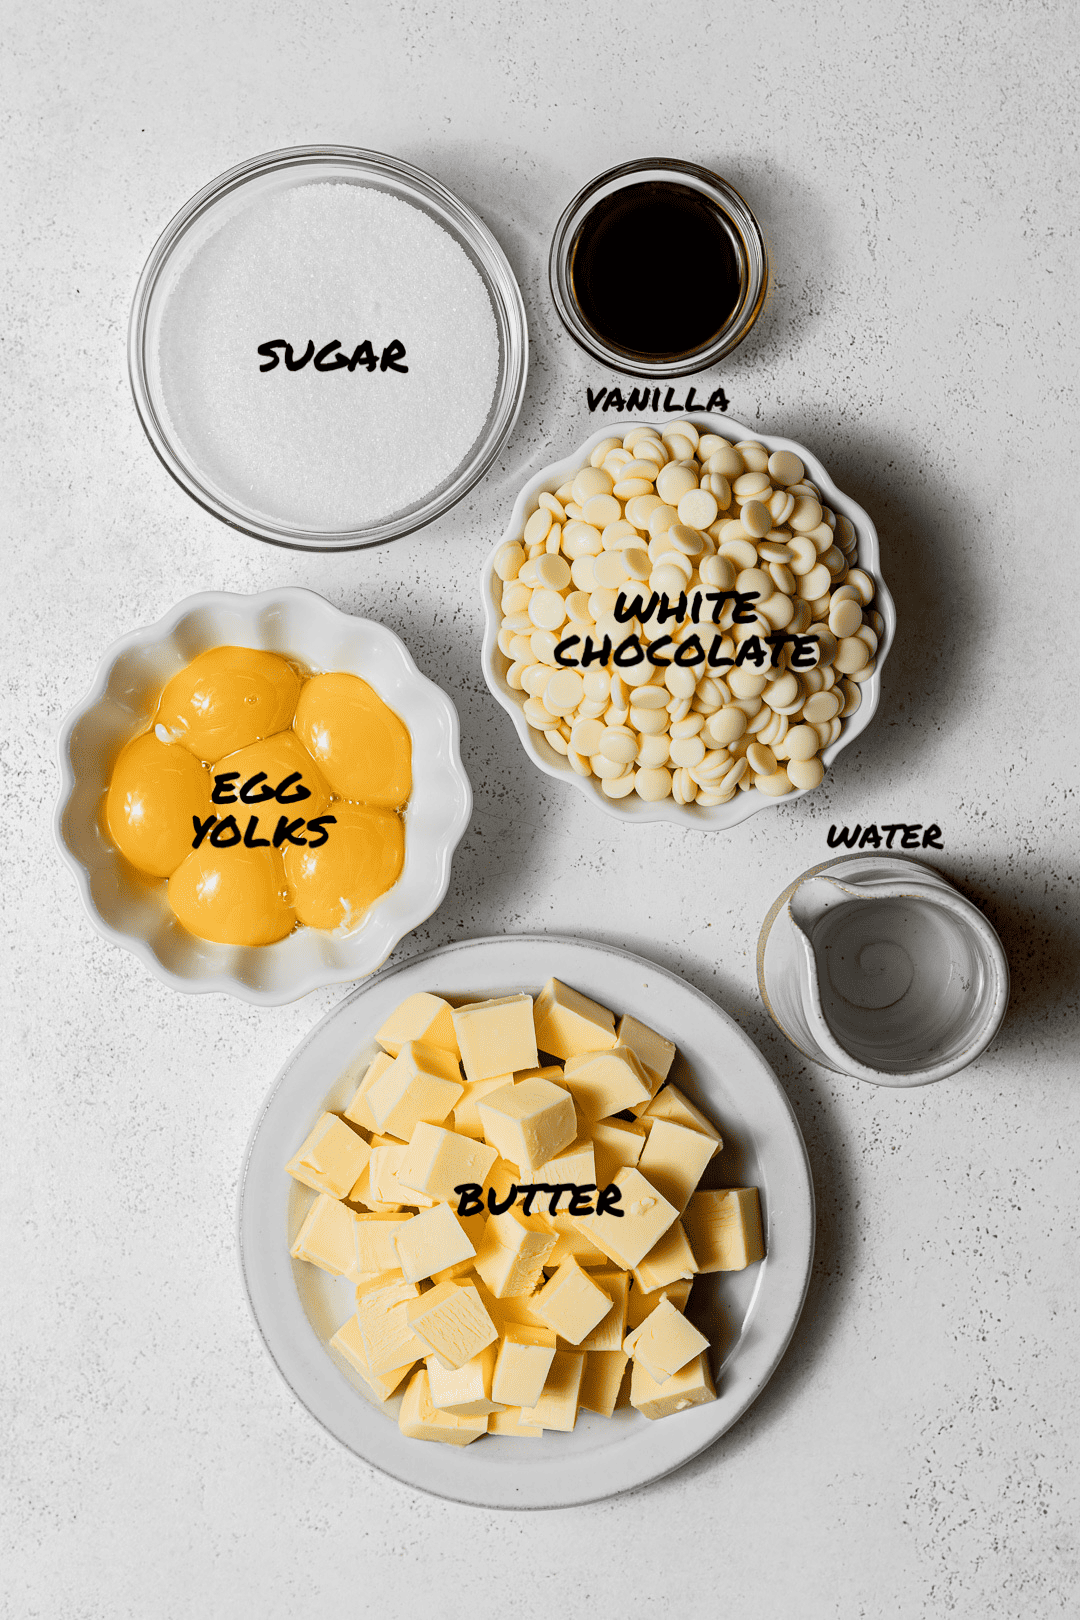
- White Chocolate: True white chocolate contains at least 20% cocoa butter. I highly recommend using a true high-quality white chocolate, such as ifiProvisions 29.5% Belgian White Chocolate.
- Cocoa Powders: I used a combination of dutch process and black cocoa powders for an extra rich chocolate experience.
- Sour Cream: Use full fat sour cream for optimum flavor and texture.
- Oil: Use an extra light or neutral tasting oil like extra virgin olive oil, canola oil, or vegetable oil.
- Unsalted Butter: Use high quality European-style butter for best overall flavor.
- Flour: Use high quality unbleached all-purpose flour best results.
- Eggs: Bring your eggs to room temperature quickly by placing them in a bowl of warm water for 10 minutes.
- Vanilla: Add a high quality vanilla extract for optimal flavor.
- Peppermint Extract: A little goes a long way, so be careful not to add too much!
See recipe card for full information on ingredients and individual quantities.
Step by Step Instructions
Here are step by step photos and instructions on how to make this chocolate peppermint cake recipe! For the full ingredient list and method, see the recipe card at the end of this post.
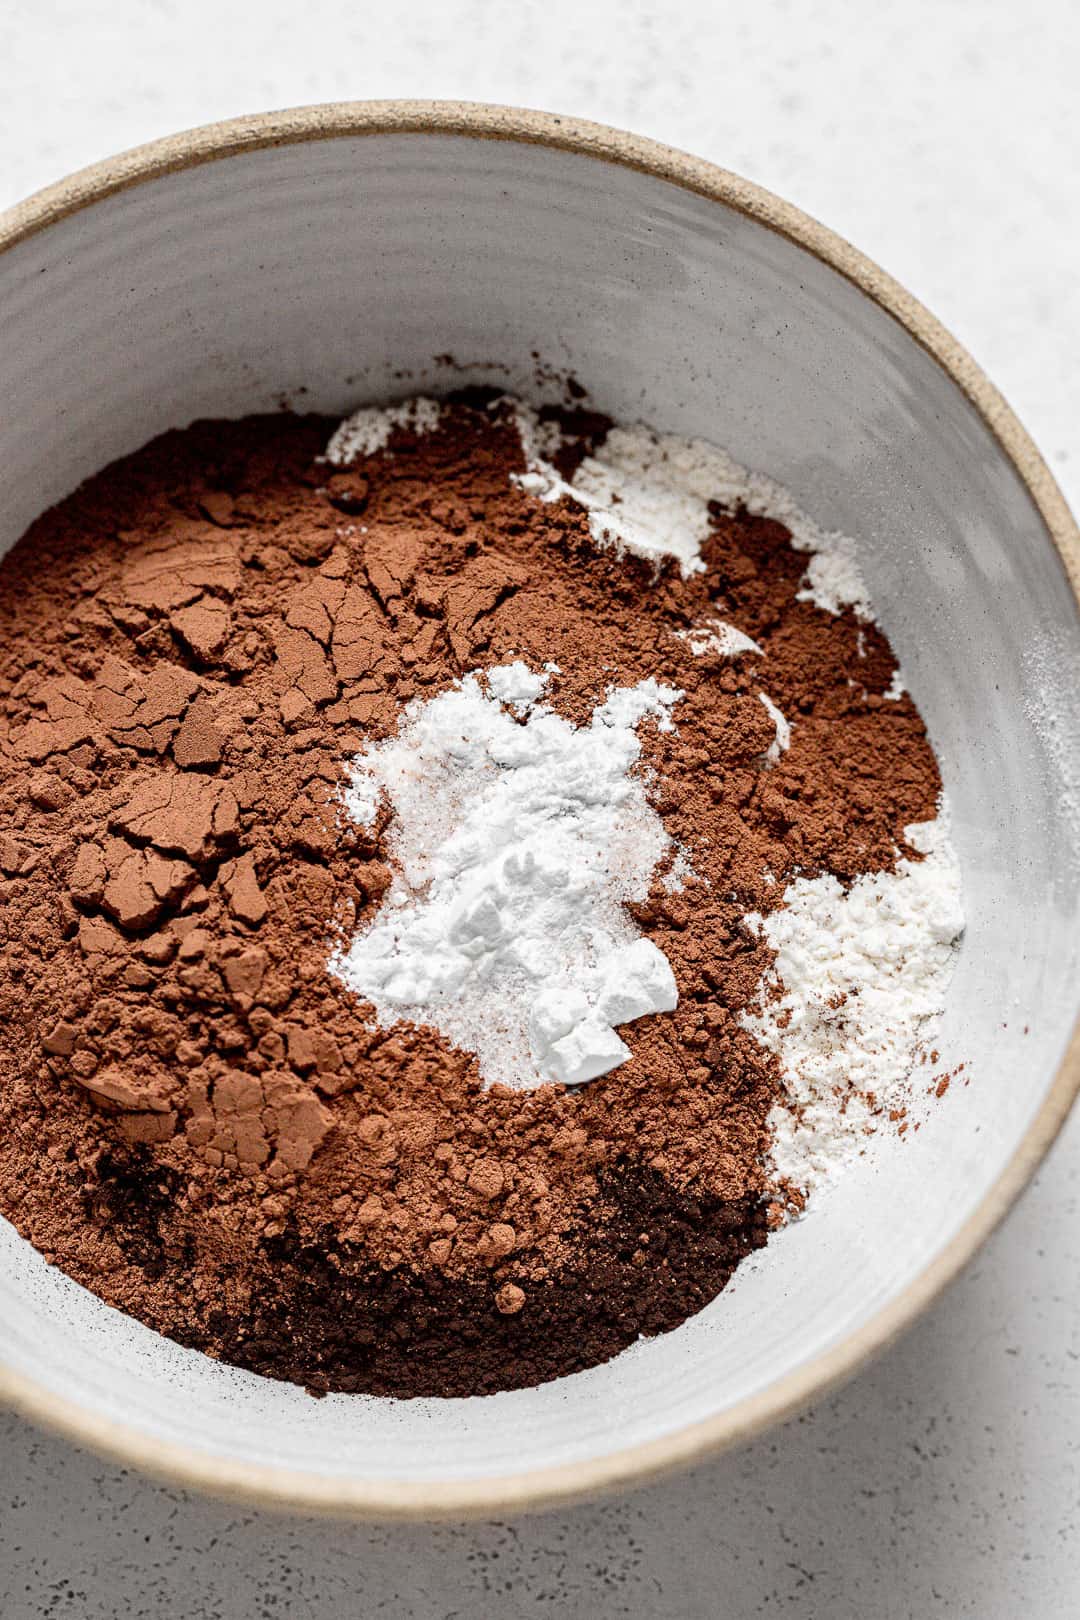
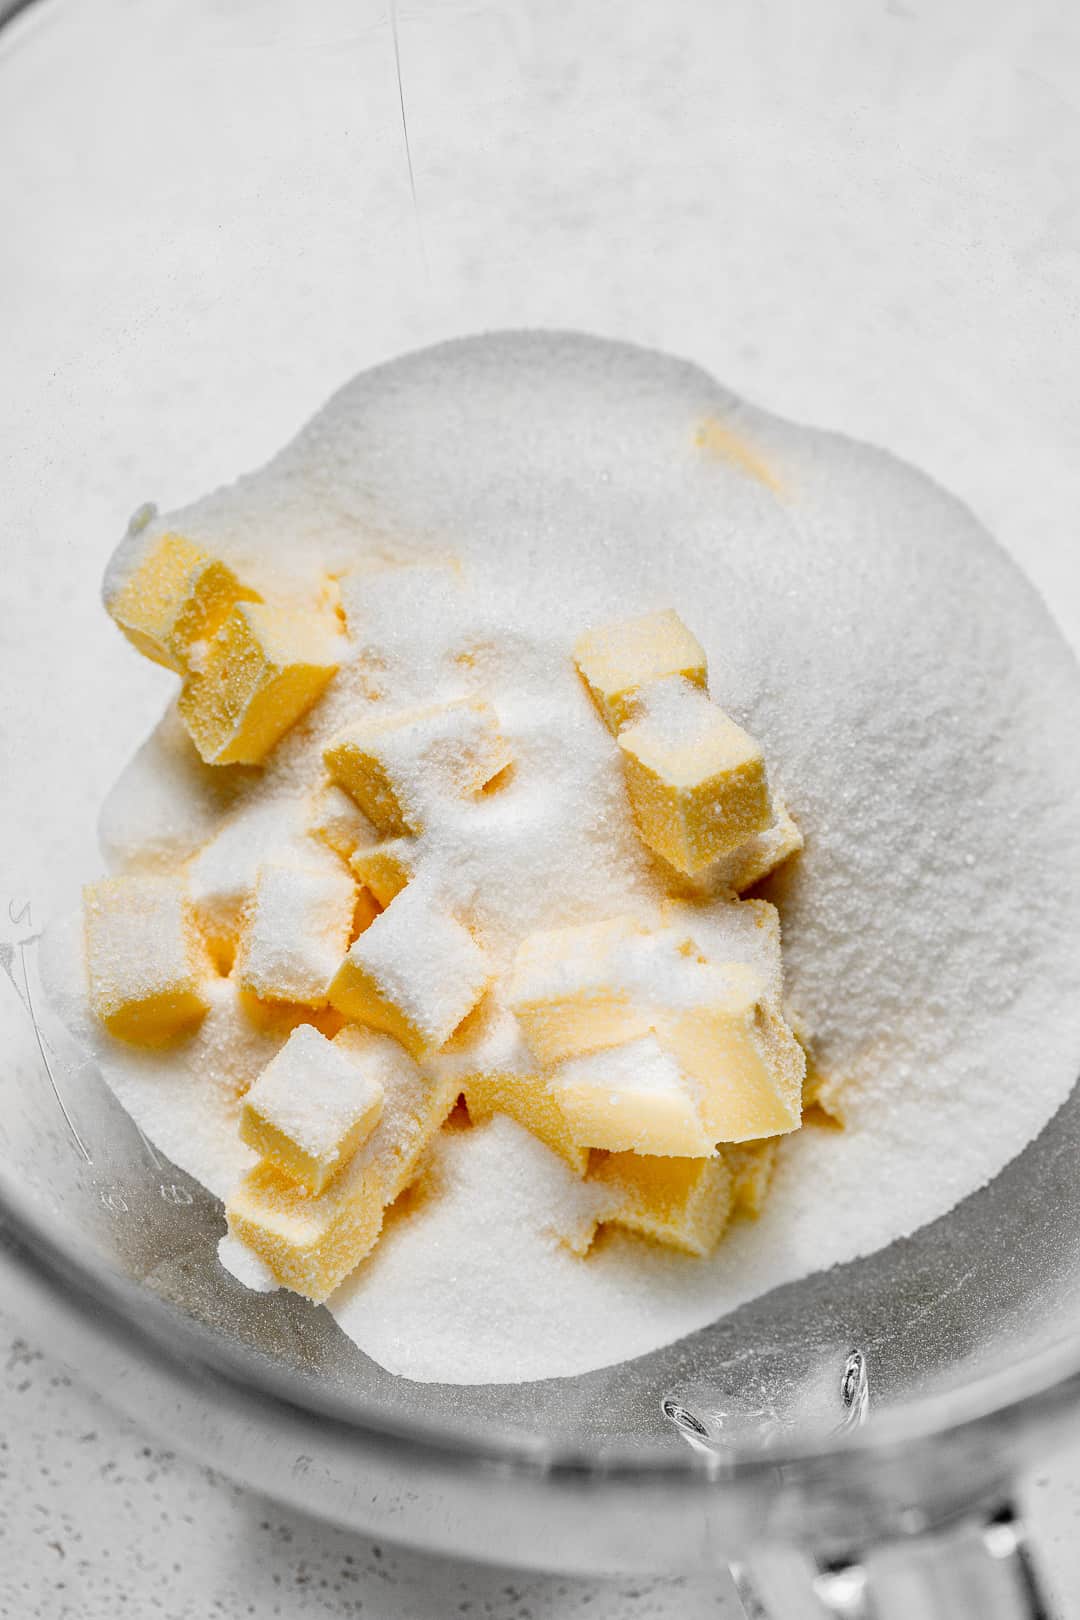
STEP 1: Mix dry ingredients. In a medium bowl, whisk together the flour, cocoa powders, baking powder, and salt. Set aside.
STEP 2: Cream butter and sugar. In the bowl of a stand mixer fitted with the paddle attachment, cream together the butter and sugar for 2-3 minutes until light & fluffy.
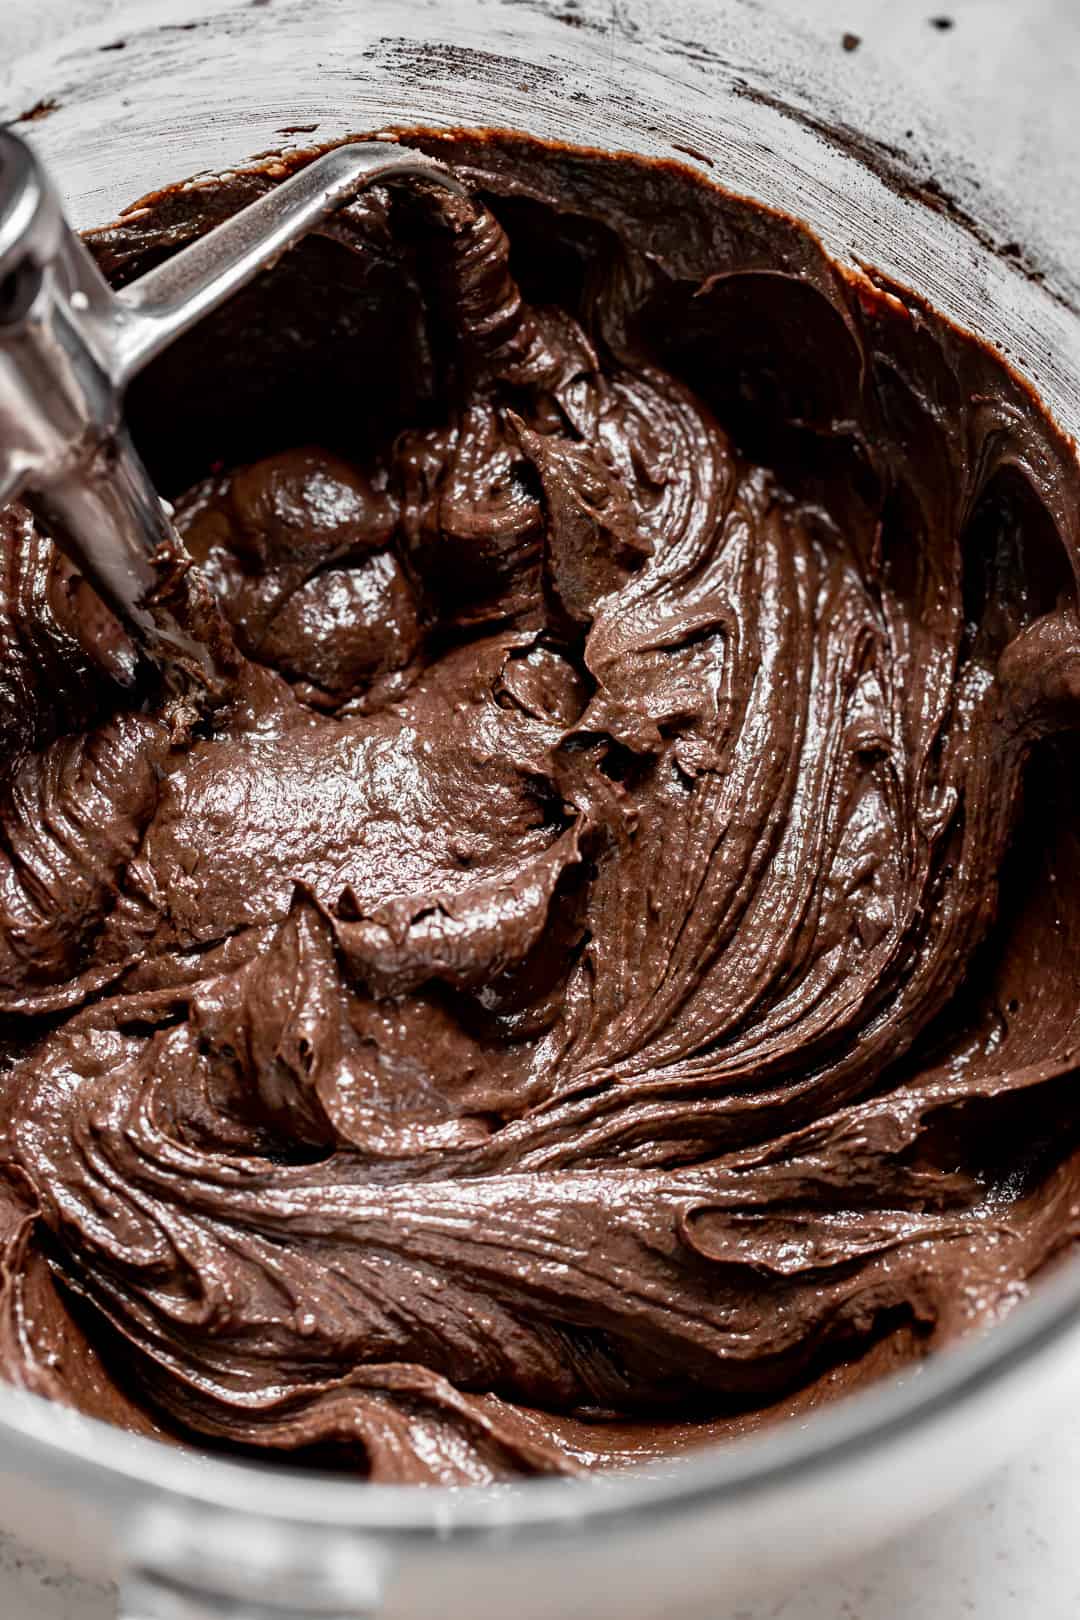
STEP 3: Alternate wet & dry ingredients. Mixing on low speed, add the eggs one at a time. Scrape down the bowl and mix in the vanilla and peppermint extract. Add half of the dry ingredients and mix until just combined. Mix in the sour cream and oil, then the remaining dry ingredients until just combined. Scrape down the bowl to ensure everything is evenly incorporated.
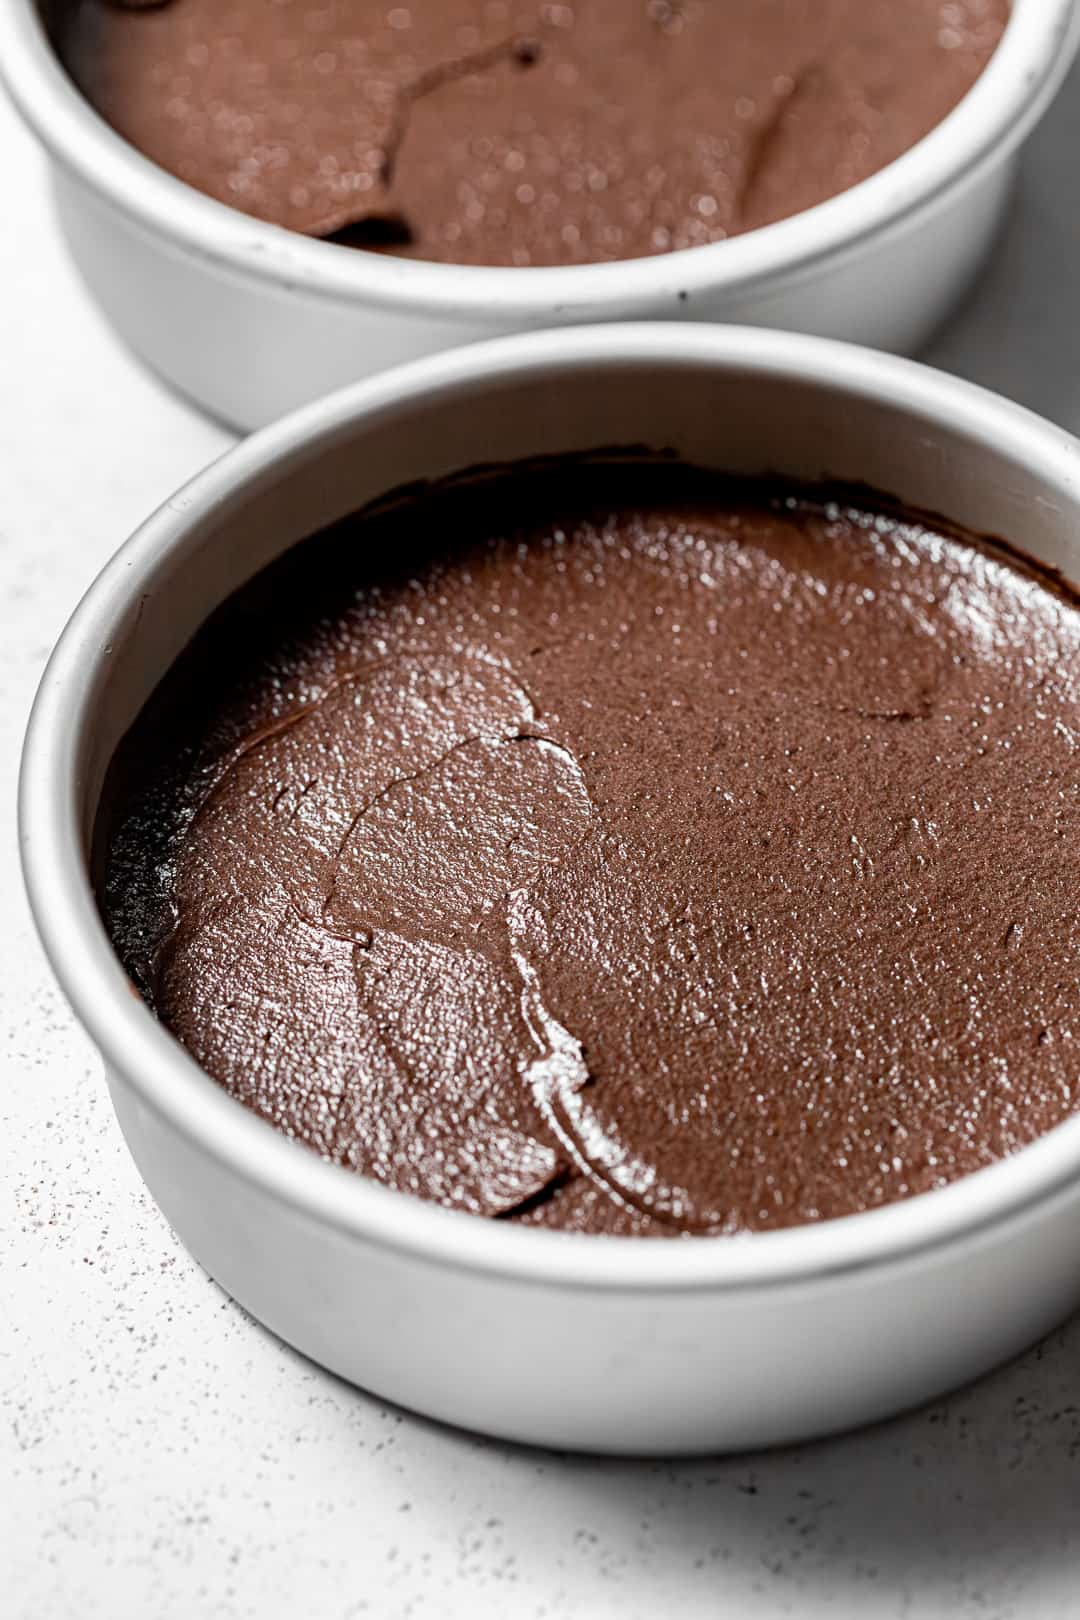
STEP 4: Divide batter. Divide the batter between the prepared pans and smooth them out into even layers with an offset spatula.
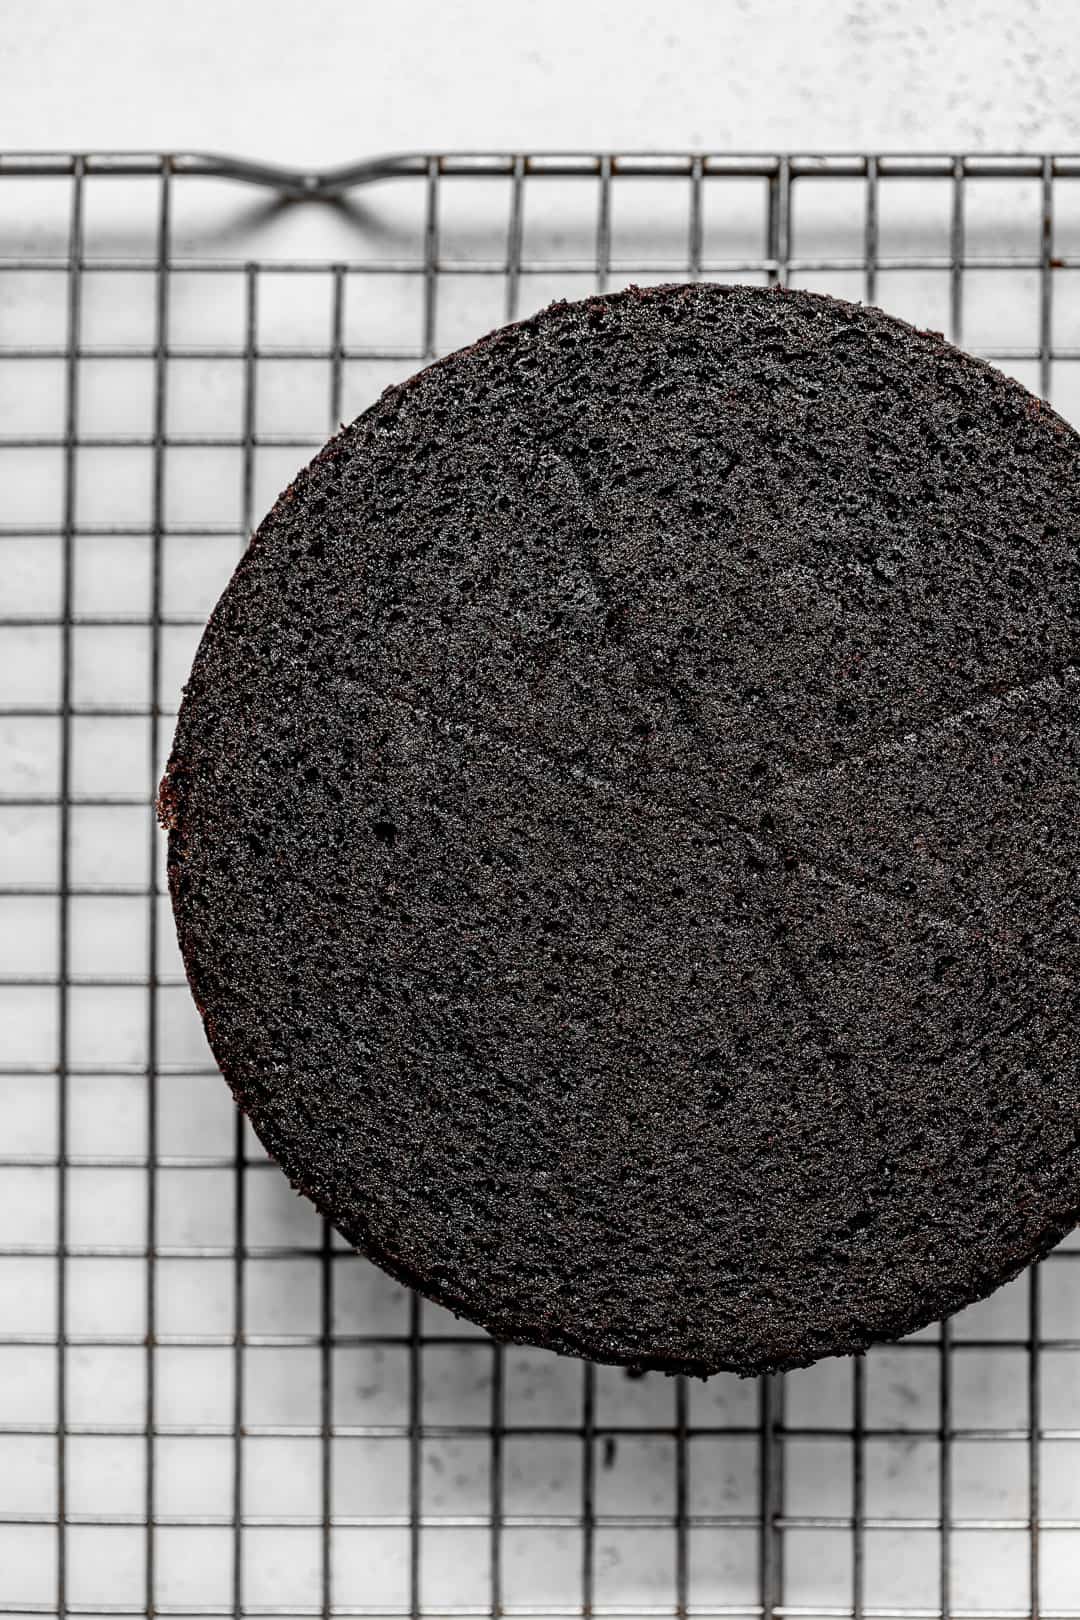
STEP 5: Bake and cool. Bake the cakes for about 35-40 minutes or until the edges begin to pull away from the sides of the pan and a toothpick inserted comes out clean. Turn the cakes out onto a wire rack to cool completely.
STEP 6: Melt chocolate and mix eggs. In a small heat-proof bowl, add the white chocolate and place it over a pot of simmering water. Stir often until fully melted. Remove the bowl from heat and set aside.
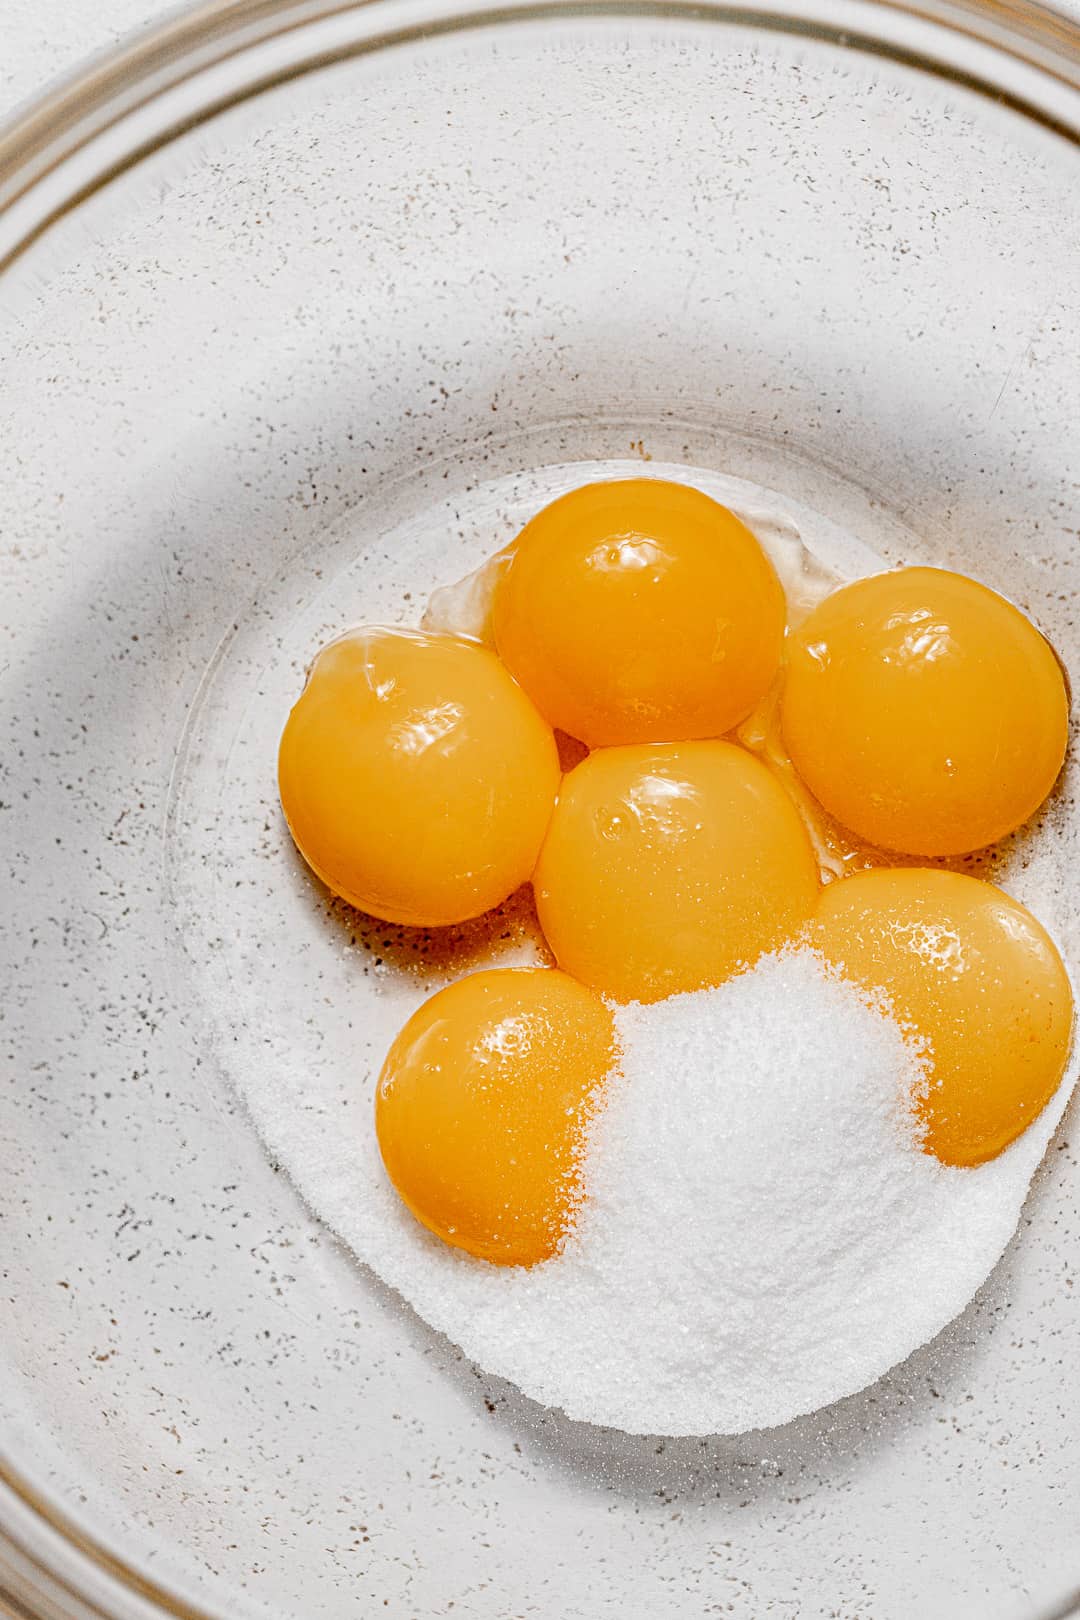
Place the egg yolks and 24g (2 tbsp) of granulated sugar in a separate medium bowl or a bowl of a stand mixer fitted with a whisk attachment. Whisk on high speed until thick and foamy (about 3 minutes) while you heat the sugar and water.
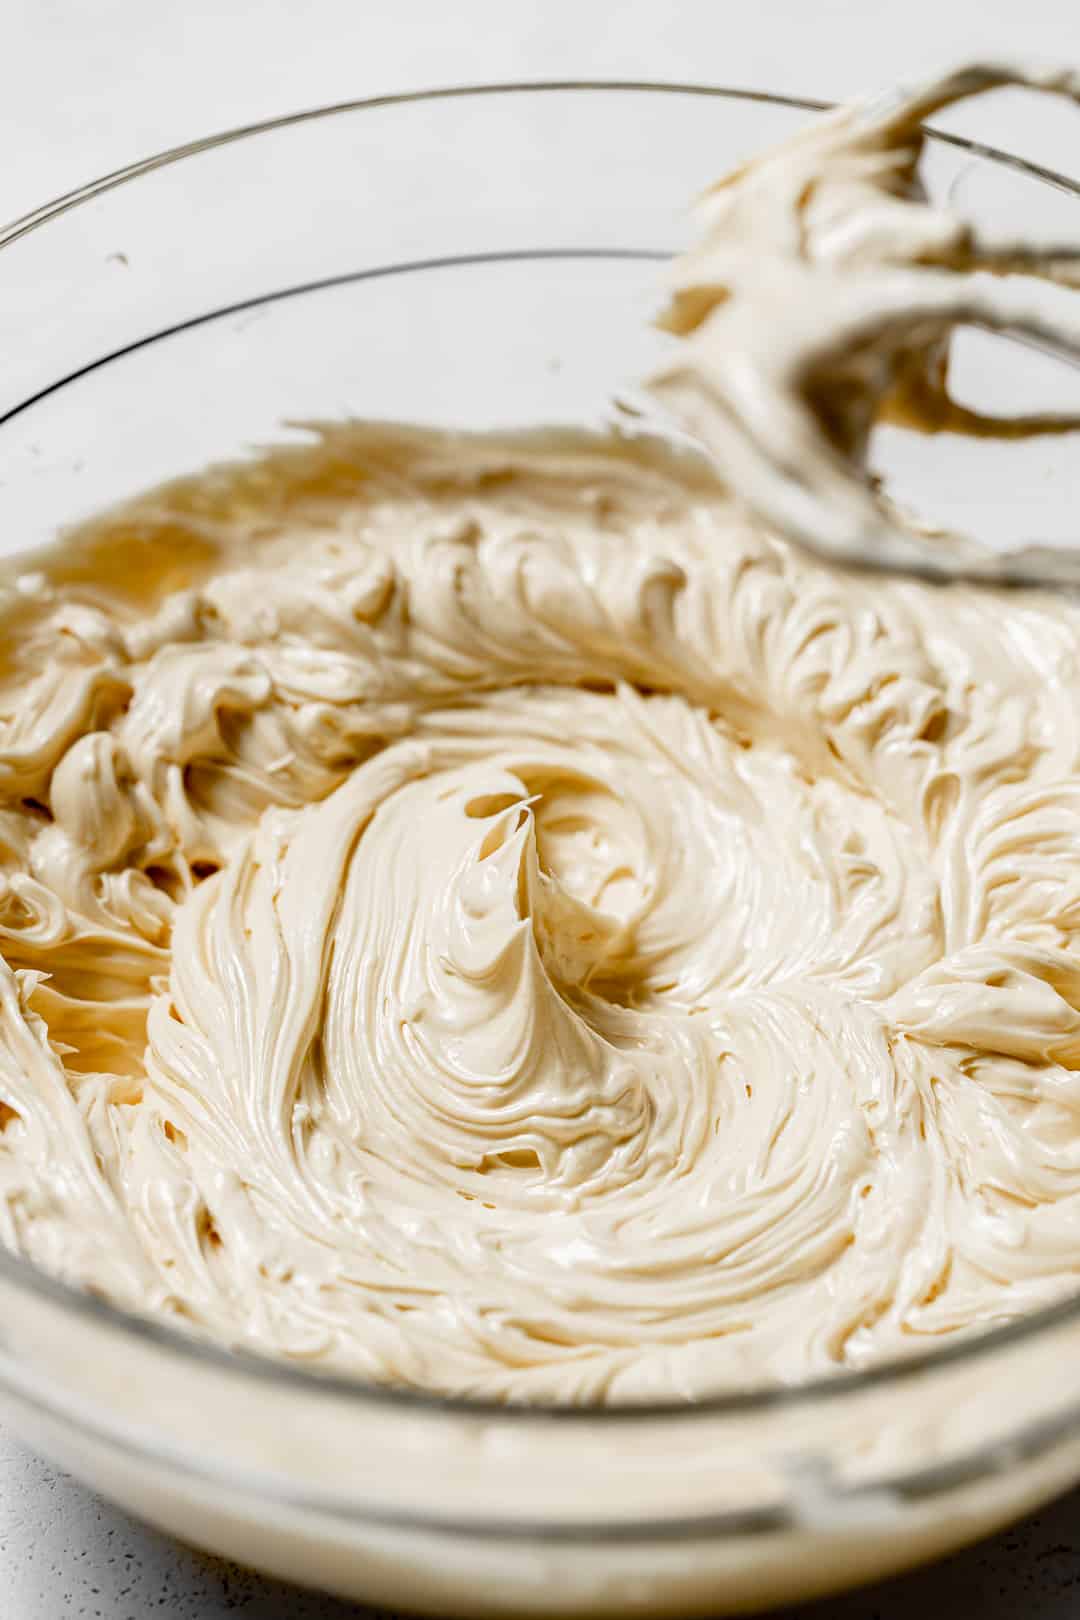
STEP 7: Make the frosting. Heat the remaining granulated sugar and water in a small saucepan until the sugar dissolves, then bring to a boil. While the egg yolks are whisking, slowly add the sugar syrup into the bowl and mix until cooled down. Add the butter to the mixture a few cubes at a time, allowing them to fully incorporate before adding more. Lastly, add the cooled melted white chocolate and vanilla. Continue mixing on low speed until the buttercream is completely smooth.
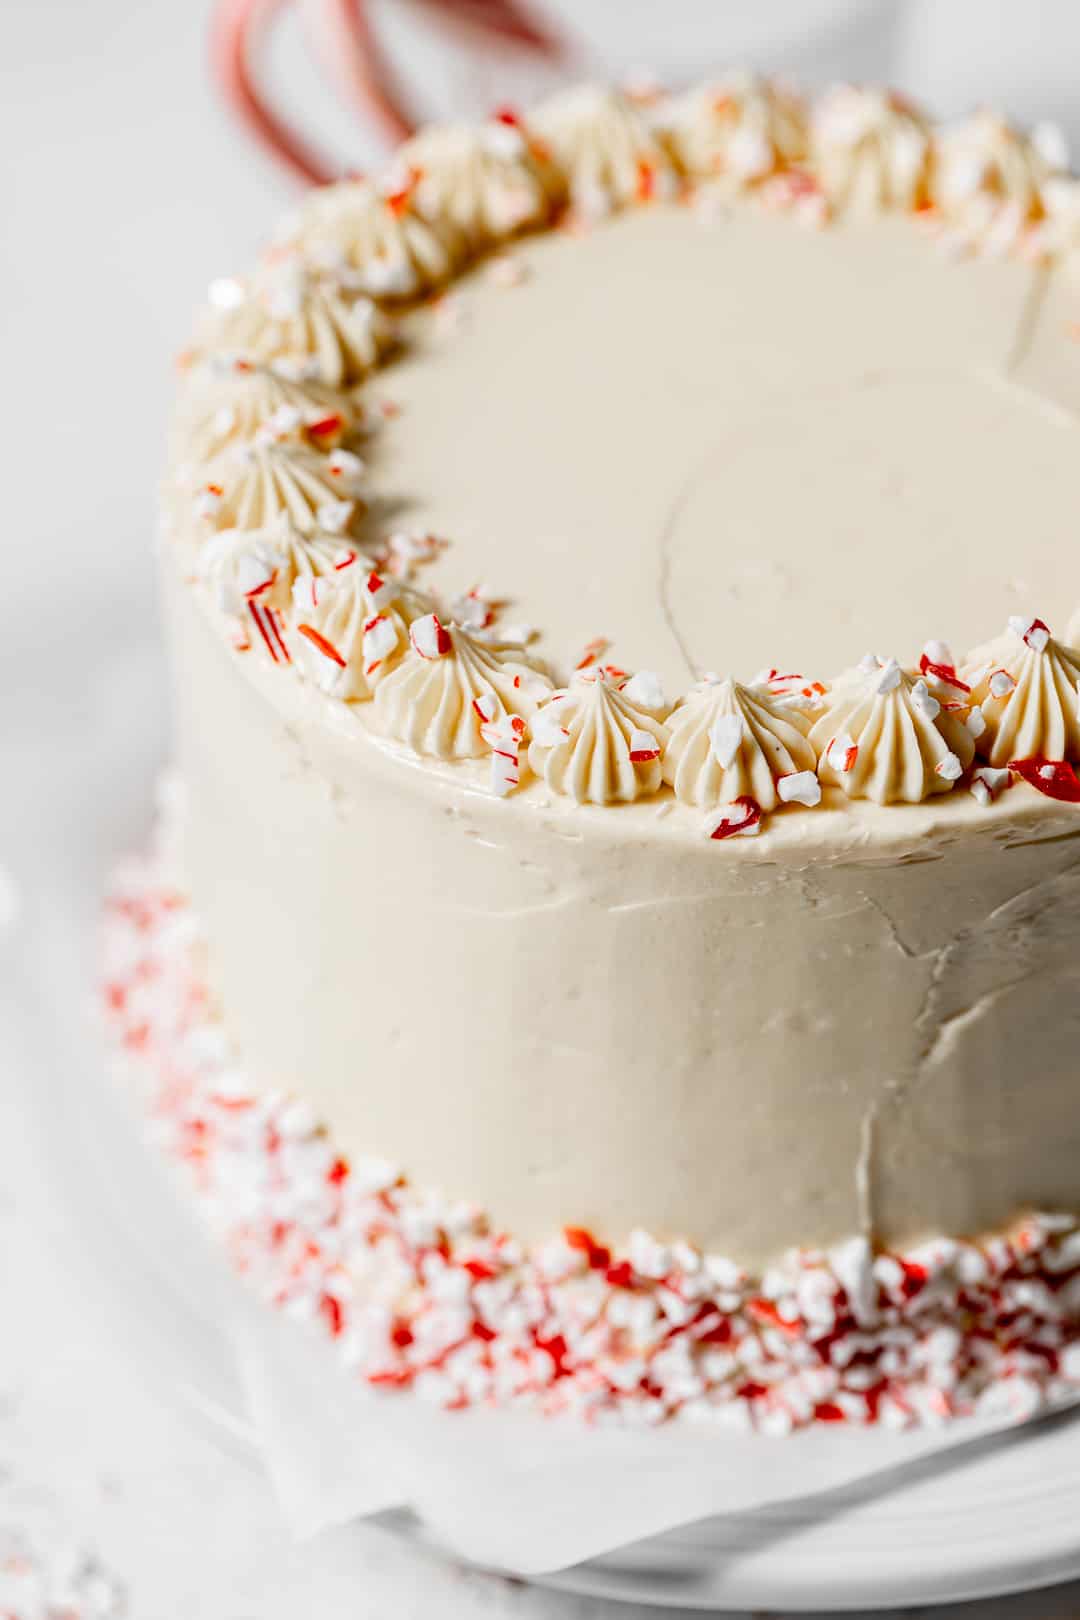
STEP 8: Assemble. Use a serrated knife to cut each cake layer in half, creating four layers. Place the first cake layer on a cake stand. Use a 3 tablespoon cookie scoop to add 2 scoops of buttercream and spread into an even layer. Repeat with the remaining cake layers. Add the last cake layer and top with a few more scoops of buttercream. Use an offset spatula to smooth out the top, and spread the excess all over the sides. Continue decorating the cake as desired. Decorate the cake with crushed candy cane pieces, and enjoy!
Expert Baking Tips
- Black cocoa powder substitute: If you do not have black cocoa powder, you can use an equal amount of dutch process cocoa powder, making it a total of 63g or ¾ cup.
- Make the cake layers ahead of time. This cake stays moist for dayyyys, so you can make ahead of time. Store at room temperature wrapped tightly and stored in an airtight container for 1-2 days or in the freezer for up to 3 months. If frozen, be sure to leave the cake layers out a room temperature overnight, then decorate the next day.
- No need for cake strips! These cake layers bake up perfectly flat, so there's no need to add cake strips on the pans.
- Use a cookie scoop to assemble the cake. Use a 3 tablespoon cookie scoop to add an equal amount of frosting to each layer.
Recipe FAQs
Dutch process cocoa powder is THE best cocoa powder for baking. Because it's neutralized with an alkalizing agent, it has a smoother flavor and creates the most fudgy and chocolatey baked goods! Black cocoa powder is similar to dutch process, but richer in flavor and darker in color. It is typically used in small amounts alongside another cocoa powder to enhance the color and flavor of the baked good. It smells like actual chocolate cake and is just magical to bake with!
It can be hard to tell when a cake is done baking, especially when it's chocolate. The best way to tell is when the cake springs back when you touch it in the center and it starts to pull away from the edges of the pan. You can also always insert a toothpick in the center of the cake - if it comes out clean, the cake is ready.
Nope! This recipe bakes up perfectly flat, so there's no need to use cake strips.
This cake will last 2-3 days covered at room temperature. You can also wrap slices of cake in plastic wrap and freeze for up 3 months.
Baking in Grams
All of the recipes on this blog are carefully developed with gram measurements so you can easily recreate them in your own kitchen with success. Volume measurements are extremely inaccurate and leave room for significant errors. Not all measuring cups are made equally, so your one cup of flour will be different from my one cup of flour. By providing precise measurements in grams (aside from minor ingredients, which are given in tsp/tbsp), you can make these recipes accurately and with less cleanup! All you need is this kitchen scale.
If this still isn't enough to convince you, I have provided volume measurements in the recipe card. If you are interested in understanding the conversions, this is the best conversion chart.
But trust me, once you try baking in grams you'll never turn back!
Happy baking! x
Other Christmas recipes to try
If you tried this recipe, I'd love to know how it turned out for you! Leave a star rating & review below and post a picture (or video!) on Instagram and tag me so I can see your bakes! Not ready to make this recipe yet? Click the heart button on the right of your screen to save it for later 🙂
📖 Recipe
Chocolate Peppermint Cake
Ingredients
For the chocolate peppermint cake:
- 120 g (1 cup) all-purpose flour
- 42 g (½ cup) dutch process cocoa powder
- 21 g (¼ cup) black cocoa powder
- ¾ teaspoon baking powder
- 1 teaspoon kosher salt
- 198 g (14 tablespoon) unsalted butter, room temp
- 250 g (1 ¼ cups) granulated sugar
- 2 eggs, room temp
- 2 teaspoon vanilla extract
- ½ teaspoon peppermint extract
- 113 g (½ cup) sour cream, room temp
- 100 g (½ cup) extra light tasting olive oil
For the white chocolate french buttercream:
- 227 g (8 oz) white chocolate
- 6 egg yolks
- 124 g (½ cup + 2 tbsp) granulated sugar, divided
- 42 g (3 tablespoon) water
- 1 teaspoon vanilla extract
- 227 g (16 tablespoon) unsalted butter, room temp
Instructions
For the chocolate peppermint cake:
- Preheat the oven to 325 degrees F. Grease and line two 6 inch cake pans with parchment paper.
- In a medium bowl, whisk together the flour, cocoa powders, baking powder, and salt. Set aside.
- In the bowl of a stand mixer fitted with the paddle attachment, cream together the butter and sugar for 2-3 minutes until light & fluffy.
- Mixing on low speed, add the eggs one at a time. Scrape down the bowl and mix in the vanilla and peppermint extract.
- Add half of the dry ingredients and mix until just combined. Mix in the sour cream and oil, then the remaining dry ingredients until just combined. Scrape down the bowl to ensure everything is evenly incorporated.
- Divide the batter between the prepared cake pans and smooth them out into even layers with an offset spatula.
- Bake the cakes for about 35-40 minutes or until the edges begin to pull away from the sides of the pan and a toothpick inserted comes out clean.
- Turn the cakes out onto a wire rack to cool completely.
For the white chocolate french buttercream:
- In a small heat-proof bowl, add the white chocolate and place it over a pot of simmering water. Stir often until fully melted. Remove the bowl from heat and set aside.
- Place the egg yolks and 24g (2 tbsp) of granulated sugar in a medium bowl or a bowl of a stand mixer fitted with a whisk attachment. Whisk on high speed until thick and foamy (about 3 minutes) while you heat the sugar and water.
- Heat the remaining 100g (½ cup) of granulated sugar and water in a small saucepan over low heat, stirring constantly until the sugar dissolves. Increase the heat to medium and bring to a boil, or until it reaches 240 degrees F.
- While the egg yolks are whisking on medium speed, slowly add the sugar syrup into the bowl. Continue mixing until the mixture has cooled down.
- Add the butter to the mixture a few cubes at a time, allowing them to fully incorporate before adding more.
- Lastly, add the cooled melted white chocolate and vanilla. Continue mixing on low speed until the buttercream is completely smooth.
For Assembly:
- Use a serrated knife to cut each cake layer in half, creating four layers.
- Place the first cake layer on a cake stand. Use a 3 tablespoon cookie scoop to add 2 scoops of buttercream and spread into an even layer. Repeat with the remaining cake layers.
- Add the last cake layer and top with a few more scoops of buttercream. Use an offset spatula to smooth out the top, and spread the excess all over the sides. Continue decorating the cake as desired.
- Decorate the cake with crushed candy cane pieces, and enjoy!
Notes
- Black cocoa powder substitute: If you do not have black cocoa powder, you can use an equal amount of dutch process cocoa powder, making it a total of 63g or ¾ cup.
- Make the cake layers ahead of time. This cake stays moist for dayyyys, so you can make ahead of time. Store at room temperature wrapped tightly and stored in an airtight container for 1-2 days or in the freezer for up to 3 months. If frozen, be sure to leave the cake layers out a room temperature overnight, then decorate the next day.
- No need for cake strips! These cake layers bake up perfectly flat, so there's no need to add cake strips on the pans.
- Use a cookie scoop to assemble the cake. Use a 3 tablespoon cookie scoop to add an equal amount of frosting to each layer.

Carol says
hello...Is it just that for 200g of butter and sugar? 120g flour?
Sloane says
The ingredients in the recipe card are accurate 🙂