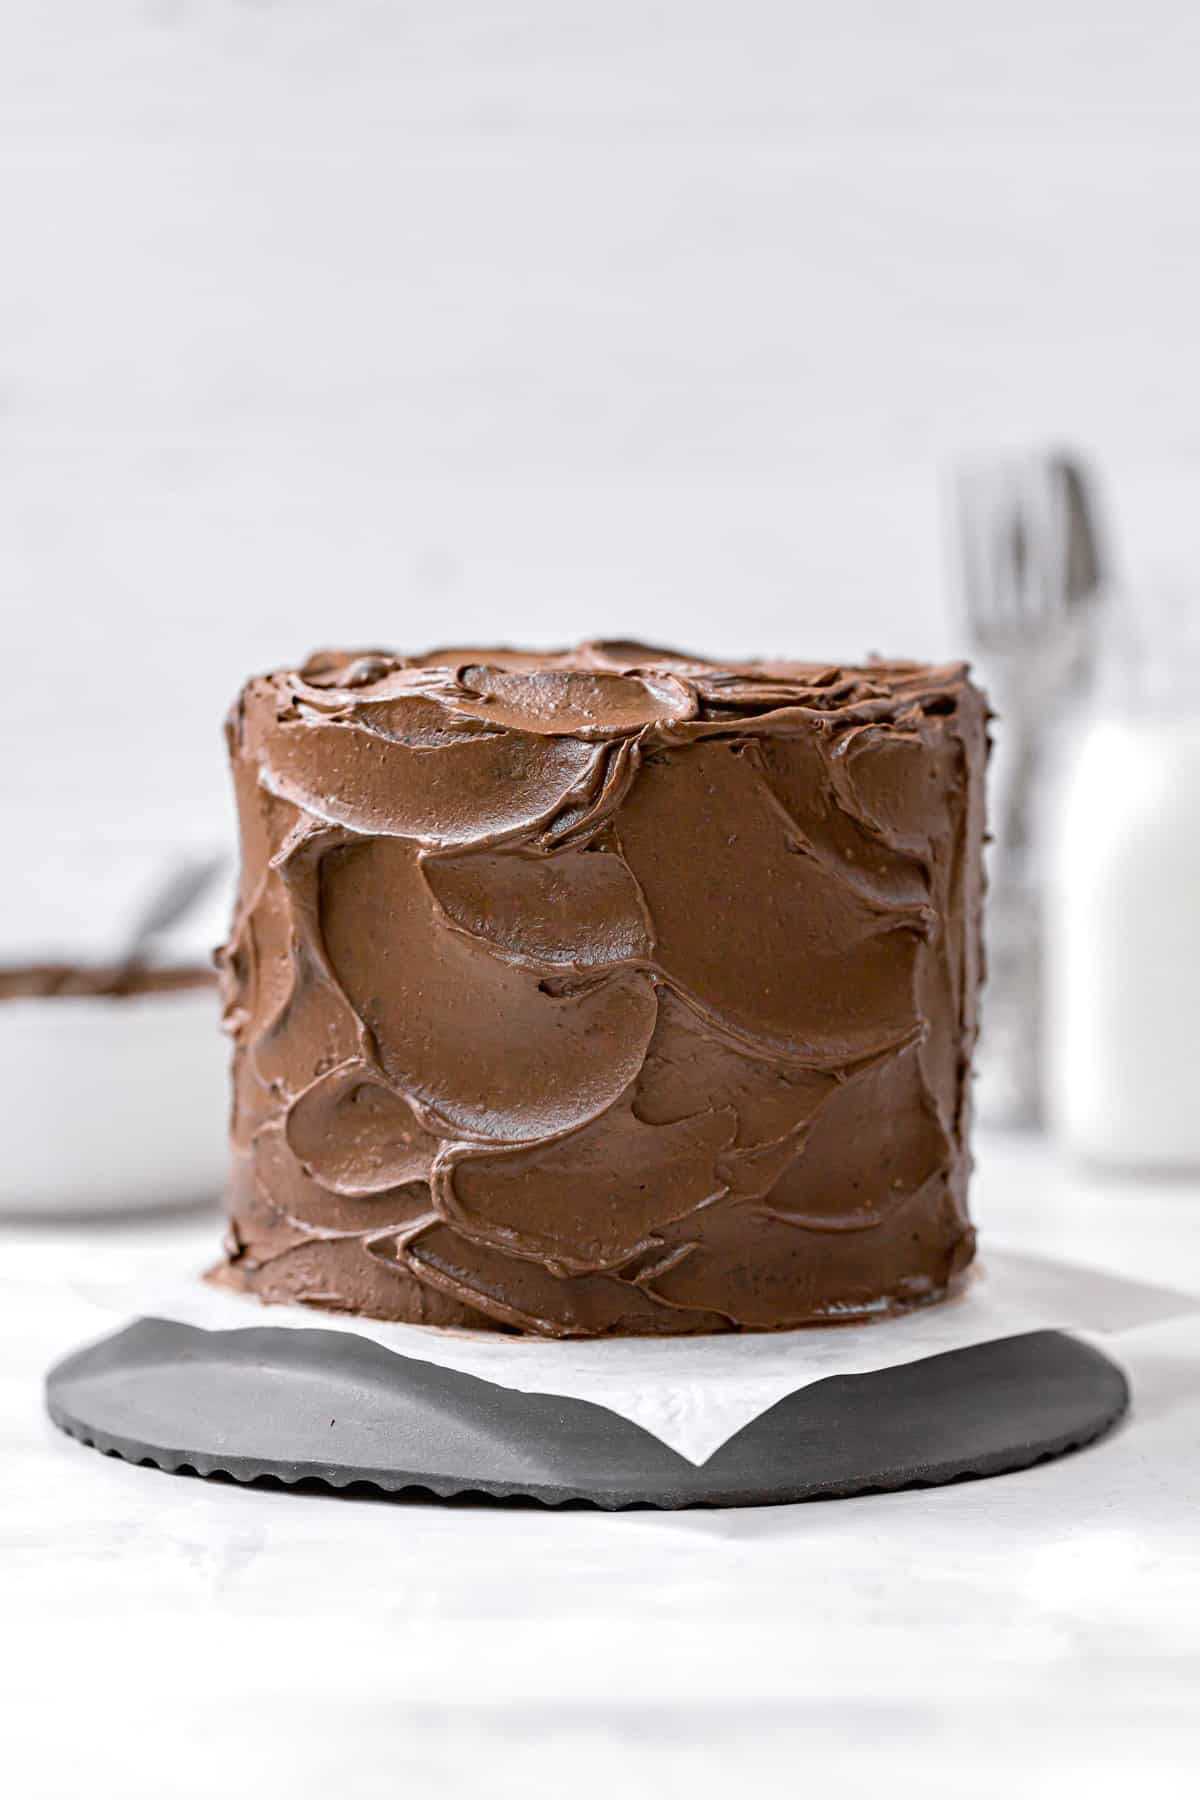
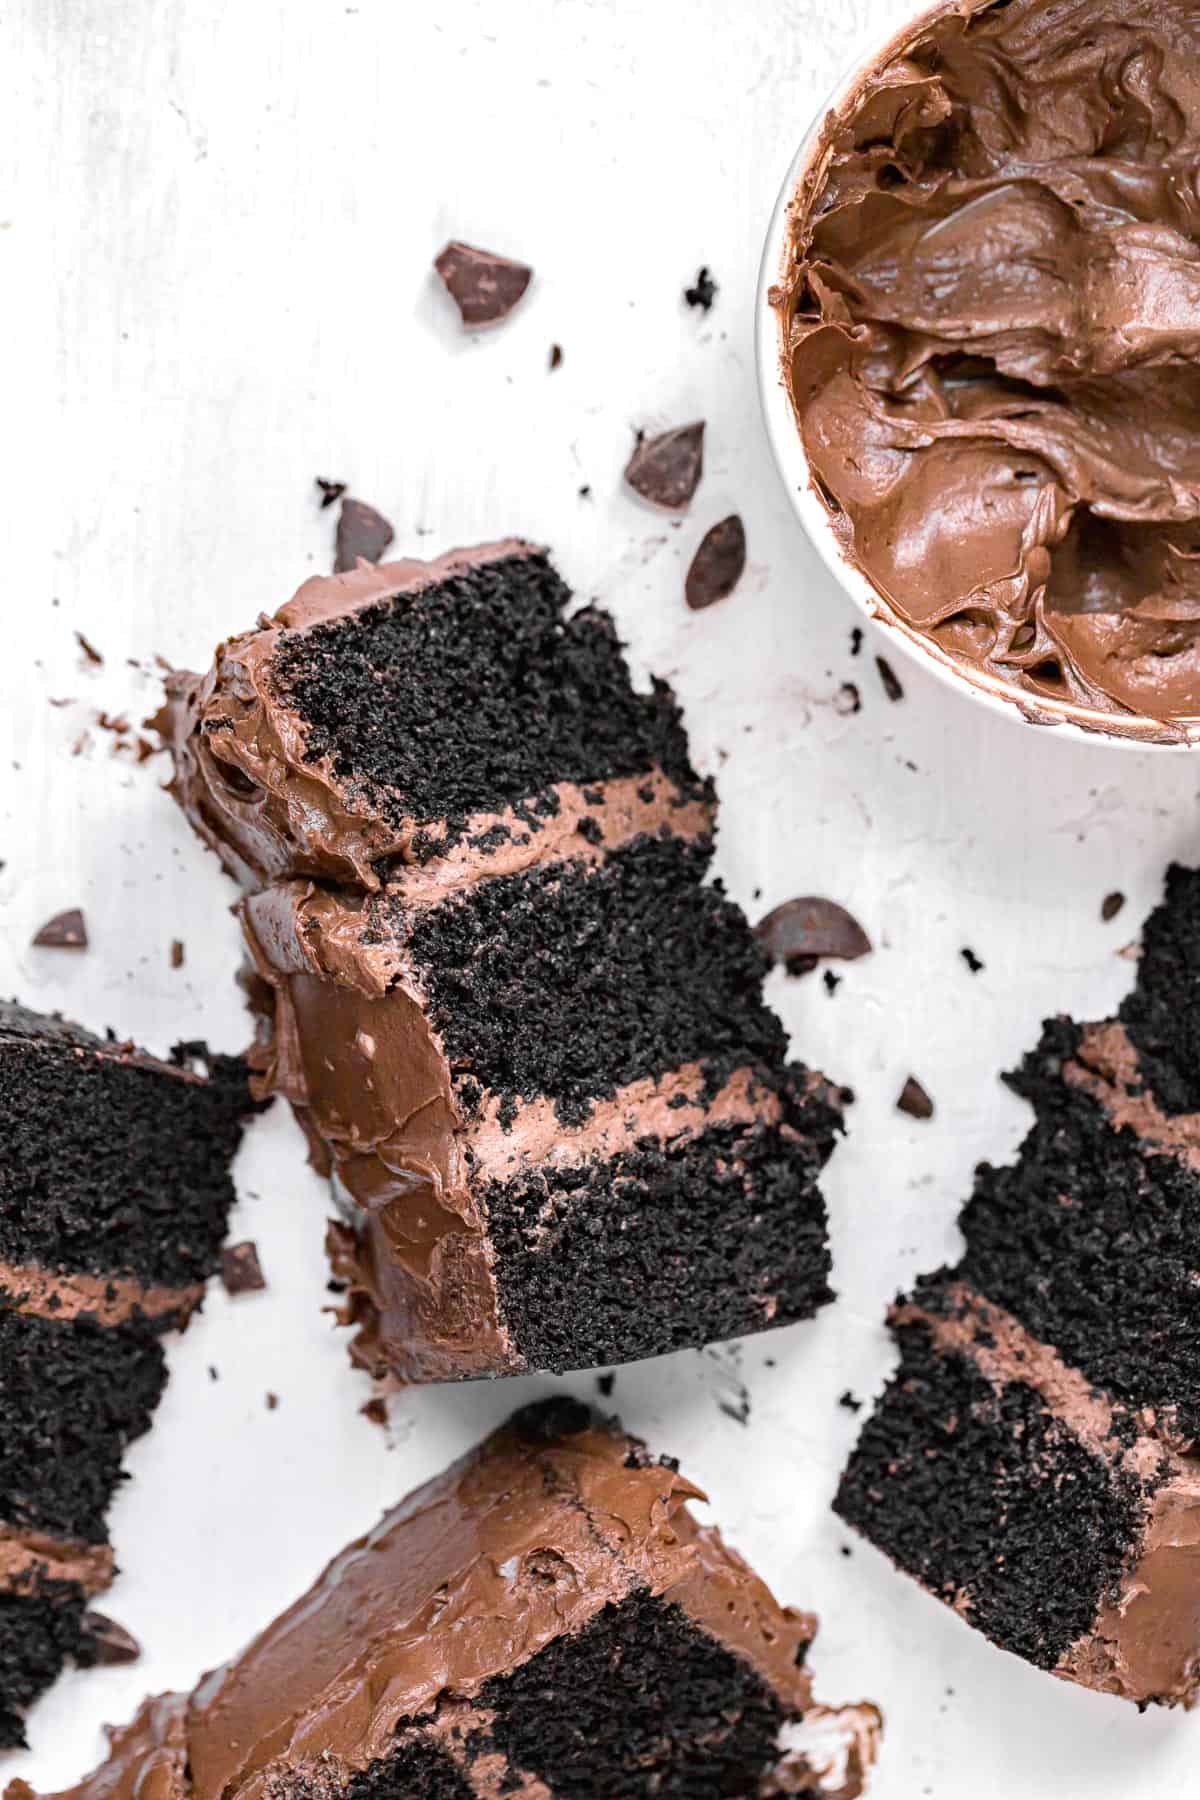
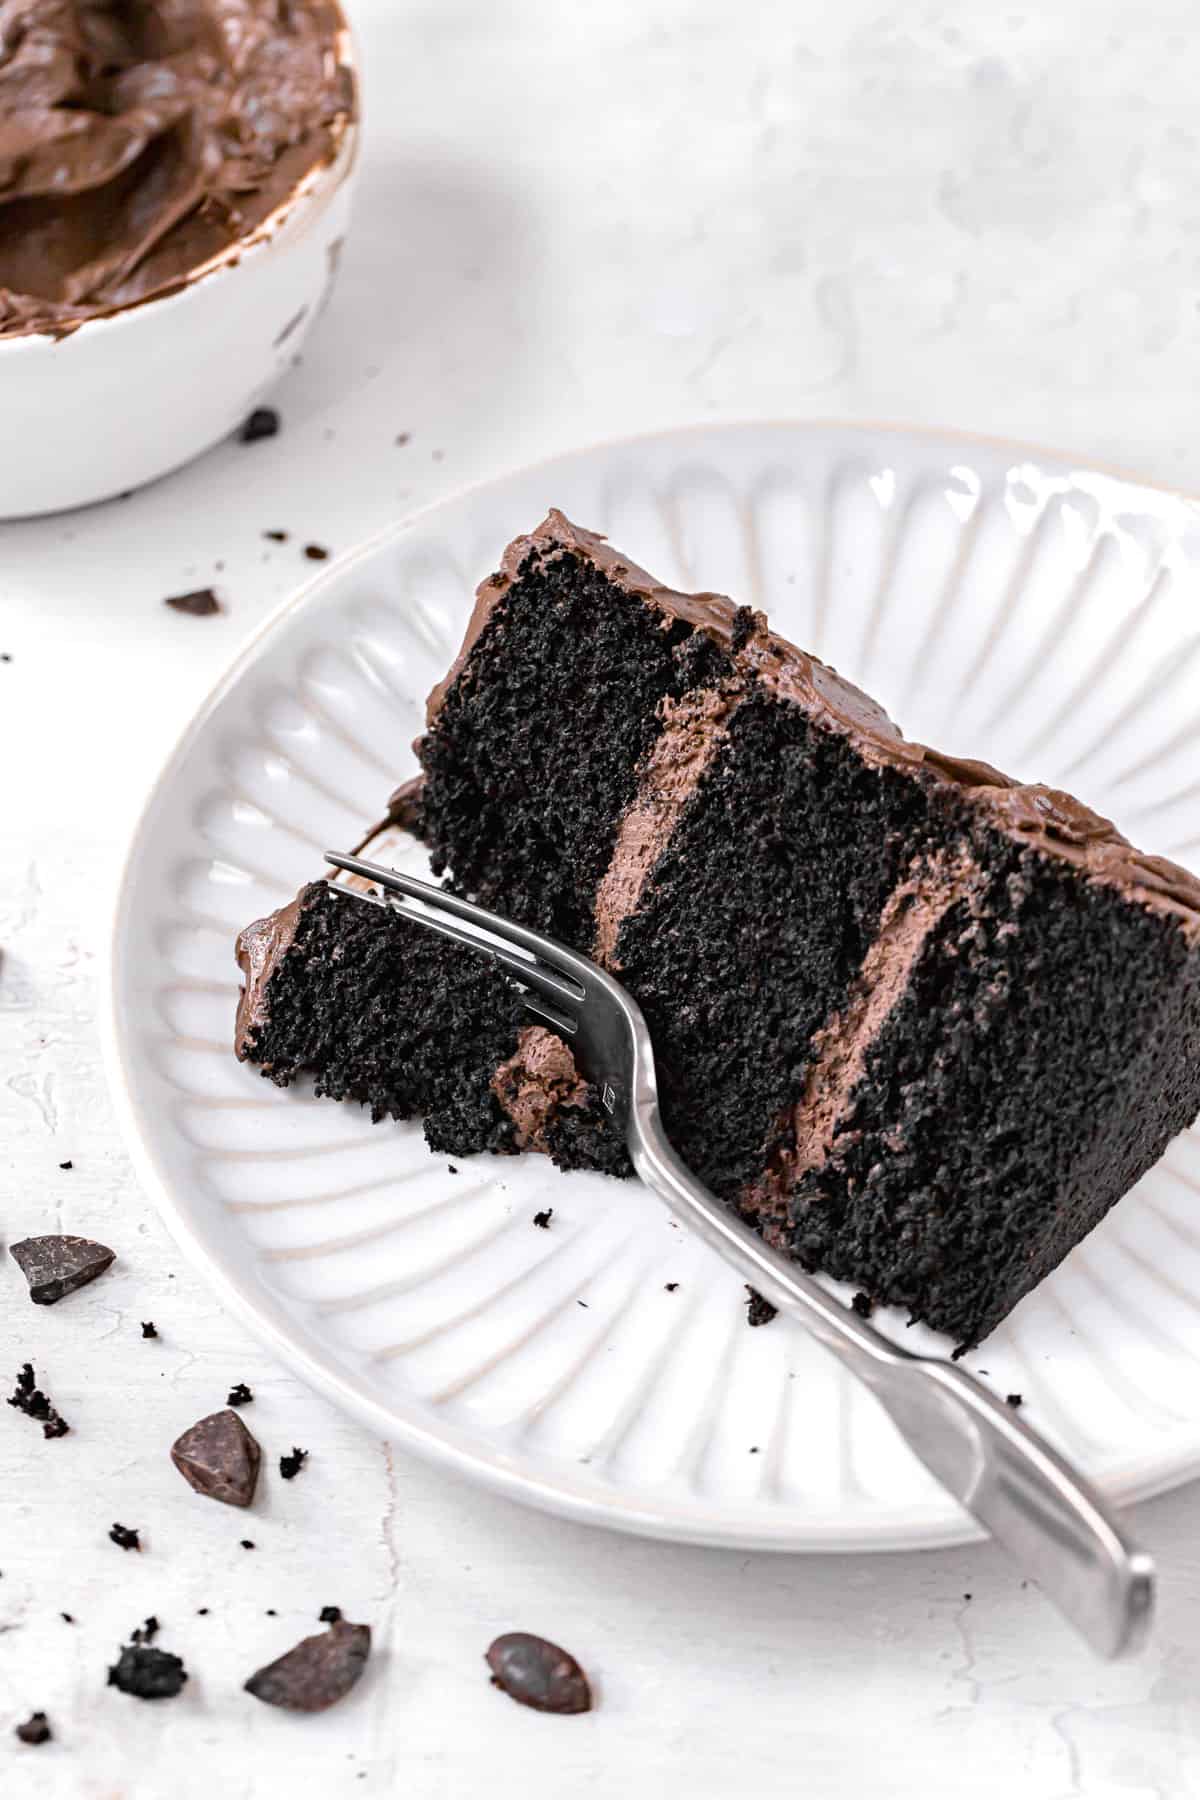
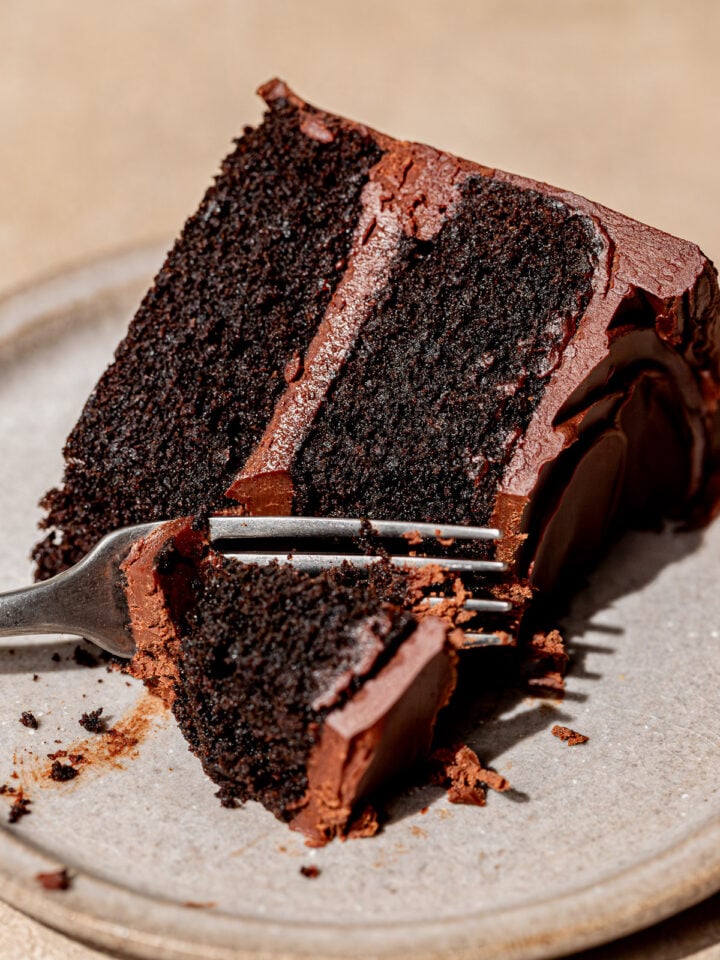
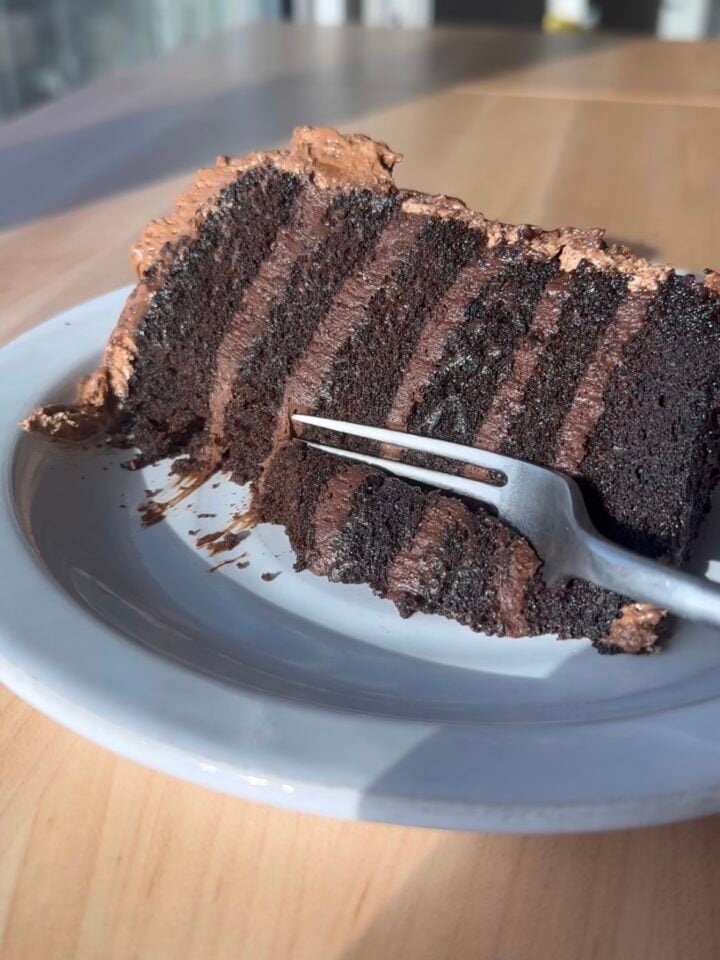
This black velvet cake has all of the best qualities of red velvet cake - velvety smooth texture, light crumb, and irresistible flavor - but with an intensified chocolate flavor and color.
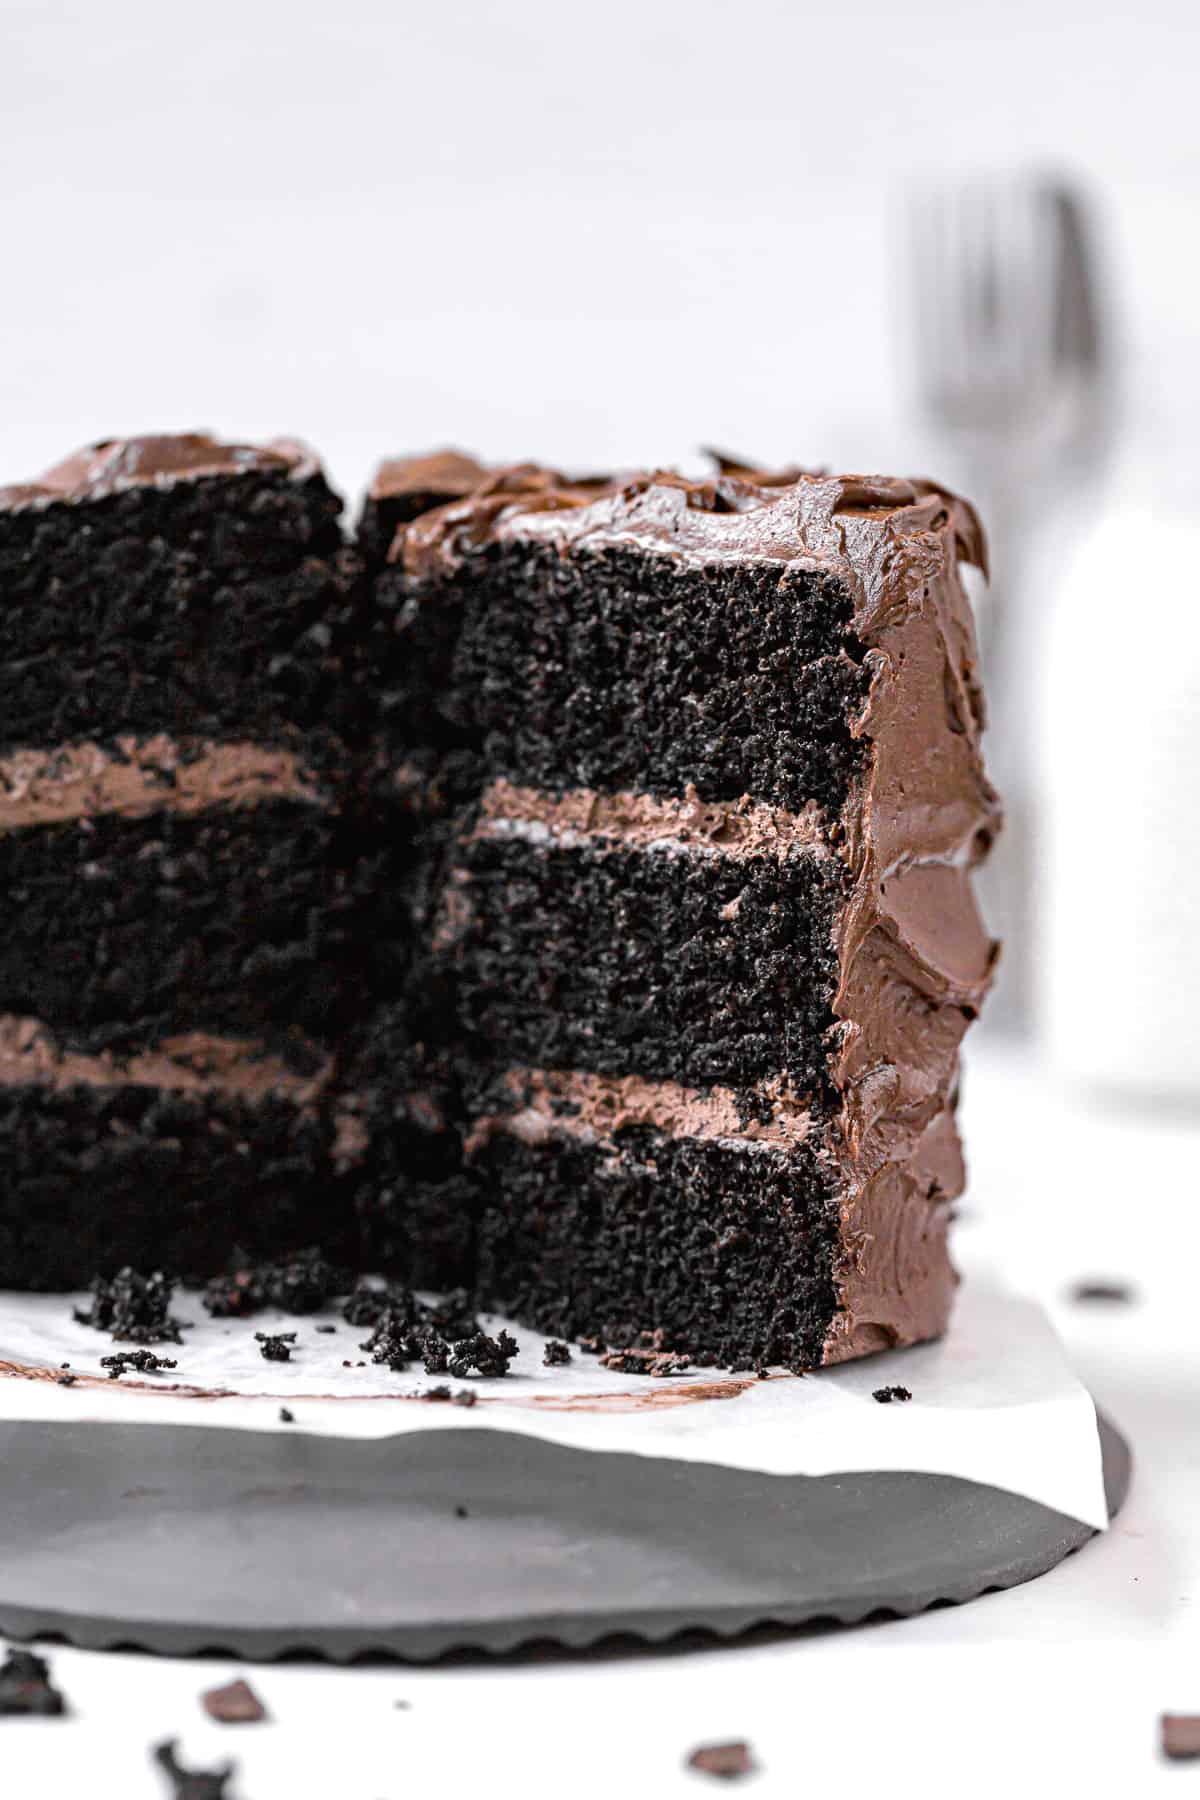
The iconic rich, dark color of this cake comes from the addition of black cocoa powder. I paired this cake with a smooth chocolate buttercream made with both dutch process cocoa powder and black cocoa powder. Enjoy this cake for a birthday, celebration, or just about anything that calls for a slice of cake!
For more decadent cake recipes, try Chocolate Tiramisu Cake, Ultimate Chocolate Fudge Cake, Graham Cracker S'mores Cake, and Fudgy Chocolate Espresso Bundt Cake.
Jump to Recipe
Ingredient Notes
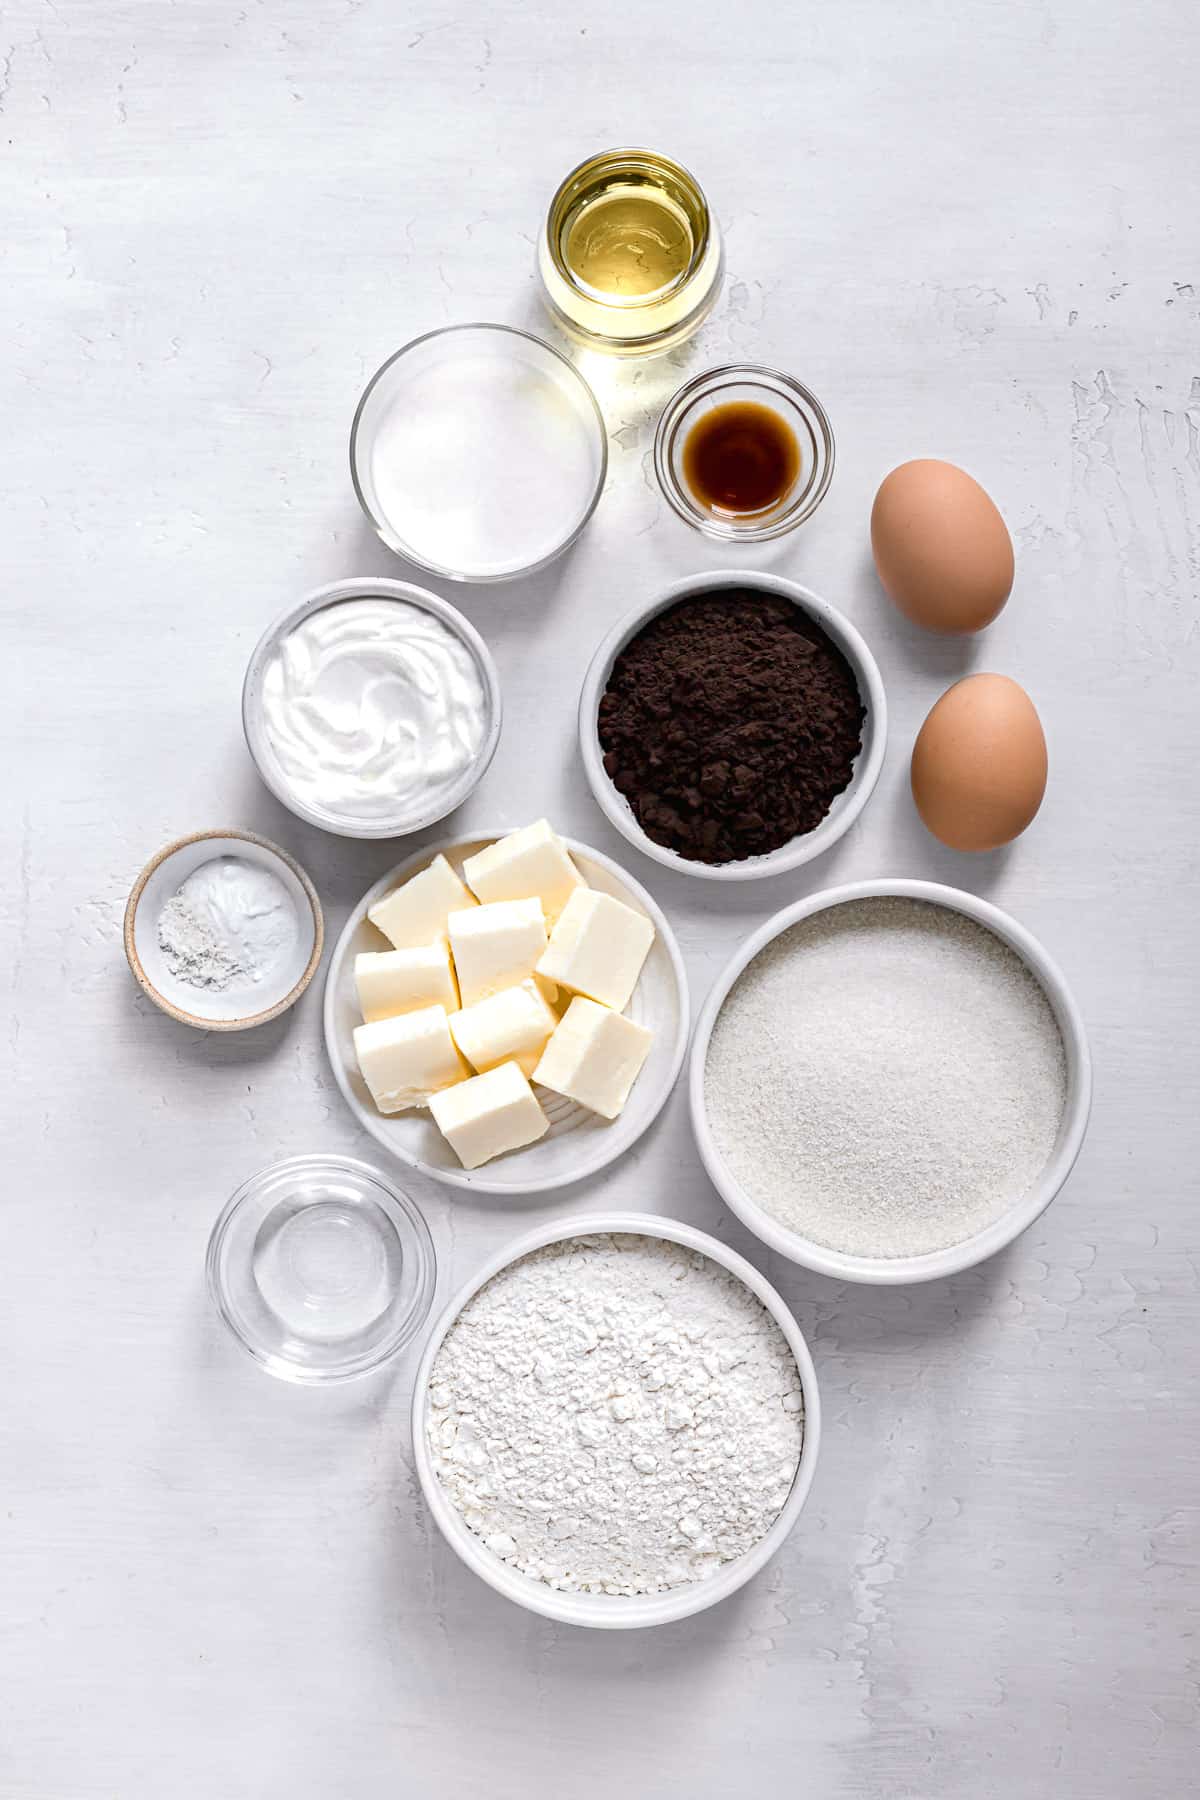
- All-Purpose Flour: You'll need about two cups of unbleached all-purpose flour.
- Cocoa Powder: Black cocoa powder is what gives this cake a rich, dark color and flavor!
- Baking Soda: Be sure your baking soda is fresh by testing a small amount in vinegar.
- Salt: Add a little bit of salt to enhance the flavors in the cake.
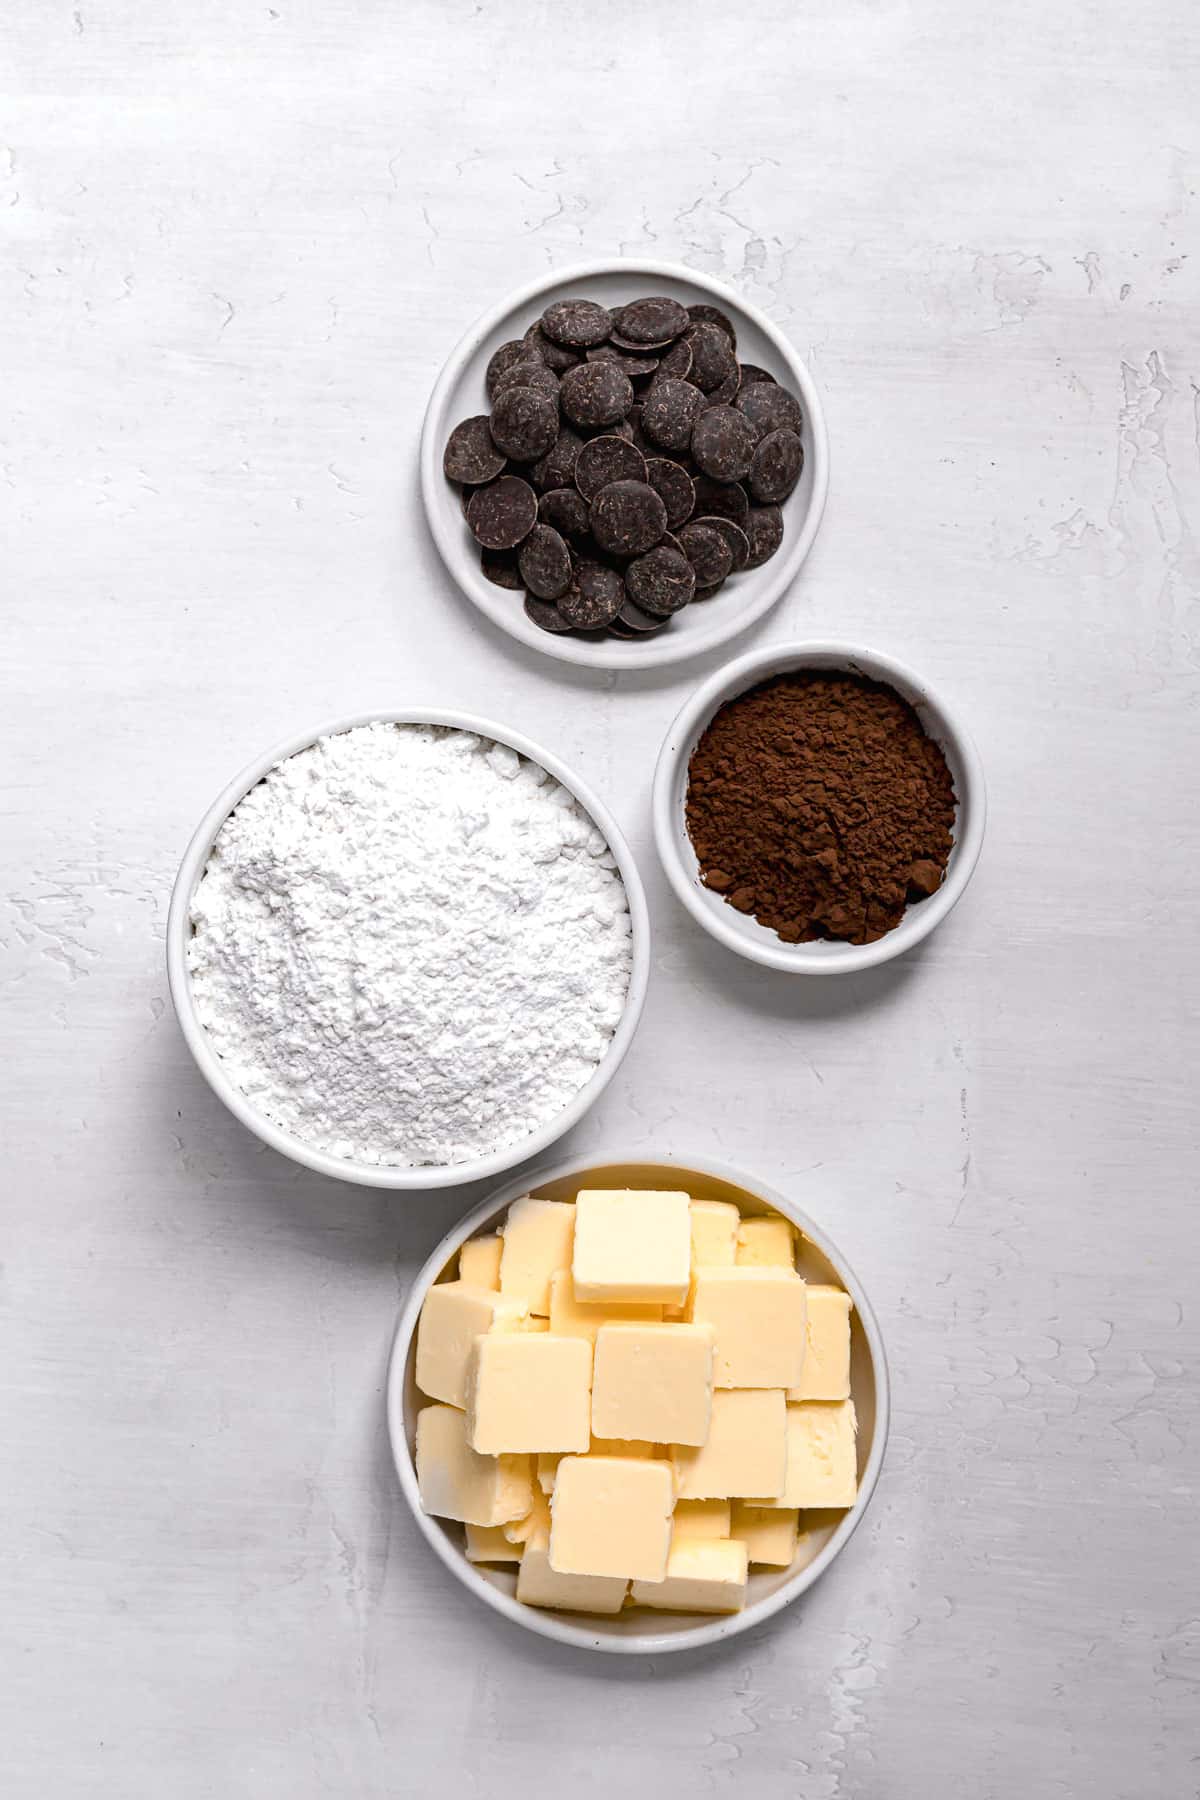
- Unsalted Butter: You'll need one stick for the cake and three sticks for the frosting.
- Granulated Sugar: The sugar will be mixed in with the butter, but do not over beat it!
- Neutral Oil: Using both oil and butter gives this cake a super moist texture without losing out on the butter taste.
- Eggs: Bring your eggs to room temperature quickly by placing them a bowl of warm water.
- Buttermilk: Buttermilk is key to a good velvet cake recipe. It adds moisture and lovely tangy flavor that makes this black velvet cake so unique.
- Plain Whole Milk Greek Yogurt: Instead of a full cup of buttermilk, you'll need a half cup with a half cup of yogurt. Yogurt adds even more moisture and still gives the cake that tangy flavor. You can use a full cup of buttermilk if you would like, but I feel that the addition of yogurt really takes this cake over the top.
- Vanilla Extract: Always need a good amount of quality vanilla to make an outstanding cake!
- Distilled White Vinegar: Vinegar helps to activate the baking soda to ensure the cake rises well.
- Powdered Sugar: Add the powdered sugar slowly when making the frosting to avoid making a huge mess. Add more or less depending on the level of sweetness you like.
See recipe card for full information on ingredients and individual quantities.
Step by Step Instructions
Here are step by step photos and instructions on how to make this black velvet cake recipe! For the full ingredient list and method, see the recipe card at the end of this post.
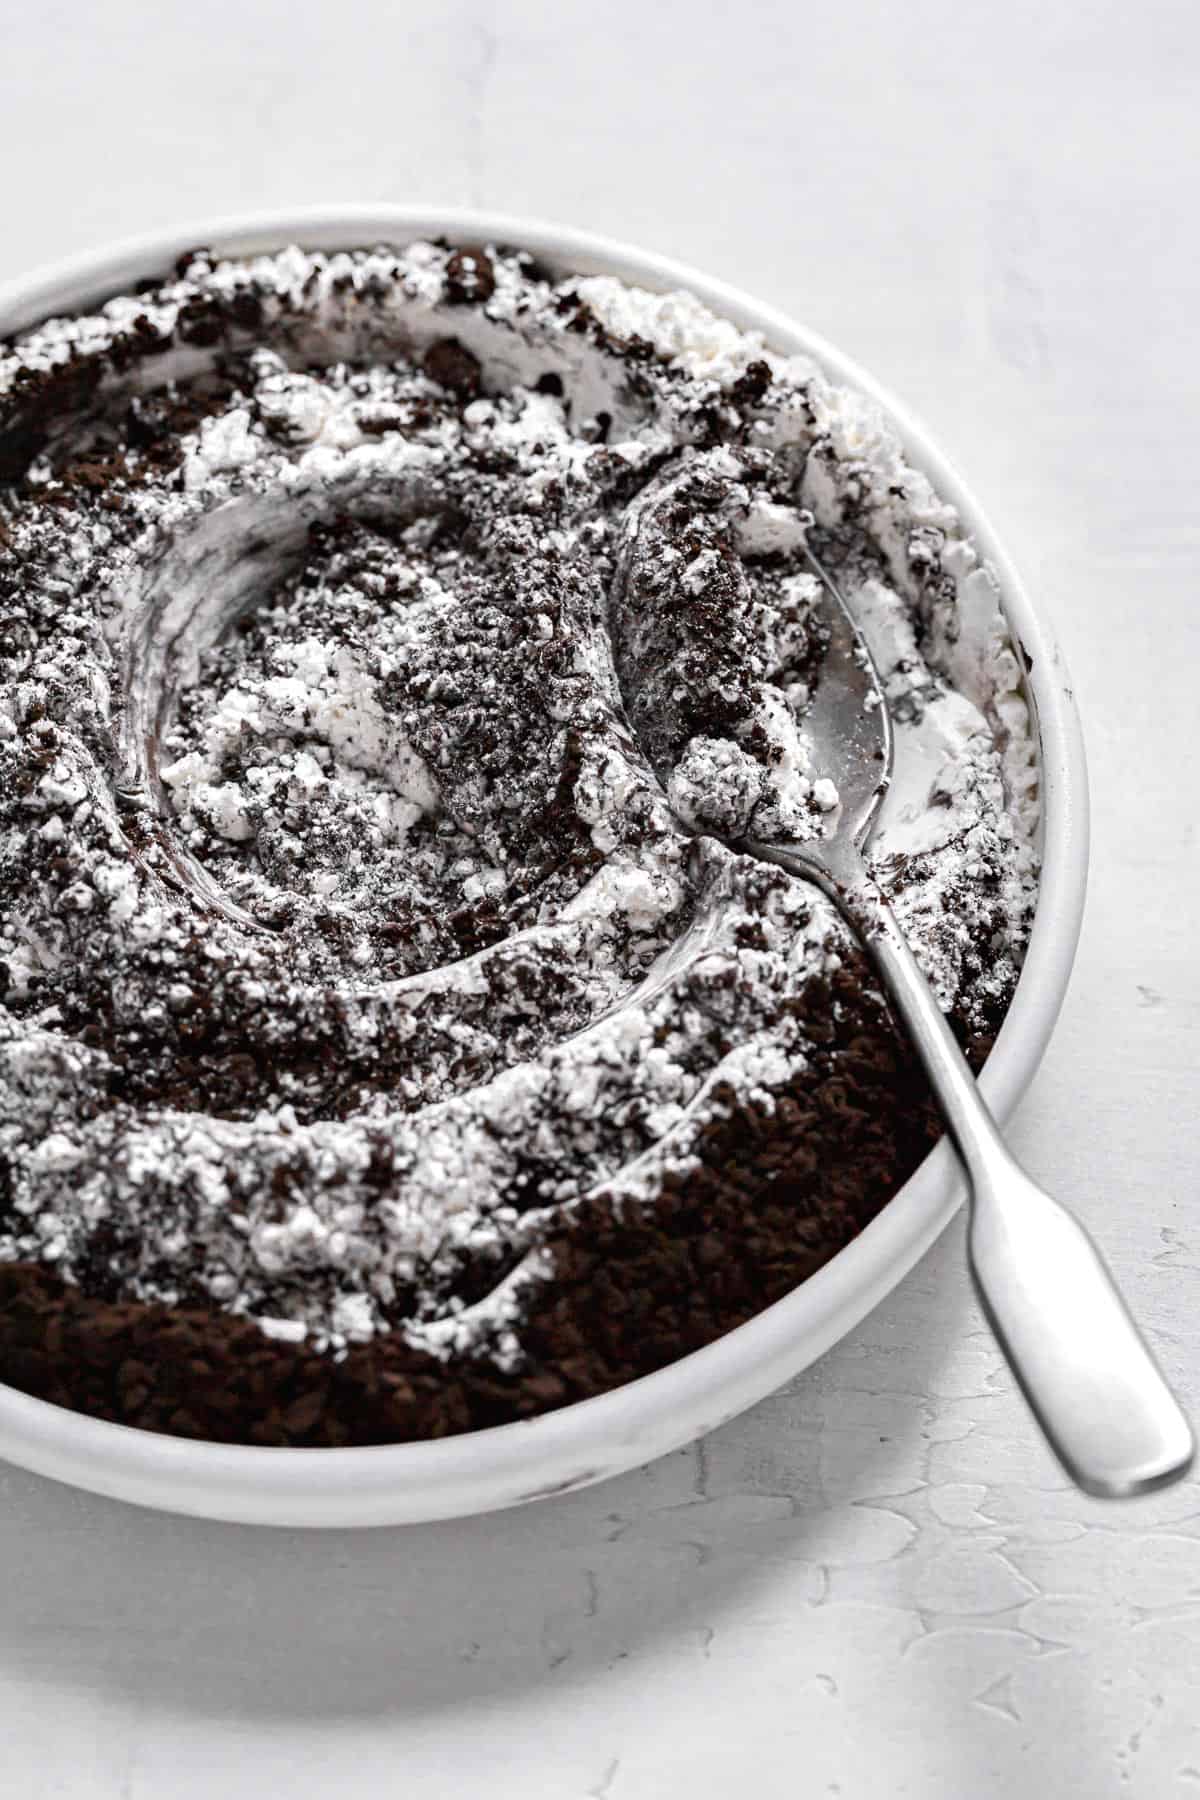
STEP 1: Mix dry ingredients. In a medium bowl, whisk together the flour, black cocoa powder, baking soda, and salt. Set aside.
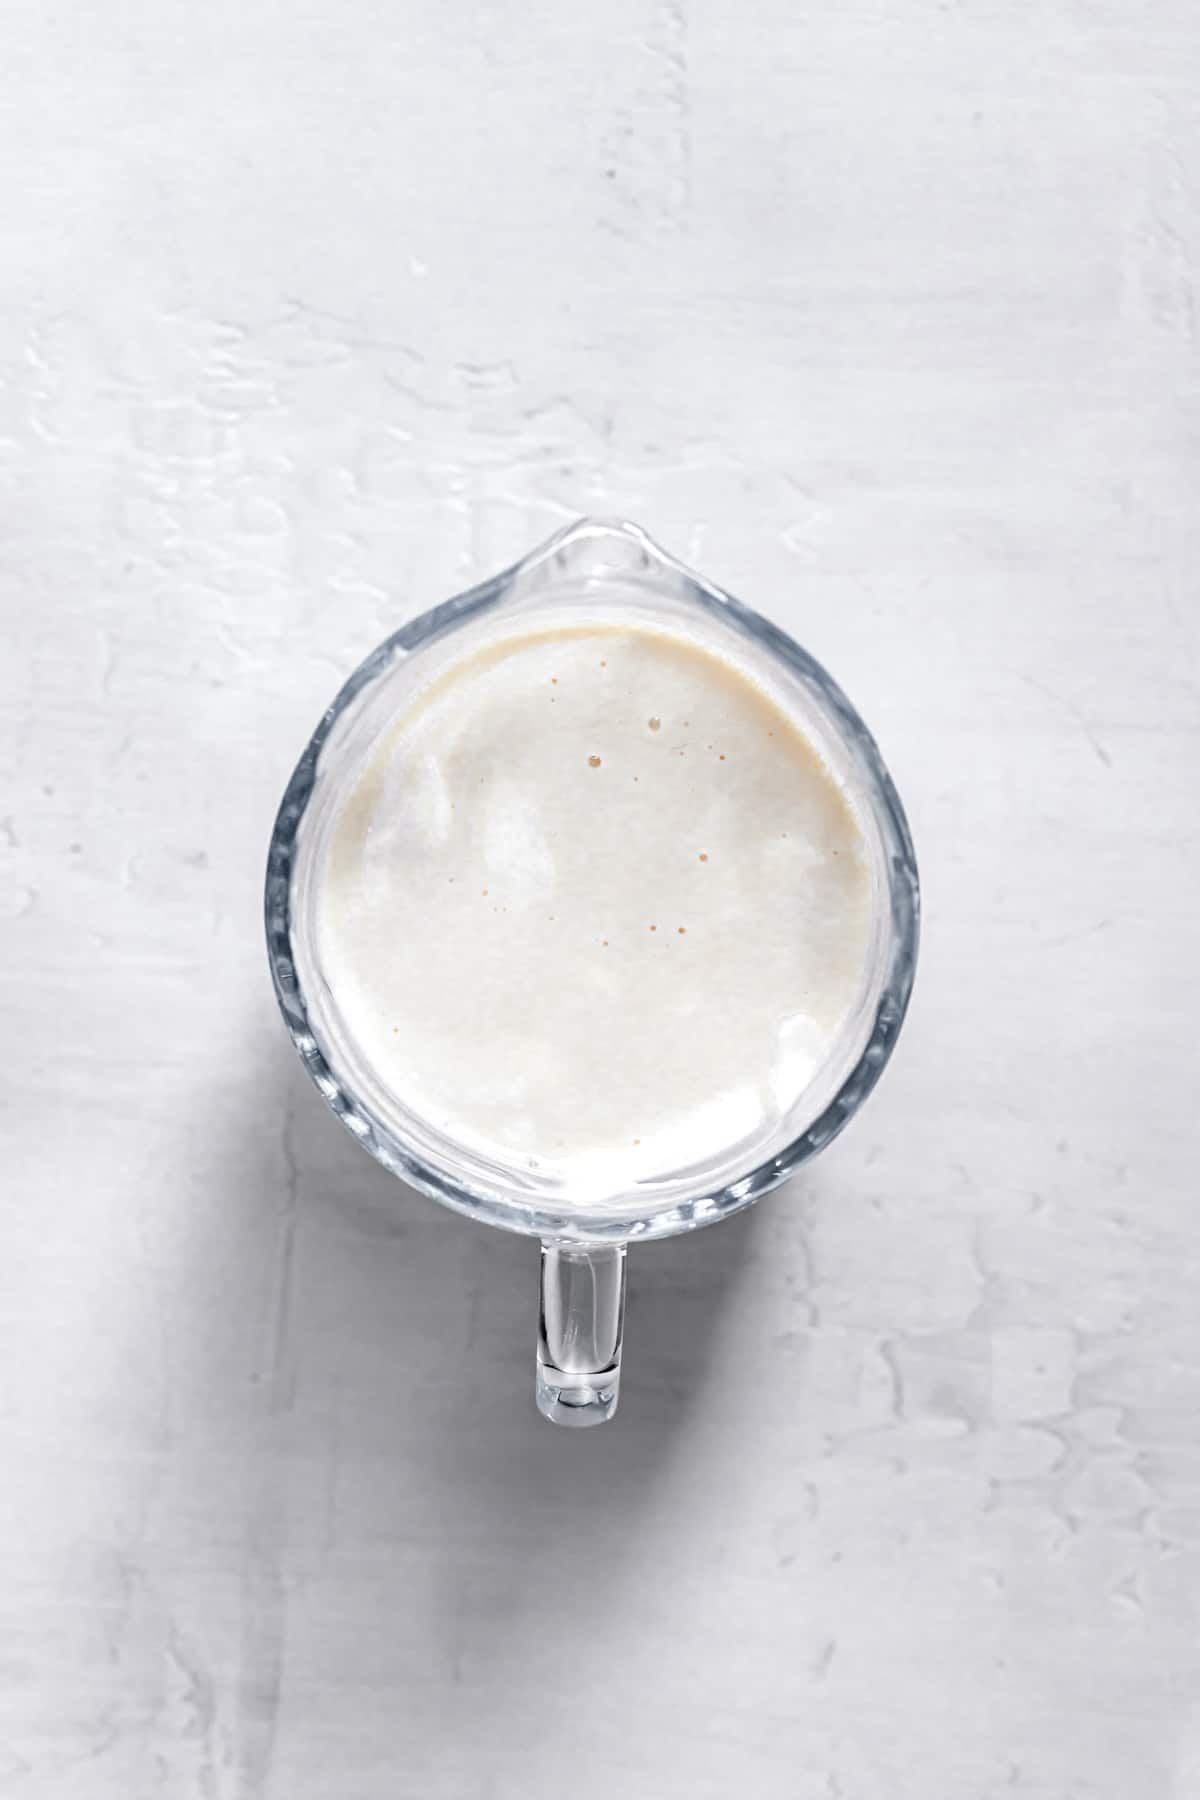
STEP 2: Mix wet ingredients. In a large glass measuring cup, combine the buttermilk and yogurt and warm in the microwave for about 20 seconds or so to bring to room temp. Stir in the vanilla and vinegar. Set aside.
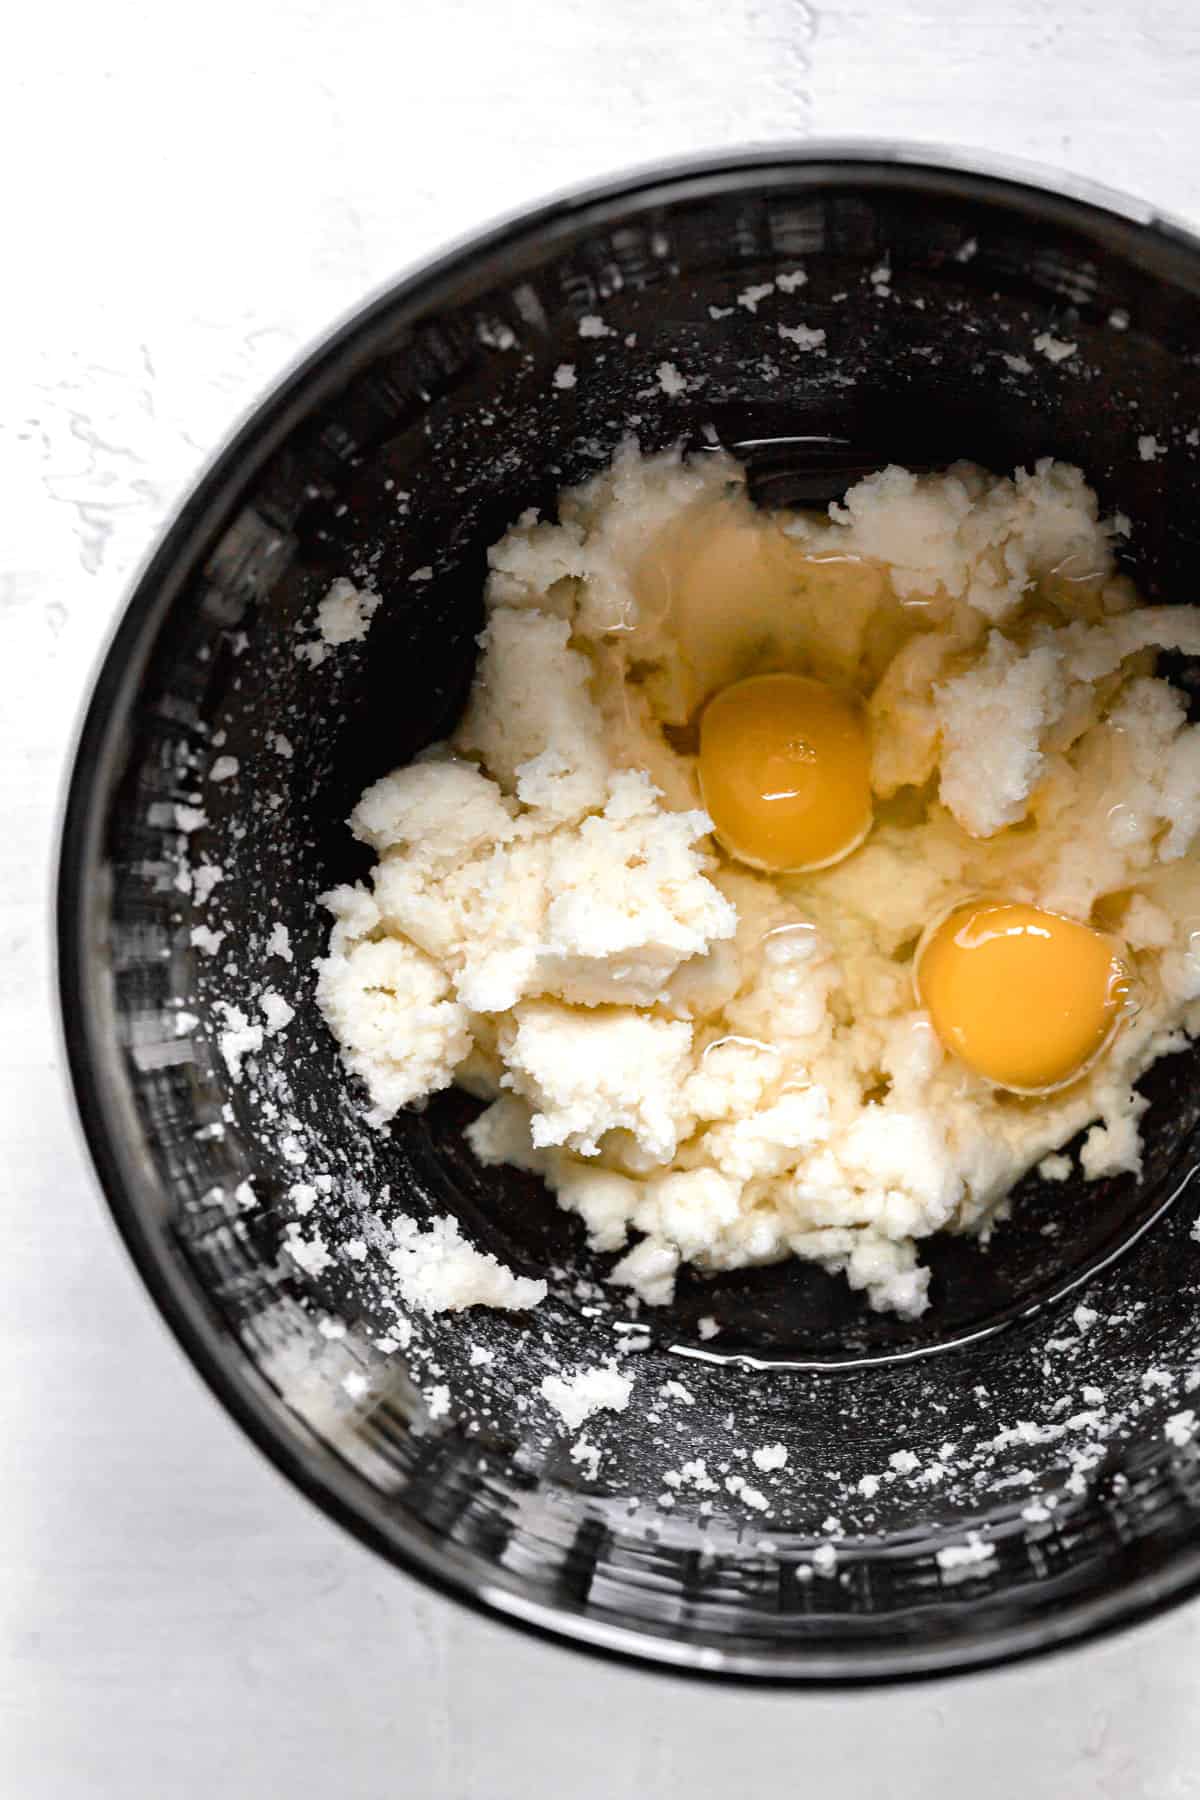
STEP 3: Cream the butter and sugars. In a bowl of a stand mixer fitted with a paddle attachment, beat the butter and sugar together on medium-high speed until fully combined. Pour in the vegetable oil and egg yolks and beat until completely combined. Scrape down the bowl to ensure everything is evenly incorporated.
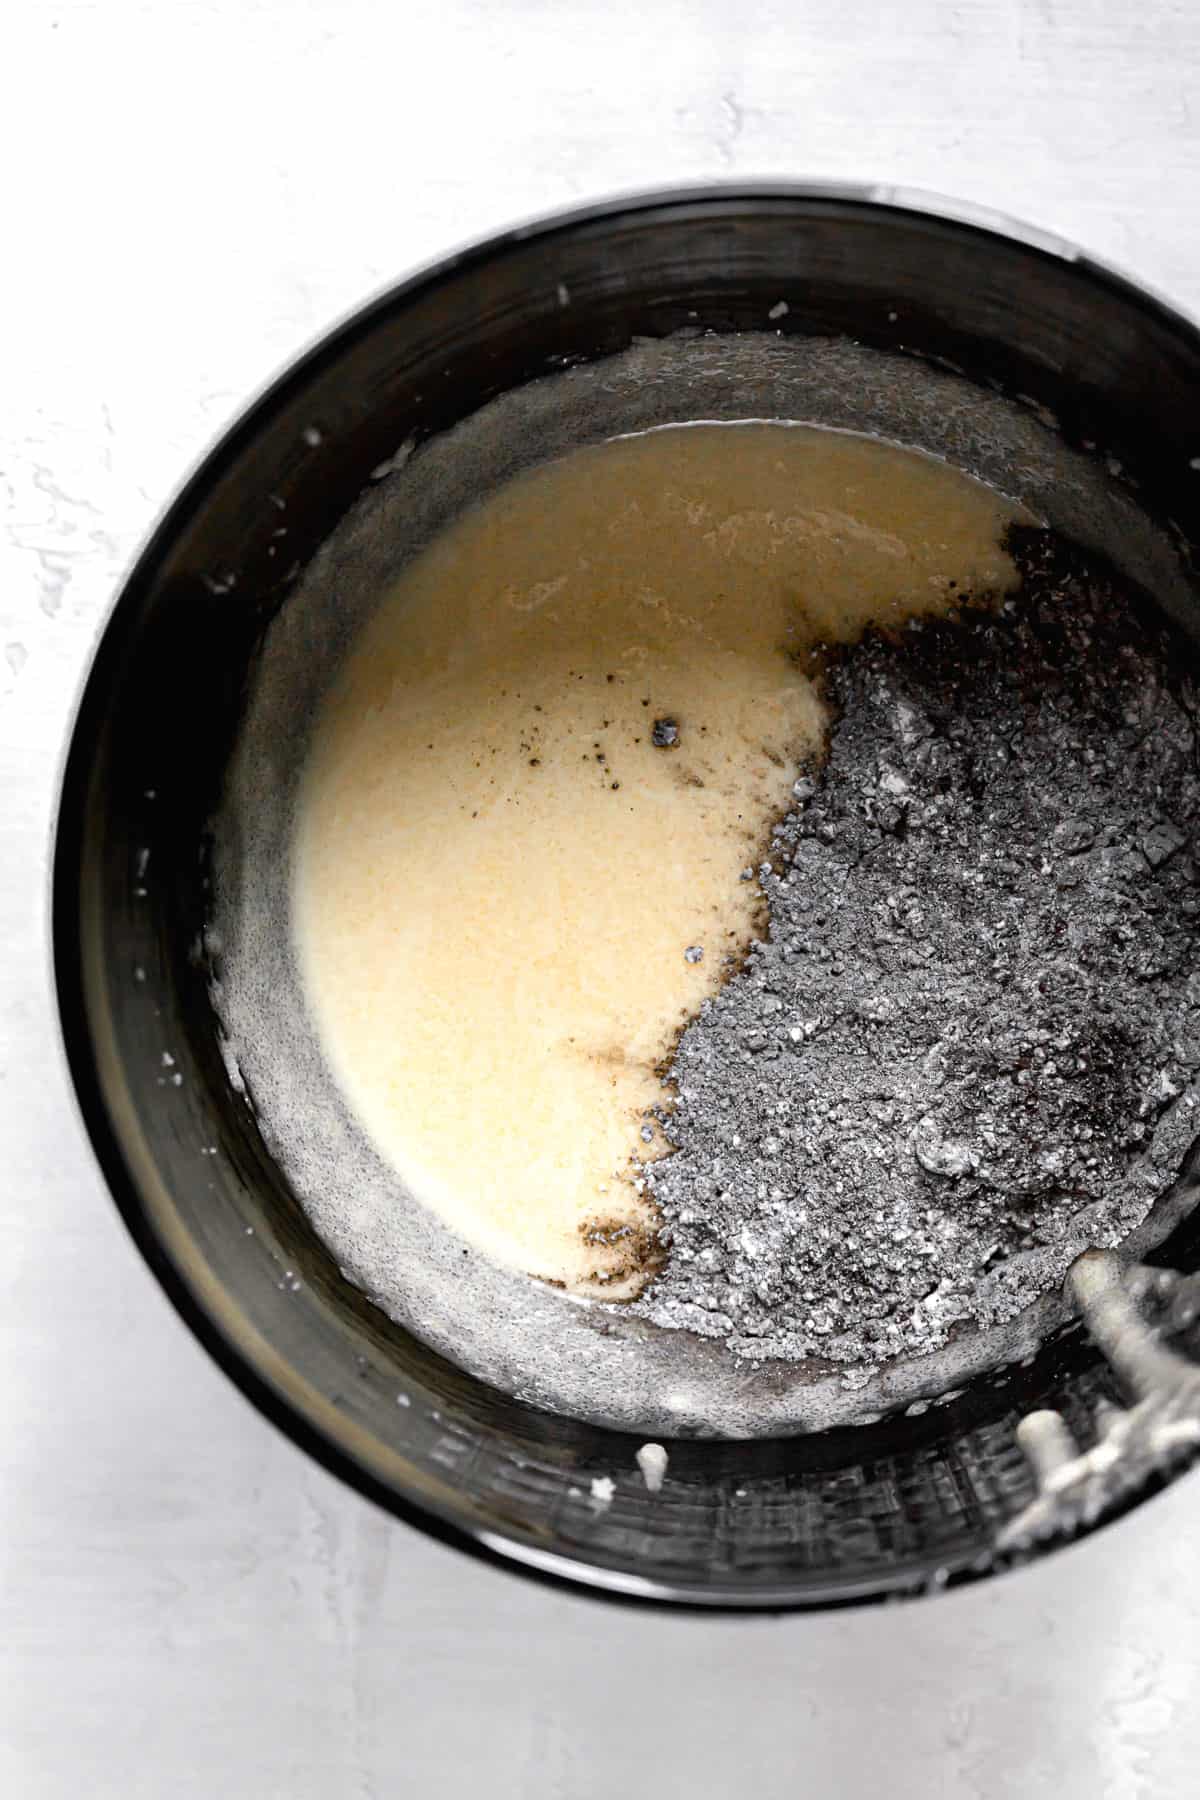
STEP 4: Alternate wet and dry ingredients. Next, alternate adding the flour mixture and buttermilk mixture in thirds as the stand mixer mixes on low speed. Mix until just combined. Scrape down the bowl with a rubber spatula to ensure everything is evenly incorporated.
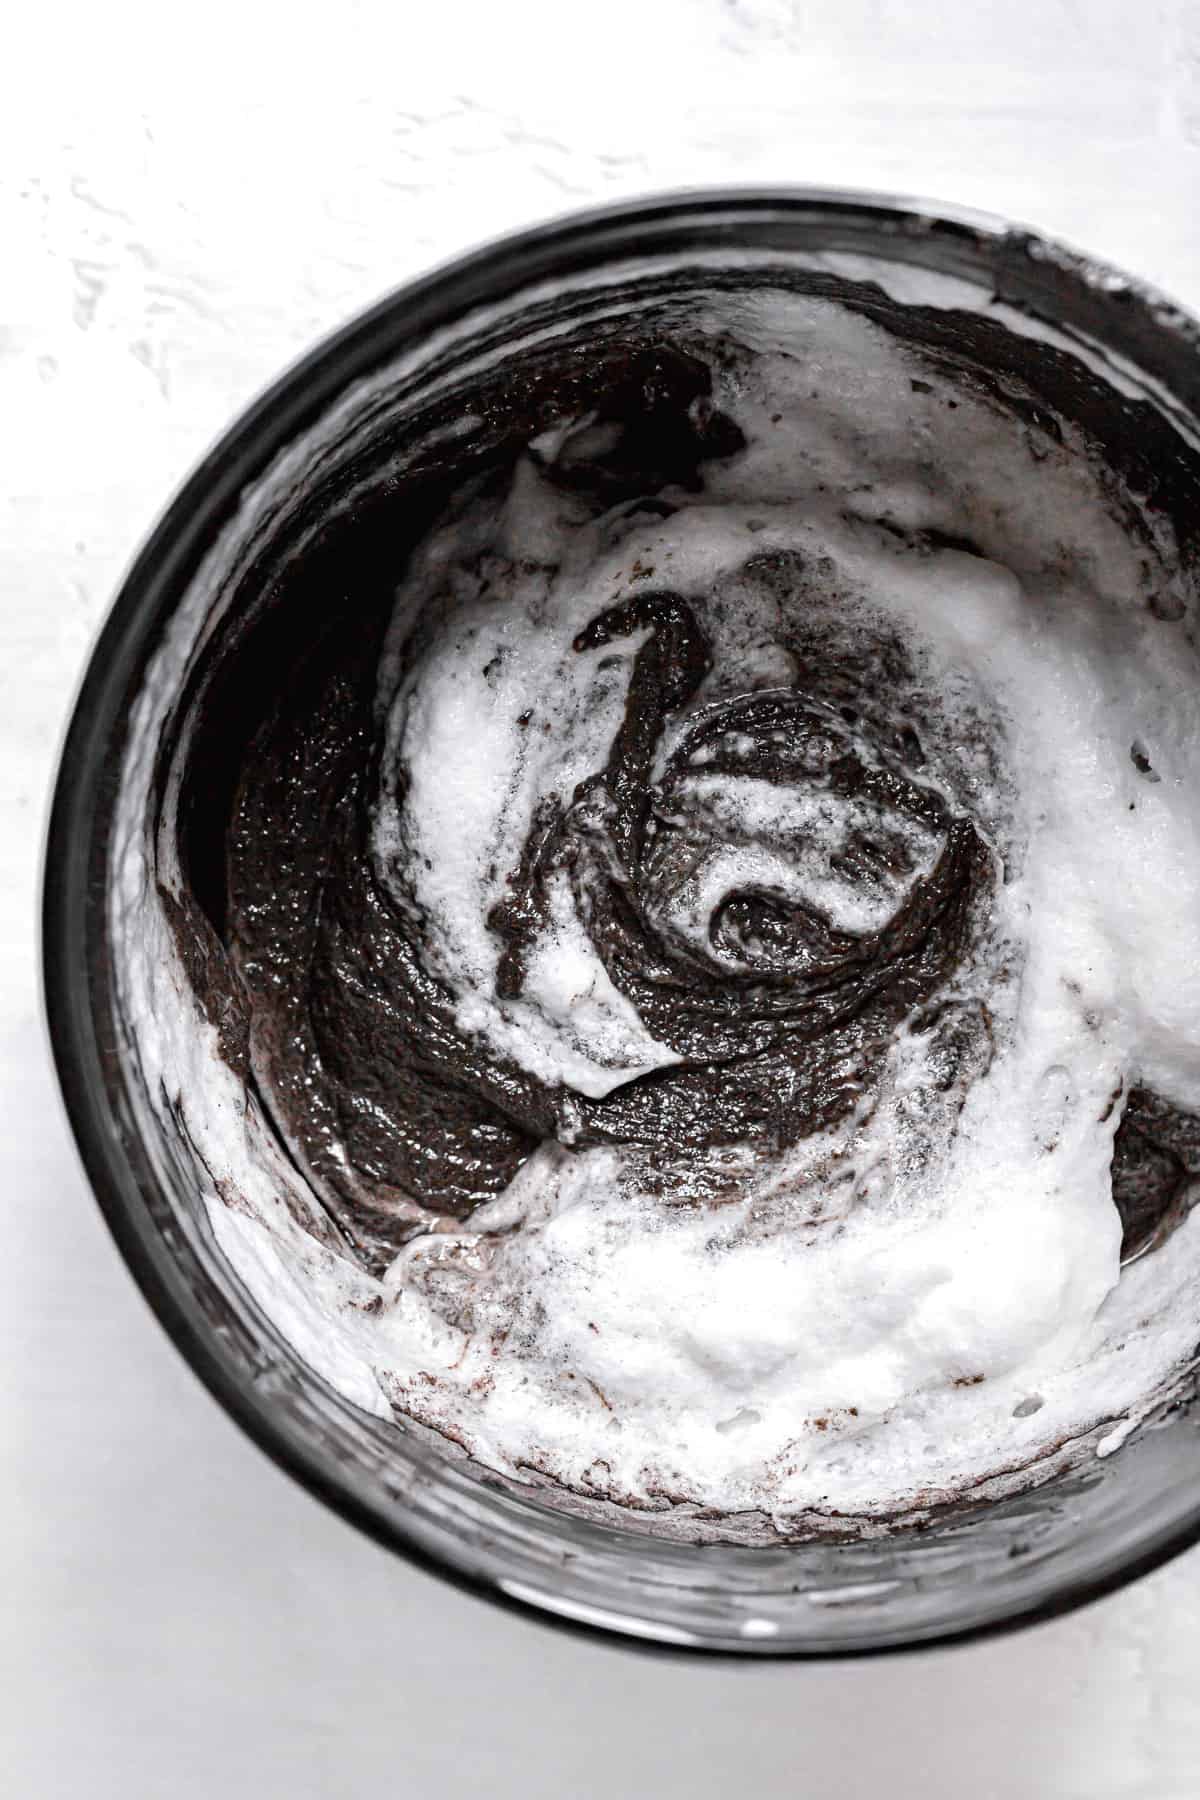
STEP 5: Whip and fold egg whites. In a medium bowl, whip the egg whites to stiff peaks. Gently fold the whipped egg whites into the batter until fully combined.
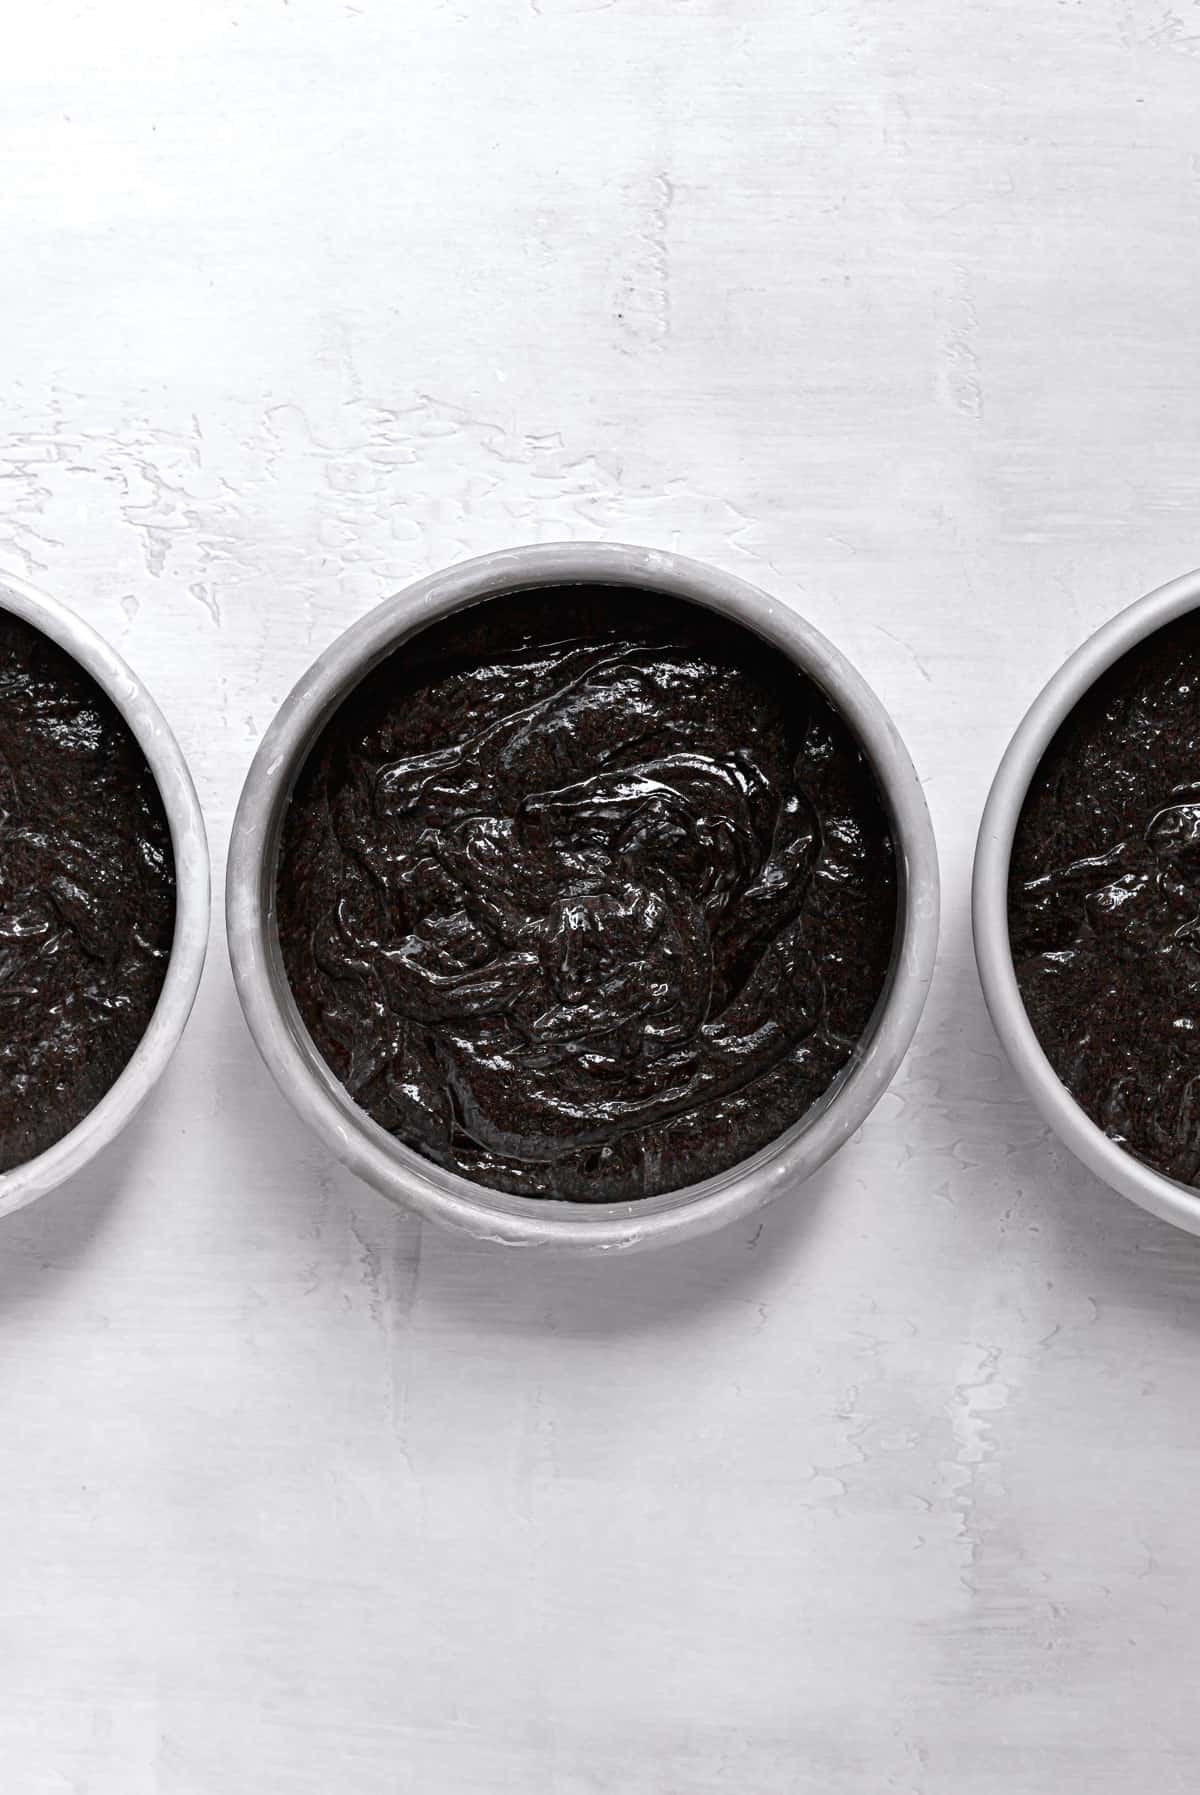
STEP 6: Pour the batter. Pour batter into the three cake pans, using a kitchen scale to distribute the batter evenly.
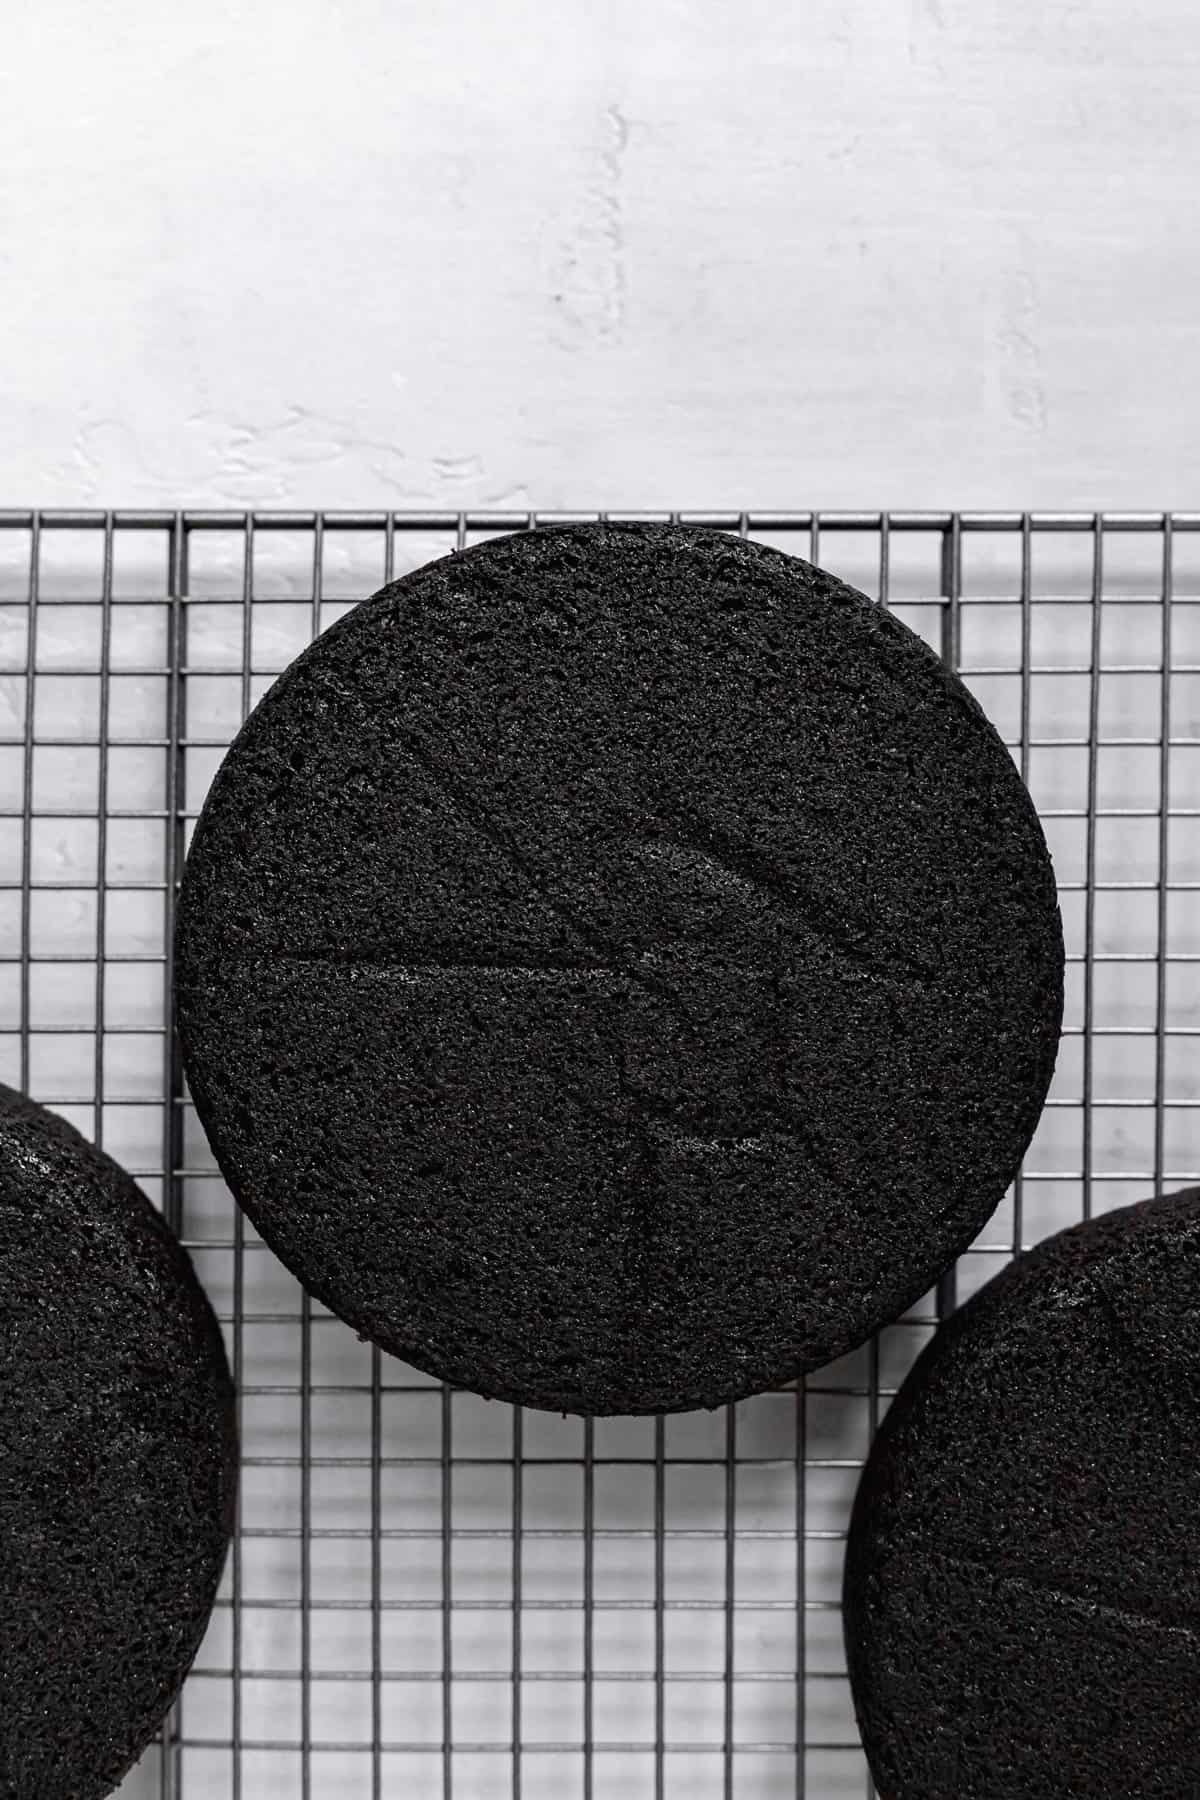
STEP 7: Bake. Bake the cakes for 25-30 minutes or until the top of the cakes spring back when you touch them and the cakes begin to pull away from the sides of the pans. Allow cakes to cool for 10 minutes in the pans, then turn them out onto cooling racks to cool completely.
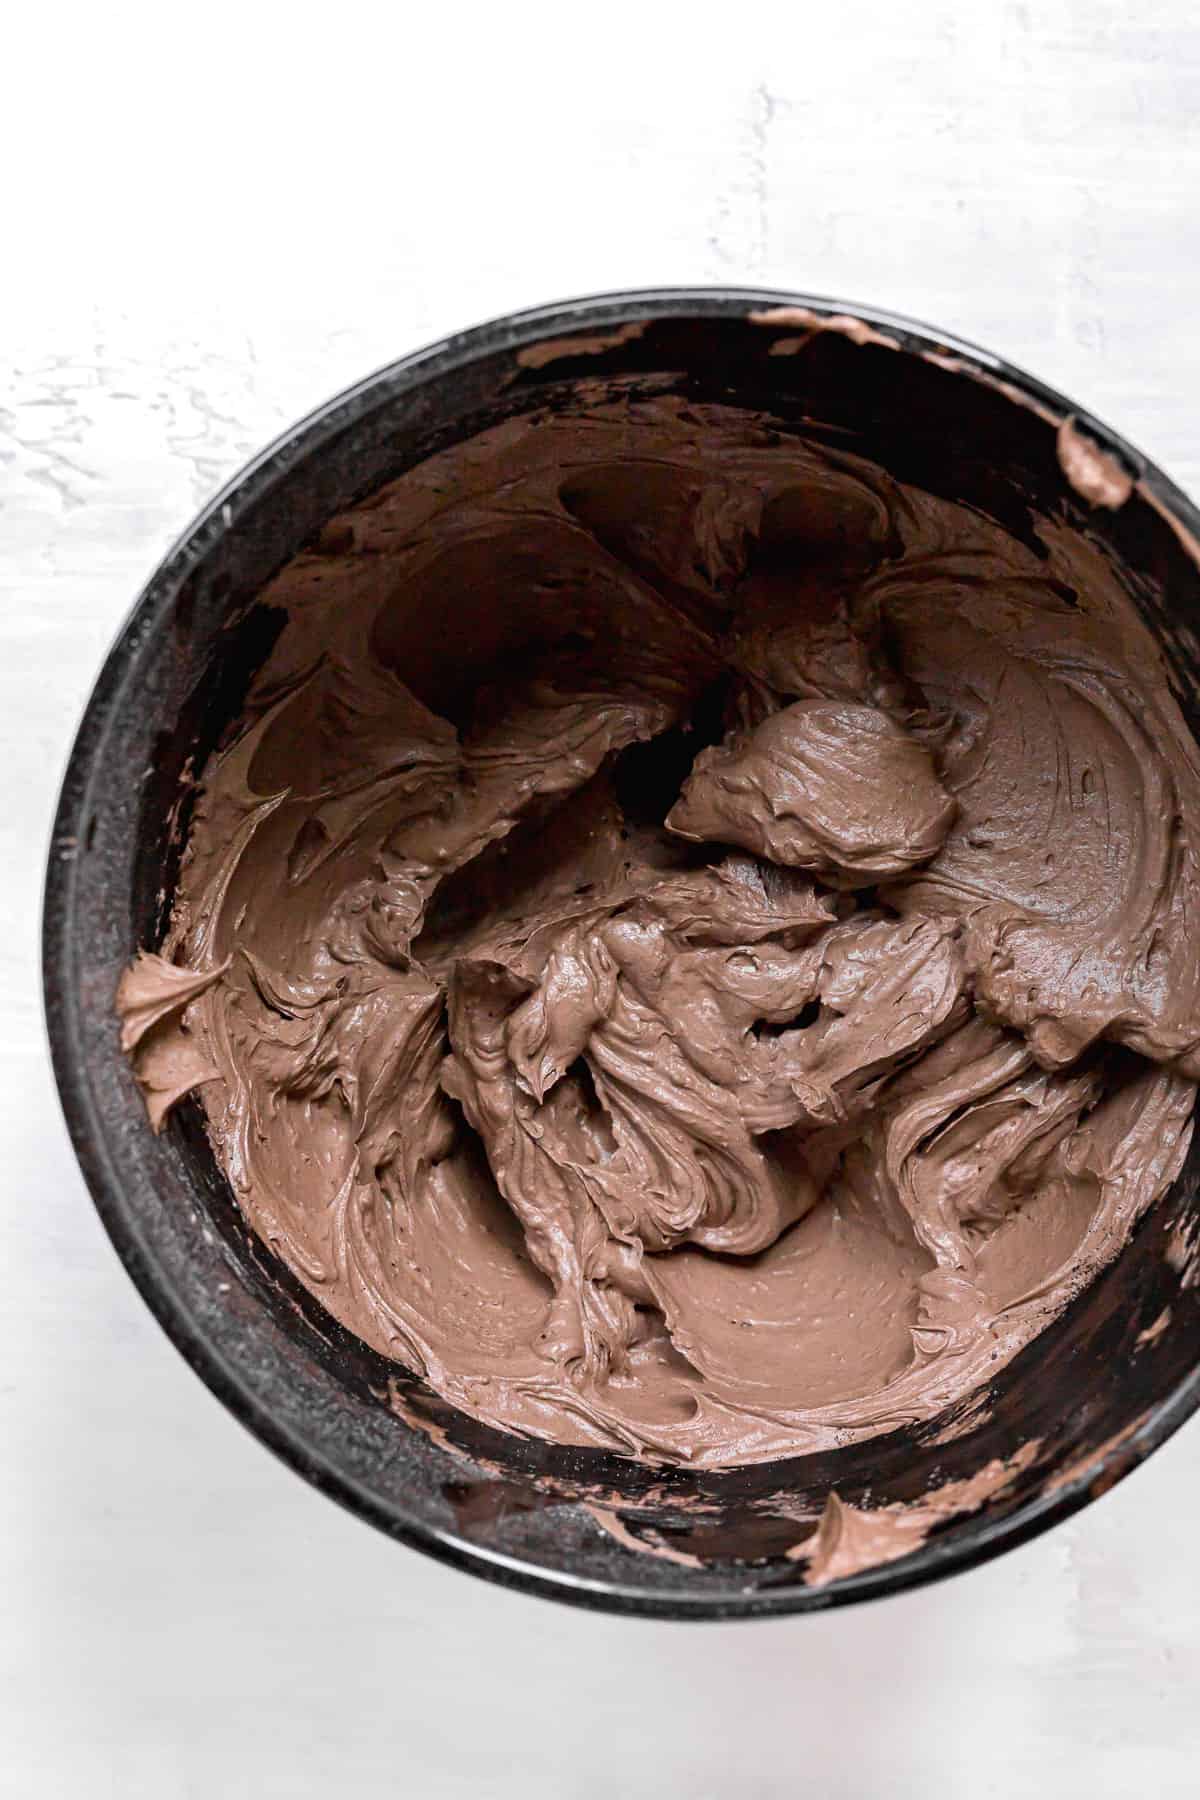
STEP 8: Make the buttercream. Using an electric mixer, beat the butter until smooth and creamy. Turn the mixer down to low speed and slowly add in the powdered sugar until combined, then add the cocoa powders and salt. Lastly, pour in the cooled melted chocolate and mix until fully combined with no air pockets.
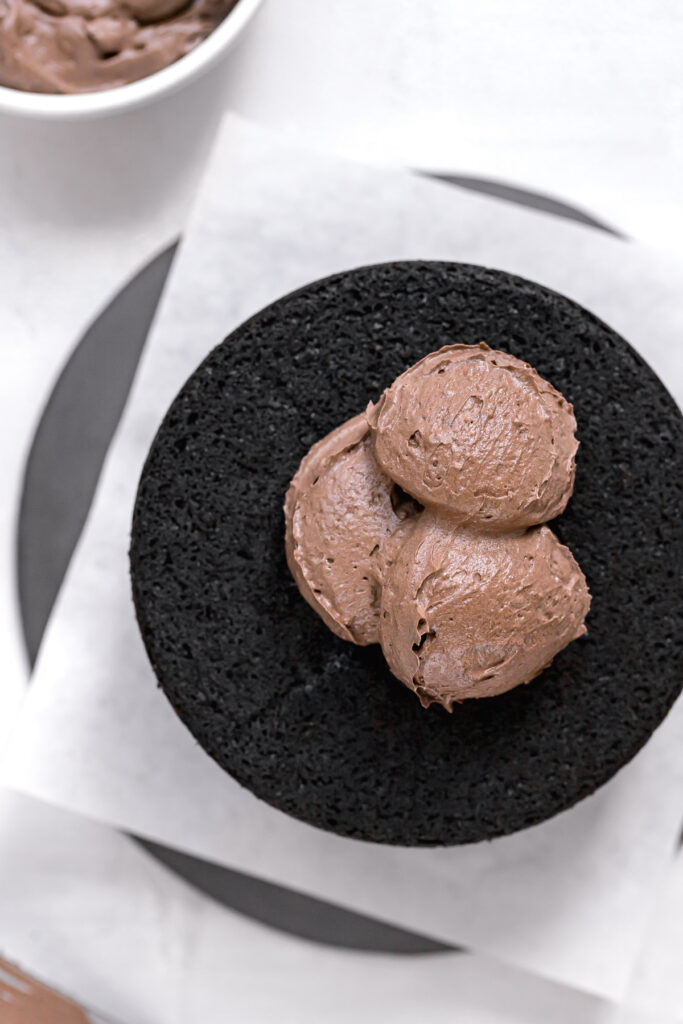
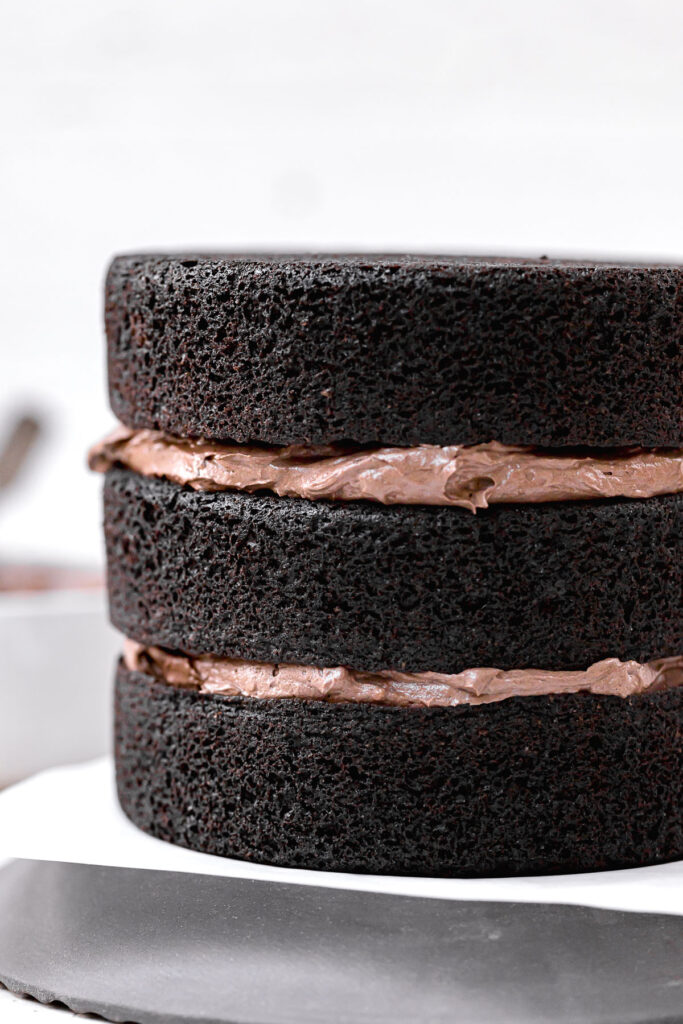
STEP 9: Spread the frosting. Secure the first layer of cake on the cake stand with a small amount of frosting on the bottom. Use a cookie or ice cream scoop to measure out the frosting for each layer. I used a 3 tablespoon cookie scoop and put 3 scoops of frosting on each layer.
STEP 10: Assemble the cake. Layer the frosting between cake rounds until you have a three tiered cake.

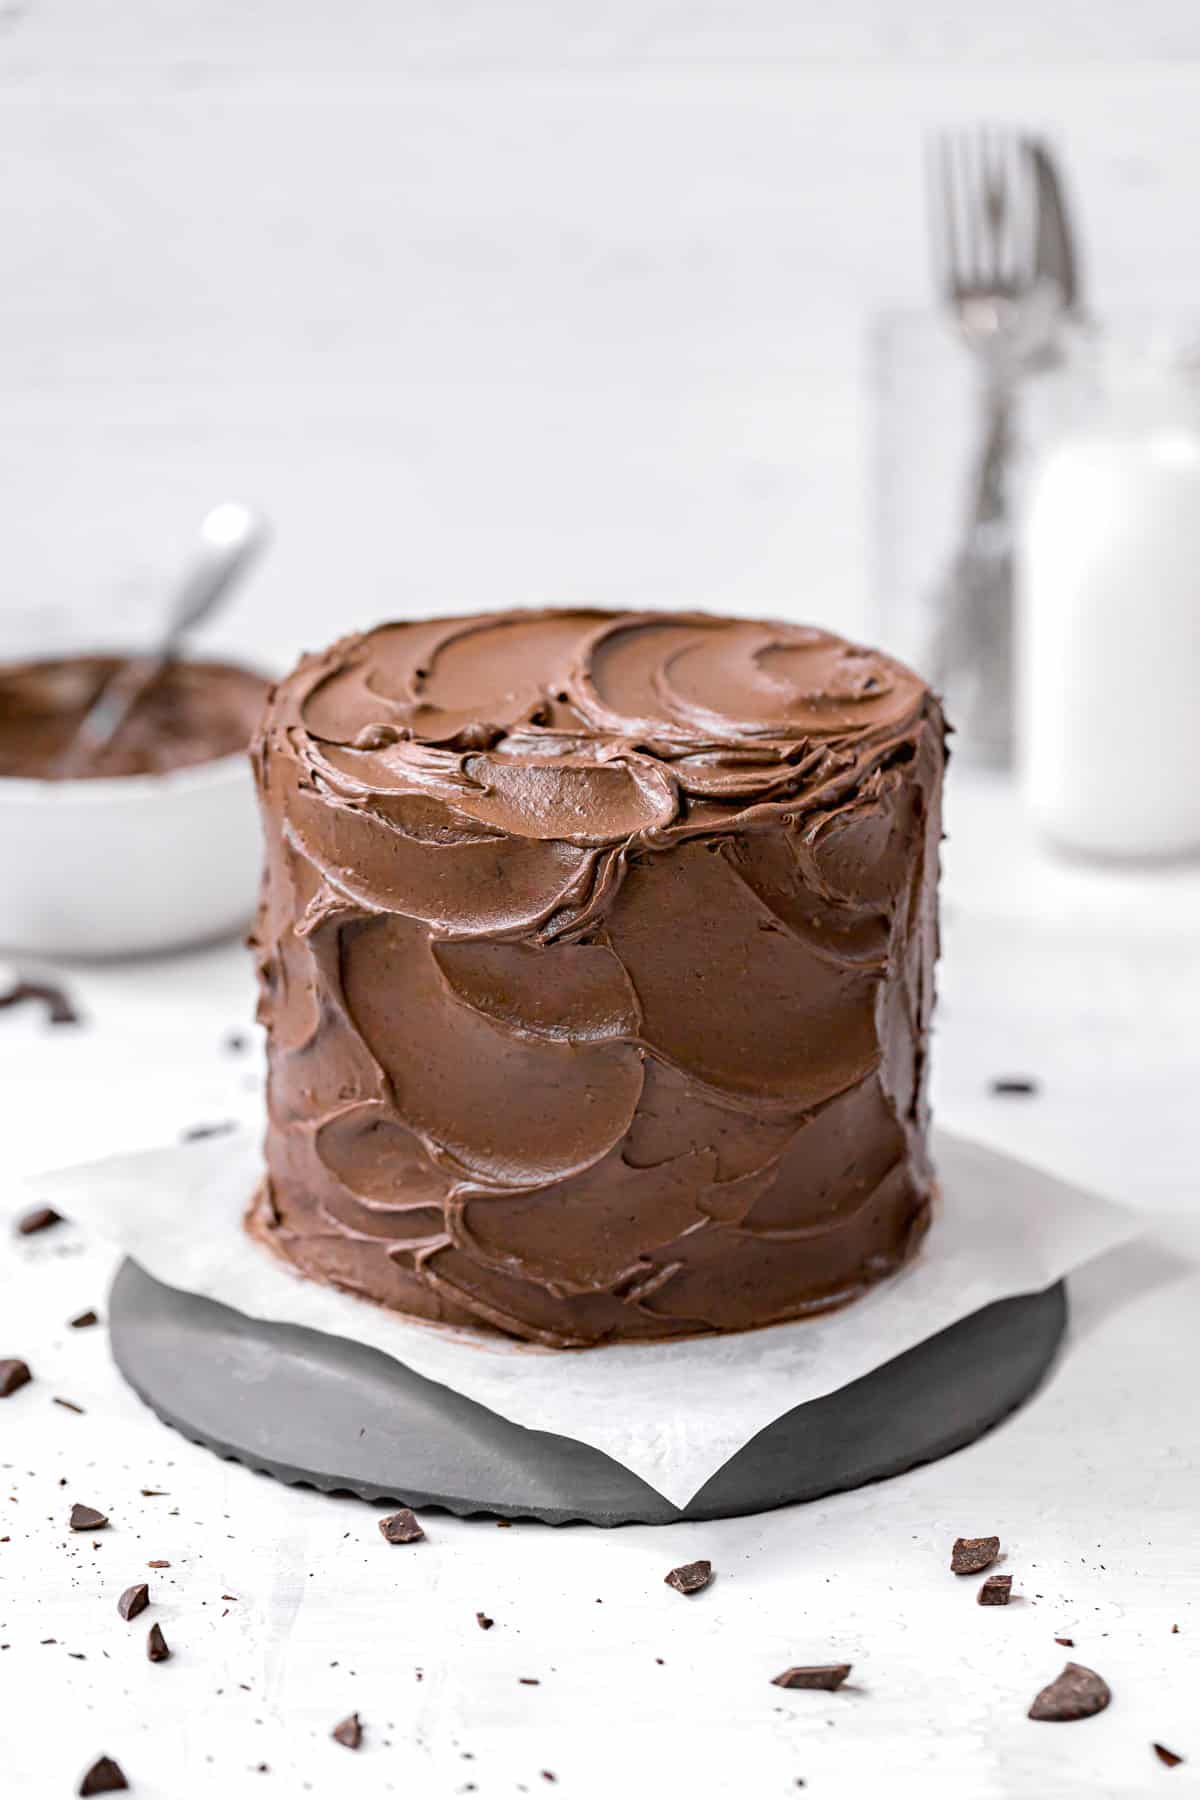
STEP 11: Crumb coat. Cover the whole cake in a thin layer of frosting for the crumb coat.
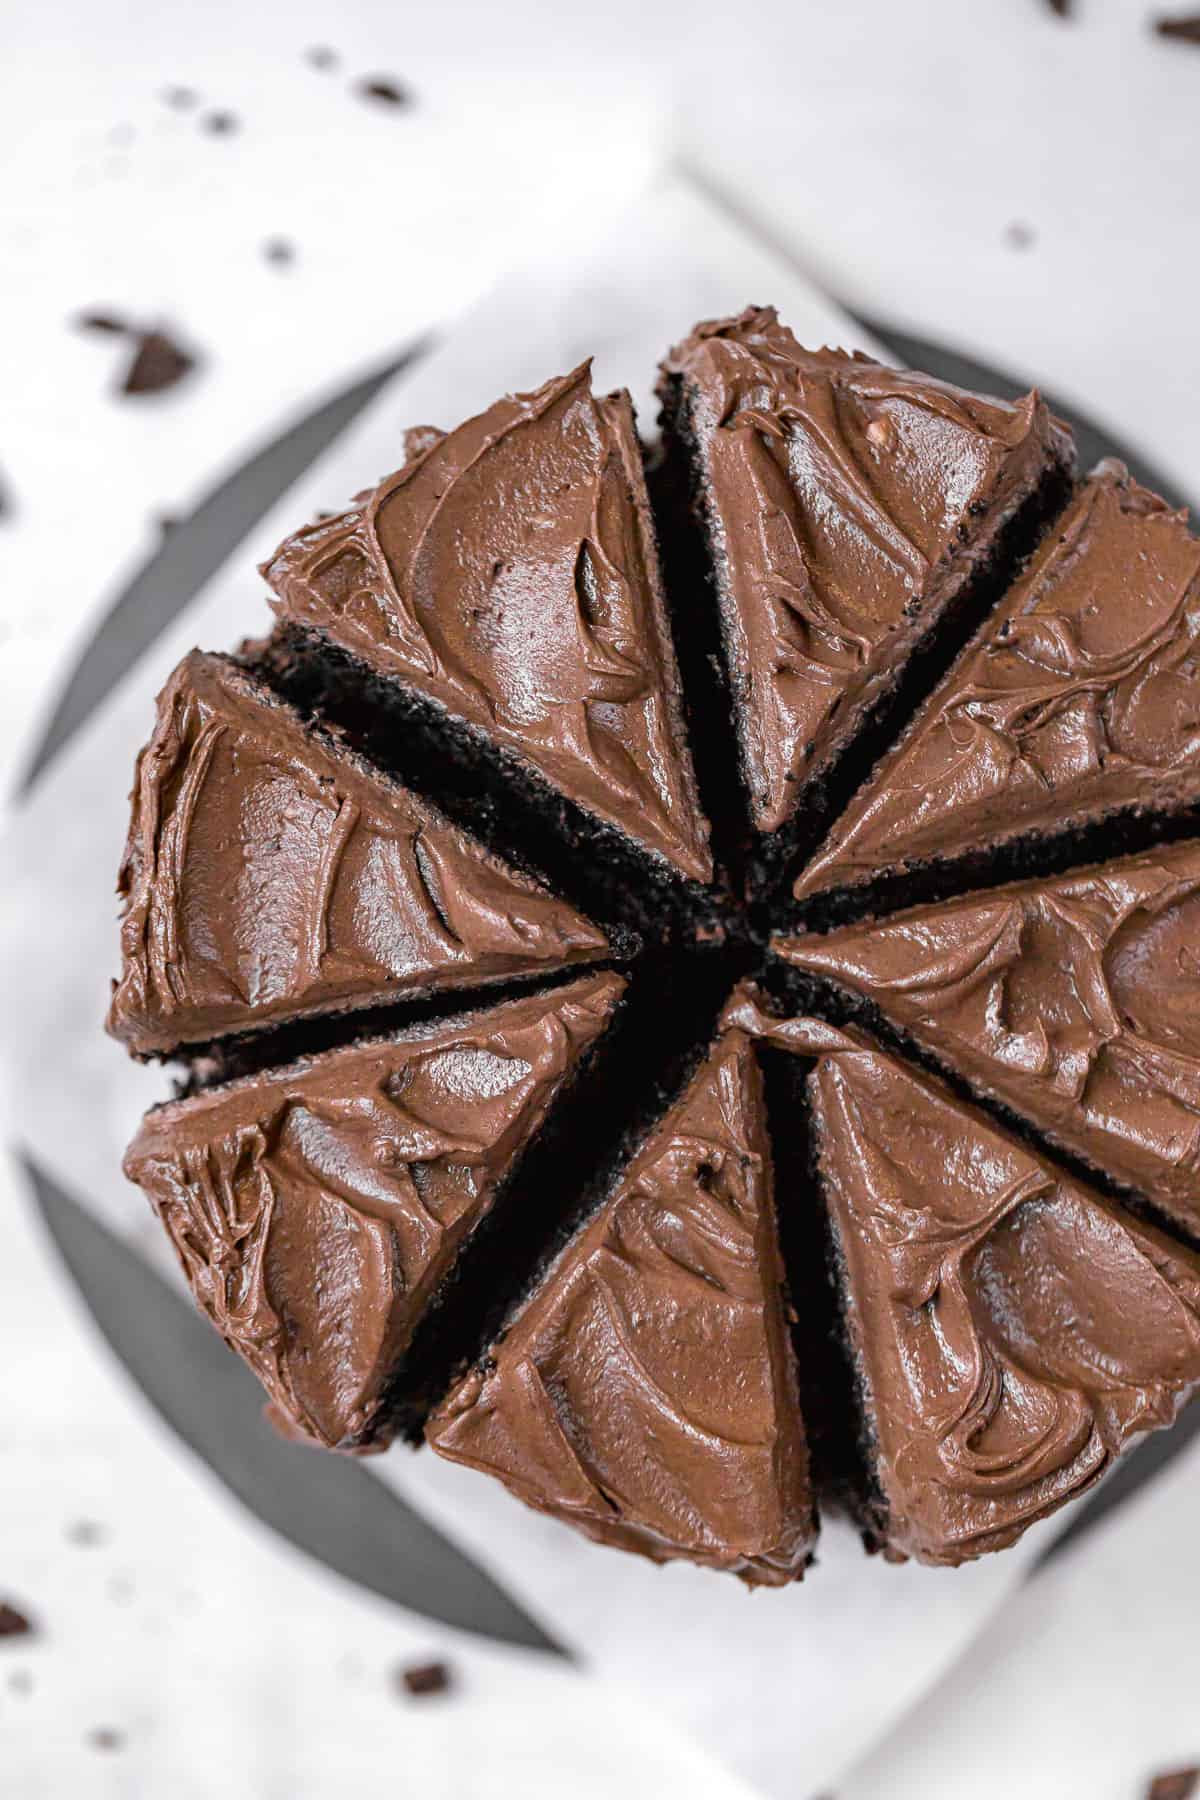
STEP 12: Chill and frost. Place in the fridge for about 20 minutes, then frost the cake as desired.
Expert Baking Tips
- The cake layers bake up perfectly flat, so no need for cake strips!
- You can make the cake layers the night before and decorate it the next day. Just wait until the cakes are completely cool, then wrap tightly in plastic wrap and store at room temperature.
- I recommend making the buttercream the day you are decorating the cake.
- If you're in a rush, you can skip the crumb coat and decorate the cake right away for a more rustic look.
Recipe FAQs
Black cocoa powder is similar to dutch process, but richer in flavor and darker in color. It is typically used in small amounts alongside another cocoa powder to enhance the color and flavor of the baked good. It smells like actual chocolate cake and is just magical to bake with!
I opted for a combination of dutch process cocoa and black cocoa so the buttercream wouldn't be as dark and the cake would have contrasting chocolate colors. If you'd prefer a darker buttercream, you can replace the dutch process for an equal amount of black cocoa, or vice versa.
It can be hard to tell when a cake is done baking, especially when it's chocolate. The best way to tell is when the cake springs back when you touch it in the center and it starts to pull away from the edges of the pan. You can also always insert a toothpick in the center of the cake - if it comes out clean, the cake is ready.
- Black cocoa powder: If you cannot get your hands on it, then you can replace it with an equal amount of dutch process cocoa powder.
- Buttermilk: You can use whole milk instead, but may lose out on some flavor.
- Neutral oil: I prefer to use light-tasting extra virgin olive oil, but you can also use vegetable or canola oil.
This cake will last 2-3 days covered at room temperature. You can also wrap slices of cake in plastic wrap and freeze for up 3 months.
Baking in Grams
All of the recipes on this blog are carefully developed with gram measurements so you can easily recreate them in your own kitchen with success. Volume measurements are extremely inaccurate and leave room for significant errors. Not all measuring cups are made equally, so your one cup of flour will be different from my one cup of flour. By providing precise measurements in grams (aside from minor ingredients, which are given in tsp/tbsp), you can make these recipes accurately and with less cleanup! All you need is this kitchen scale.
If this still isn't enough to convince you, I have provided volume measurements in the recipe card. If you are interested in understanding the conversions, this is the best conversion chart.
But trust me, once you try baking in grams you'll never turn back!
Happy baking! x
Other cake recipes you'll love
If you tried this recipe, I'd love to know how it turned out for you! Leave a star rating & review below and post a picture (or video!) on Instagram and tag me so I can see your bakes! Not ready to make this recipe yet? Click the heart button on the right of your screen to save it for later 🙂
📖 Recipe
Black Velvet Cake
Equipment
- 6" Cake Pans
Ingredients
For the black velvet cake:
- 240 g all-purpose flour
- 50 g black cocoa powder
- 1 teaspoon baking soda
- ½ teaspoon salt
- 113 g buttermilk, room temp
- 113 g plain greek yogurt, room temp
- 2 teaspoon vanilla
- 2 teaspoon distilled white vinegar
- 113 g unsalted butter, room temp
- 270 g granulated sugar
- 150 g neutral oil
- 2 egg yolks
- 2 egg whites
For the chocolate buttercream:
- 340 g unsalted butter, room temp
- 300 g powdered sugar
- 30 g dutch process cocoa powder
- 12 g black cocoa powder
- ½ teaspoon salt
- 100 g semi-sweet or bittersweet chocolate, melted and cooled
Instructions
For the black velvet cake:
- Preheat the oven to 350 degrees F (180 degrees C). Grease three 6 inch cake pans and line each of them with parchment paper.
- In a medium bowl, whisk together the flour, black cocoa powder, baking soda, and salt. Set aside.
- In a large glass measuring cup, combine the buttermilk and yogurt and warm in the microwave for about 20 seconds or so to bring to room temp. Stir in the vanilla and vinegar. Set aside.
- In a bowl of a stand mixer fitted with a paddle attachment, beat the butter and sugar together on medium-high speed until fully combined.
- Pour in the vegetable oil and egg yolks and beat until completely combined. Scrape down the bowl to ensure everything is evenly incorporated.
- Next, alternate adding the flour mixture and buttermilk mixture in thirds as the stand mixer mixes on low speed. Mix until just combined. Scrape down the bowl with a rubber spatula to ensure everything is evenly incorporated.
- In a medium bowl, whip the egg whites to stiff peaks.
- Gently fold the whipped egg whites into the batter until fully combined.
- Pour batter into the three cake pans, using a kitchen scale to distribute the batter evenly.
- Bake the cakes for 25-30 minutes or until the top of the cakes spring back when you touch them and the cakes begin to pull away from the sides of the pans.
- Allow cakes to cool for 10 minutes in the pans, then turn them out onto cooling racks to cool completely.
For the chocolate buttercream:
- In a bowl of a stand mixer fitted with a paddle attachment, beat the butter on medium speed until completely smooth.
- Turn the mixer down to low speed and slowly add in the powdered sugar.
- Once all of the powdered sugar is combined, add in the dutch process cocoa powder, black cocoa powder, and salt.
- Lastly, pour in the melted (but cooled) chocolate and mix until fully combined.
- Continue mixing on low speed to remove any air pockets.
For assembly:
- Secure the first layer of cake on the cake stand with a small amount of frosting on the bottom. Use a cookie or ice cream scoop to measure out the frosting for each layer. I used a 3 tablespoon cookie scoop and put 3 scoops of frosting on each layer.
- Cover the whole cake in a thin layer of frosting for the crumb coat.
- Place in the fridge for about 20 minutes, then frost the cake as desired.
Notes
- The cake layers bake up perfectly flat, so no need for cake strips!
- You can make the cake layers the night before and decorate it the next day. Just wait until the cakes are completely cool, then wrap tightly in plastic wrap and store at room temperature.
- I recommend making the buttercream the day you are decorating the cake.
- If you're in a rush, you can skip the crumb coat and decorate the cake right away for a more rustic look.

Luiselena says
I just baked this cake, and I truly recommend it!! For me the texture of this cake is the best I have tried so far. My Family loved it!!
Virginia says
No I haven't but I want to* wat is pr
Doris says
Why can't you put cups after what it ask for in recipe. Will this work in 9 by 13 pan
EP says
I'm wanting to know the same thing. I don't want to have to take extra time to look up the equivalent of grams to cups. And is black chocolate the same as dark chocolate? Please make recipes easy to follow. Otherwise, most people will never know if it tastes good or not.
Sloane says
The recipe calls for black cocoa powder, not black chocolate. If you do not have it on hand, you can sub an equal amount of dutch process cocoa powder. As for the measurements, I have only tested this recipe in grams, so I cannot provide volume measurements. I have lots of other recipes that include both weight and volume measurements. I hope you get the chance to try some of them!
Sloane says
I have not tested this recipe in volume measurements, so I cannot provide them for you. This recipe should work just fine in a 9x13 pan. If you'd like to make the recipe, I recommend purchasing a $10 kitchen scale and weighing out your ingredients. Trust me, it's much easier and more accurate than using cups! Otherwise, I have many other recipes that include both weight and volume measurements. I hope you get the chance to try some of them!
Park Avenue says
Although this is a real "Velvet" cake... Please, please STOP with the "Velvet" versions of everything that is baked.
However, the recipe sounds delicious and the cake looks amazing.
Pa
Connie says
Could uou please use cups or spoons instead of grams
Sandy says
What brand chocolates do you like?
Thanks
Sloane says
My favorite chocolate to bake with is Guittard!