
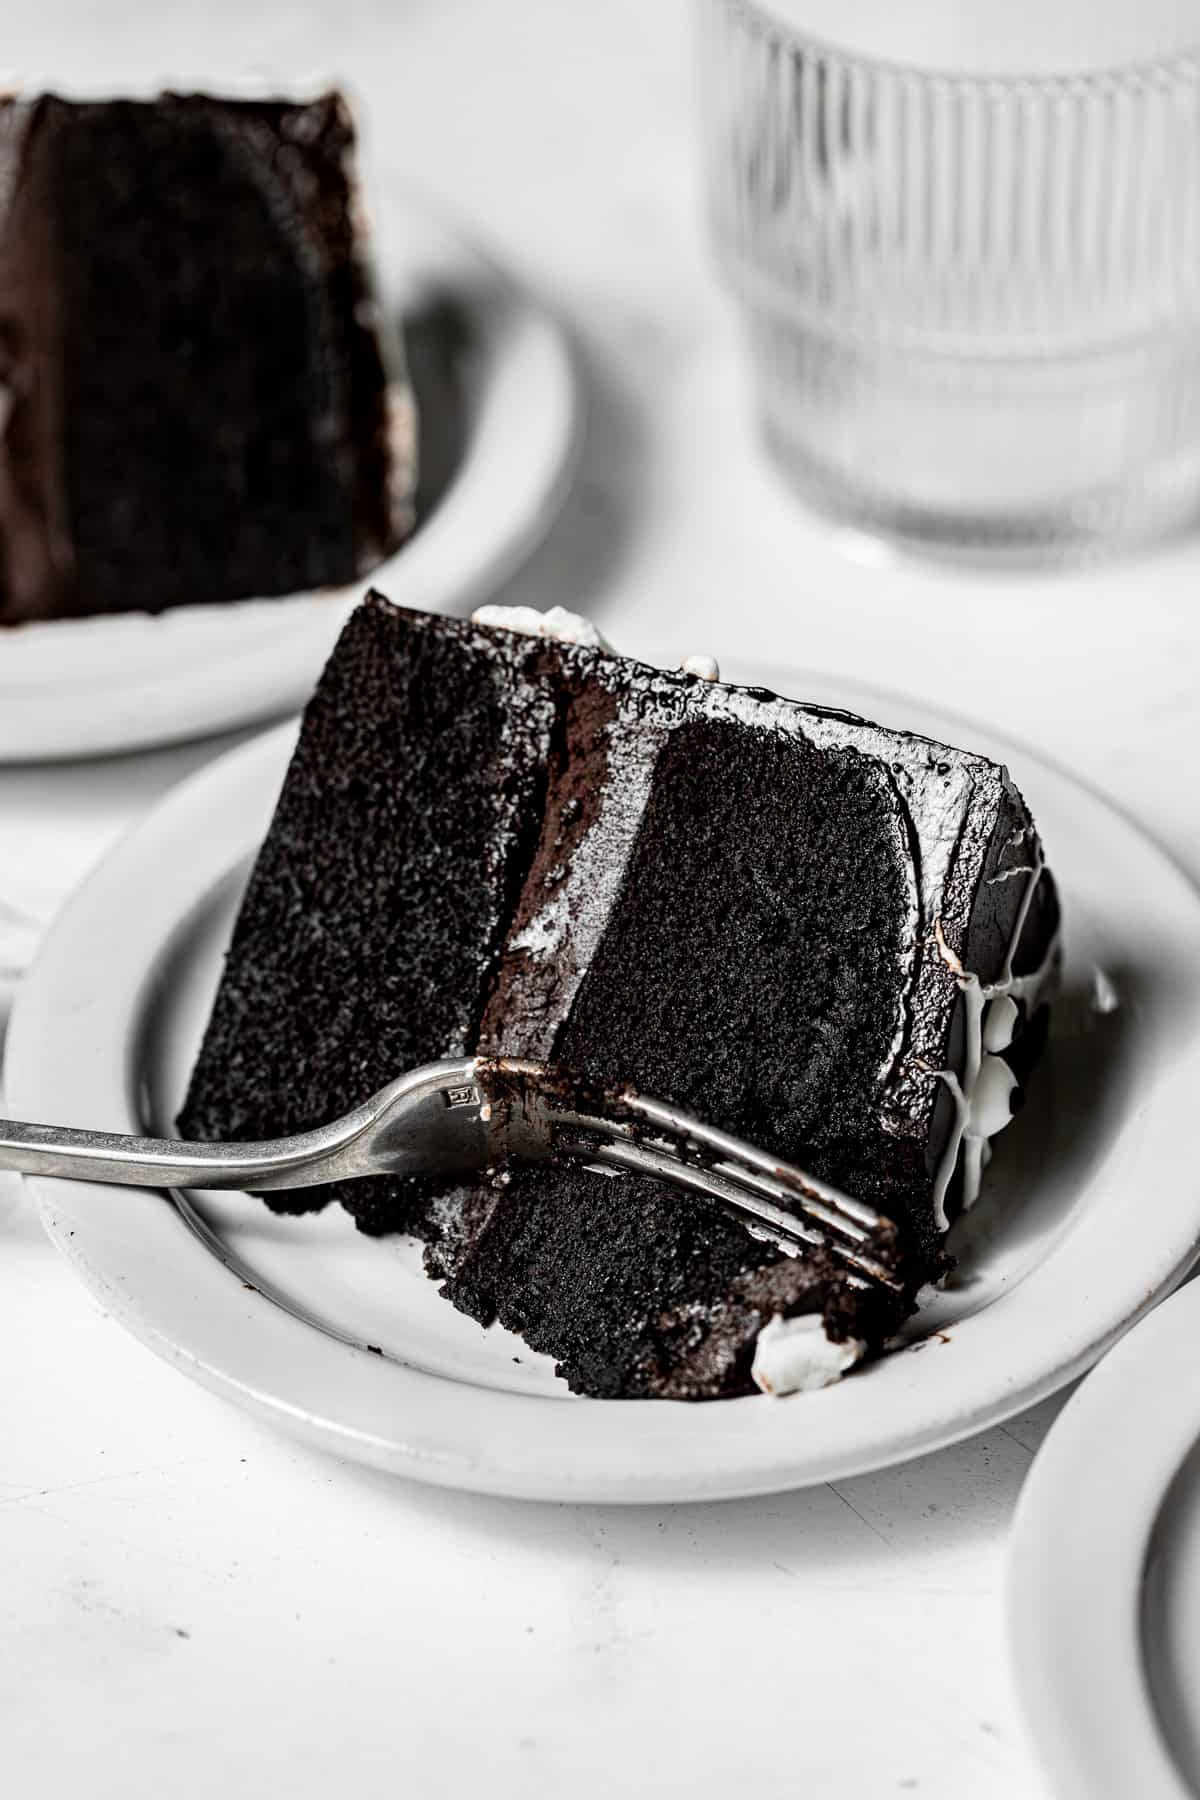
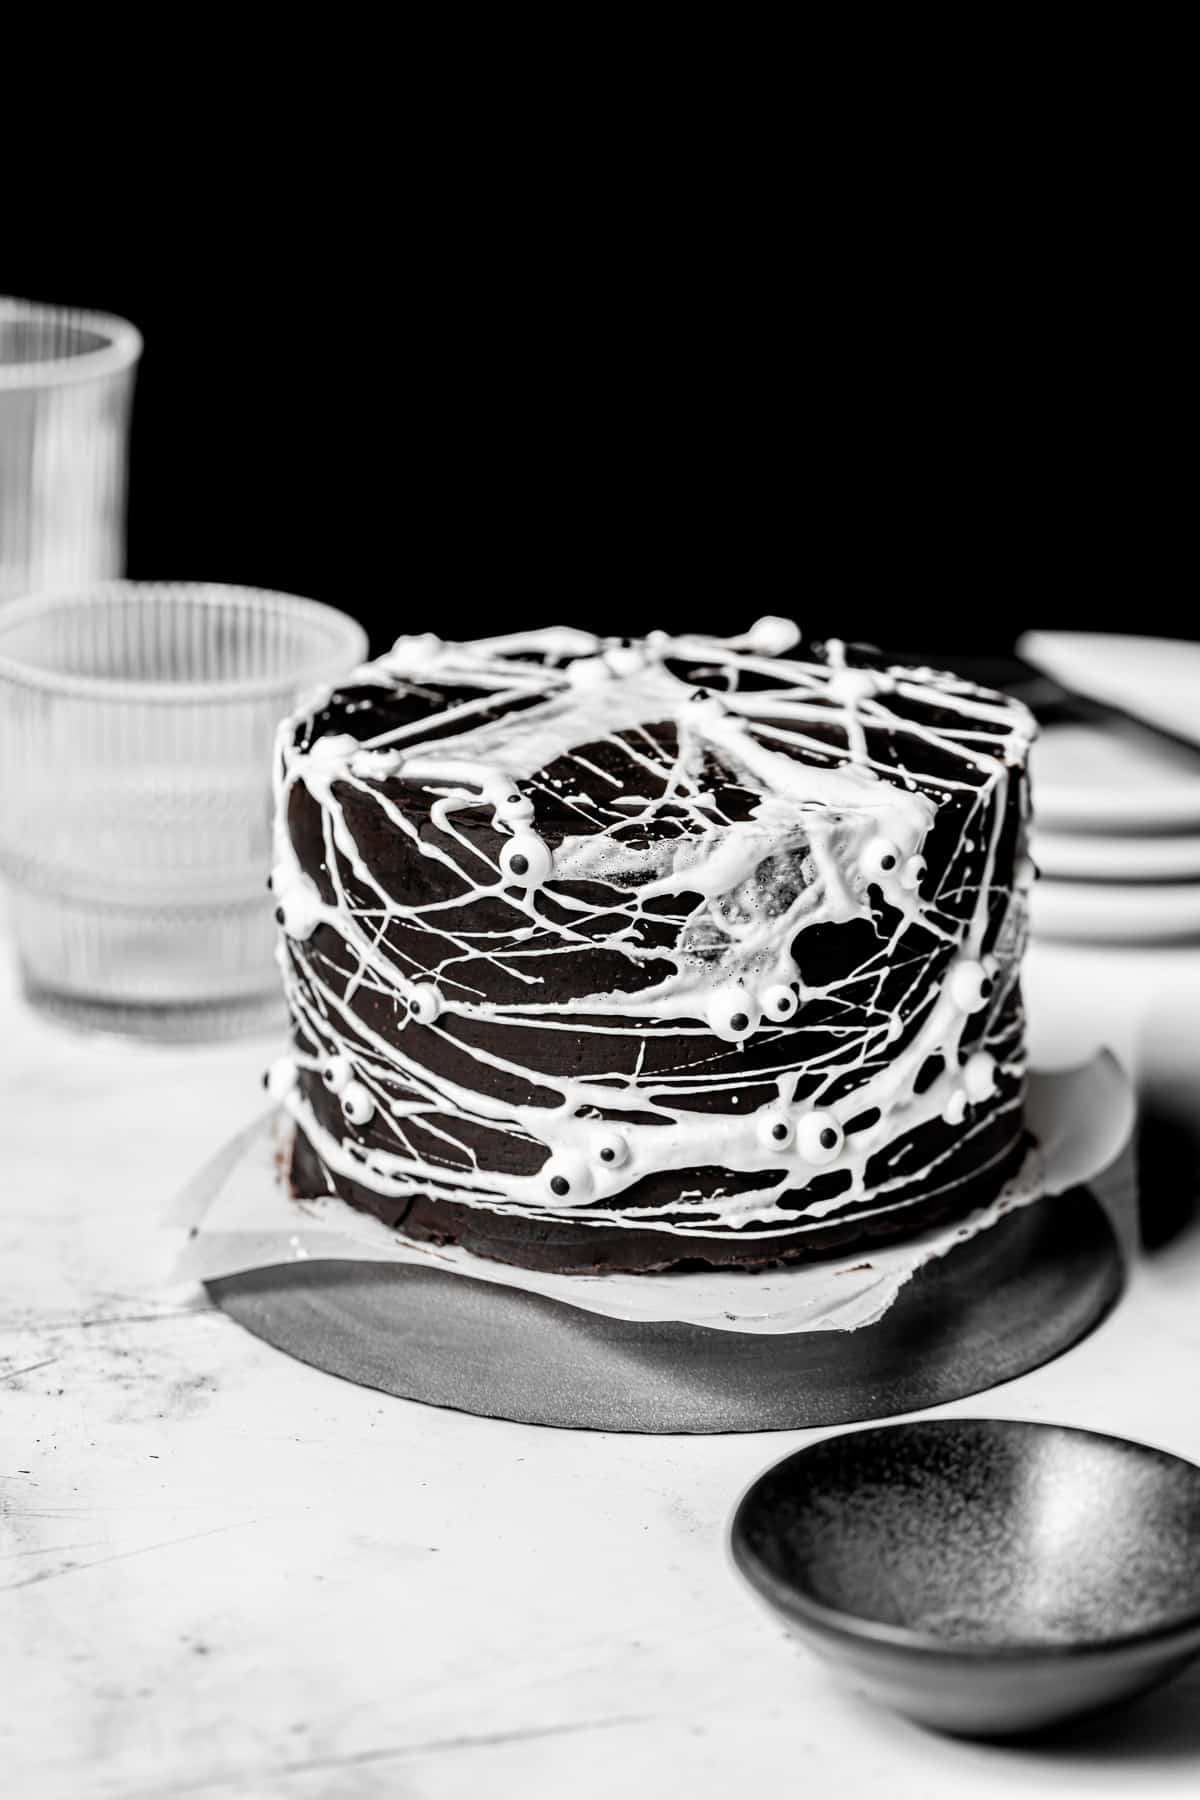
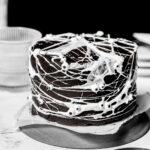
This black cocoa spider web cake is scary delicious! The rich chocolate cake layers are made with chocolate milk and the whole cake is decorated with a fudgy black cocoa frosting & melted marshmallows to create a spider web design. This spooky halloween cake will add such a fun touch to your haunted party!
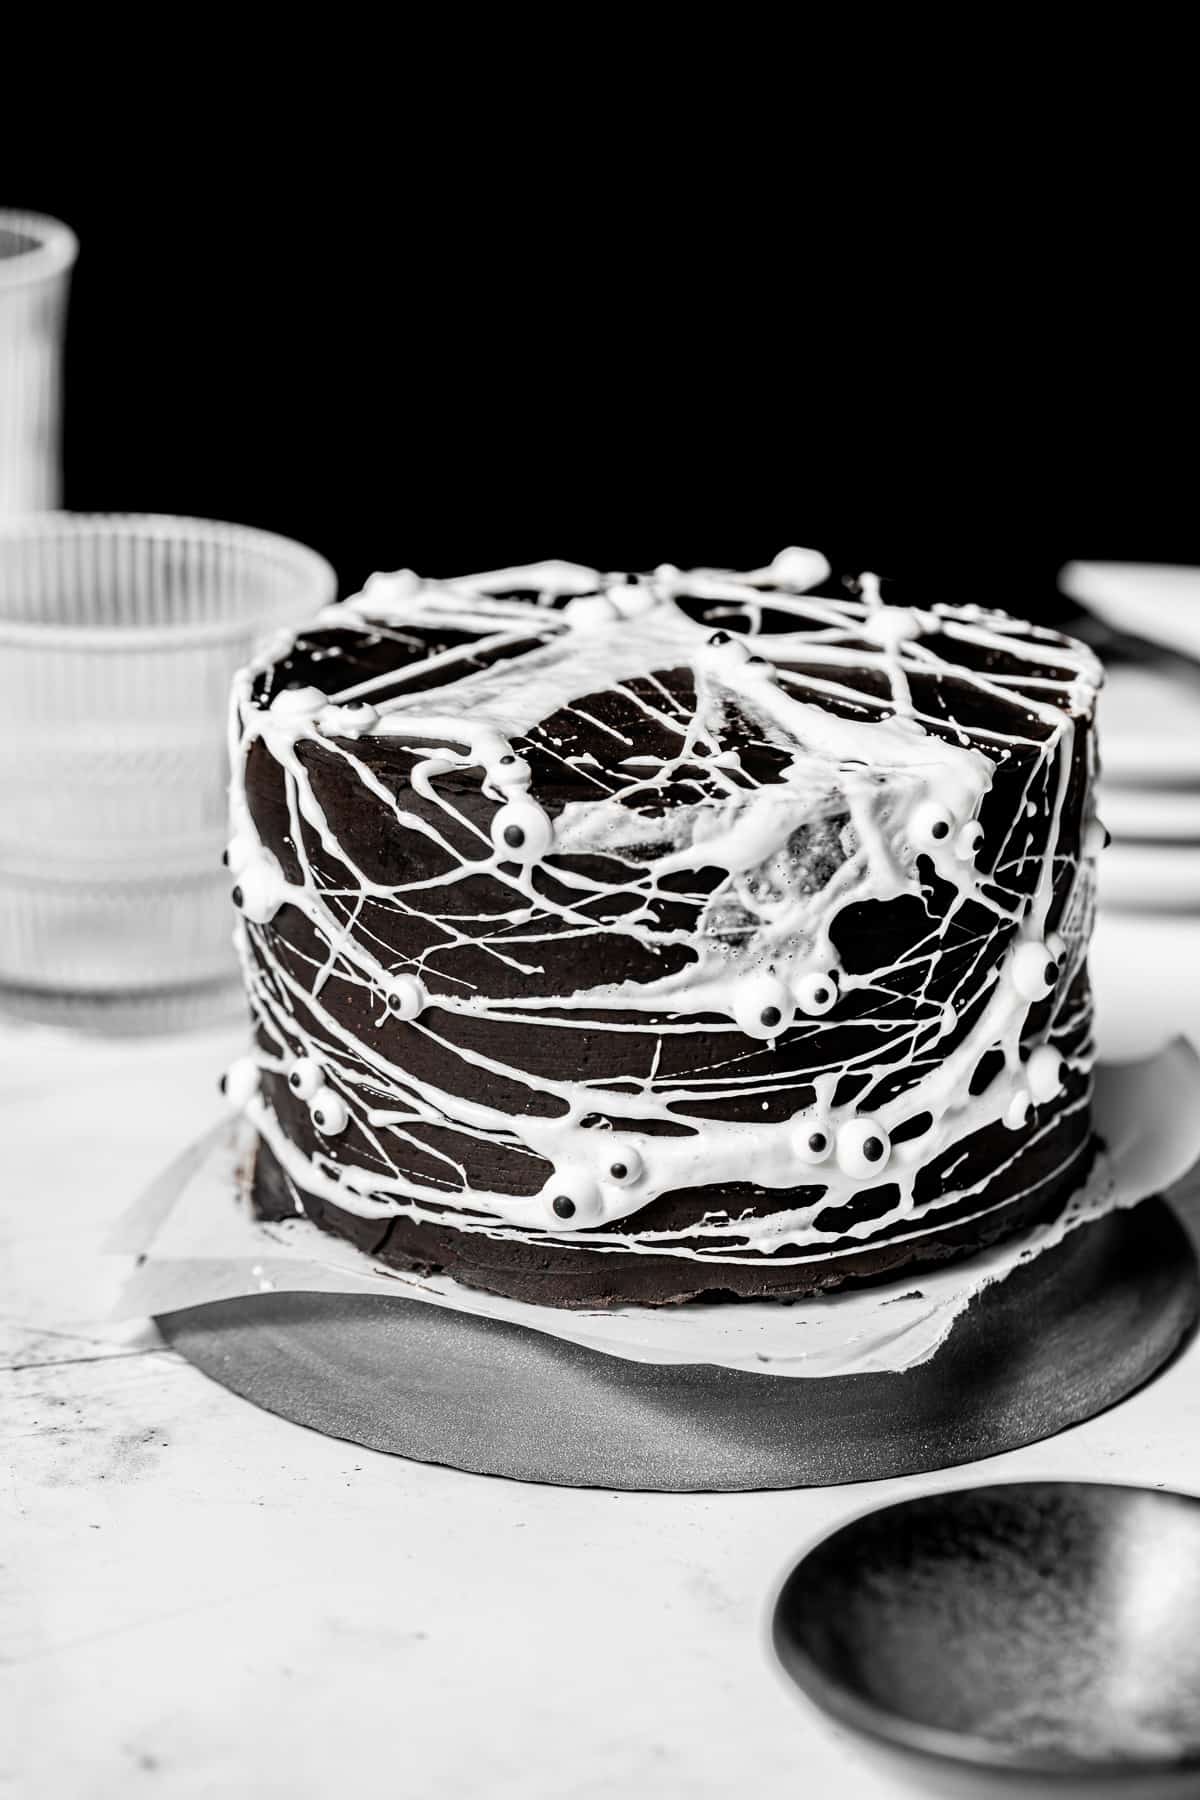
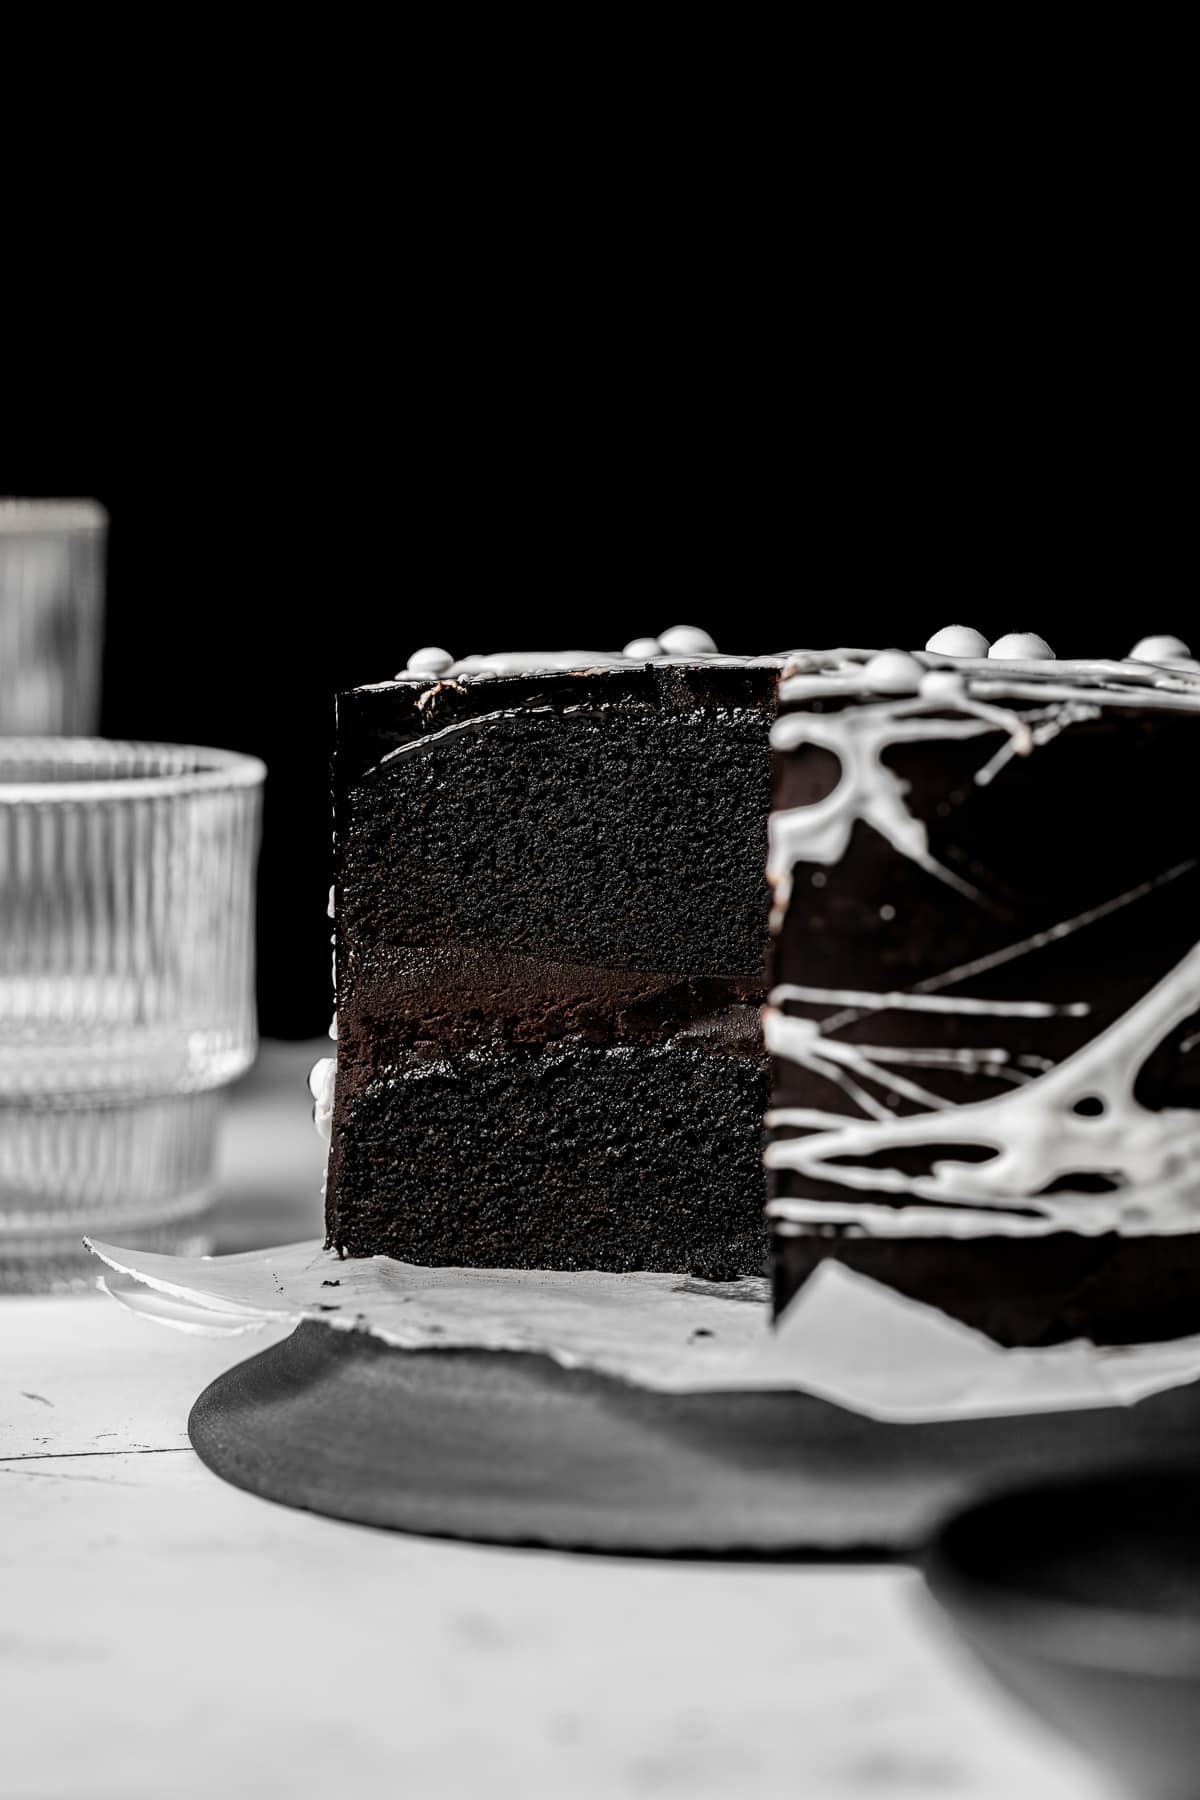
Every Halloween party needs a festive centerpiece, and this black cocoa spiderweb cake is the showstopper you need! It's rich, it's decadent, and best of all, it's spooky (and it's easier to decorate than you'd think). Chocolatey cake paired with even more chocolatey frosting and topped with super sweet marshmallow makes the ultimate fudgy dessert to share this holiday - plus, it's a fun, festive activity to have your kids help with!
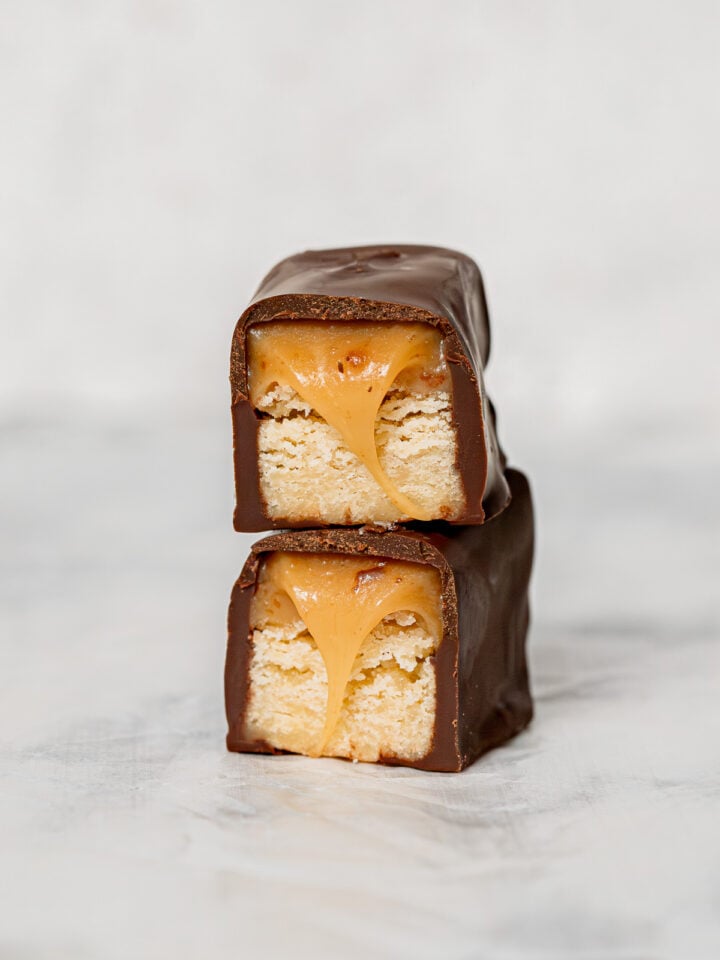
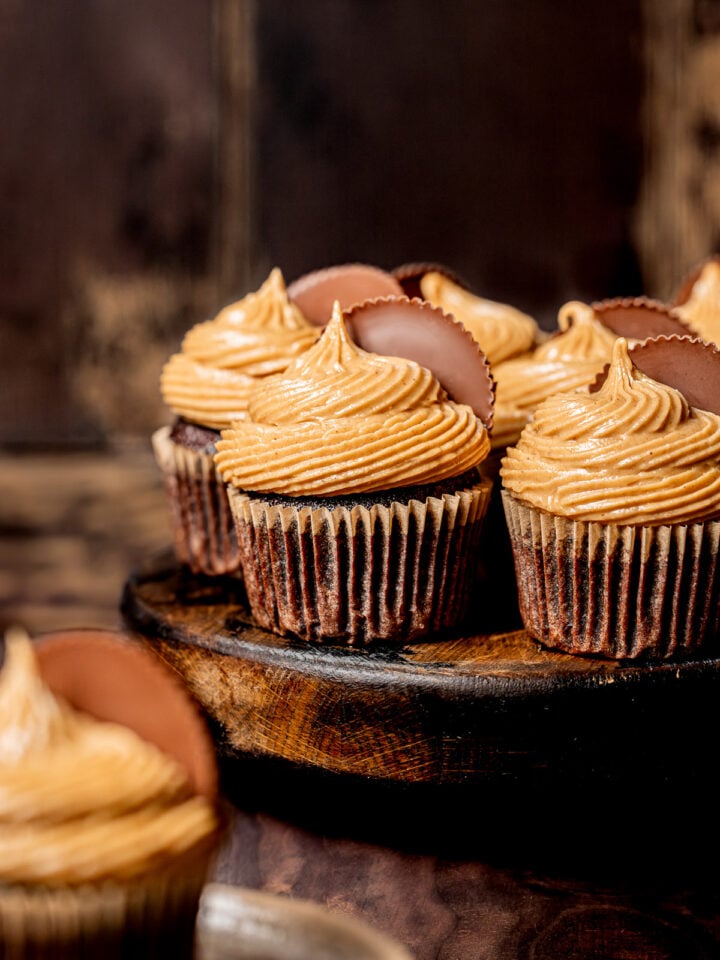
For more Halloween recipes, try Chocolate Caramel Cupcakes with Meringue Ghosts, Gooey Candy Bar Blondies, and Chocolate Marshmallow Cookies.
Jump to Recipe
Why you'll love this black cocoa spider web cake
- Rich, Decadent Flavor: Chocolate milk, espresso powder, and black cocoa create an incredibly decadent cake and frosting combination.
- Show-stopping Centerpiece: This spiderweb cake will bring your whole Halloween party together as an impressive, festive centerpiece.
- Fun & Family-Friendly: Have your kids join the fun and help decorate this spooky cake with melted marshmallow webs!
Ingredient Notes
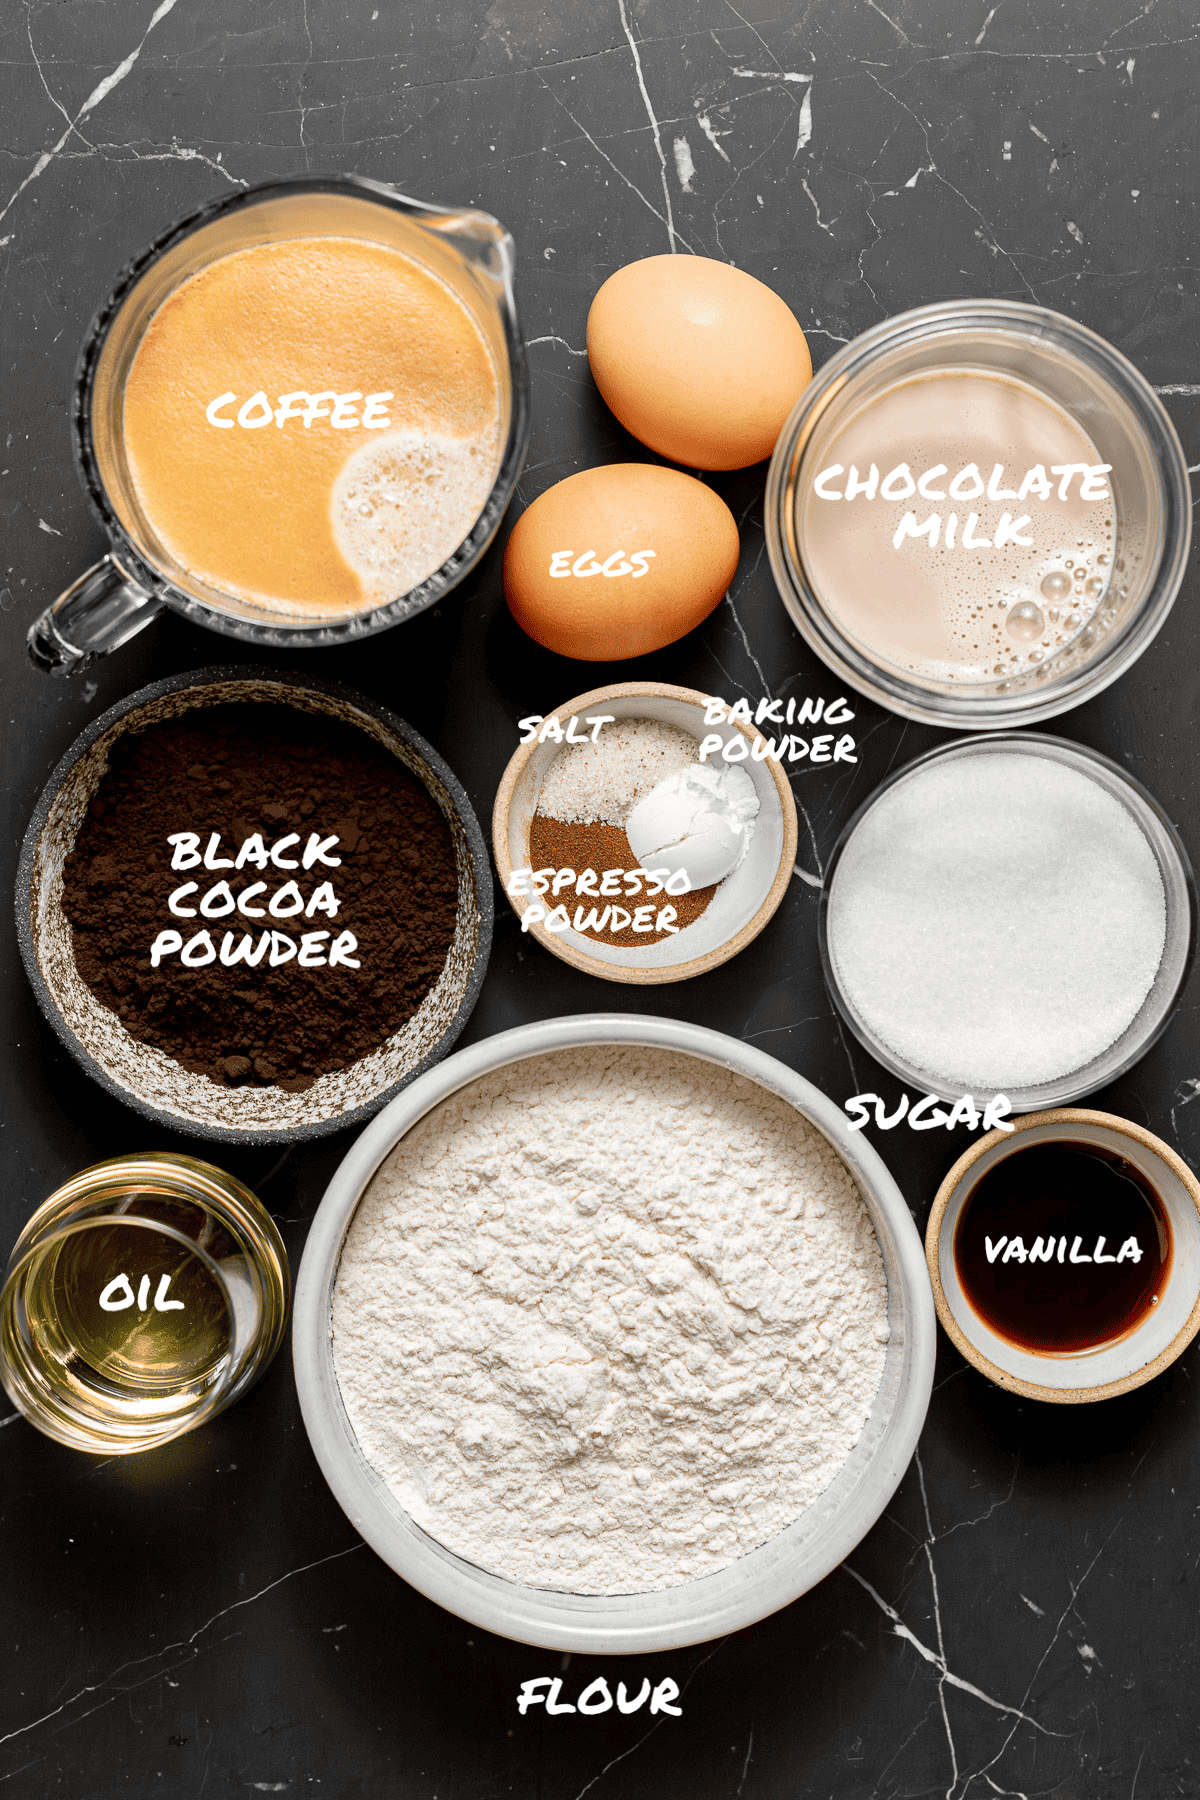
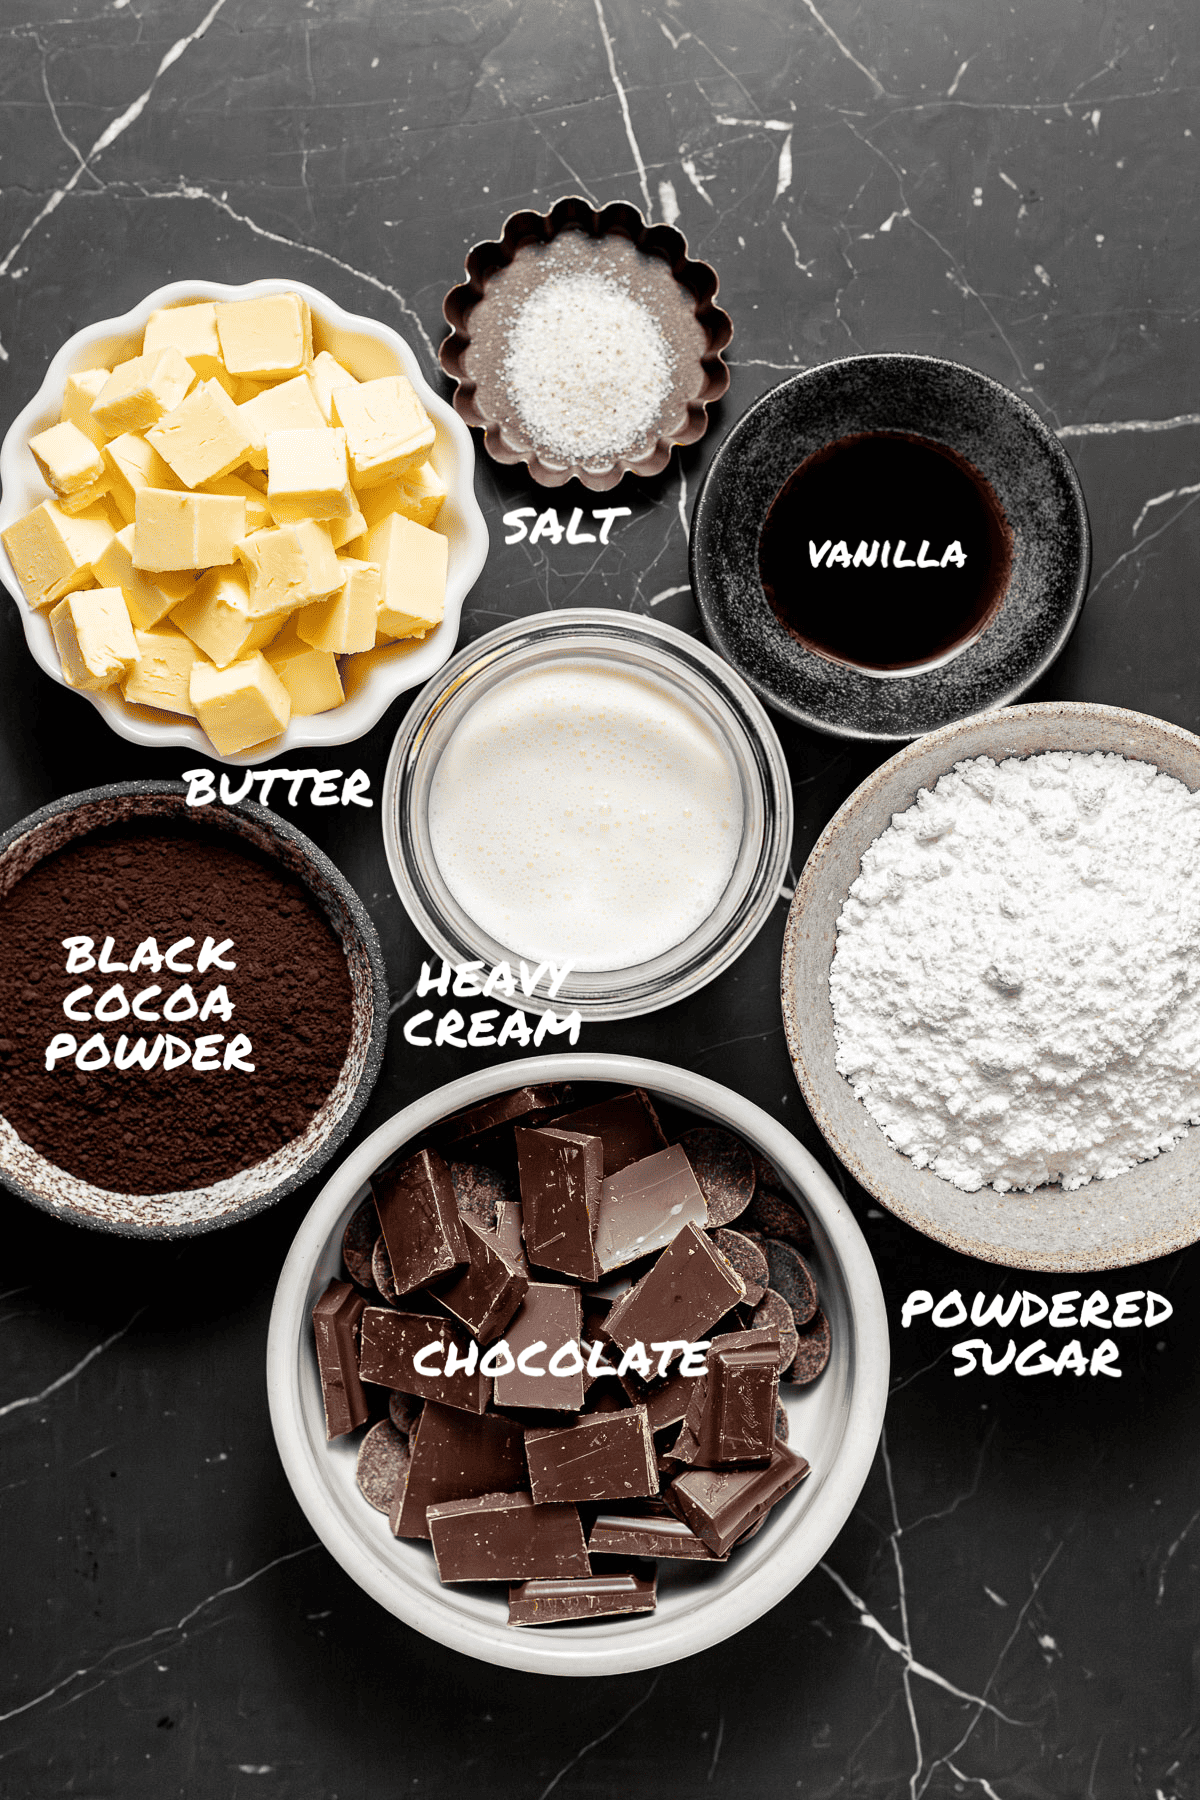
- Cocoa Powder: Use a high quality black cocoa powder for a more rich & intense chocolate flavor.
- Chocolate: Use a high quality bittersweet chocolate for a unique flavor profile. Alternatively, you can use semi-sweet or even dark chocolate.
- Espresso Powder: Be sure to use a fine ground espresso powder, not instant espresso.
- Chocolate Milk: Use your favorite brand of chocolate milk!
- Coffee: Use freshly brewed coffee for best overall flavor.
- Heavy Cream: You'll need ¾ cup of high quality heavy cream for the frosting.
- Neutral Oil: Use vegetable, canola, or light-tasting olive oil.
- Unsalted Butter: Use high quality European-style butter for best overall flavor.
- Flour: Use high quality unbleached all-purpose flour best results.
- Eggs: Bring your egg to room temperature quickly by placing it in a bowl of warm water for 10 minutes.
- Vanilla: Add a high quality vanilla extract for optimal flavor.
See recipe card for full information on ingredients and individual quantities.
Step by Step Instructions
Here are step by step photos and instructions on how to make this black cocoa spider web cake recipe! For the full ingredient list and method, see the recipe card at the end of this post.
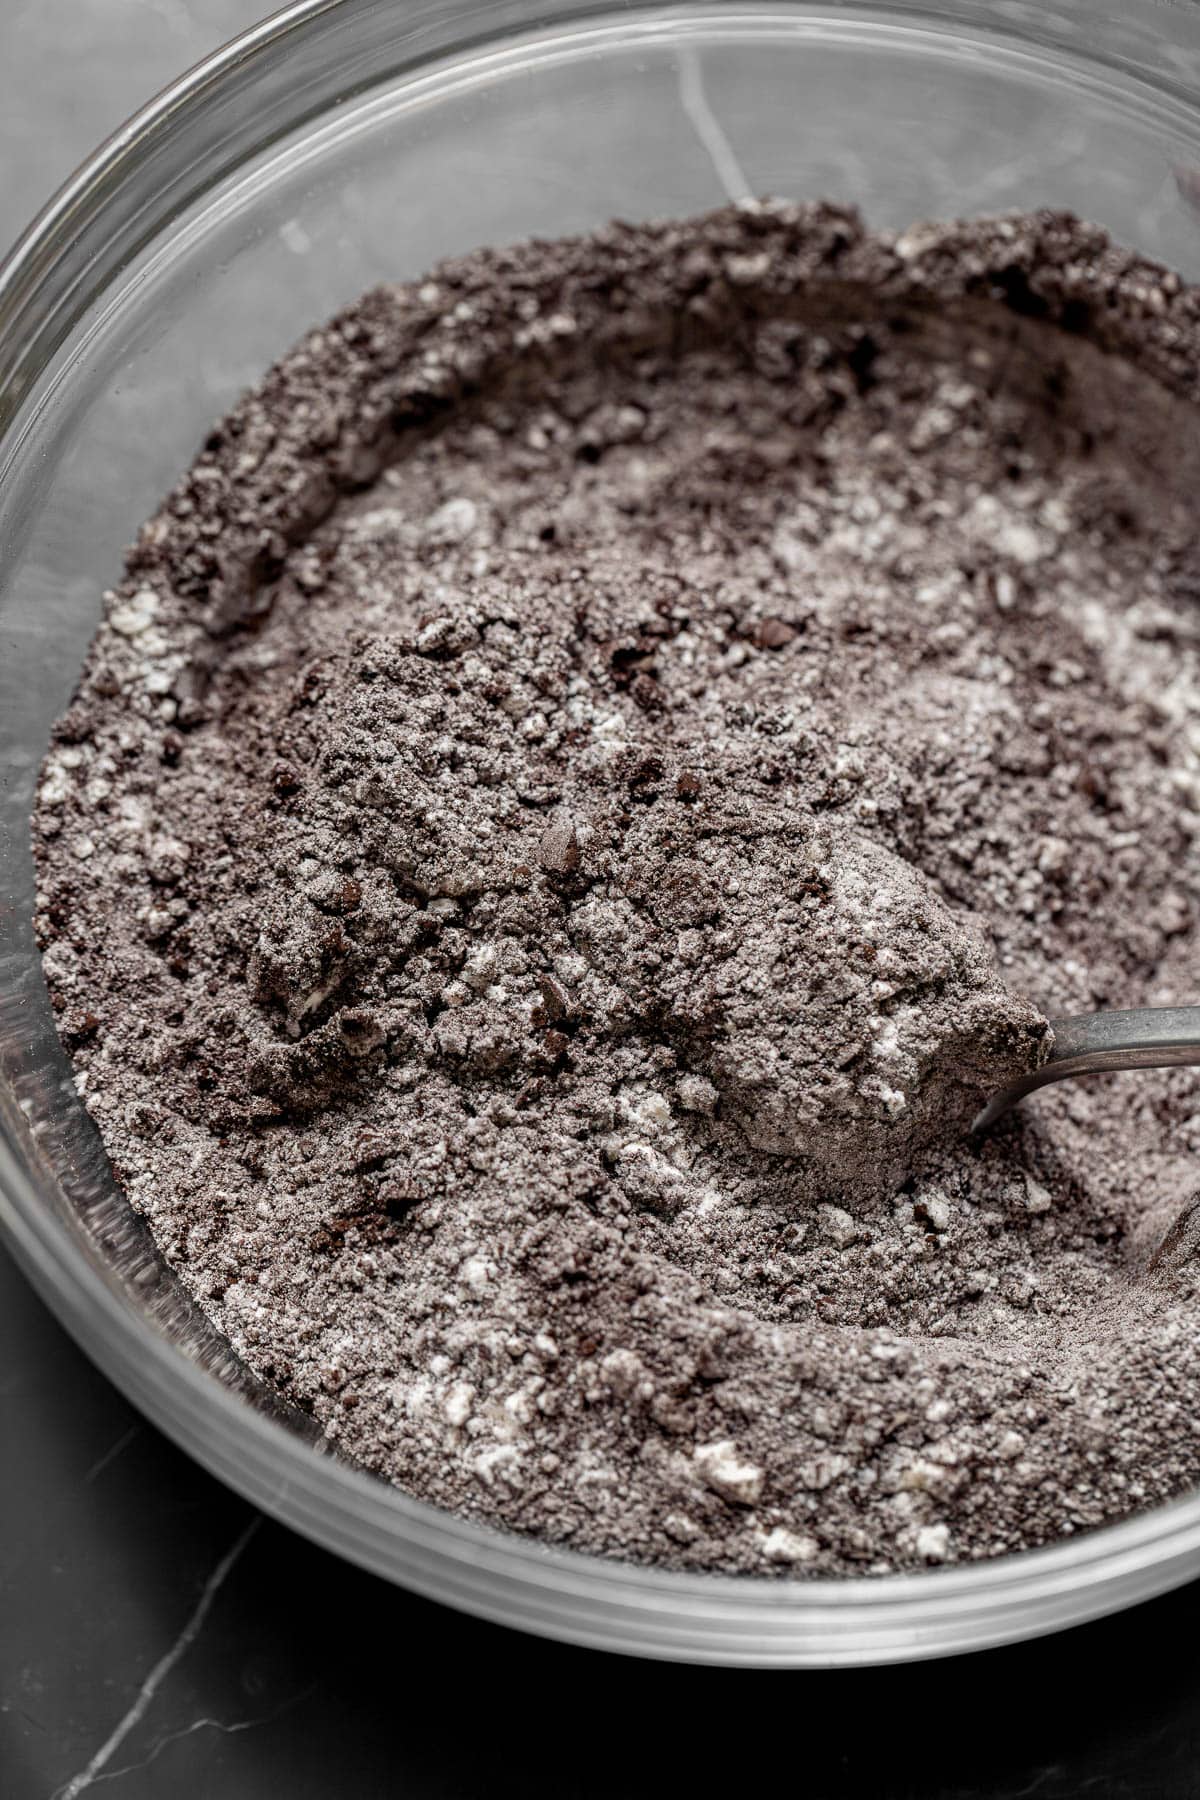
STEP 1: Mix dry ingredients. In a medium bowl, whisk together the flour, sugar, cocoa powder, expresso powder, baking powder, and salt. Set aside.
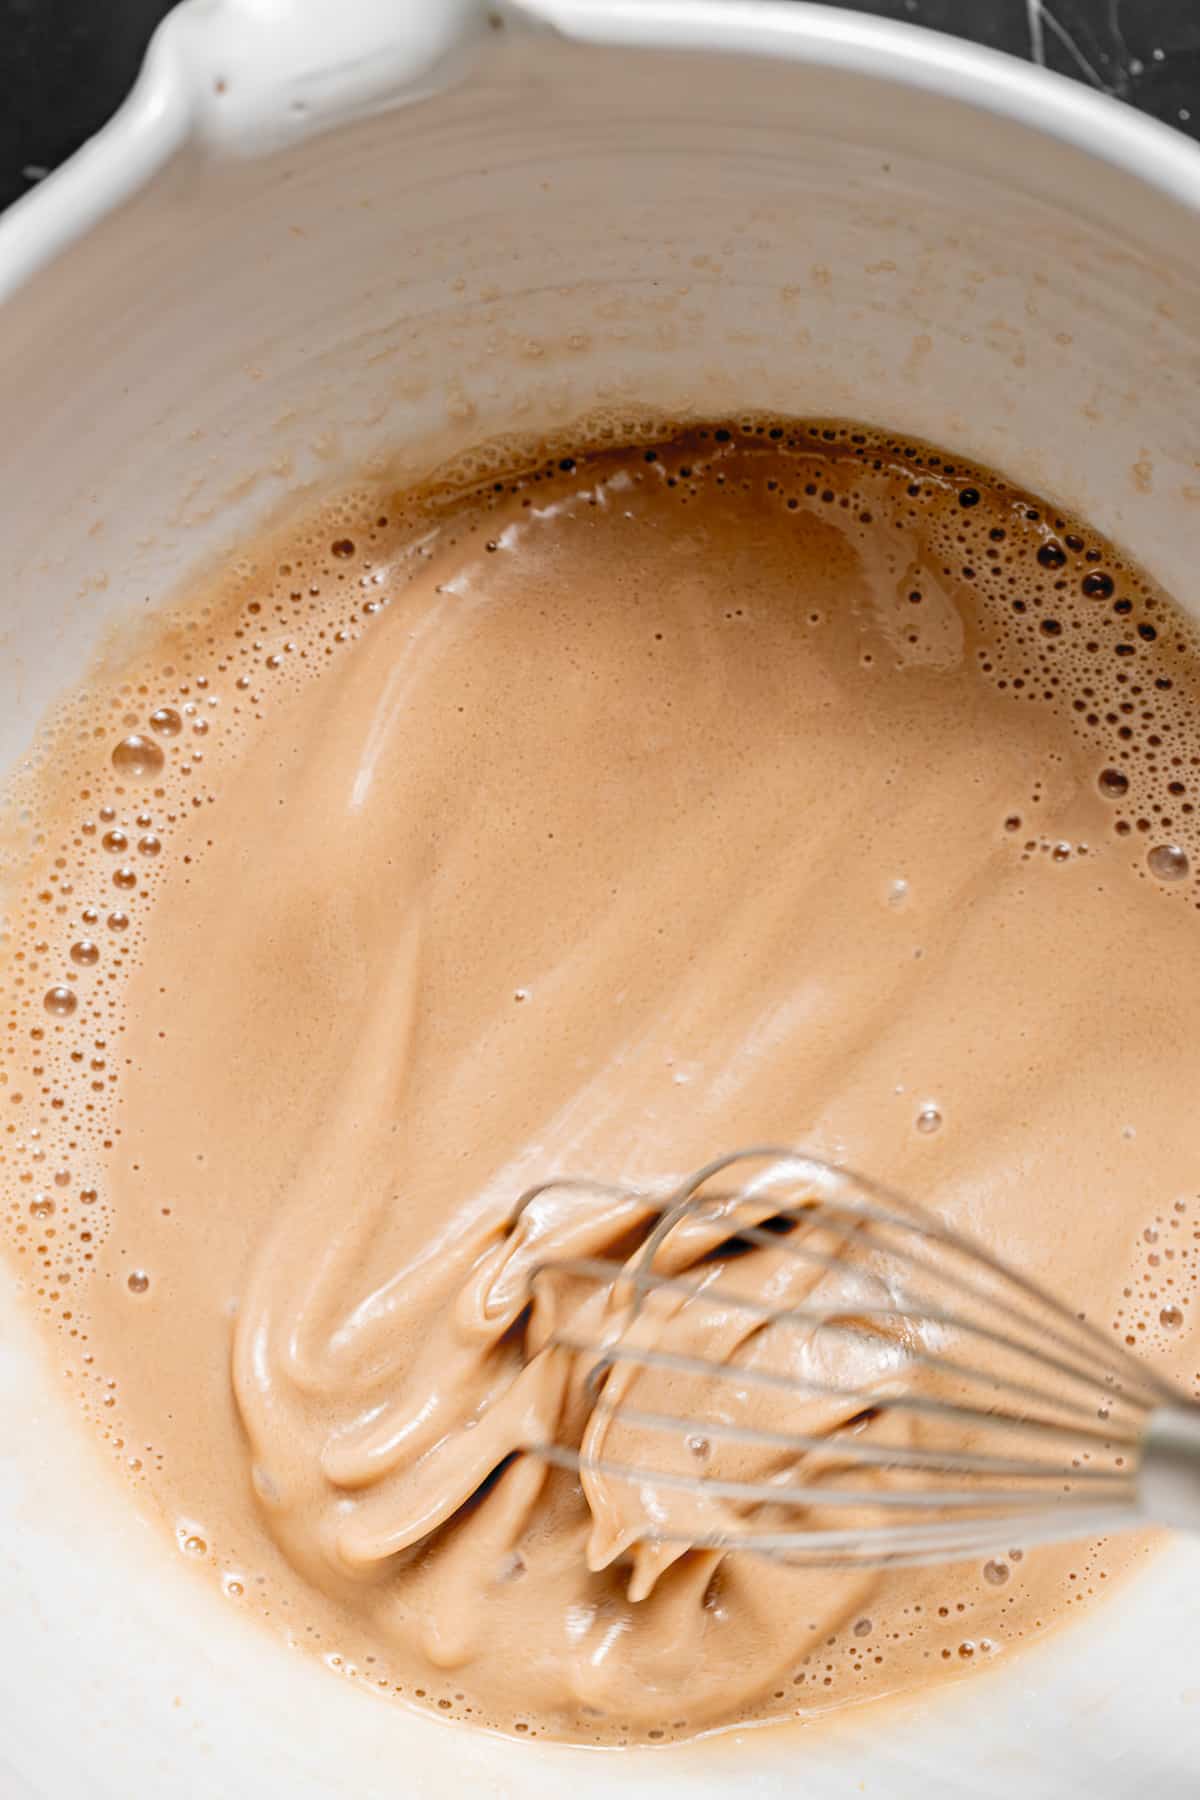
STEP 2: Mix wet ingredients. In a large bowl, whisk together the chocolate milk, oil, eggs, and vanilla.
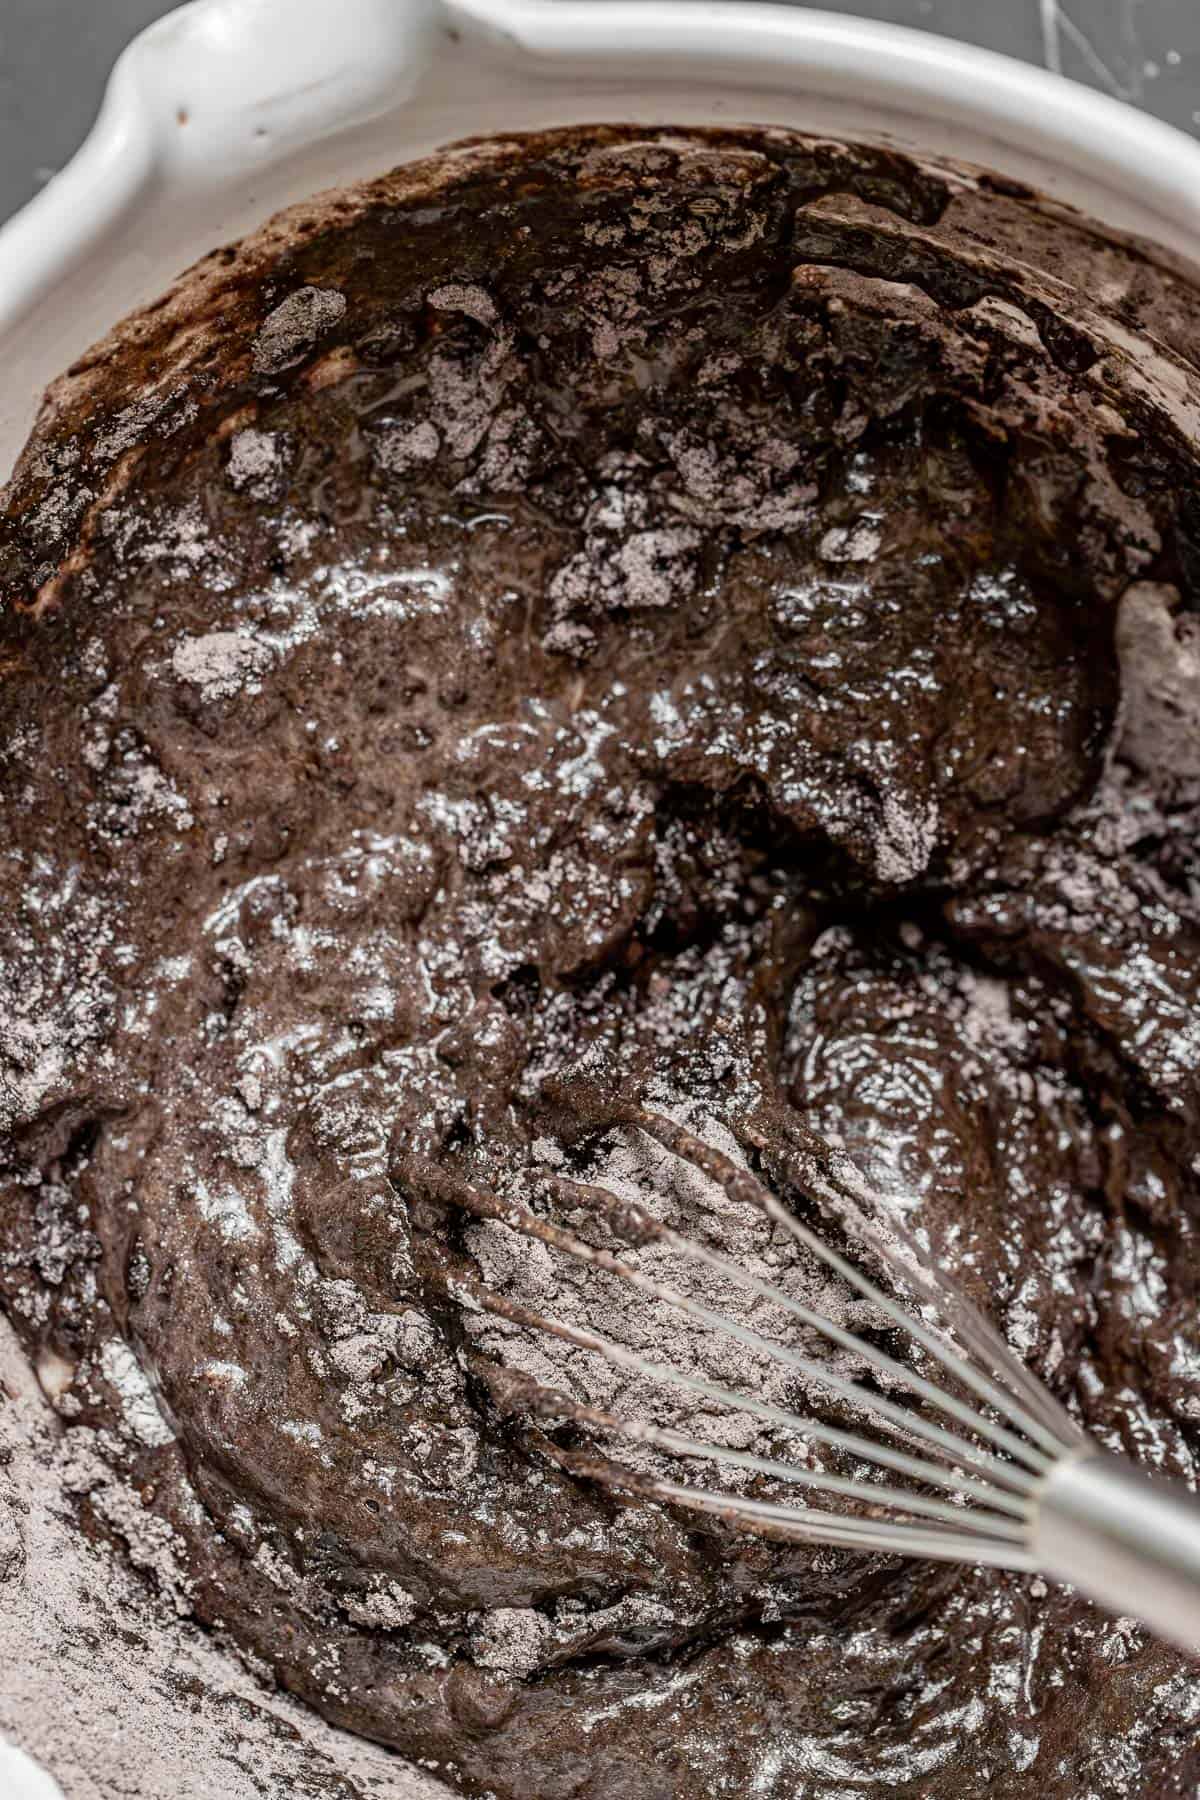
STEP 3: Combine wet and dry. Add the dry ingredients to the wet and whisk until just combined.
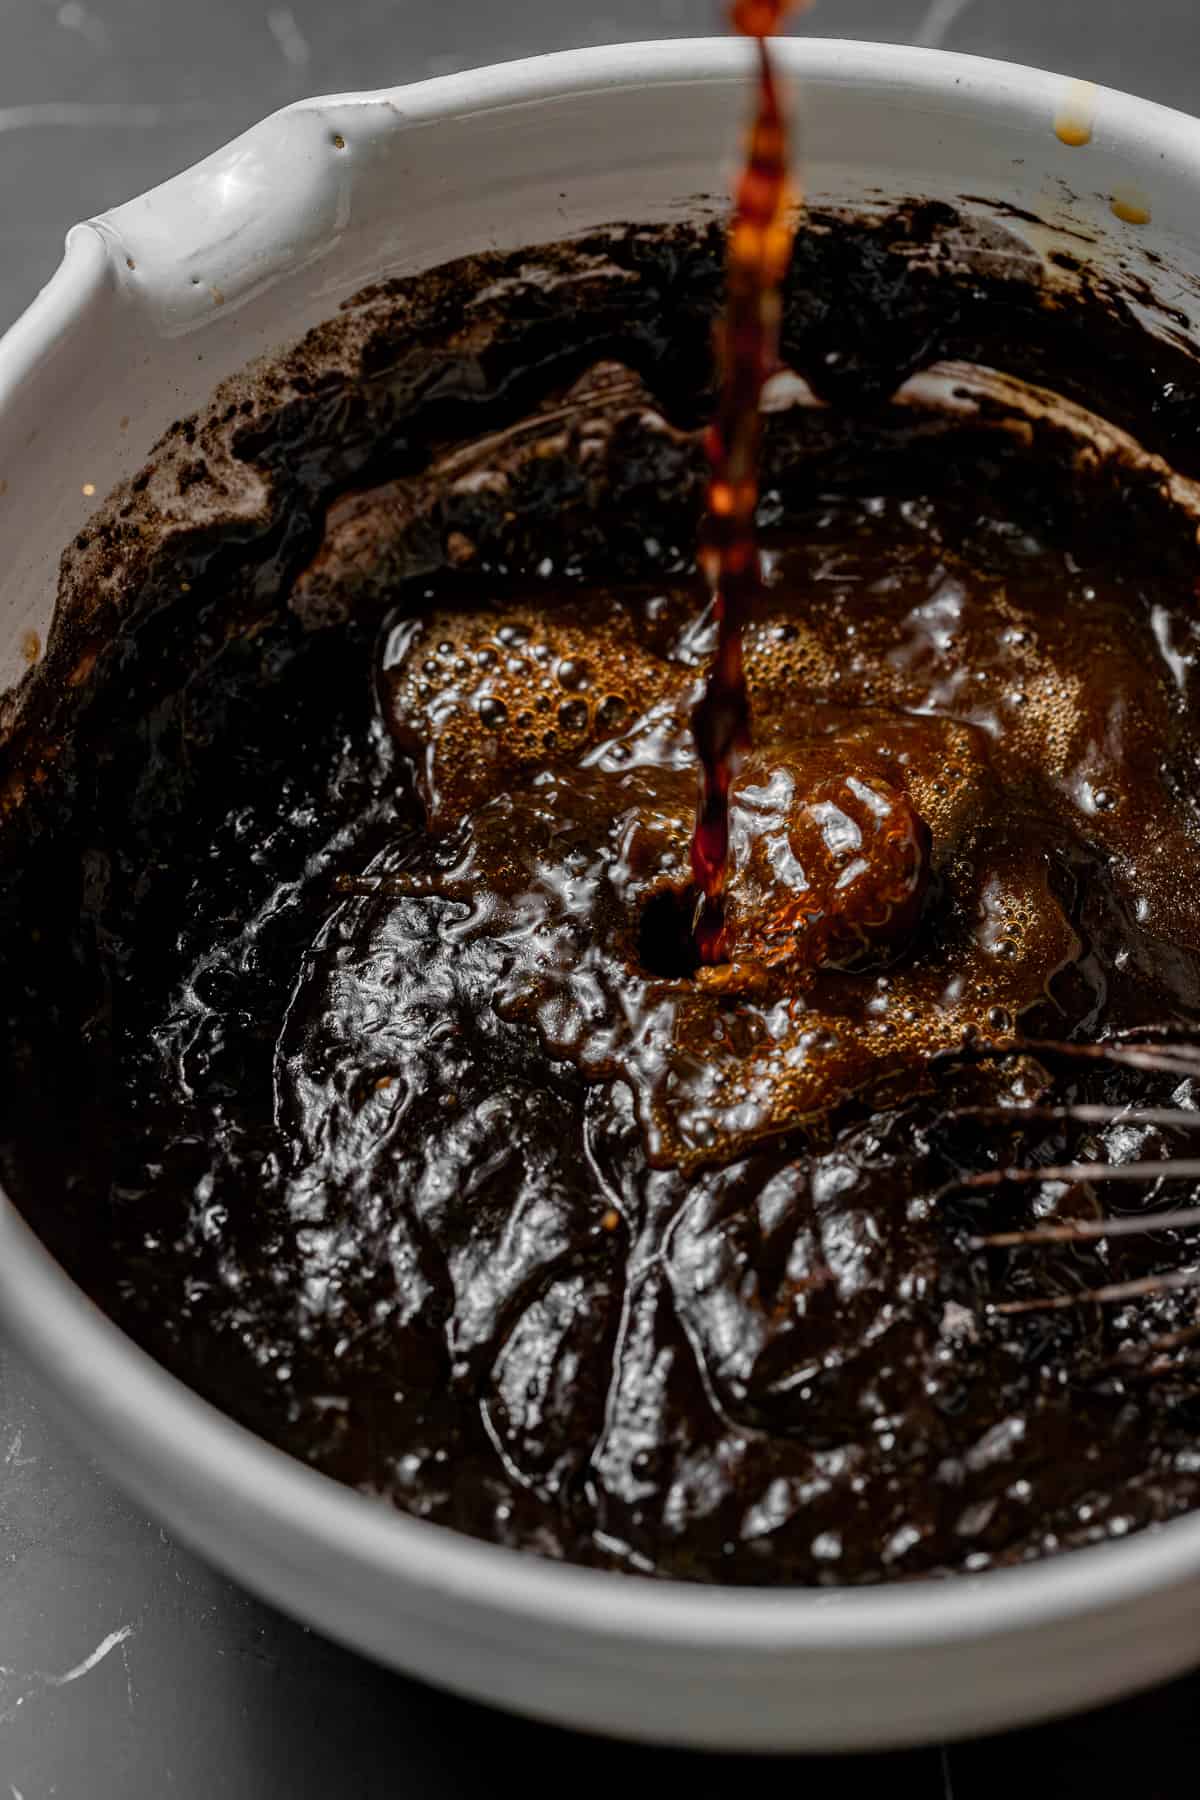
STEP 4: Add coffee. Lastly, whisk in the hot coffee until fully combined.
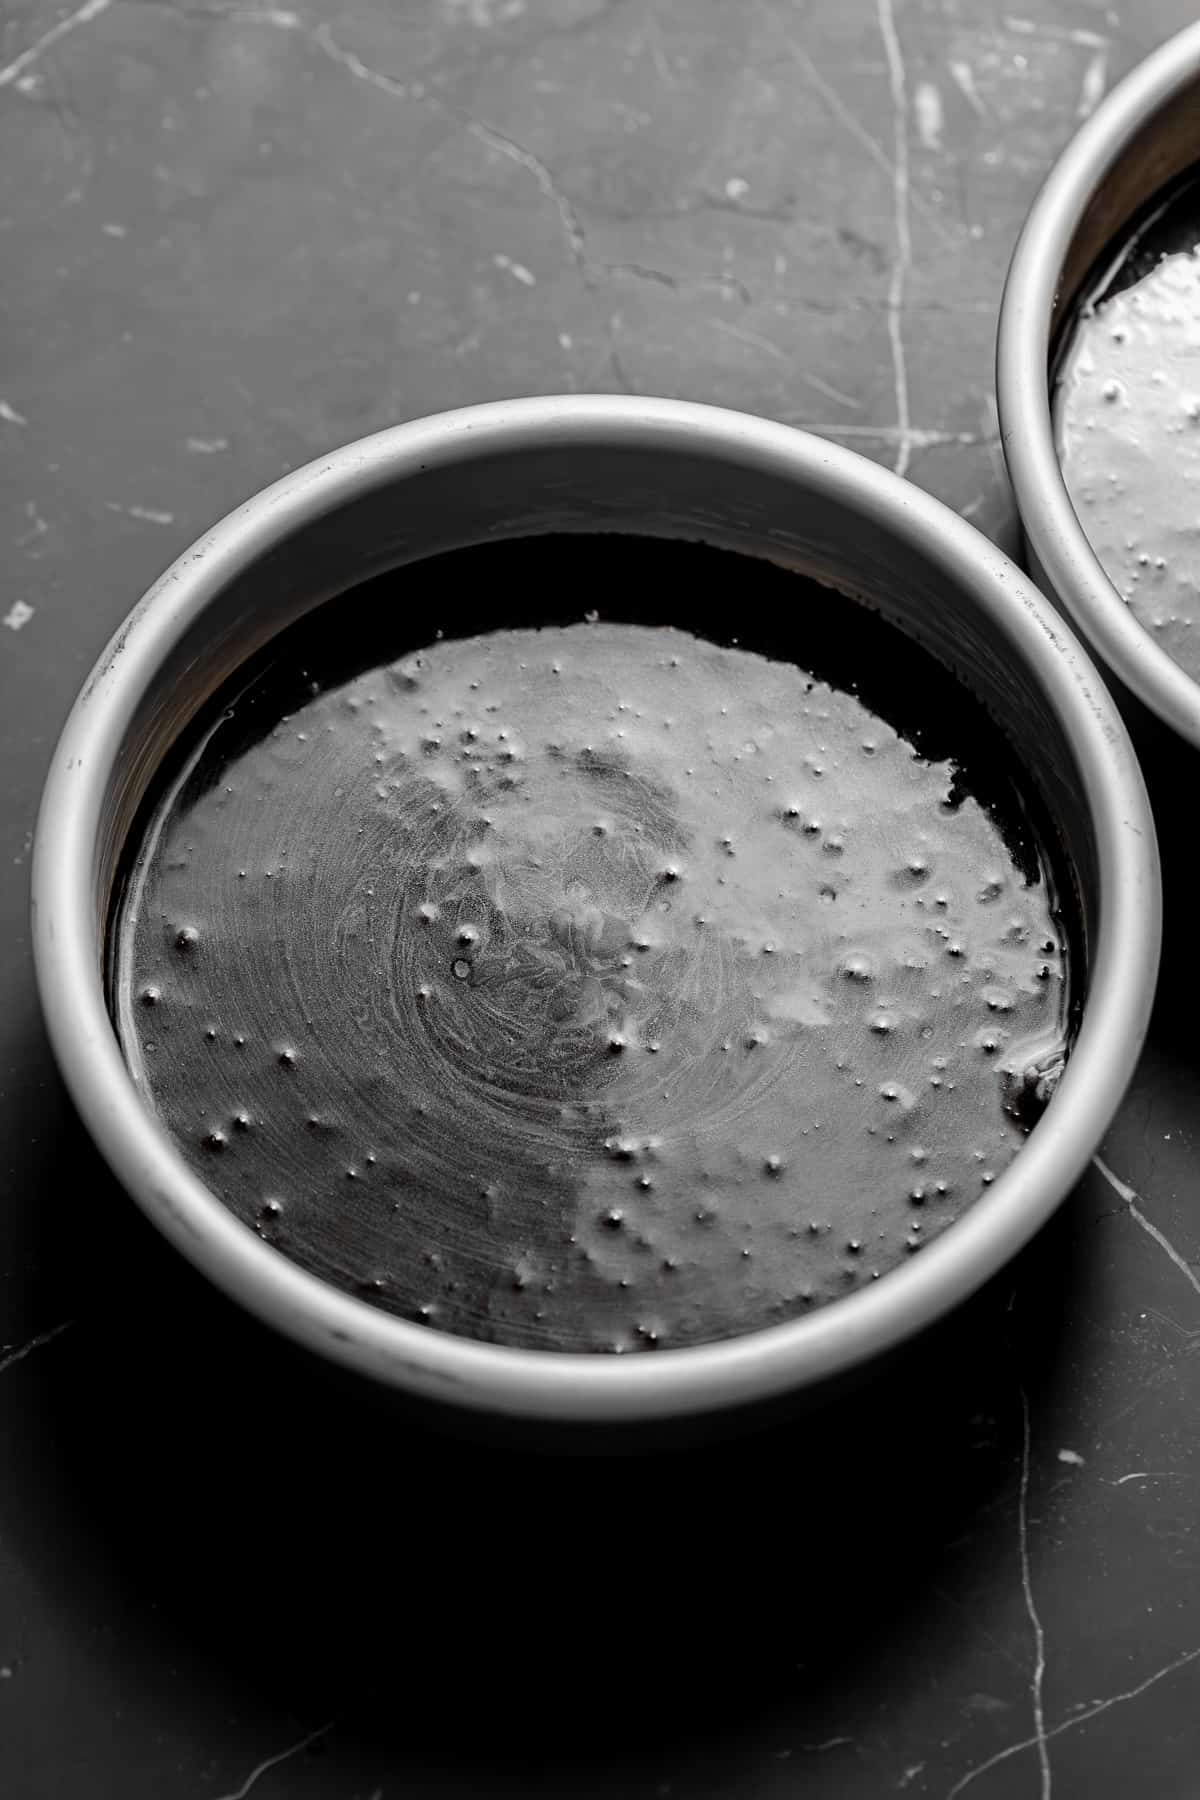
STEP 5: Divide and bake. Divide the batter between the 2 cake pans. Wrap the cake strips around the pans and bake for 35-40 minutes or until a toothpick inserted comes out clean.
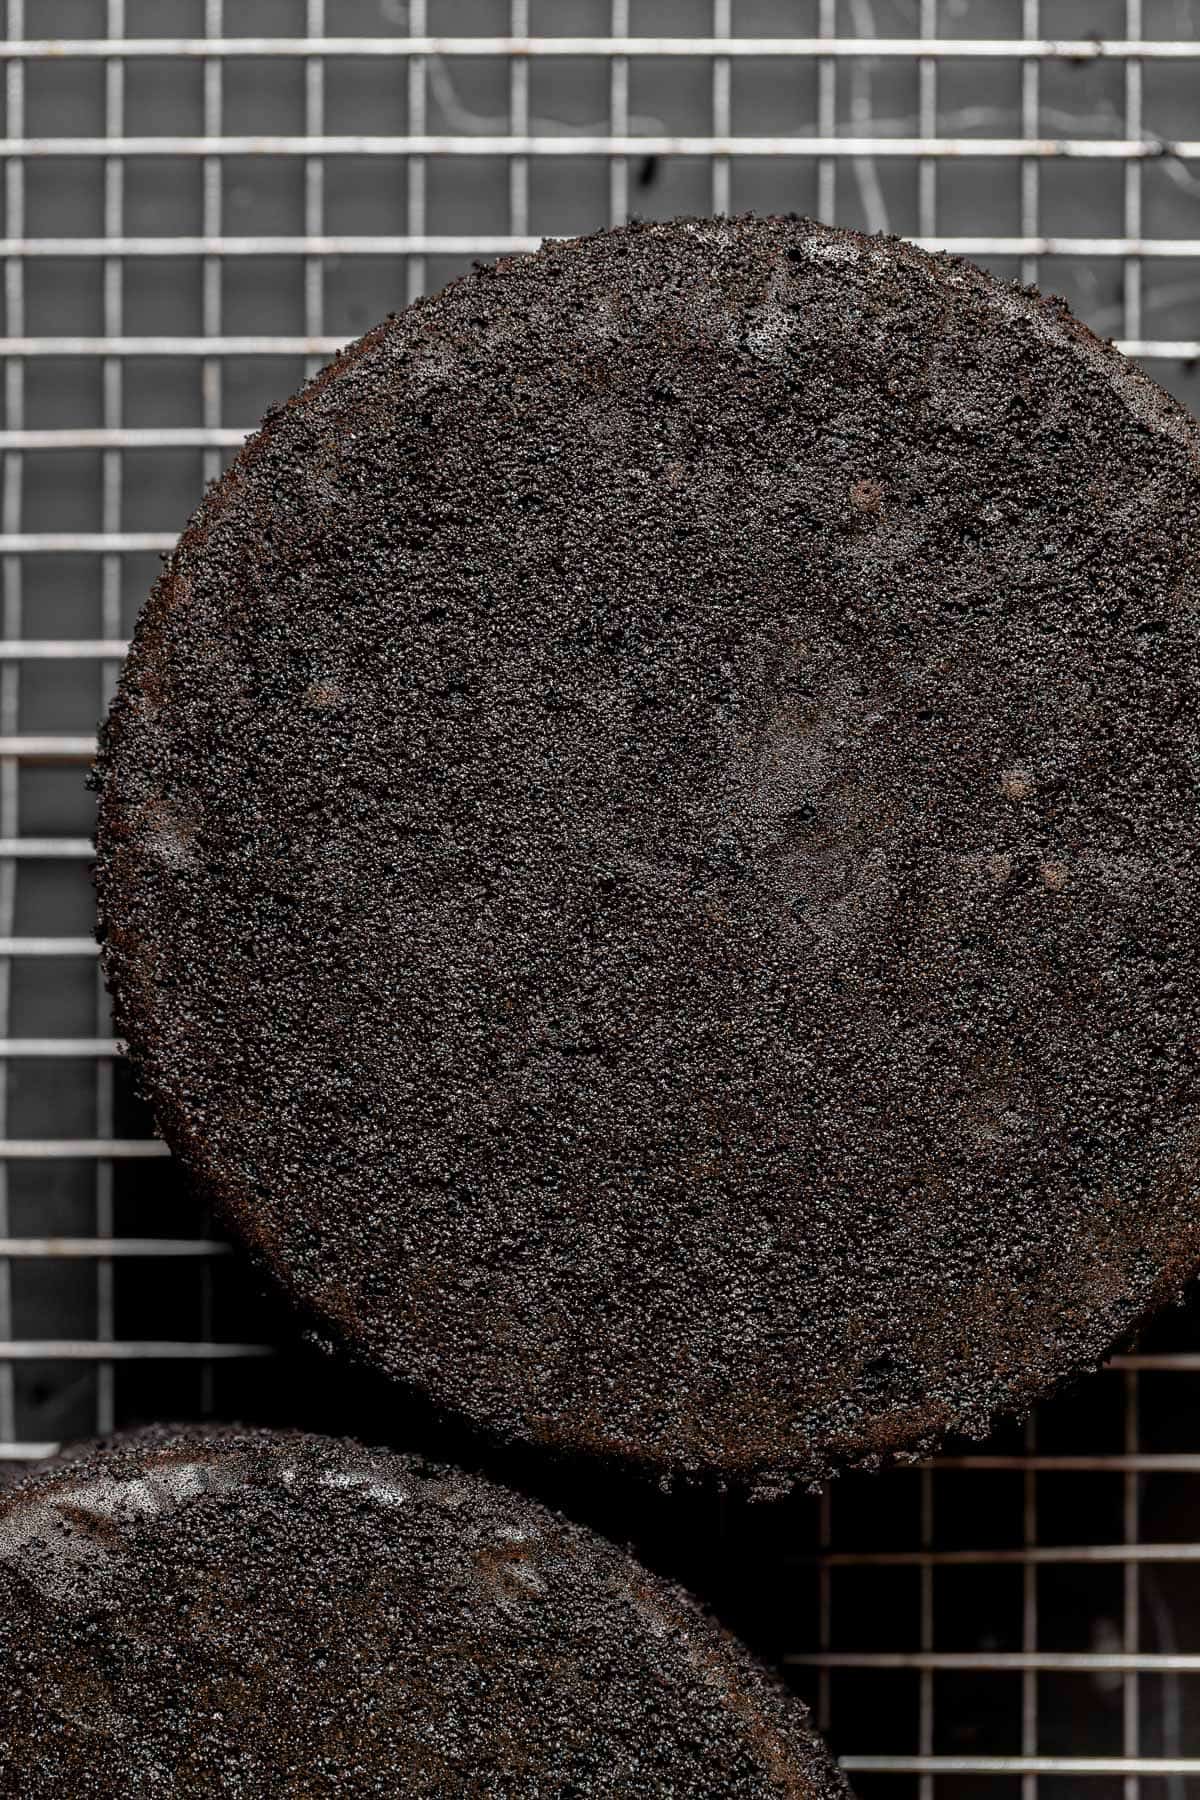
STEP 6: Cool and freeze. Allow the cakes to cool for a few minutes before turning out onto a wire rack to cool completely. Once cool, wrap the cakes tightly in plastic wrap and freeze until ready to decorate. (Frozen cake layers will be much easier to frost!)
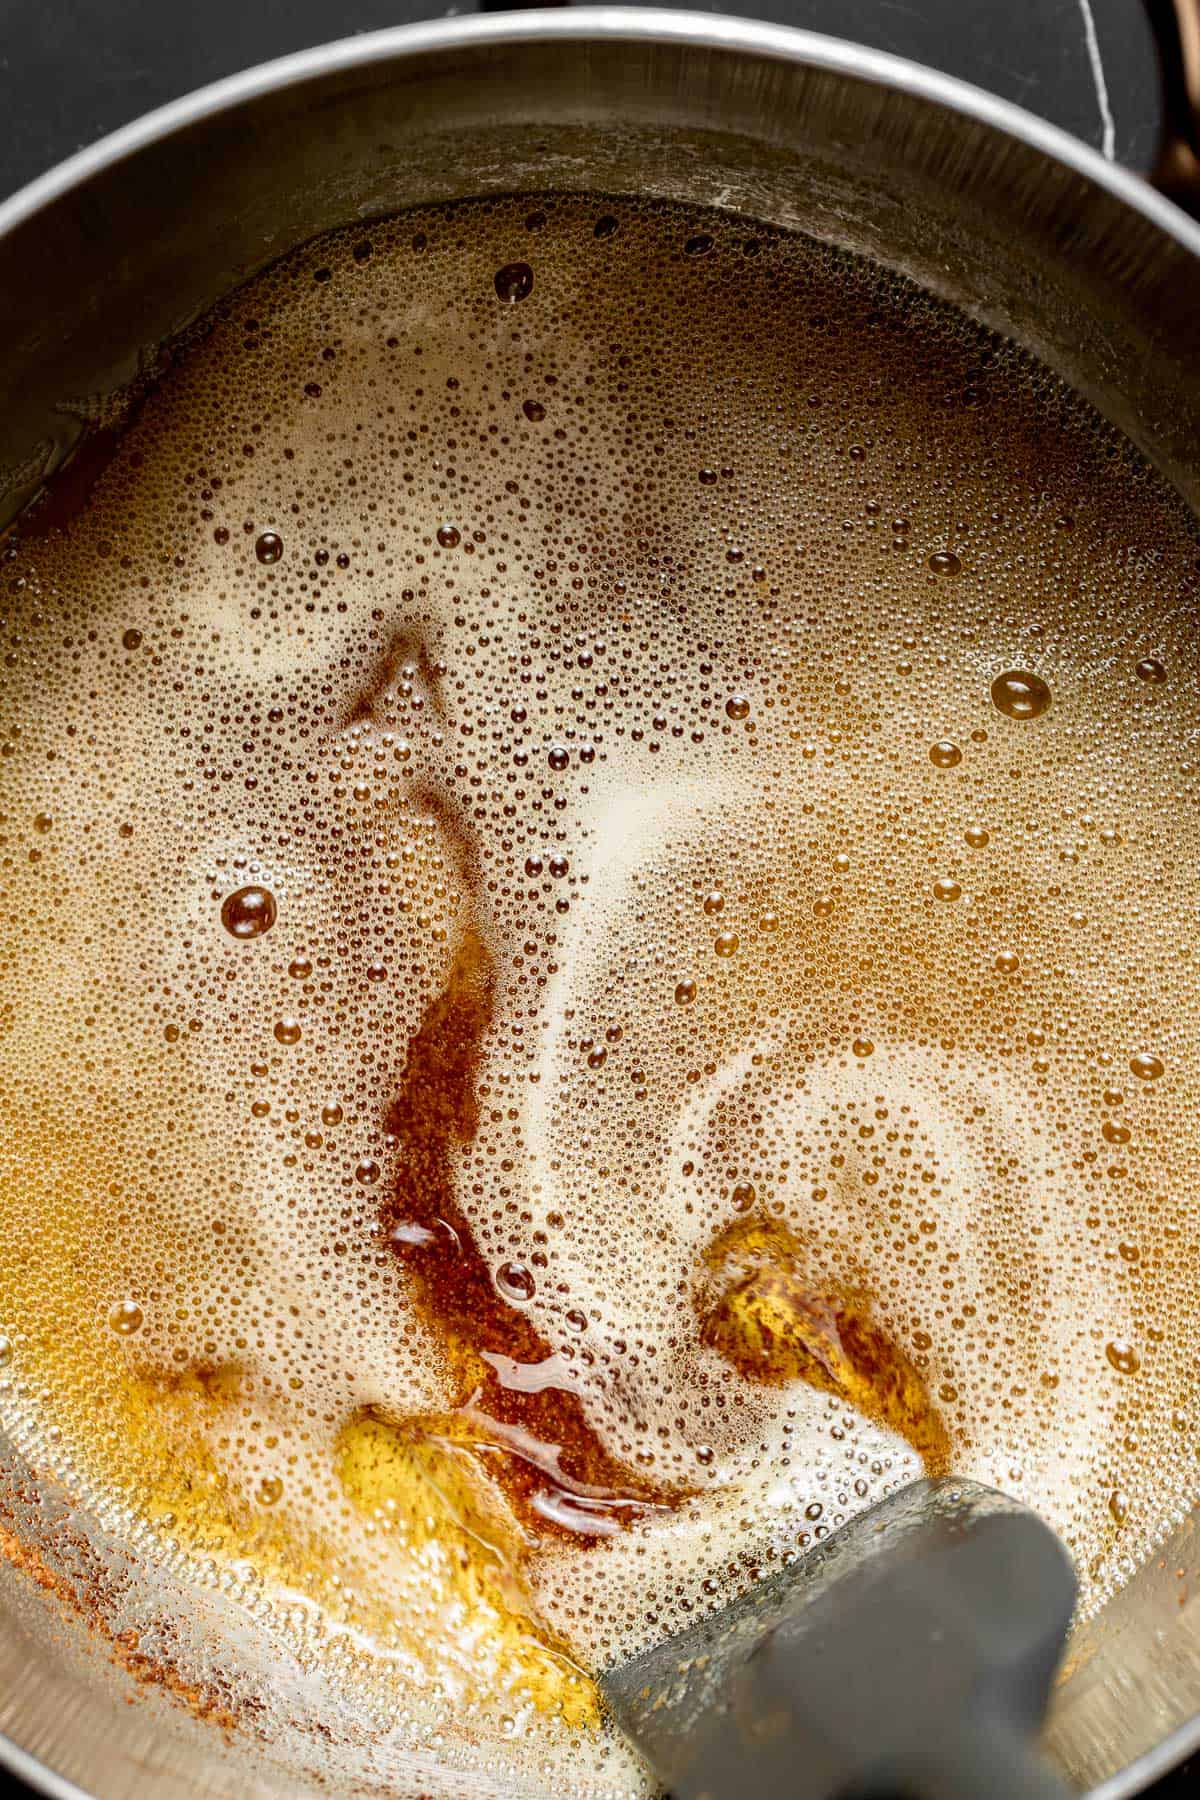
STEP 7: Brown the butter. In a large saucepan, place the butter over medium heat. As the butter melts, stir it with a rubber spatula to encourage even cooking. Once the butter has fully melted, it will alternate between rapid large bubbles and gentle small foamy bubbles. The butter will be ready once it turns a dark golden color and the fat solids have darkened and settled at the bottom of the pan.
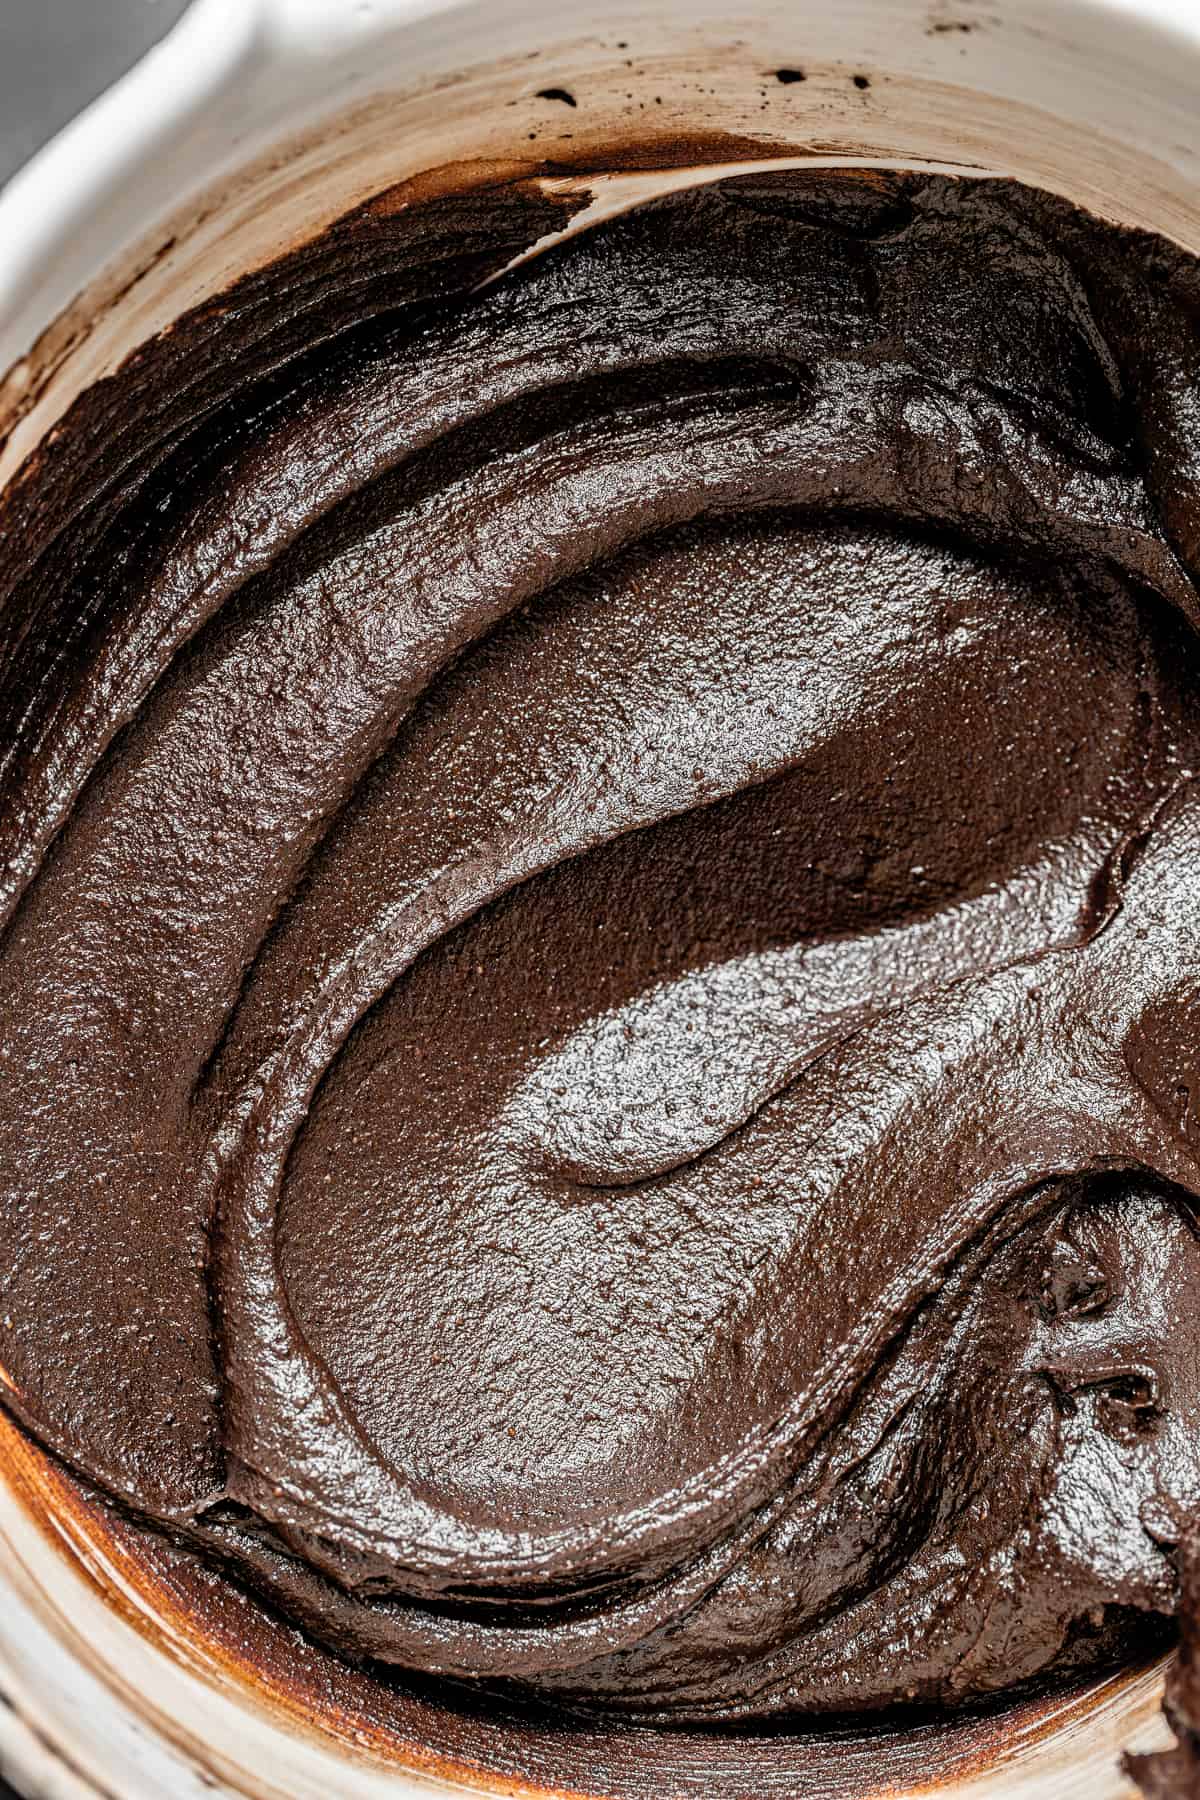
STEP 8: Make the frosting. Add the chocolate, coconut cream, powdered sugar, cocoa powder, salt, and vanilla. Stir constantly until everything is melted and fully combined. Pour the mixture through a fine mesh sieve into a large bowl. Press plastic wrap up against the surface and place in the fridge for at least one hour or overnight. (If chilled overnight, microwave in 10 second increments until soft, then use an electric mixer to beat on low speed until smooth.)
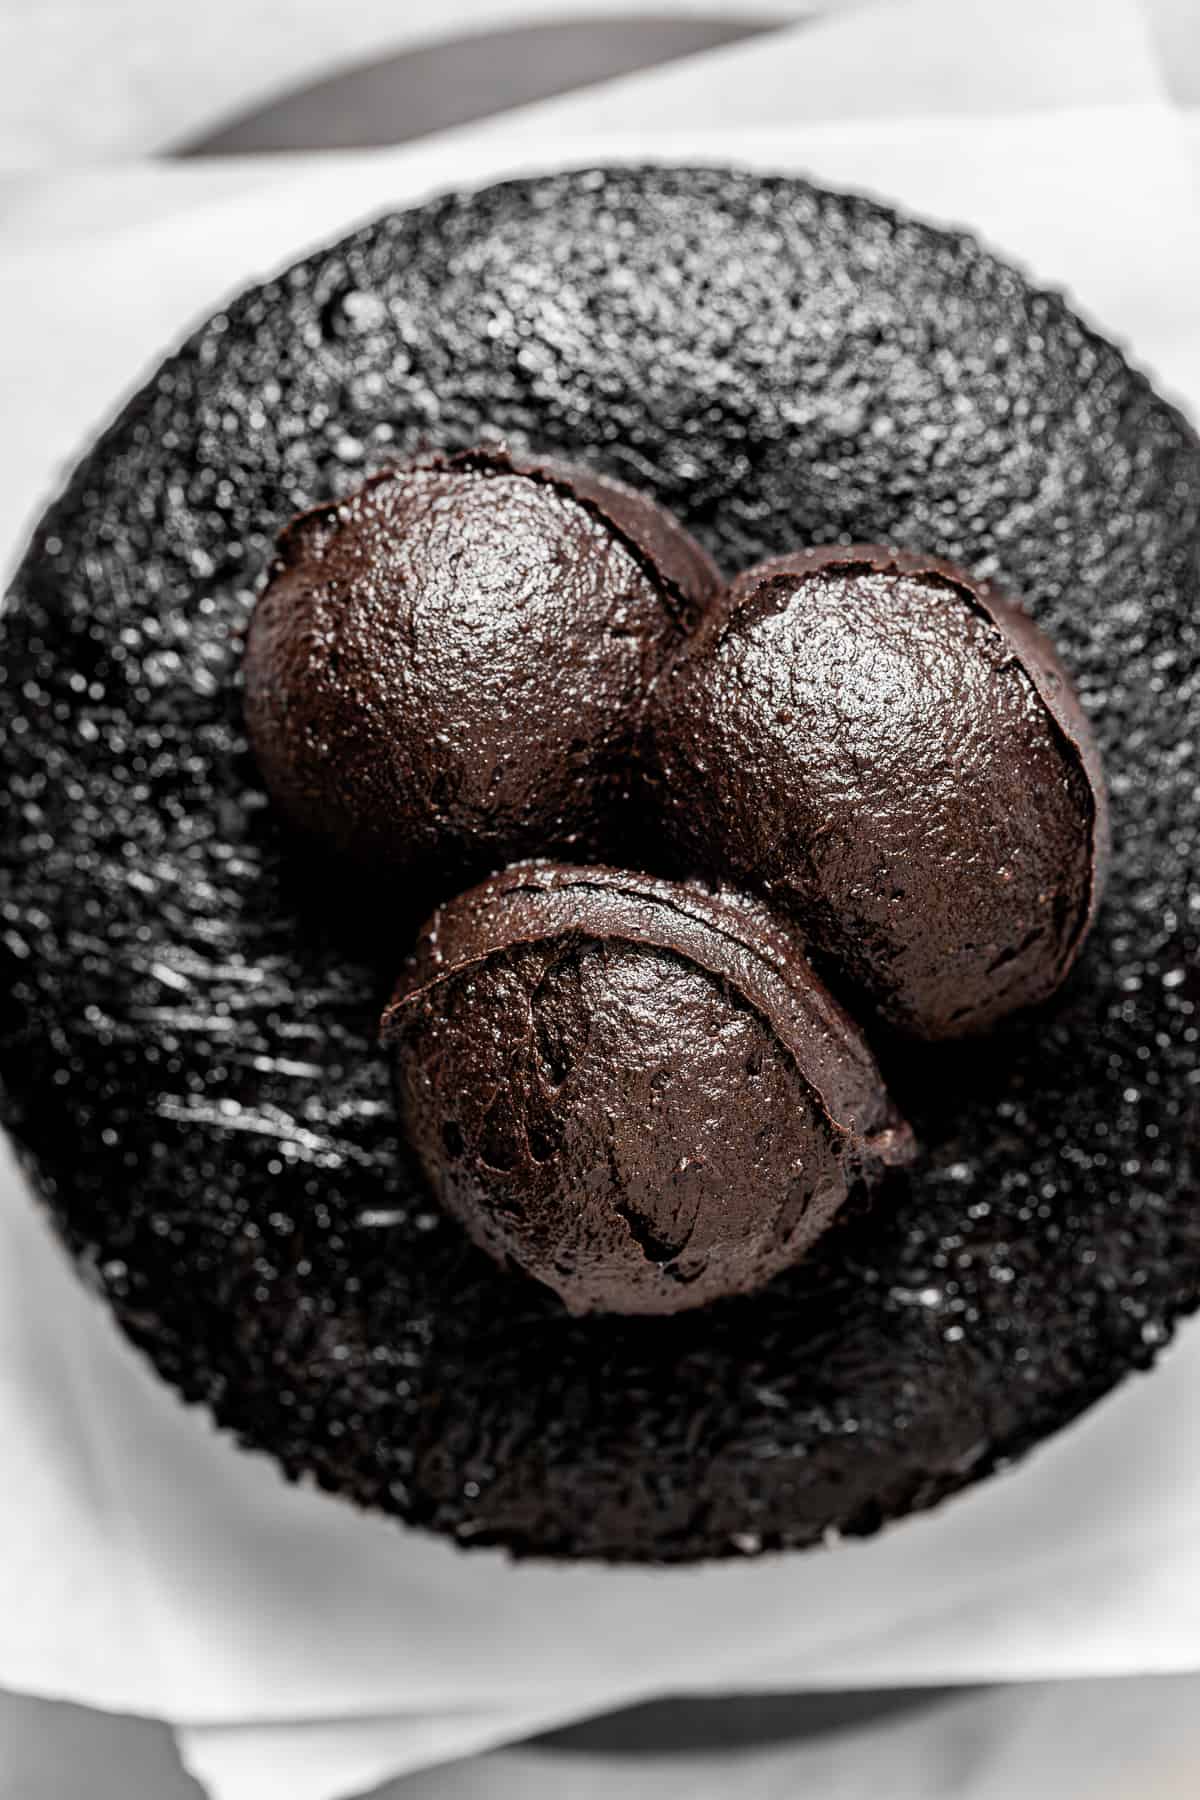
STEP 9: Assemble. Place the first cake layer on a cake stand. Use a 3 tablespoon cookie scoop to add 3-4 scoops of frosting. Use an offset spatula to spread into an even layer. Add the last cake layer and top with a few more scoops of frosting. Use the offset spatula to smooth out the top, and spread the excess all over the sides. Continue decorating the cake as desired.
STEP 10: Decorate. In a small bowl, add the marshmallows and microwave for 15 seconds. Using your hands or a spoon, grab small amounts of the melted marshmallows and pull them across the cake to make spider web designs. Finish with candy eyes, if desired.
Expert Baking Tips
- Use cake strips to create flat cake layers. Soak these wilton cake strips in ice water before starting the cake batter. Just before baking, wrap the cake strips around the pan. The cold temperature on the outside of the cake will prevent the edges from baking faster than the center, resulting in an evenly baked flat cake.
- Freeze the cake layers before decorating. Since this is such a moist cake, I highly recommend freezing the cake layers for at least two hours before decorating.
- If the frosting is chilled overnight... microwave it in 10 second increments until it softens up, then use an electric mixer to beat on low speed until smooth.
- Use a cookie scoop to assemble the cake. Use a 3 tablespoon cookie scoop to add an equal amount of frosting to each layer.
Recipe FAQs
Black cocoa powder is similar to dutch process, but richer in flavor and darker in color. You can use dutch process if needed, but if you want your cake to be as dark and rich as possible, I suggest using black cocoa powder!
Cakes may dome in the middle when they bake because the outside bakes faster than the center, so the center has more time to rise. This is not ideal for layer cakes, because it is a pain to have to trim away the top of the cake. The best way to ensure your cake layers bake up flat rather than doming is to use cake strips. Soak the cake strips in cold water before wrapping around the outside of the cake pan. This will ensure that the outside of the cake does not bake faster than the center, resulting in an evenly baked, flat cake.
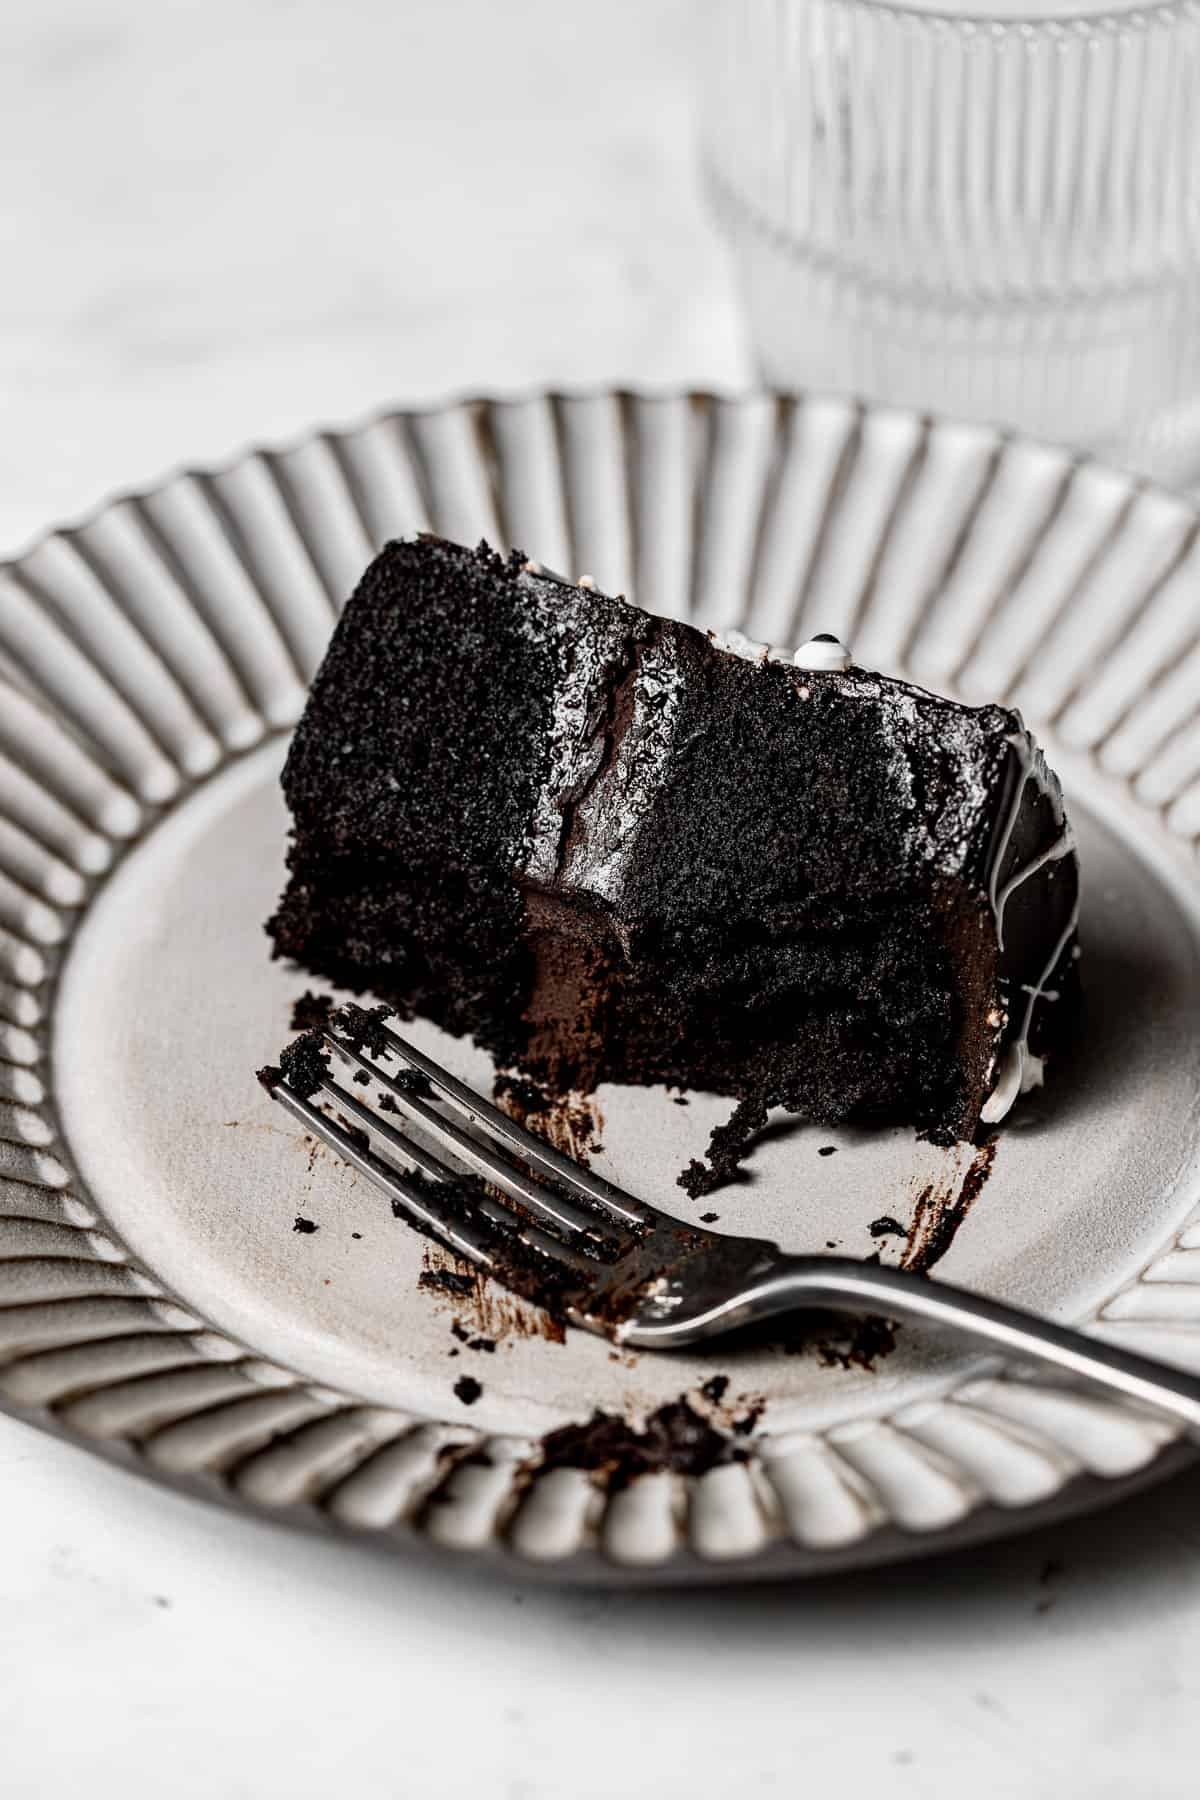
This cake is best eaten the day it's made, but you can store slices covered at room temperature for up to 3 days.
Baking in Grams
All of the recipes on this blog are carefully developed with gram measurements so you can easily recreate them in your own kitchen with success. Volume measurements are extremely inaccurate and leave room for significant errors. Not all measuring cups are made equally, so your one cup of flour will be different from my one cup of flour. By providing precise measurements in grams (aside from minor ingredients, which are given in tsp/tbsp), you can make these recipes accurately and with less cleanup! All you need is this kitchen scale.
If this still isn't enough to convince you, I have provided volume measurements in the recipe card. If you are interested in understanding the conversions, this is the best conversion chart.
But trust me, once you try baking in grams you'll never turn back!
Happy baking! x
Other Halloween recipes to try

If you tried this recipe, I'd love to know how it turned out for you! Leave a star rating & review below and post a picture (or video!) on Instagram and tag me so I can see your bakes! Not ready to make this recipe yet? Click the heart button on the right of your screen to save it for later 🙂
📖 Recipe
Black Cocoa Spider Web Cake
Equipment
Ingredients
For the black cocoa cake:
- 160 g (1 ⅓ cups) all-purpose flour
- 236 g (1 cup + 3 tbsp) granulated sugar
- 42 g (½ cup) black cocoa powder
- 1 teaspoon espresso powder
- 1 teaspoon baking powder
- ½ teaspoon kosher salt
- 150 g (⅔ cup) chocolate milk, room temp
- 100 g (½ cup) neutral oil
- 2 eggs, room temp
- 1 teaspoon vanilla extract
- 75 g (⅓ cup) freshly brewed hot coffee
For the black cocoa frosting:
- 227 g (16 tablespoon) unsalted butter
- 340 g (12 oz) bittersweet chocolate
- 170 g (¾ cup) heavy cream
- 113 g (1 cup) powdered sugar, sifted
- 42 g (½ cup) black cocoa powder, sifted
- ½ teaspoon kosher salt
- 2 teaspoon vanilla extract
- 5 large marshmallows, for spider web design
- Candy eyes, optional
Instructions
For the black cocoa cake:
- Preheat the oven to 325 degrees F. Grease and line two 6 inch cake pans with parchment paper.
- Soak cake strips in ice cold water.
- In a medium bowl, whisk together the flour, sugar, cocoa powder, expresso powder, baking powder, and salt. Set aside.
- In a large bowl, whisk together the chocolate milk, oil, eggs, and vanilla.
- Add the dry ingredients to the wet and whisk until just combined.
- Lastly, whisk in the hot coffee until fully combined.
- Divide the batter between the 2 cake pans.
- Wrap the cake strips around the pans and bake for 35-40 minutes or until a toothpick inserted comes out clean.
- Allow the cakes to cool for a few minutes before turning out onto a wire rack to cool completely.
- Once cool, wrap the cakes tightly in plastic wrap and freeze until ready to decorate. (Frozen cake layers will be much easier to frost!)
For the black cocoa frosting:
- In a large saucepan, place the butter over medium heat. As the butter melts, stir it with a rubber spatula to encourage even cooking. Once the butter has fully melted, it will alternate between rapid large bubbles and gentle small foamy bubbles. The butter will be ready once it turns a dark golden color and the fat solids have darkened and settled at the bottom of the pan.
- Add the chocolate, heavy cream, powdered sugar, cocoa powder, salt, and vanilla. Stir constantly until everything is melted and fully combined.
- Pour the mixture through a fine mesh sieve into a large bowl. Press plastic wrap up against the surface and place in the fridge for at least one hour or overnight. (If chilled overnight, microwave in 10 second increments until soft, then use an electric mixer to beat on low speed until smooth.)
For assembly:
- Place the first cake layer on a cake stand. Use a 3 tablespoon cookie scoop to add 3-4 scoops of frosting. Use an offset spatula to spread into an even layer.
- Add the last cake layer and top with a few more scoops of frosting. Use the offset spatula to smooth out the top, and spread the excess all over the sides. Continue decorating the cake as desired.
- In a small bowl, add the marshmallows and microwave for 15 seconds.
- Using your hands, grab small amounts of the melted marshmallows and pull them across the cake to make spider web designs.
- Finish with candy eyes, if desired.
Notes
- Use cake strips to create flat cake layers. Soak these wilton cake strips in ice water before starting the cake batter. Just before baking, wrap the cake strips around the pan. The cold temperature on the outside of the cake will prevent the edges from baking faster than the center, resulting in an evenly baked flat cake.
- Freeze the cake layers before decorating. Since this is such a moist cake, I highly recommend freezing the cake layers for at least two hours before decorating.
- If the frosting is chilled overnight... microwave it in 10 second increments until it softens up, then use an electric mixer to beat on low speed until smooth.
- Use a cookie scoop to assemble the cake. Use a 3 tablespoon cookie scoop to add an equal amount of frosting to each layer.
Comments
No Comments