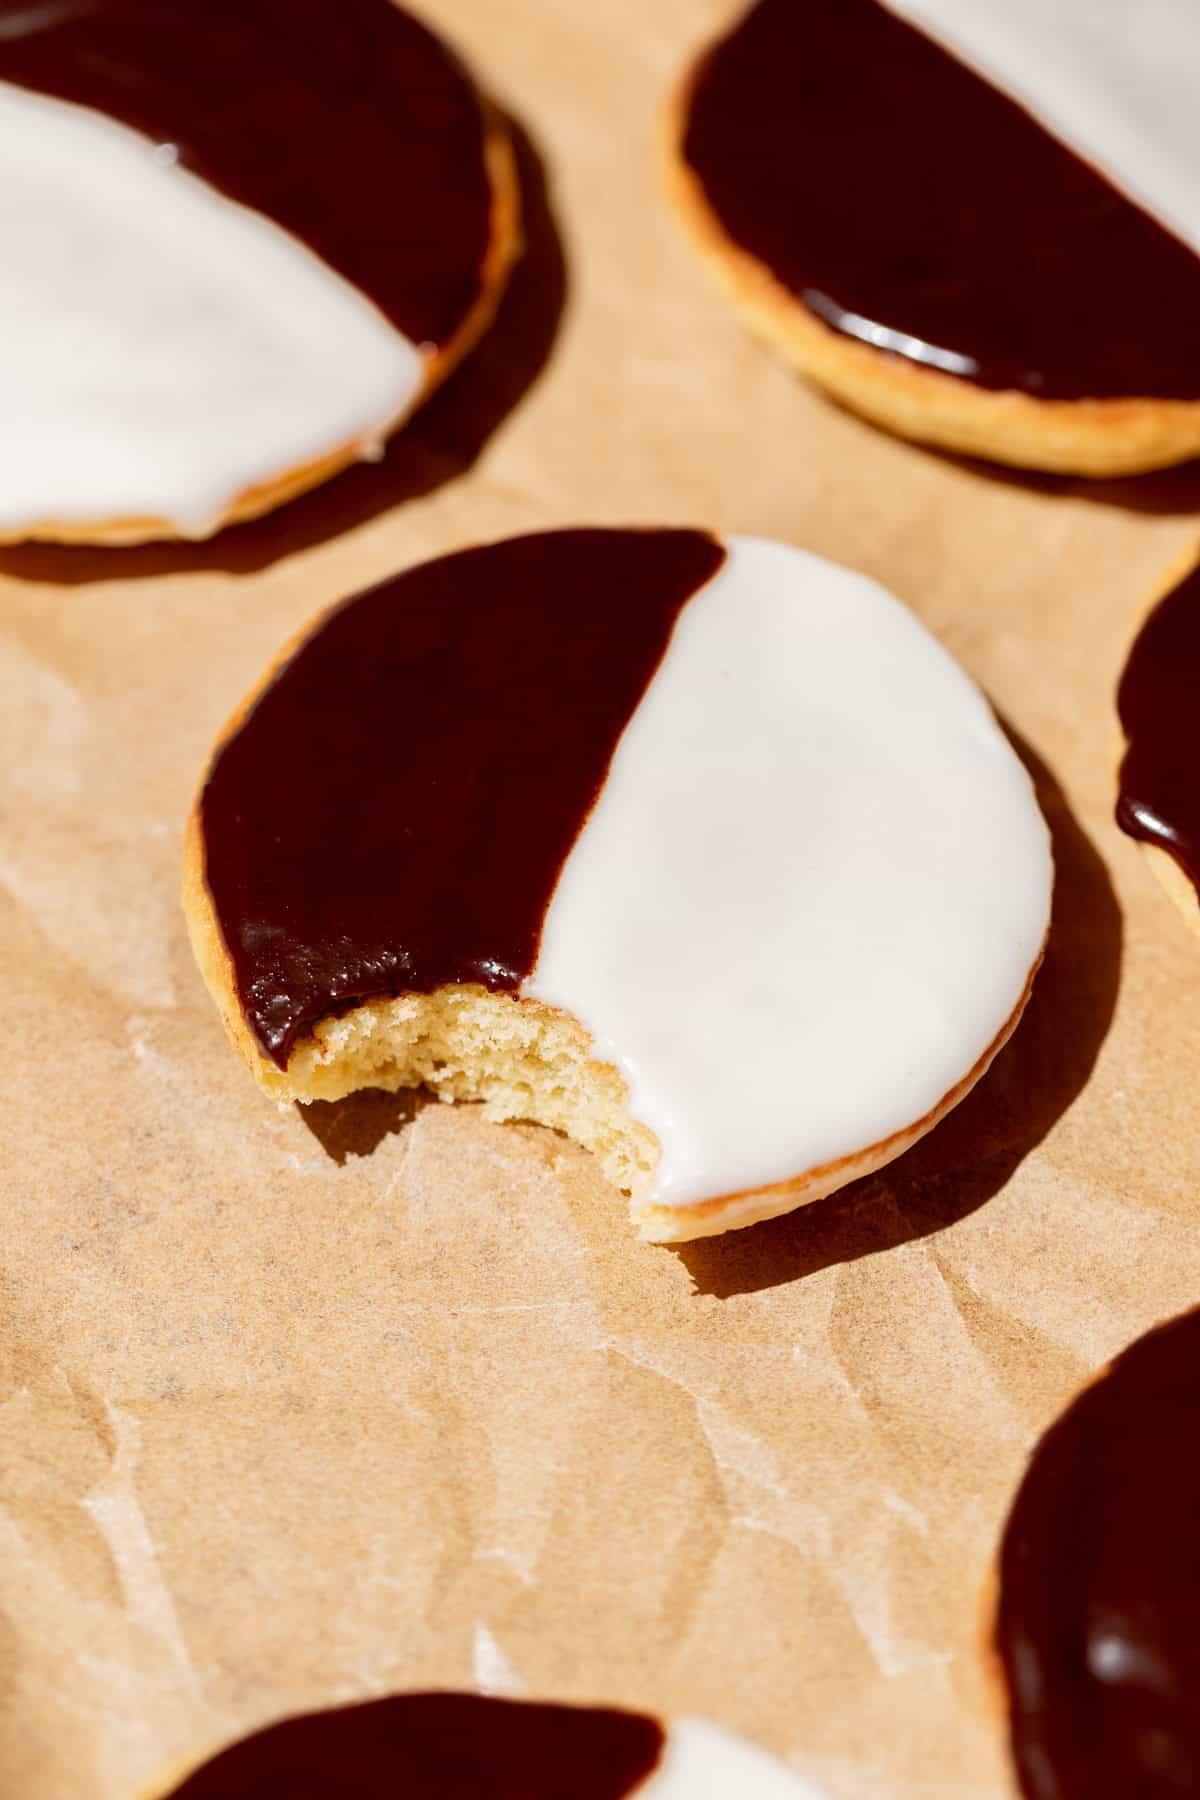
No need to travel to Manhattan because the best New York black and white cookies are actually made right in your own kitchen! These iconic soft, cakey cookies with half vanilla and half chocolate icing come together with a quick, approachable method and result in an ultra moist & flavorful crumb that you can't get anywhere else.
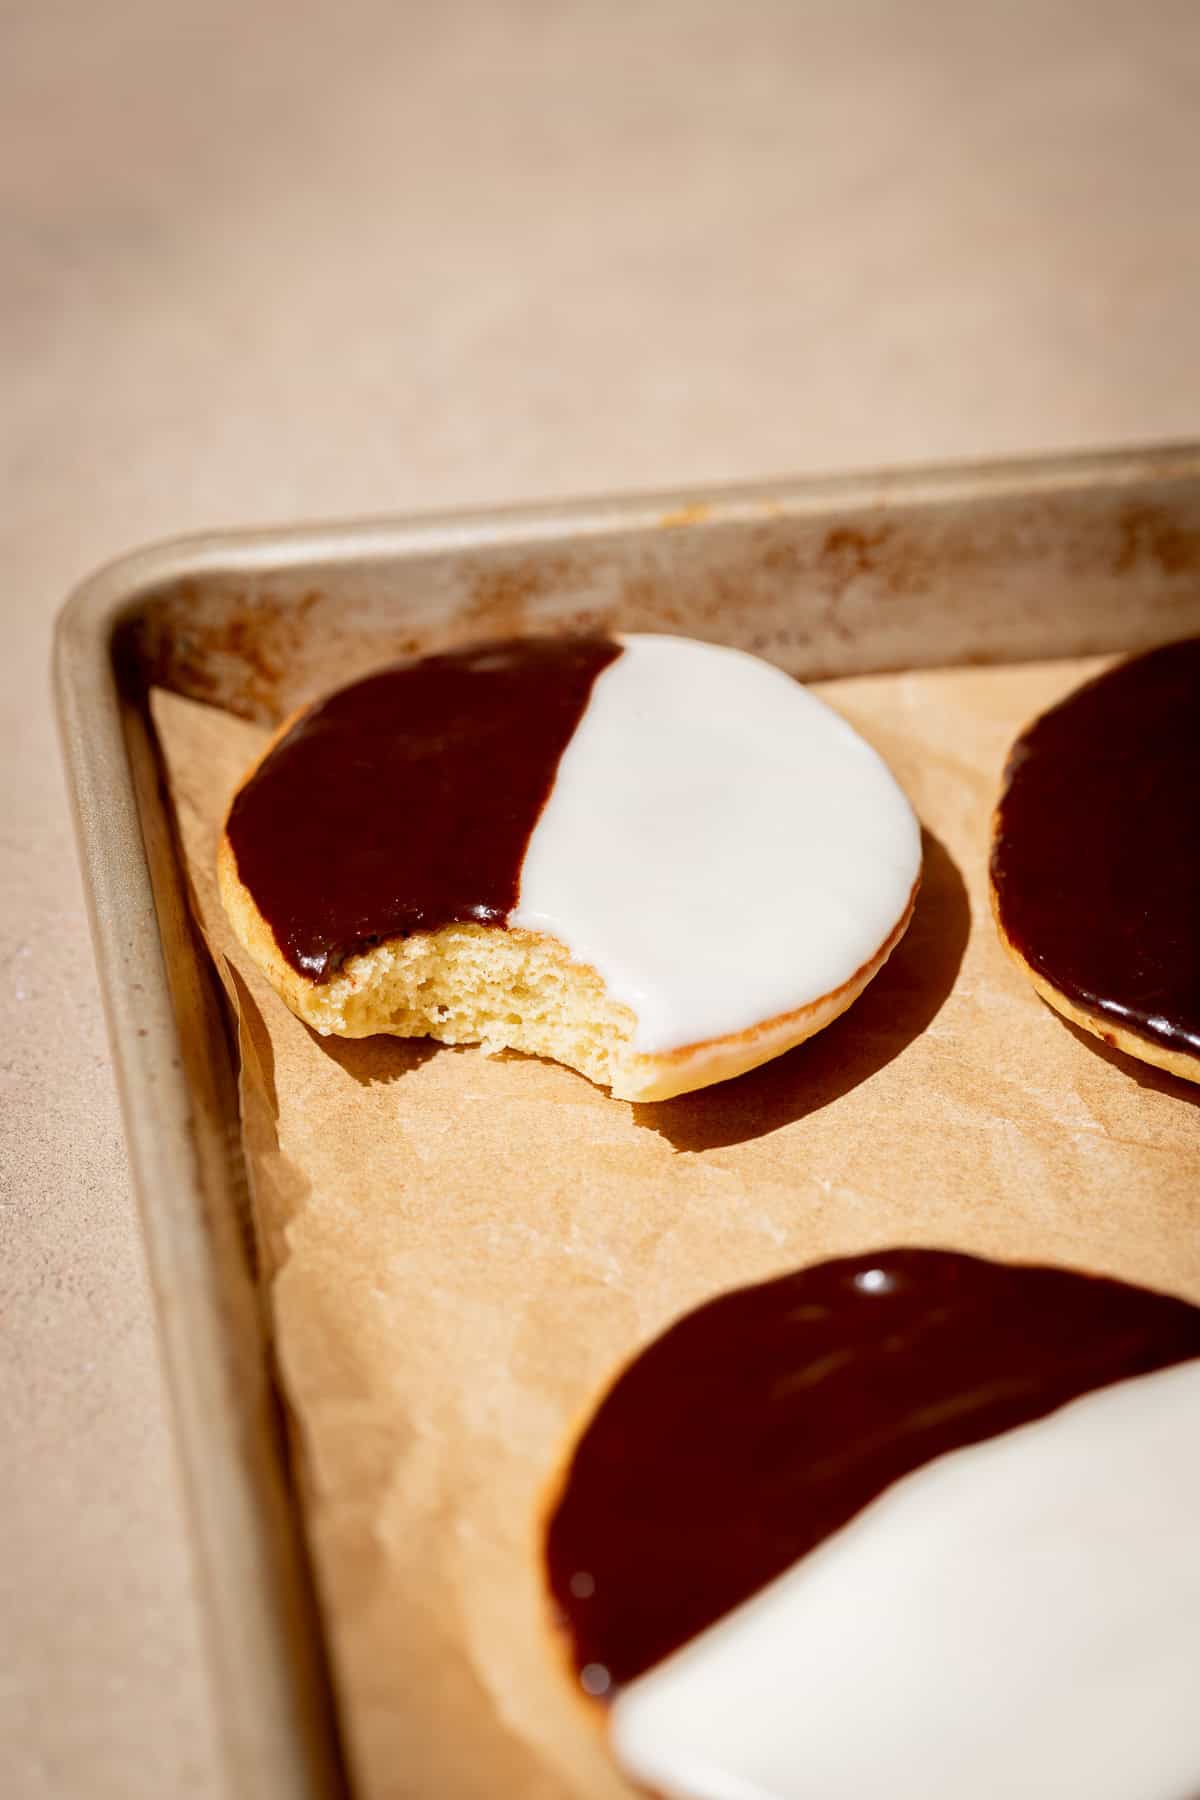
Nothing beats getting a sweet treat in NYC, and these black and white cookies are as authentic as a homemade recipe can get! Made with a super soft, moist cookie base and covered in that iconic black and white icing, these cookies are the definition of nostalgic indulgence. Plus, they bake up in under an hour, so they're perfect to make as a quick, yet impressive dessert! Whether you need a batch of delicious treats for a party or gathering, or you're just craving a taste of the New York food scene, these cookies are sure to be a hit.
For more cookie recipes, try Lemon Crinkle Cookies, Chocolate Nutella Cookies, and Mini Chocolate Chip Cookies.
Jump to Recipe
Why you'll love these black and white cookies
- Soft, Moist Cookie Base: No one likes a hard cookie, and these ones bake up incredibly soft and tender with a gorgeous cake-like crumb!
- Authentic and Nostalgic: The black and white cookie is truly a hallmark of New York culture, and this recipe is as close as you can get to the real thing without making a trip to the city!
- Quick and Easy Recipe: This recipe is beginner-friendly and super quick, giving you bakery-style cookies in under an hour!
Ingredient Notes
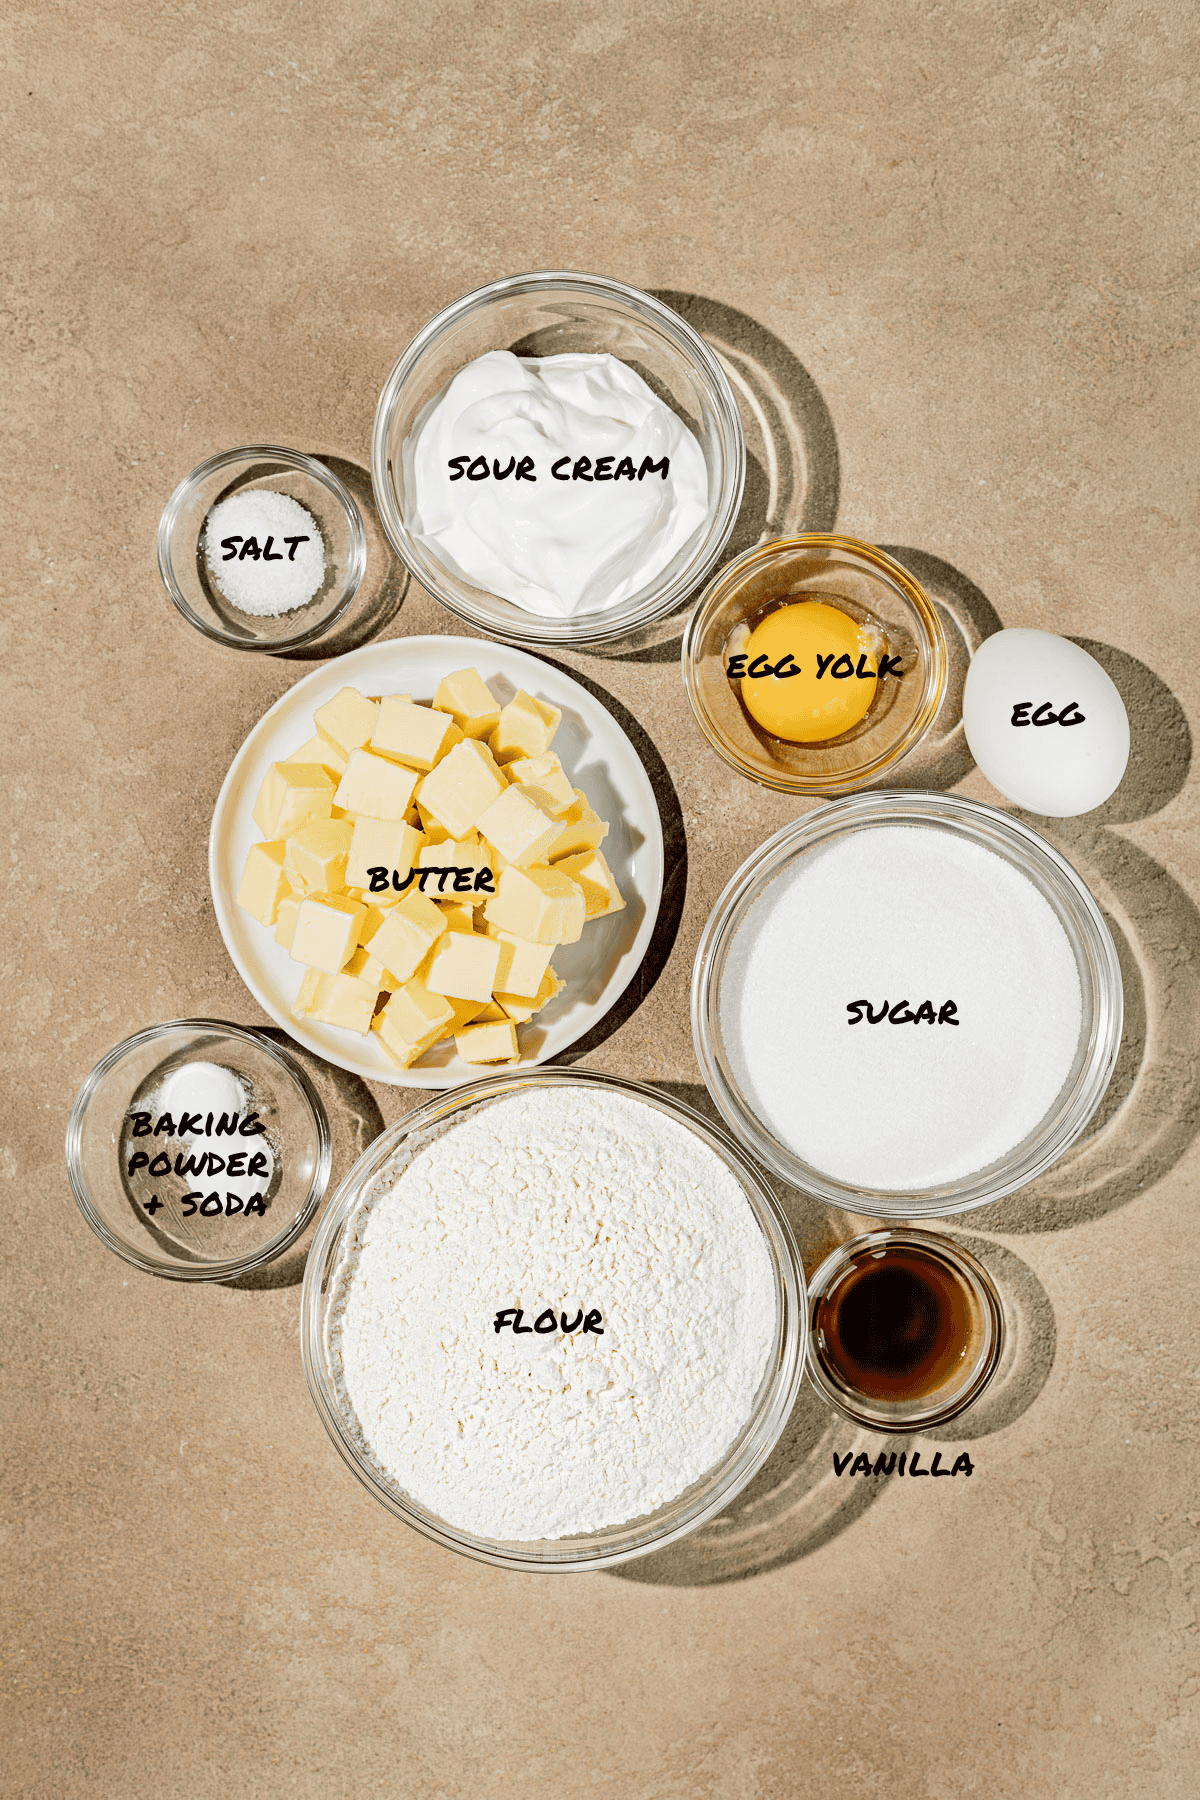
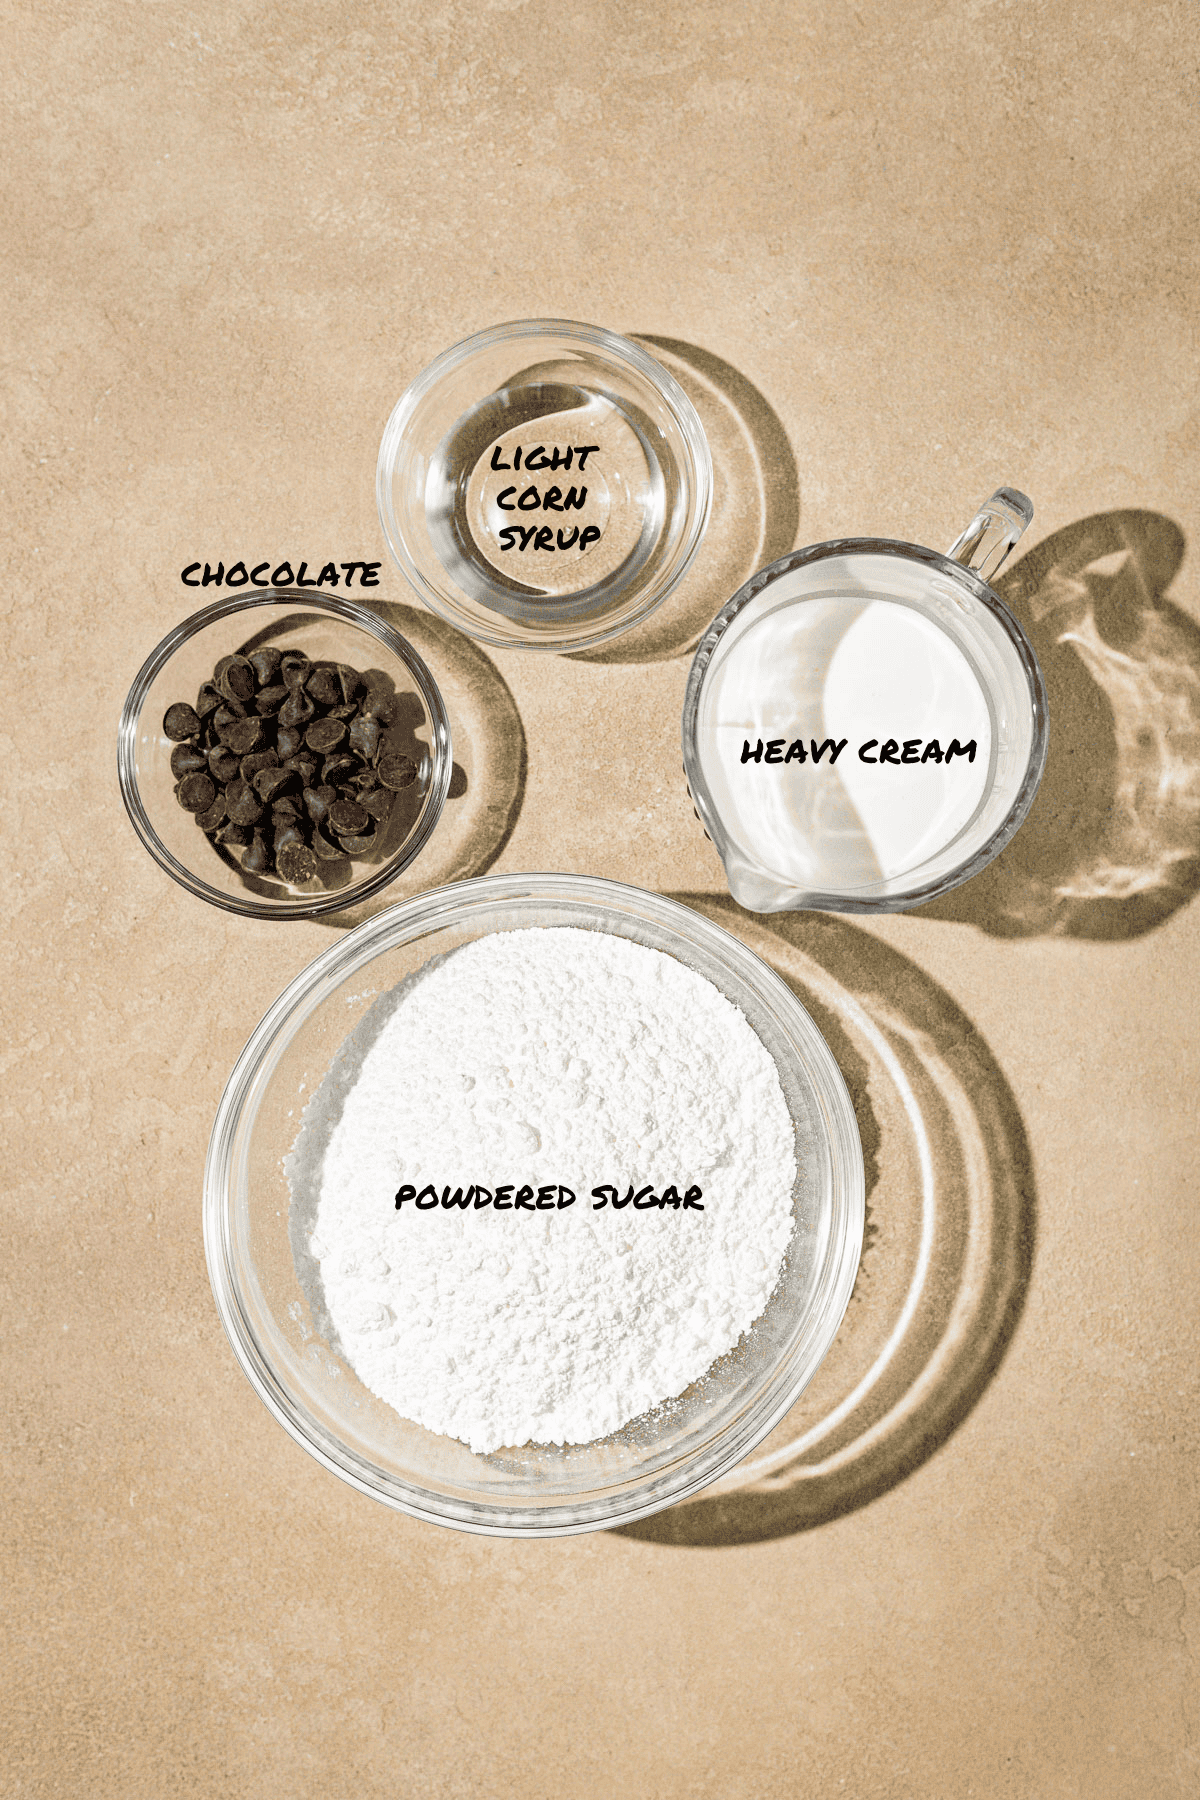
- Chocolate: Use a high quality dark chocolate for a unique flavor profile. Alternatively, you can use semi-sweet chocolate chips, or even milk chocolate chips.
- Sour Cream: Use full fat sour cream for optimum flavor and texture.
- Unsalted Butter: Use high quality European-style butter for best overall flavor.
- Flour: Use high quality unbleached all-purpose flour for best results.
- Eggs: Bring your eggs to room temperature quickly by placing them in a bowl of warm water for 10 minutes.
- Vanilla: Add a high quality vanilla extract for optimal flavor.
See recipe card for full information on ingredients and individual quantities.
Step by Step Instructions
Here are step by step photos and instructions on how to make this black and white cookie recipe! For the full ingredient list and method, see the recipe card at the end of this post.
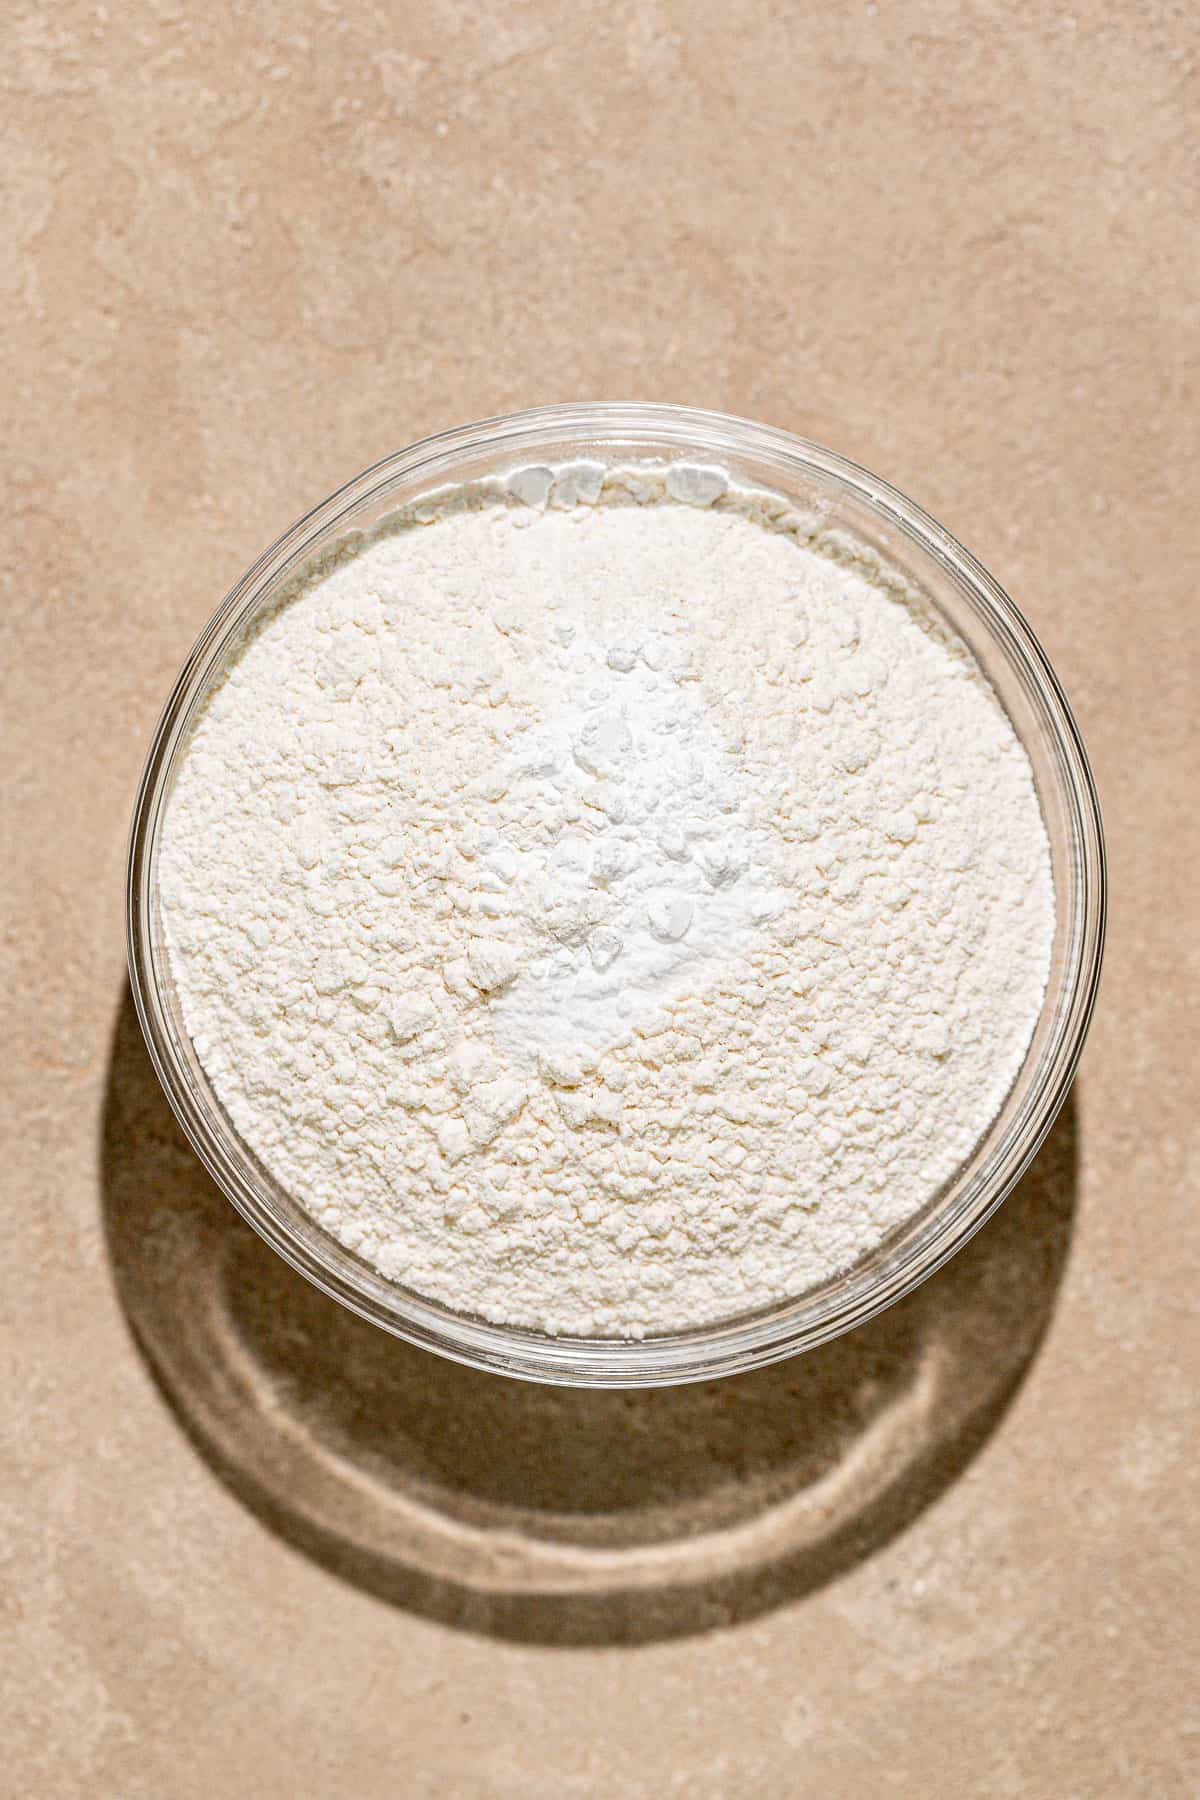
STEP 1: Mix dry ingredients. In a medium bowl, combine the flour, baking powder, and baking soda.
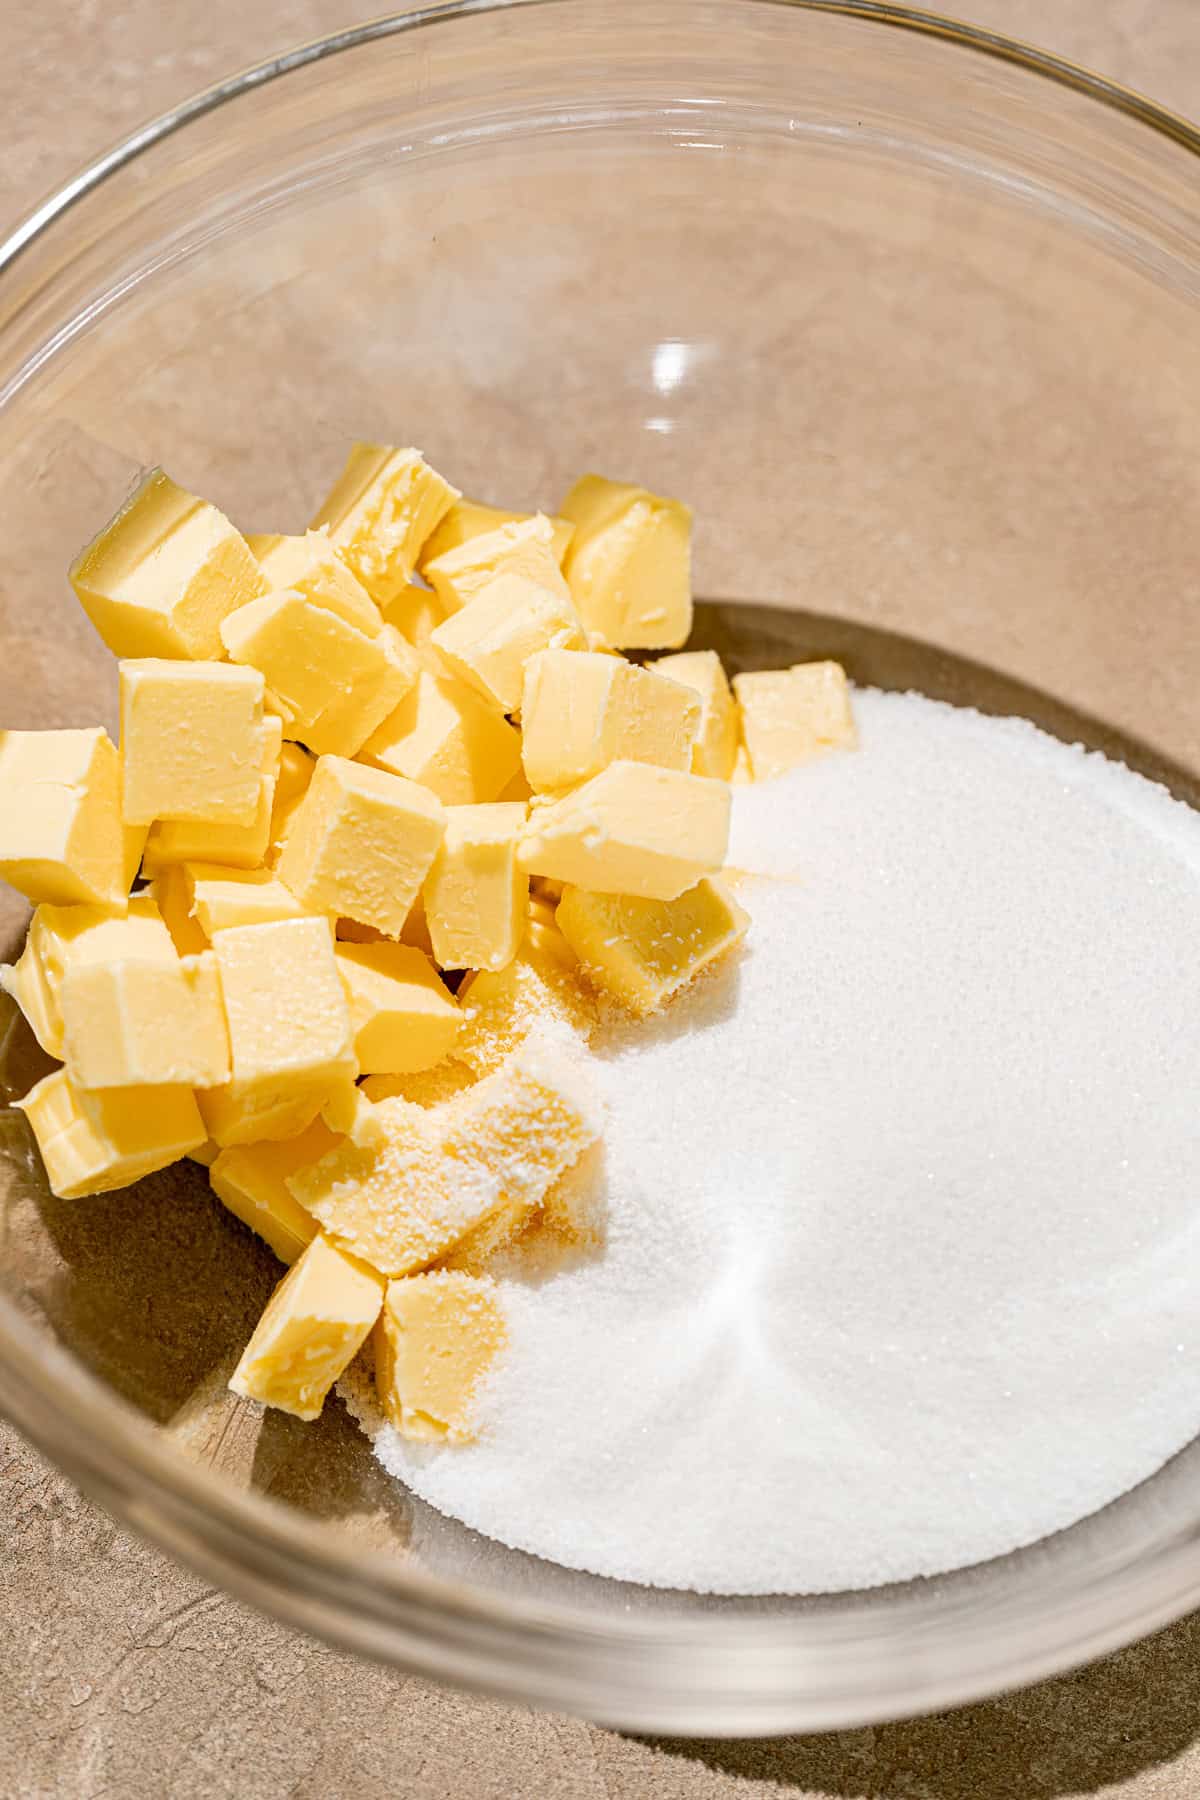
STEP 2: Cream butter and sugar. In a large separate bowl, use an electric mixer on low speed or a stand mixer to cream together 12 tablespoons of butter, the sugar, and ½ teaspoon salt for 2-3 minutes until light and fluffy.
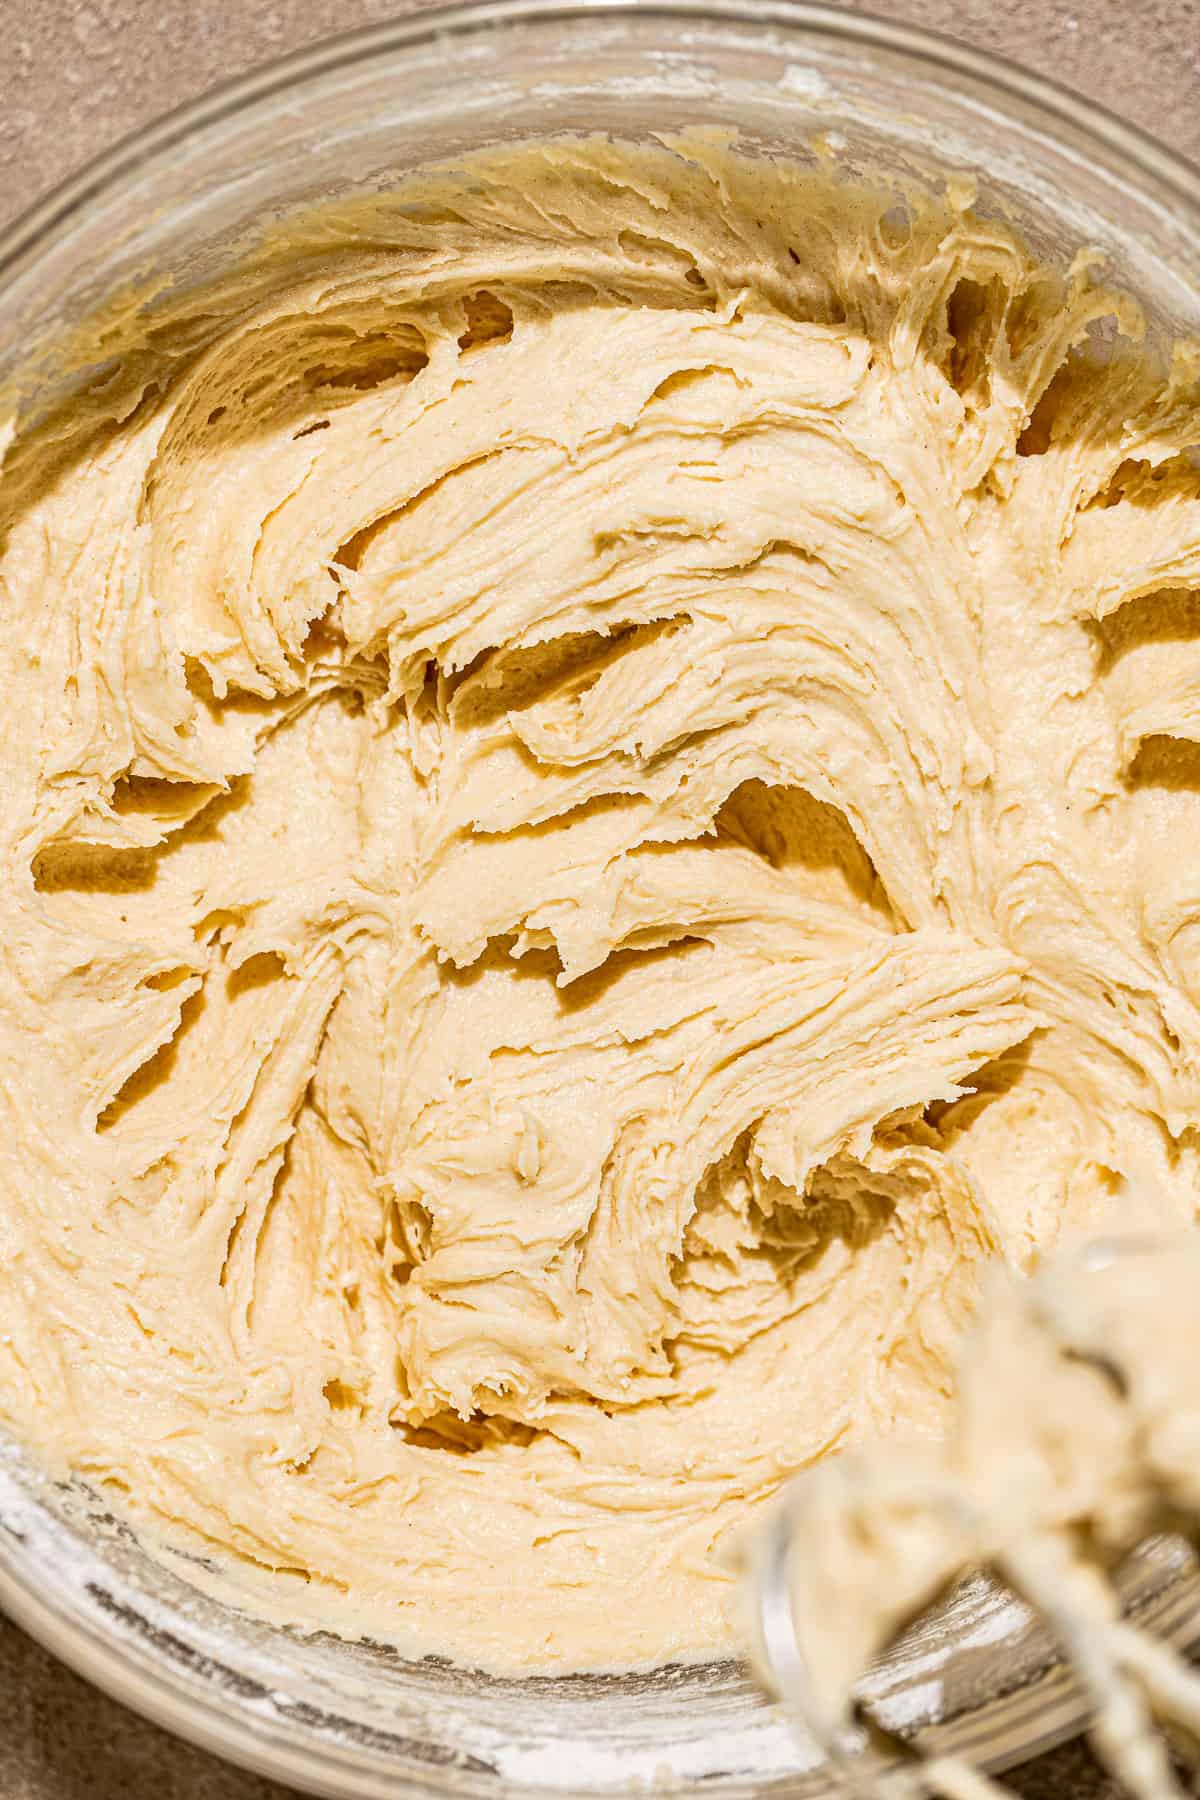
STEP 3: Add wet and dry ingredients. Mix in the large egg, egg yolk, vanilla, and sour cream until fully combined. Lastly, add the flour mixture and mix until just combined, making sure to scrape the sides of the bowl.
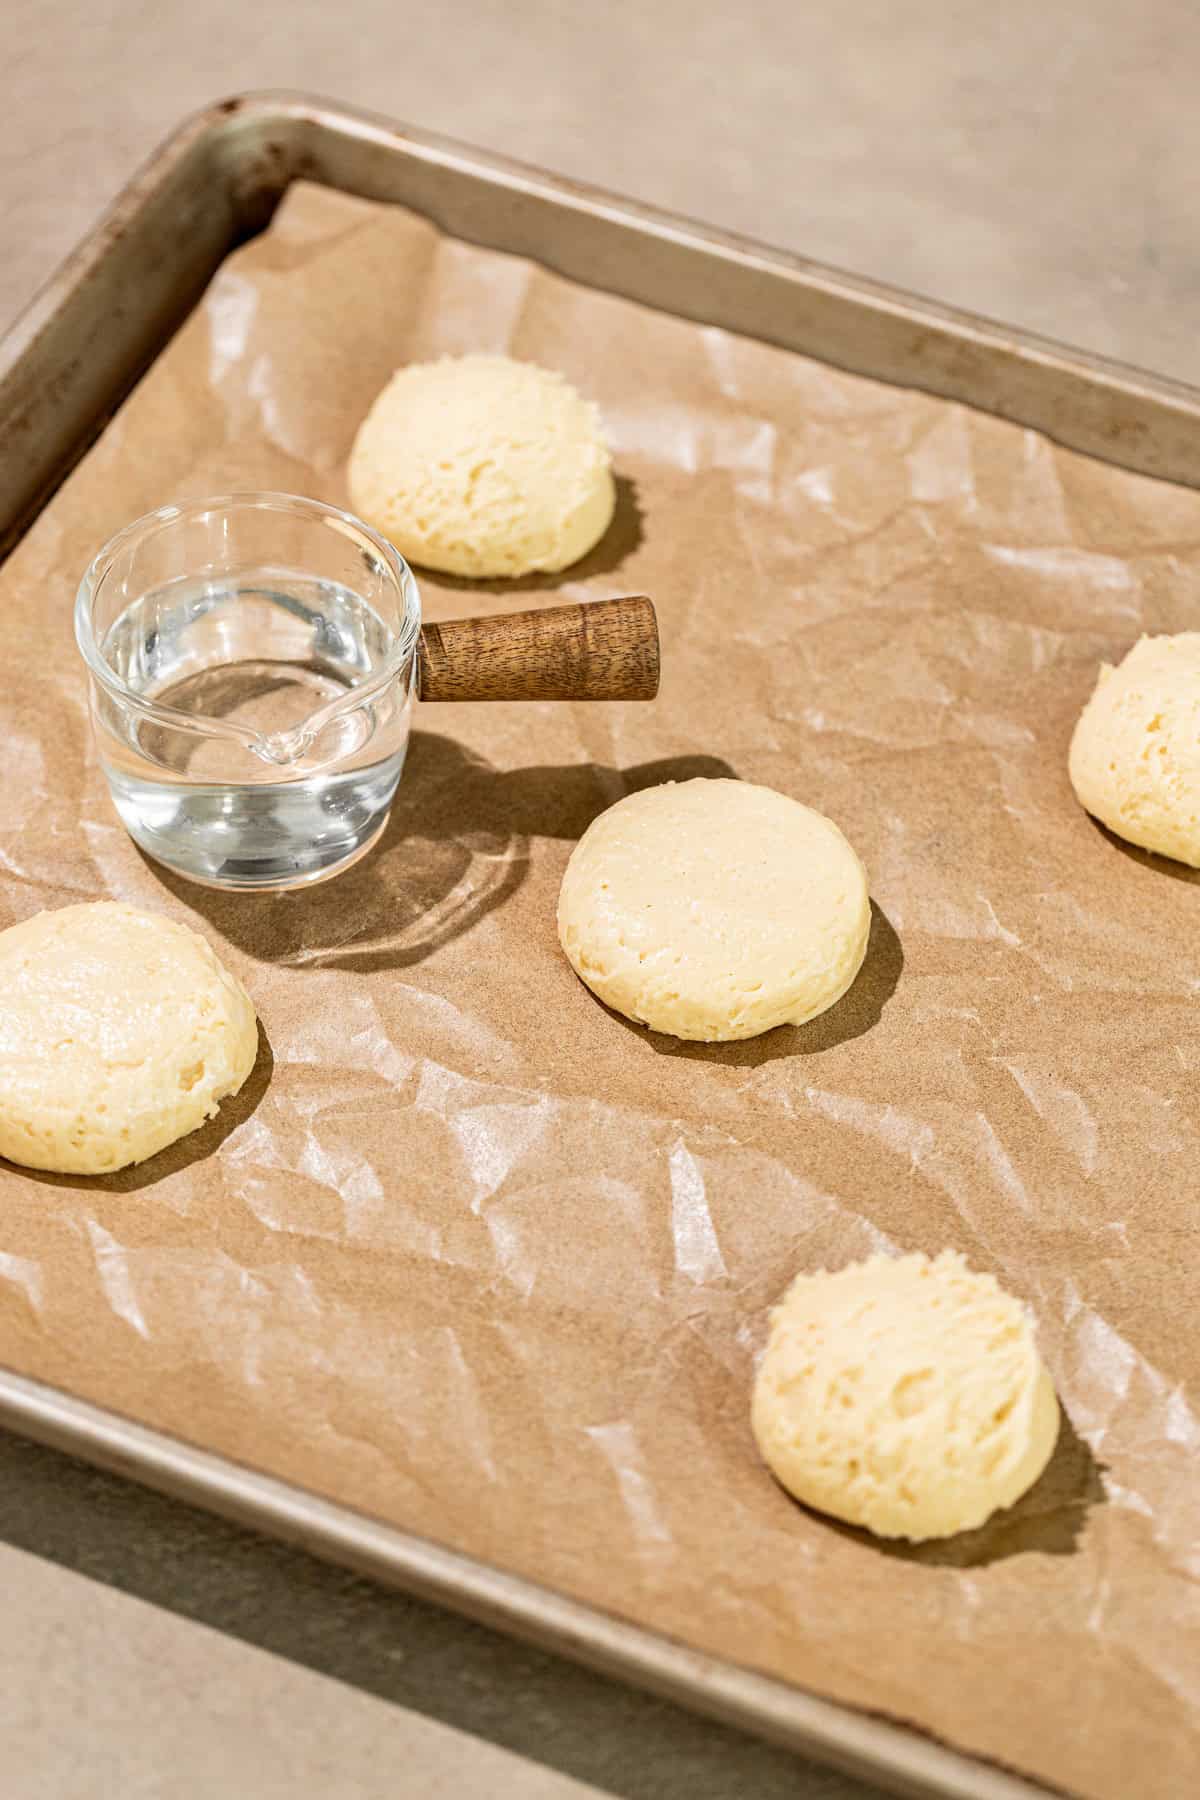
STEP 4: Portion the dough. Use a 3 tablespoon cookie scoop to portion the cookie dough onto the prepared baking sheets, spacing them about 2" apart. Dip a finger in water to smooth out and pat down the cookie dough balls slightly.
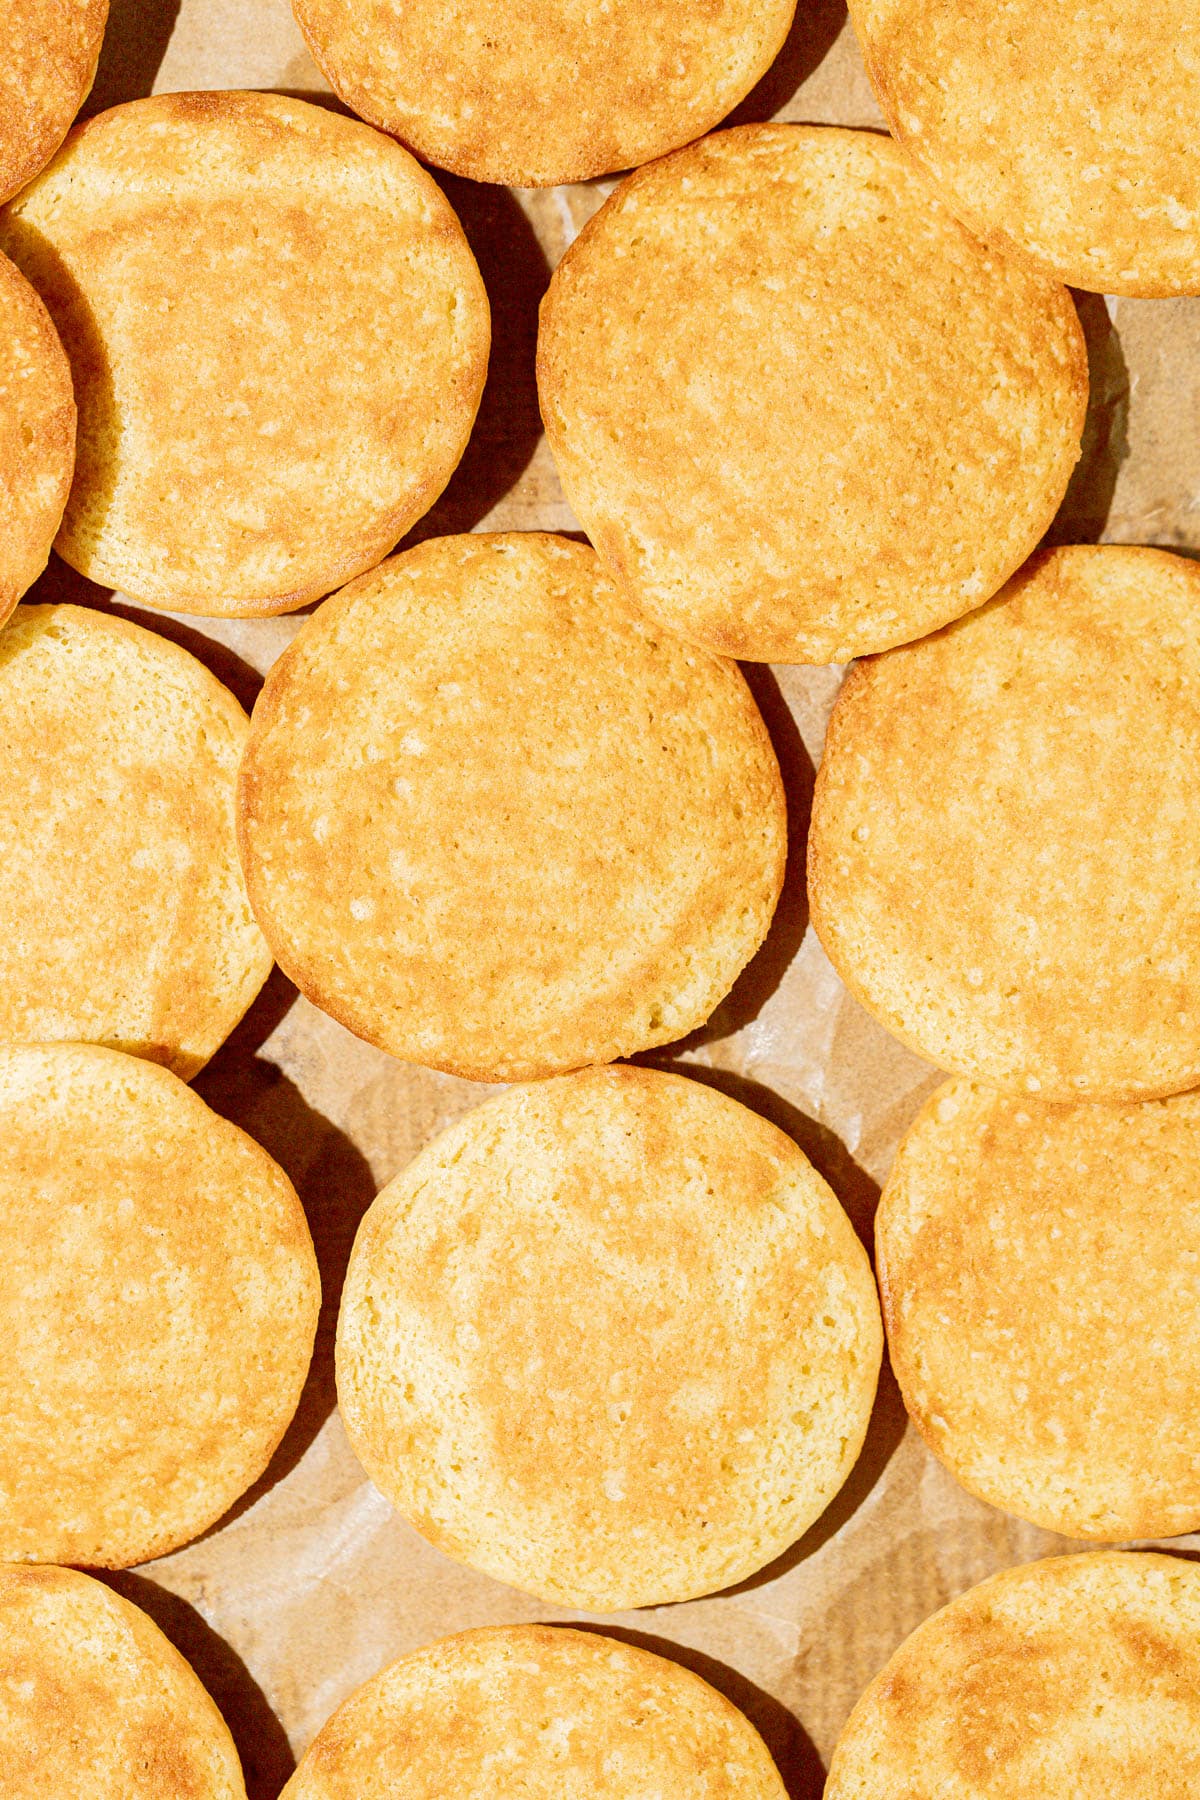
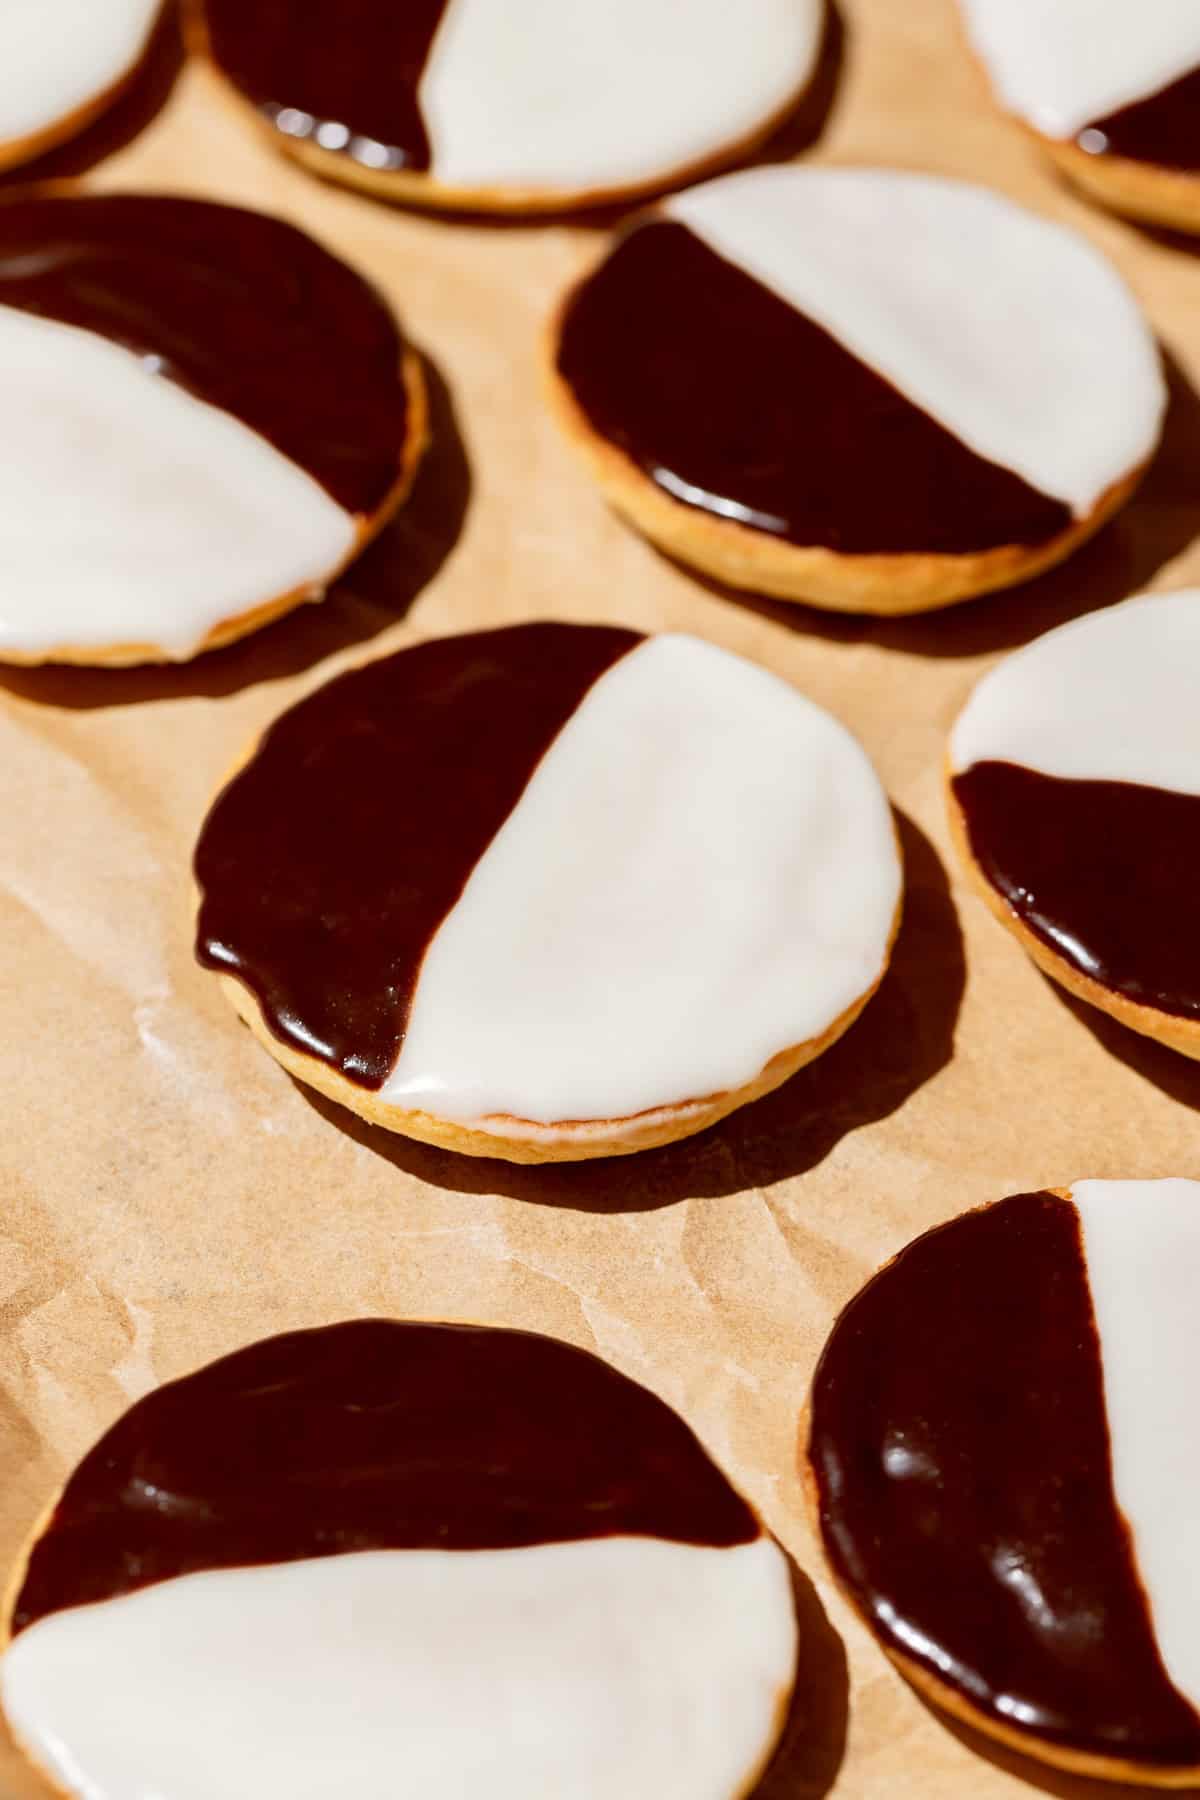
STEP 5: Bake and cool. Bake the cookies for 10-12 minutes until the tops appear matte but before the edges turn golden. Allow the cookies to cool for a few minutes, then turn each of them over and set aside to cool completely.
STEP 6: Make icings and decorate. In a small saucepan over low-medium heat, stir together the heavy cream, chocolate, powdered sugar, and light corn syrup until fully melted. Set aside to cool. In a medium bowl, whisk together powdered sugar, heavy cream, and light corn syrup until smooth to make the vanilla icing. On the bottom of each cookie, spread the vanilla icing onto one half using an offset spatula. Then, repeat with the chocolate icing on the other half of each cookie. Allow the icing glaze to set for a few minutes, then enjoy!
Expert Baking Tips
- Don't over-bake the cookies! The cookies are done baking once the tops no longer look wet, but before the edges turn golden. Even just a minute over can make these cookies dry!
- Make the chocolate icing first. The chocolate icing needs a few minutes to cool, so I recommend making it first and using it to decorate the cookies second.
Recipe FAQs
If you want those iconic flat tops, then yes! Smoothing out the tops of each cookie with water on your fingers will make the top flat side super smooth, making it easier to spread icing on them.
Store these black and white cookies in an airtight container at room temperature for 3-5 days or in the freezer for up to 3 months.
Baking in Grams
All of the recipes on this blog are carefully developed with gram measurements so you can easily recreate them in your own kitchen with success. Volume measurements are extremely inaccurate and leave room for significant errors. Not all measuring cups are made equally, so your one cup of flour will be different from my one cup of flour. By providing precise measurements in grams (aside from minor ingredients, which are given in tsp/tbsp), you can make these recipes accurately and with less cleanup! All you need is this kitchen scale.
If this still isn't enough to convince you, I have provided volume measurements in the recipe card. If you are interested in understanding the conversions, this is the best conversion chart.
But trust me, once you try baking in grams you'll never turn back!
Happy baking! x
Other cookie recipes to try
If you tried this recipe, I'd love to know how it turned out for you! Leave a star rating & review below and post a picture (or video!) on Instagram and tag me so I can see your bakes! Not ready to make this recipe yet? Click the heart button on the right of your screen to save it for later 🙂
📖 Recipe
Black and White Cookies
Ingredients
For the cookies:
- 270 g (2 ⅓ cups) all-purpose flour
- ½ teaspoon baking powder
- ¼ teaspoon baking soda
- 170 g (12 tablespoon) unsalted butter, room temp
- 200 g (1 cup) granulated sugar
- ½ teaspoon salt
- 1 egg, room temp
- 1 egg yolk, room temp
- 1 tablespoon vanilla extract
- 113 g (½ cup) sour cream, room temp
For the chocolate icing:
- 56 g (¼ cup) heavy cream
- 28 g (1 oz ) dark chocolate
- 28 g (¼ cup) powdered sugar, sifted
- 15 g (1 tablespoon) light corn syrup
For the vanilla icing:
- 170 g (1 ½ cups) powdered sugar, sifted
- 84 g (¼ cup + 2 tbsp) heavy cream
- 15 g (1 tablespoon) light corn syrup
Instructions
For the cookies:
- Preheat the oven to 350 degrees F and line two large baking sheets with parchment paper.
- In a medium bowl, combine the flour, baking powder, and baking soda.
- In a large bowl, cream together the butter, sugar, and salt for 2-3 minutes until light and fluffy.
- Mix in the egg, egg yolk, vanilla, and sour cream until fully combined.
- Lastly, add the dry ingredients and mix until just combined.
- Use a 3 tablespoon cookie scoop to portion the cookie dough onto the prepared baking sheets, spacing them about 2" apart.
- Dip a finger in water to smooth out and pat down the cookie dough balls slightly.
- Bake the cookies for 10-12 minutes until the tops appear matte but before the edges turn golden.
- Allow the cookies to cool for a few minutes, then turn each of them over and set aside to cool completely.
For the chocolate icing:
- In a small saucepan over low-medium heat, stir together the heavy cream, chocolate, powdered sugar, and light corn syrup until fully melted. Set aside to cool.
For the vanilla icing:
- In a medium bowl, whisk together powdered sugar, heavy cream, and light corn syrup until smooth.
For assembly:
- On the bottom of each cookie, spread the vanilla icing onto one half. Then, repeat with the chocolate icing on the other half.
- Allow the icing to set for a few minutes, then enjoy!
Notes
- Don't over-bake the cookies! The cookies are done baking once the tops no longer look wet, but before the edges turn golden. Even just a minute over can make these cookies dry!
- Make the chocolate icing first. The chocolate icing needs a few minutes to cool, so I recommend making it first and using it to decorate the cookies second.



Comments
No Comments